Originally posted by d_lasher
View Post
-
We got 2 days of warm sunny weather and I had a chance to get the painting done. Gotta love California weather. I got epoxy primer, two coats of blue and two coats of matte clear over that. It came out great, better then I thought possible in my little jury rigged paint booth. I even got a chance to parkerize all the nuts and bolts. I'll let the paint cure for a good week and then I start the assembly process. Things will go fast after that.
I'll post better paint pictures here soon.
IMG_1585.jpg
35 WTRLeave a comment:
-
Hope everyone had a great Christmas and New Years. Now that it's over I have time to get back to work on the bike. I can't believe I only have nine more months before the cannonball.
I'm waiting for two warm, sunny, and wind free days to paint. I've got all the parts stripped down and ready for prime and paint but I just need two warm days in a row to paint.
In the mean time, I've started the initial build of the engine and I've already run into some problems. I got the pistons in the cylinders and got the cylinders on the crankcase. I put the intake manifold and carb on and it all fit nice and passed the rubber stopper leak test. I even have a small squirt bottle of soapy water on the workbench now. But when I put the shifter lever on it hits the carburetor. So now it doesn't fit on the left or right side. My new plan is to get the engine on the frame and the handlbars installed and see which side I want it on and then just make a shifter to fit.
After that I put the clutch in and immediately run into another problem With the clutch in and engaged first and second gears were real stiff and neutral stopped working completely. It turns out with the clutch engaged the pressure plate was pushing against the clutch hub and pinning the main-shaft against the drive gear in the gearbox. When I put the clutch basket bushing in six months ago it I didn't push it all the way in and that caused the clutch hub to stick out too far which caused the pressure plate to push against the hub instead of the clutch plates.
Easy fix but I had to take the gear box off and disassemble it all to get to the bushing. Now I have to wait for some new lock washers to show up in order to reassemble the clutch.
Months ago I had cleaned and inspected the pushrod guides in the cam case. They all measured out to 0.377" and pushrods were 0.370 and visibly worn. Weeks later that I ordered up some new oversized pushrods and just looked at my notes and saw 0.377 and order them. I completely forgot about clearance. So now I go to put them in and a 0.377" pushrod doesn't fit into a 0.377" hole. That was an expensive mistake.
So I'm waiting for parts to start assembling both the primary and valve train.
Hurry up and wait.Leave a comment:
-
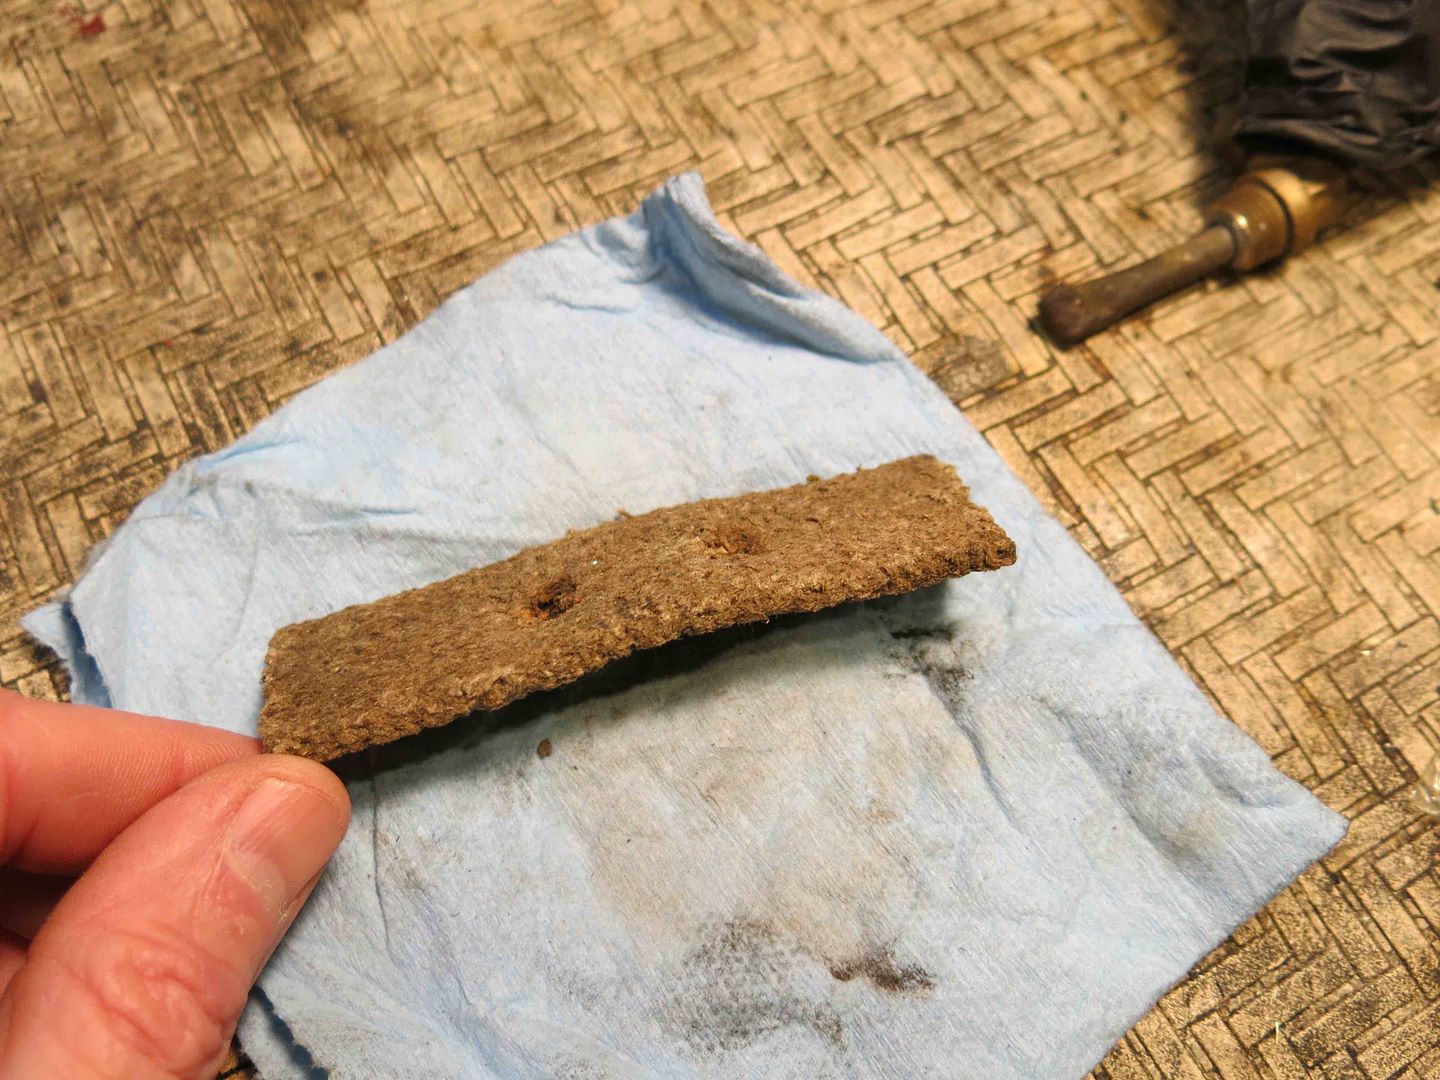
Dana, I found this underneath one of my tank mounts. Don't know if it was originally installed there, but since I have the space available I'm going to cut some 1/16 or 1/8 rubber to fit the brackets and hopefully absorb a little shock.
Leave a comment:
-
Dana,
Good work, I think success is in the details and planning. I looked at my cannonball prep from the standpoint of what could go wrong and how can I prevent that? If I can't prevent it, then how can I fix it on the road if I have to?
Unfortunately, the one small failure I had with the fiber magneto gear failing, I was not prepared to handle that on the road. So, make sure that bushing gets oil, and carry a spare!
Good luck!
geneLeave a comment:
-
>> 1. Whatever you do, be absolutely sure the tank sits FLAT on the supports and when you tighten the bolts it doesn't twist at all. If you don't, it will stress the tank and eventually make it fail, somewhere.
This weekend was all about details. I decided to take Gene's advise and check how the tank sits on the frame. Not well is the answer. It sits flat on three of the tabs but has a 0.060" gap on the fourth. The tank measured out flat so the tab must be off my that much. It wasn't bent because it was level, just off my 60 thou. Under the "Don't make it worse" rule I decided to just shim it instead of trying to bend the mount to fit. I had some spare 16 ga sheet metal laying around from an old rebuild and just cut a a shim and everything fit great.
After checking the tabs I bolted up the tank and found the next problem. One of the tank's threaded inserts was off my just a degree or two. So when it was bolted up the head of the bolt didn't sit flat on the mounting tab. A little grinding to the underside of the mount and it all lined up. If I had bolted that up tight it would have wanted to twist the insert.
Gene, thank you I wouldn't have checked all that without your post.
Other then that it was just a lot of details trying to get the bike ready for paint. But I'm afraid I might have missed my warm weather window. With Thanksgiving, Xmax, kids and grand kids I'm going to be pretty busy the next few weeks. I can't believe it's the holidays already.Leave a comment:
-
It’s funny how time flies. It seems like just yesterday I’m sitting in a class wondering why I would ever care about how much carbon is in steel, and the next thing you know I have two kids, a grandchild and I’m trying to find the right temperature to temper steel with .6% carbon in it.
How’s your build coming? I’ve been watching your build and every time I see a progress picture I always think ‘Man his workshop is so clean!’ Mine always looks like a steel mill at the end of a shift. Oil, dirt, steel and tools everywhere.Leave a comment:
-
Dana, thank you for your most wonderful thread. your comments about pushing past the fear factor really resonated with me. Thank you for acknowledging that. in the peak of the mid-80's i was at my zenith for taking and making every opportunity i could for learning everything i could, finished a 2 year machine tool program, spent a lot of time in the 70's through the 80's with one of the masters who came from the decades of the late 20's on up. then, life happened and 25 years later i started my JD project. Your commentary is as inspiring as the work you share on your project. For me, your thread IS what the brotherhood shared on this forum is about and nothing else.Last edited by Steve Swan; 11-04-2019, 03:24 PM.Leave a comment:
-
This weekend was about making the rear stand latch and the seat mount strap. Both are harden spring steel and I decided to learn how to heat treat spring steel. I took a metallurgy class in school decades ago and I watched Forged in Fire last week so, yeah I’m an expert.
I use 1075 for the rear stand and 4160 steel for the seat mount. The hardest part was making the bolt hole on the seat strap. The trick ended up to only heat up the little bit you wanted to bend into a curve. I made a little forge out of 5 fire bricks and used my MAP gas torch for the heat supply. Heated the parts until they weren’t magnetic any more and dunked them into the canola oil. The work shop is going to smell like popcorn now for the next few weeks.
This build is all about stretching my comfort zone. I’m trying to learn as much as I can and try and push past the fear factor of never doing it before. On all my past builds I would have just bought these parts and bolted them on.
Here’s a picture of the rear stand latch and the forge. It’s not the prettiest thing but I made it!
58B7A88A-81F6-476A-AA5E-0228EE8CA7B8.jpg. 7F596017-12E8-427B-853A-78BA0B4F370E.jpgLeave a comment:
-
Looks good Dana! Hope you get some electricity so you can keep up the great progress!Leave a comment:
-
Just another fall day in California, 75 degrees, 25 MPH winds, smoke in the air and no power. I decided to clean my workshop and do the first 'finial' mock up.
IMG_0628.jpgIMG_1526.jpg
WTR : 45Leave a comment:
-
Dana,
WOW, you're doing a lot and looks like you're earning every piece of it! Guess that's what we enjoy right.....? Here are a few thoughts on your tank.......
1. Whatever you do, be absolutely sure the tank sits FLAT on the supports and when you tighten the bolts it doesn't twist at all. If you don't, it will stress the tank and eventually make it fail, somewhere.
2. I'm a fan of tank liners, never had a problem with them. I have 25 year old cream red kote, no problems. I had my 24 chief tank disassembled, cleaned all parts tin plated and then re-soldered prior to the Cannonball. I did a 2 psi air test, all was well. I did 2 coats of Red Kote tank liner after that which was tricky because the Chief has the shut off valve INSIDE the tank and it has a screen! At the end of the Cannonball, I thought it was weeping a bit on the top seam right at the seat pivot. Last time I rode it, it's a gusher! That's also the ONE place it leaked before I took it apart! I plan to clean it and re-seal it because I don't want to go through that whole proces again and repaint it! I assume I didn't get enough sealer on the top side.
Jon Turney from NZ ran a 27 Scout on the last Cannonball. He bought a new tank from India, looked good so he ran it. Half way through the baffle between the oil and gas compartments failed. He rigged up a plastic oil bottle in the doctors bag he had strapped to the luggage rack and carried on. I think he had an additional 3 quarts of gas because the leak was so bad it went down just as fast as the regular fuel level. Perhaps.... a good tank sealer may have prevented this..... who knows......In my estimation it couldn't hurt.
Now let the tank sealer debate begin.......
GeneLeave a comment:
-
>> I would avoid a gas tank liner at all cost. New metal should hold liquid with ease - just pressure check for leaks before painting. Jerry
Thanks for reminding me to do that. Sometimes I get so caught up in the progress I forget the little details like that. I tagged the tank with a reminder.
>>Speaking of new 101 tanks, where can I purchase repo ones that fit??
I got mine from Steve Rinker. I met him at Wauseon this summer and he helped me out finding some parts I needed.
>> I have heard that some out there do not fit between the frame rails which would be a major issue.
Take my comments with a grain of salt. Nothing on my bike has just fit, even the original tank was a very tight fit. But, the front right mount hole was off by about 1/16" so I had to drill the frame's bolt hole out and use a hand file to slot it a little in order to get the bolt in straight. The threads were standard UNF threads. The tank didn't fit between the frame rails at first. I had to grind down the seat mount and the front two mounting tabs on the frame. I didn't want to touch the frame, seems kinda important, the tank mounts were really beefy and looked like I could take some off without affecting their strength at all. There was one spot on the tank where the seam pushed out a little and it got in the way. So I ground that down just enough to get the minimum clearance.
It's still really tight but it doesn't touch the frame and I figure I have just enough clearance for paint!
IMG_1519.jpg
>> With your newly made exhaust you were in more control of the fit for the rear header pipe and chainguard...it's pretty tight!
It's VERY tight, So tight I'm thinking of painting the edge of the chain guard with high temp paint. You would think I would 'be in more control' of the header's location but after working on them for days and cutting and grinding and welding and more cutting and welding you get to the point where if it fits you're done and I'm afraid I hit point. Plus my main concern was the clearance to my leg!
Still a lot more to do!Leave a comment:
-
Dana, looking good there! With your newly made exhaust you were in more control of the fit for the rear header pipe and chainguard...it's pretty tight!Leave a comment:
Leave a comment: