Announcement

Collapse
No announcement yet.

My 101 Scout Cannonball Build

Collapse
X
 
  • Filter
  • Time
  • Show
Clear All
new posts

  • #61
    >> 1. Whatever you do, be absolutely sure the tank sits FLAT on the supports and when you tighten the bolts it doesn't twist at all. If you don't, it will stress the tank and eventually make it fail, somewhere.

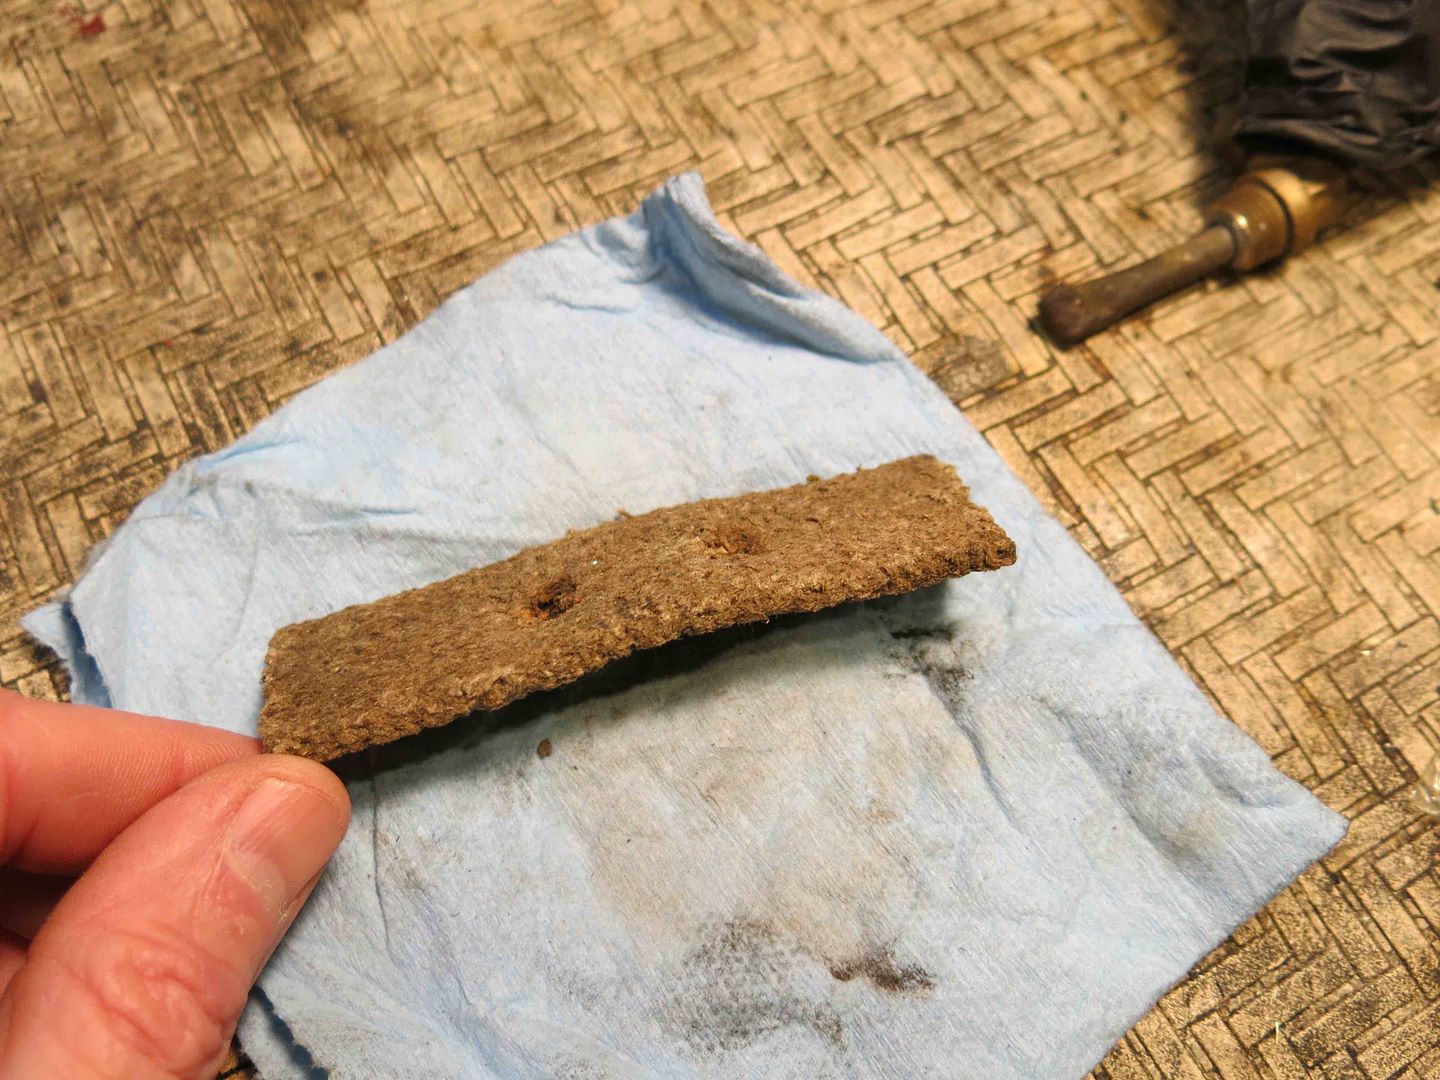
    This weekend was all about details. I decided to take Gene's advise and check how the tank sits on the frame. Not well is the answer. It sits flat on three of the tabs but has a 0.060" gap on the fourth. The tank measured out flat so the tab must be off my that much. It wasn't bent because it was level, just off my 60 thou. Under the "Don't make it worse" rule I decided to just shim it instead of trying to bend the mount to fit. I had some spare 16 ga sheet metal laying around from an old rebuild and just cut a a shim and everything fit great.

    After checking the tabs I bolted up the tank and found the next problem. One of the tank's threaded inserts was off my just a degree or two. So when it was bolted up the head of the bolt didn't sit flat on the mounting tab. A little grinding to the underside of the mount and it all lined up. If I had bolted that up tight it would have wanted to twist the insert.

    Gene, thank you I wouldn't have checked all that without your post.

    Other then that it was just a lot of details trying to get the bike ready for paint. But I'm afraid I might have missed my warm weather window. With Thanksgiving, Xmax, kids and grand kids I'm going to be pretty busy the next few weeks. I can't believe it's the holidays already.
    Dana
    web : https://thecastlehillgarage.com/
    Instagram : thecastlehillgarage

    Comment


    • #62
      Dana,

      Good work, I think success is in the details and planning. I looked at my cannonball prep from the standpoint of what could go wrong and how can I prevent that? If I can't prevent it, then how can I fix it on the road if I have to?

      Unfortunately, the one small failure I had with the fiber magneto gear failing, I was not prepared to handle that on the road. So, make sure that bushing gets oil, and carry a spare!

      Good luck!

      gene

      Comment


      • #63
        Dana, I found this underneath one of my tank mounts. Don't know if it was originally installed there, but since I have the space available I'm going to cut some 1/16 or 1/8 rubber to fit the brackets and hopefully absorb a little shock.

        Pisten Bully is Harry Roberts in Vermont.

        Comment


        • #64
          great thread, really enjoying watching your progress.

          Comment


          • #65
            Hope everyone had a great Christmas and New Years. Now that it's over I have time to get back to work on the bike. I can't believe I only have nine more months before the cannonball.

            I'm waiting for two warm, sunny, and wind free days to paint. I've got all the parts stripped down and ready for prime and paint but I just need two warm days in a row to paint.

            In the mean time, I've started the initial build of the engine and I've already run into some problems. I got the pistons in the cylinders and got the cylinders on the crankcase. I put the intake manifold and carb on and it all fit nice and passed the rubber stopper leak test. I even have a small squirt bottle of soapy water on the workbench now. But when I put the shifter lever on it hits the carburetor. So now it doesn't fit on the left or right side. My new plan is to get the engine on the frame and the handlbars installed and see which side I want it on and then just make a shifter to fit.

            After that I put the clutch in and immediately run into another problem With the clutch in and engaged first and second gears were real stiff and neutral stopped working completely. It turns out with the clutch engaged the pressure plate was pushing against the clutch hub and pinning the main-shaft against the drive gear in the gearbox. When I put the clutch basket bushing in six months ago it I didn't push it all the way in and that caused the clutch hub to stick out too far which caused the pressure plate to push against the hub instead of the clutch plates.

            Easy fix but I had to take the gear box off and disassemble it all to get to the bushing. Now I have to wait for some new lock washers to show up in order to reassemble the clutch.

            Months ago I had cleaned and inspected the pushrod guides in the cam case. They all measured out to 0.377" and pushrods were 0.370 and visibly worn. Weeks later that I ordered up some new oversized pushrods and just looked at my notes and saw 0.377 and order them. I completely forgot about clearance. So now I go to put them in and a 0.377" pushrod doesn't fit into a 0.377" hole. That was an expensive mistake.

            So I'm waiting for parts to start assembling both the primary and valve train.

            Hurry up and wait.
            Dana
            web : https://thecastlehillgarage.com/
            Instagram : thecastlehillgarage

            Comment


            • #66
              We got 2 days of warm sunny weather and I had a chance to get the painting done. Gotta love California weather. I got epoxy primer, two coats of blue and two coats of matte clear over that. It came out great, better then I thought possible in my little jury rigged paint booth. I even got a chance to parkerize all the nuts and bolts. I'll let the paint cure for a good week and then I start the assembly process. Things will go fast after that.

              I'll post better paint pictures here soon.

              IMG_1585.jpg

              35 WTR
              Dana
              web : https://thecastlehillgarage.com/
              Instagram : thecastlehillgarage

              Comment


              • #67
                Originally posted by d_lasher View Post
                We got 2 days of warm sunny weather and I had a chance to get the painting done. Gotta love California weather.
                That’s awesome Dana!
                Pisten Bully is Harry Roberts in Vermont.

                Comment


                • #68
                  Big day today, took the bike down off the dolly for the first time and took it to the CHP office to apply for a VIN so I can get a CA title! It was cool to actually see it on the Ground as a roller.

                  It will be at the CHP office for a week while they research the lack of a frame VIN and assign a new one to it. The officer working on it was really nice. He restores hot rods and was super impressed with the bike.

                  14D76D55-143C-4211-A4B8-3471B6884716.jpg

                  Still lots todo but it should be running soon, how cool will that be!
                  Dana
                  web : https://thecastlehillgarage.com/
                  Instagram : thecastlehillgarage

                  Comment


                  • #69
                    101's never had the vin stamped on the frame.

                    Dave

                    Comment


                    • #70
                      Yes, But in order to title it in CA it has to have a frame VIN. So I have to have the CHP issue one for it. In order to do that a CHP officer has to verify the frame is legit.

                      That’s just how it works here.
                      Dana
                      web : https://thecastlehillgarage.com/
                      Instagram : thecastlehillgarage

                      Comment


                      • #71
                        While my bike is away I started working on the seat. I'm going with a later scout seat pan, a layer of 1/4 foam, 5/8 gel pad and another 1/8 foam layer. I figure a good seat will pay dividends down the road, especially on day 20 of the cannonball.

                        Here's a pic of making a template for the leather strap under the pan to sew the top leather too. Once again I've never worked with leather so this is a first for me. Any suggestions, tips or gotchas I should know?

                        IMG_1633.jpg
                        Dana
                        web : https://thecastlehillgarage.com/
                        Instagram : thecastlehillgarage

                        Comment


                        • #72
                          Start rant ==> The Indian intake manifold is a PAIN IN THE A** <== End rant

                          It took 10 tries and all morning to get it in without leaks. The whole design seems like a house of cards.
                          Dana
                          web : https://thecastlehillgarage.com/
                          Instagram : thecastlehillgarage

                          Comment


                          • #73
                            Originally posted by d_lasher View Post
                            Start rant ==> The Indian intake manifold is a PAIN IN THE A** <== End rant

                            It took 10 tries and all morning to get it in without leaks. The whole design seems like a house of cards.
                            At least you avoided the frustration, Dana,...

                            Of trying to diagnose or tune around it, if you just bolted it on without testing.

                            ...Cotten
                            AMCA #776
                            Dumpster Diver's Motto: Seek,... and Ye Shall Find!

                            Comment


                            • #74
                              Look what came in the mail today!

                              IMG_1639.jpgIMG_1645.jpg
                              Dana
                              web : https://thecastlehillgarage.com/
                              Instagram : thecastlehillgarage

                              Comment


                              • #75
                                Lot's of work done in the last few weekends. I managed to get the engine in and start him up, but nothing is ever easy with this bike. The engine runs fine but it idles way too fast. I started with the the idle mixture screw 3 turns out, the hi speed screw 1 1/2 turns out. It starts easily and runs well with the ignition fully retarded but starts to race way too fast when I advance it. I can lean out the idle mixture to about 1/2 turn before the engine falters and dies.

                                I took the carburetor off and did another bubble test with soapy water but didn't fine any leaks in the manifold or nipples. I put it all back together and tried it again. But I had the same issue. I double checked for leaks with a unlit propane torch around the manifold intake, nipples and the carb to manifold gasket, but nothing happened. So I'm relatively sure I don't have any leaks in the plumbing.

                                Some of the problem with the carb is I don't know what 'right ' is. The only thing I can think of is I'm getting too much air past the throttle plate. I took a picture of the throttle plate in and out of the carb.


                                If you look at the throttle plate it looks like there's a tab on it. This tab was inside the linkage shaft and I first thought it was meant to be that way. But if you look at the second picture you can see the light leakage right where that tab is.

                                So my question is this right, or is this too much light passing through the throttle plate? If it's too much light, is the bore of the carb the problem or the throttle plate?

                                Any help you guys can give would be great!

                                Thanks
                                Dana
                                web : https://thecastlehillgarage.com/
                                Instagram : thecastlehillgarage

                                Comment

                                Working...
                                X