Announcement

Collapse
No announcement yet.

1925 JD Cannonball Bike

Collapse
X
 
  • Filter
  • Time
  • Show
Clear All
new posts

  • #61
    I have been working on the front fork the last couple of nights and got most of the problems ironed out. I needed to straighten the upper tube where I removed the dent the last time I posted pictures. I took a couple of 1" split clamp collars and turned them in a lathe to fit the upper rear leg.
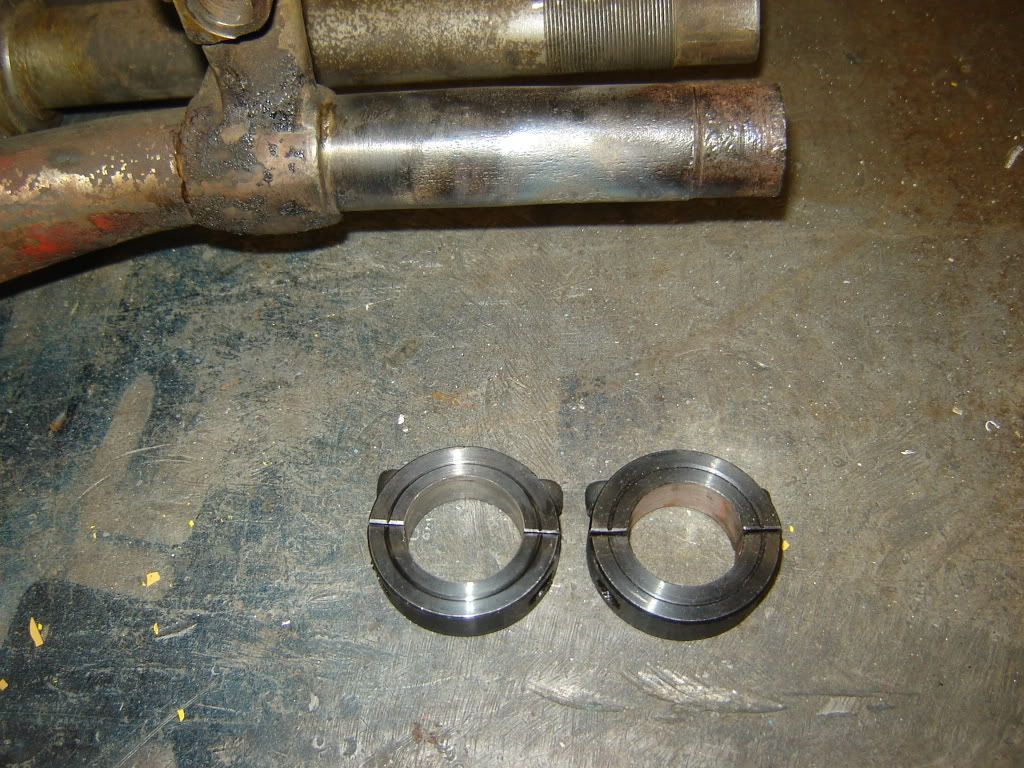


    Then I turned down a shaft so that it fit in top of the tube. The collar with the bigger hole I welded to a piece of box tubing that I clamped down to my table. The tube with the smaller hole I clamped down on the upper tube where it is split to allow the top clamp to pinch down on the 2 handle bar stems. The I placed a short bottle jack under each end of my setup. The jack on the lower leg was used merely as a convenient adjustable block.
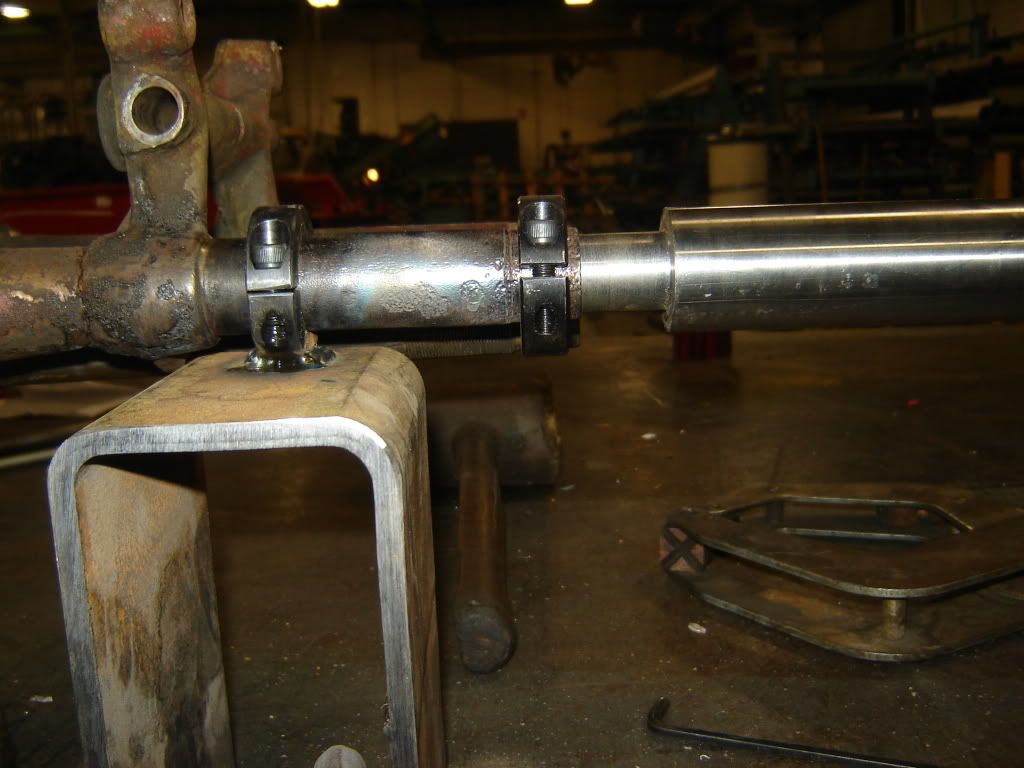
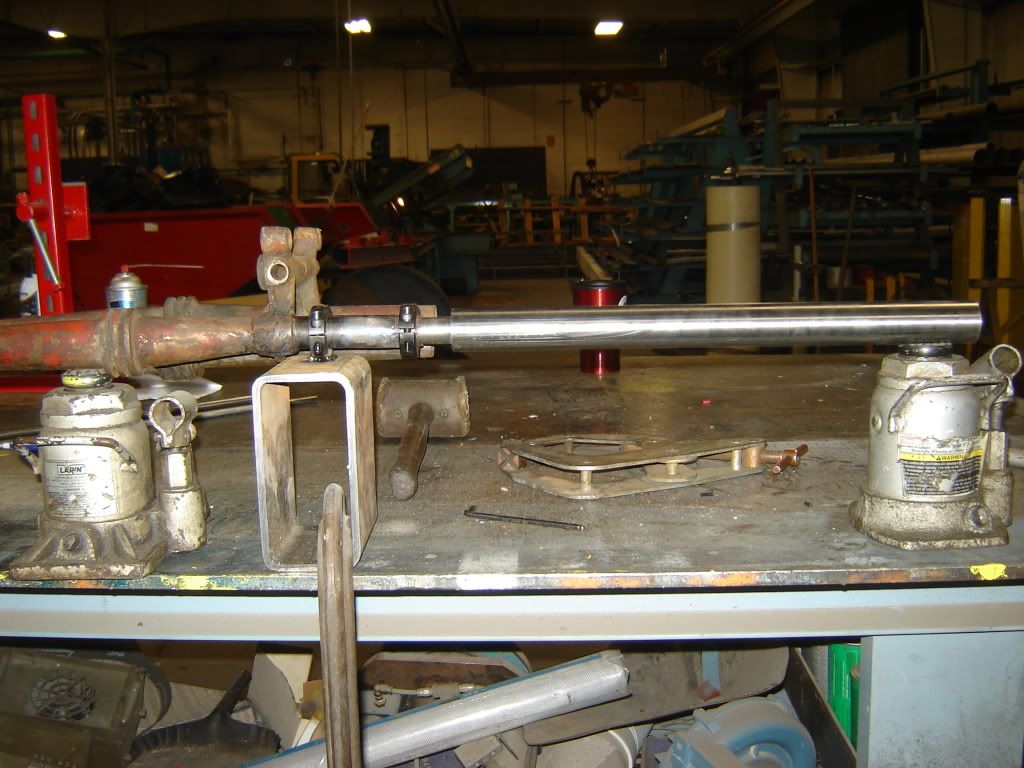
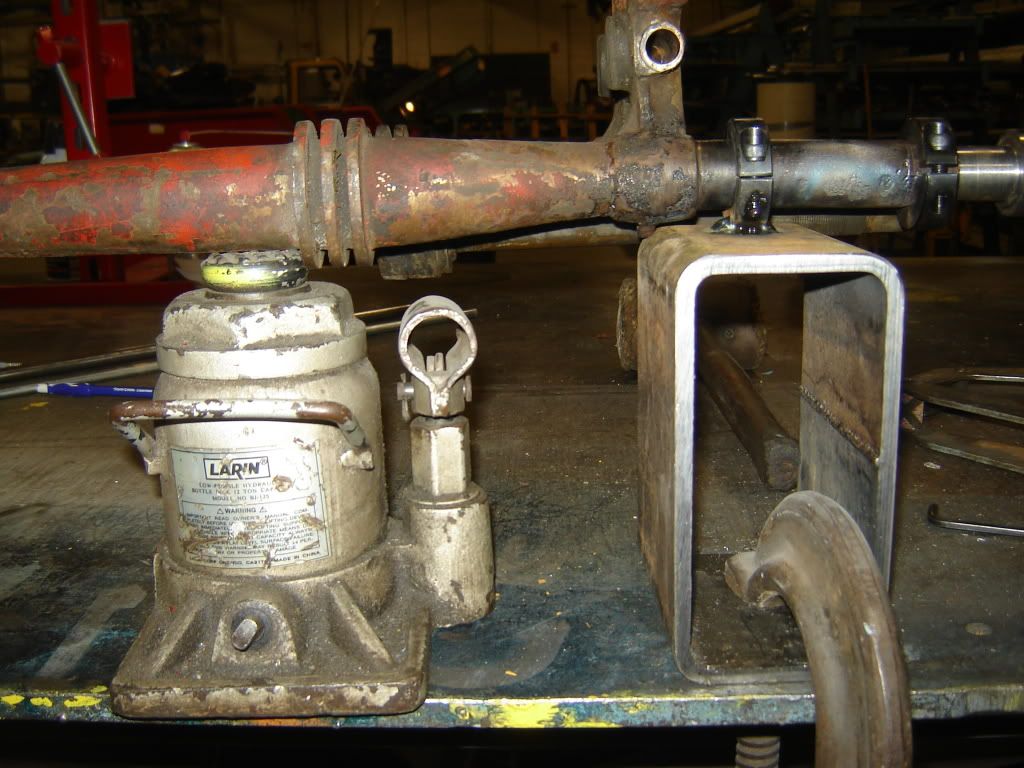
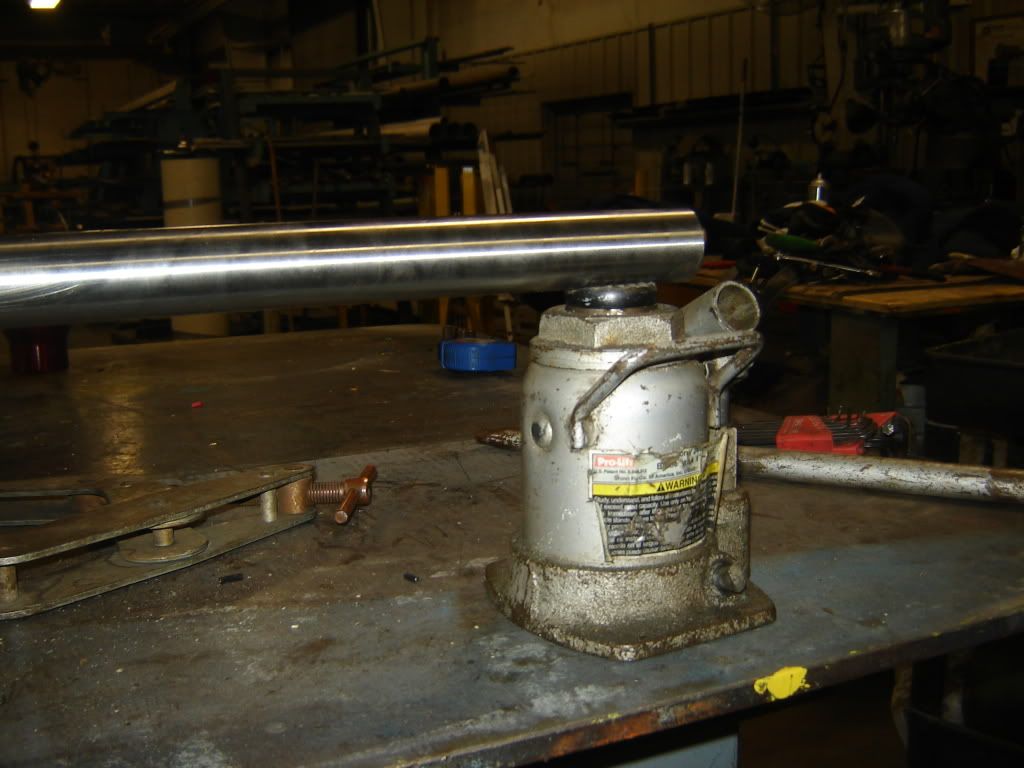


    I then proceeded to heat the bent area to a soft red and pumped up the jack on the right until it aligned straight visually. I left every thing as was until it was cool to the touch. I then let the pressure off the jack and it bent back part of the way so I repeated the whole process and this time I got it about as good as I could have ever expected.

    Jerry

    Comment


    • #62
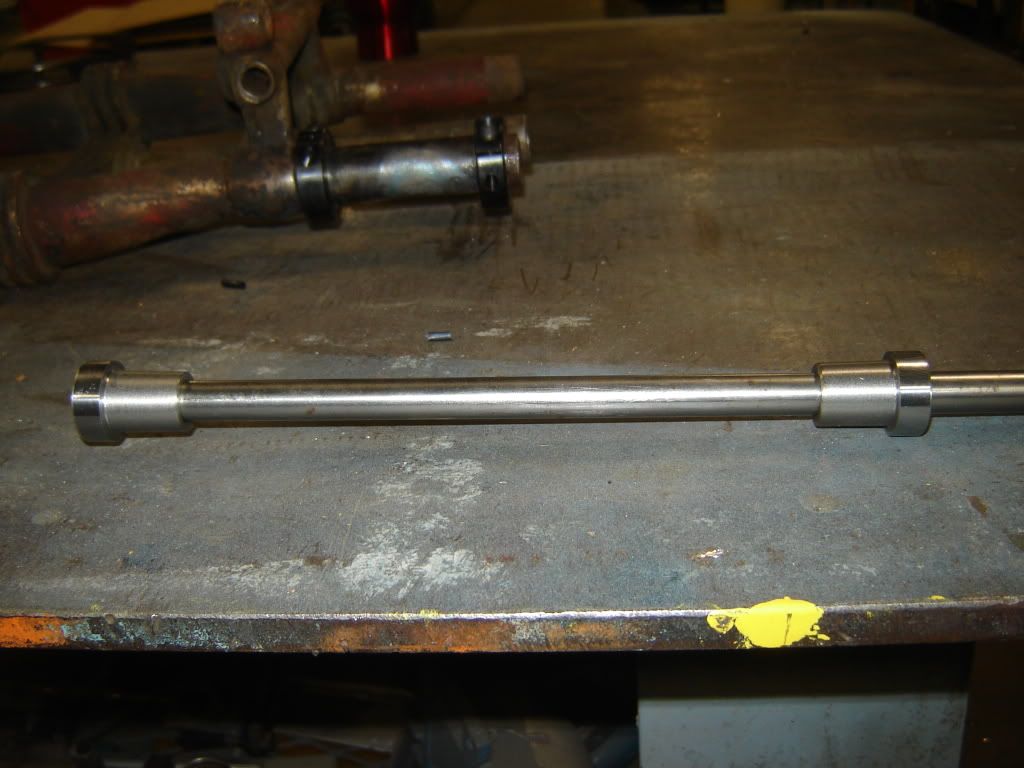
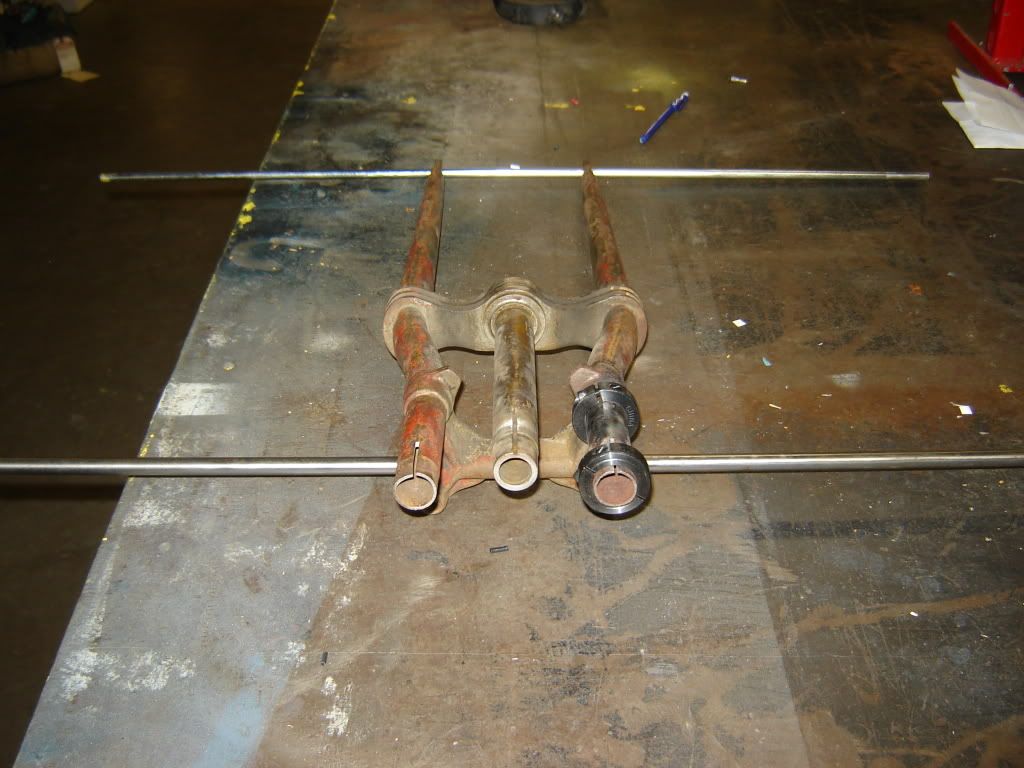
      I purchased 2 sticks of 1/2" x 3' and 1 stick of 3/8" x 3' drill rod to check this fork. I use drill rods because they are precise, strong and and reasonable cheap at about $7.oo a stick. I get them at my local farm hardware store.

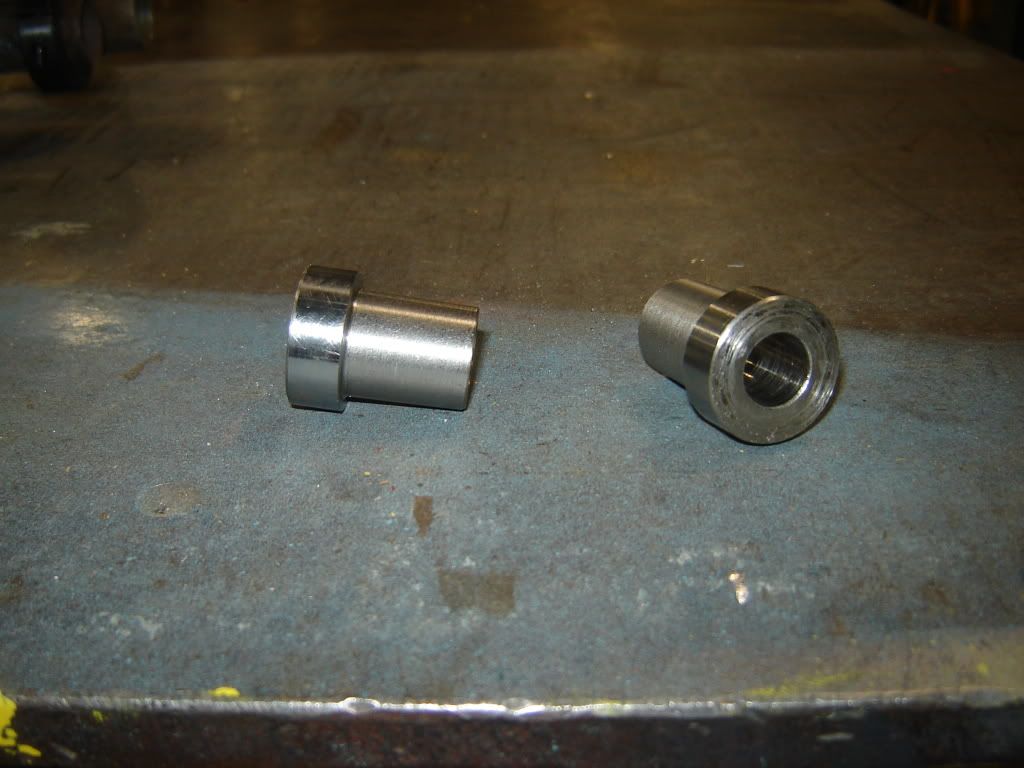
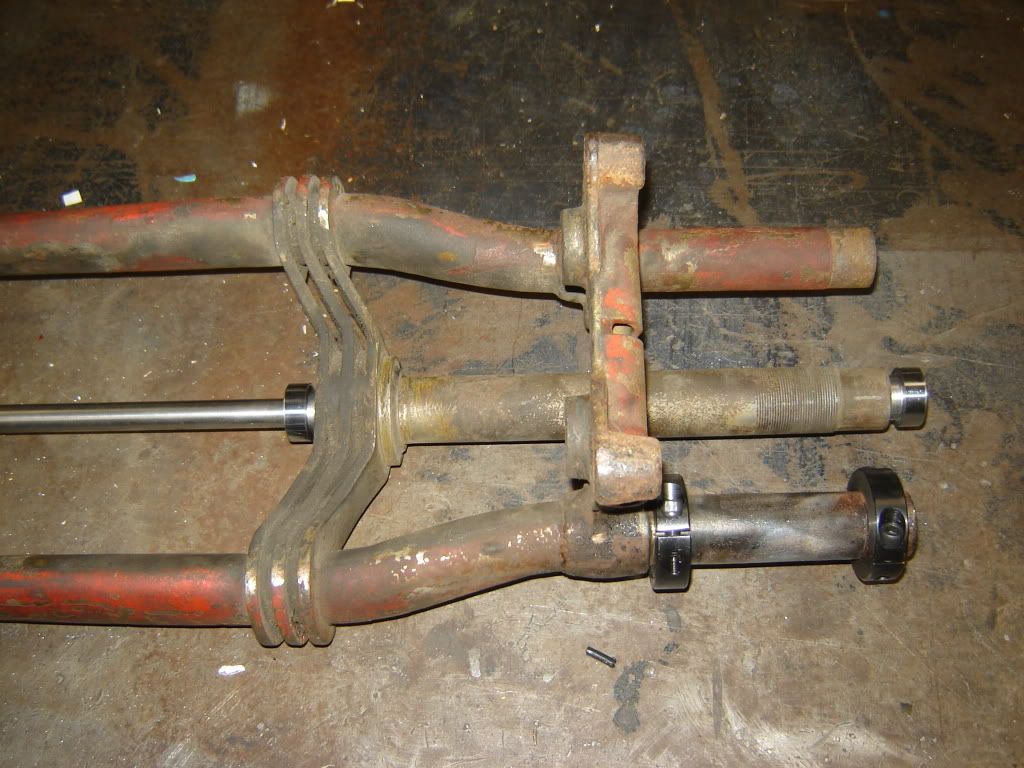
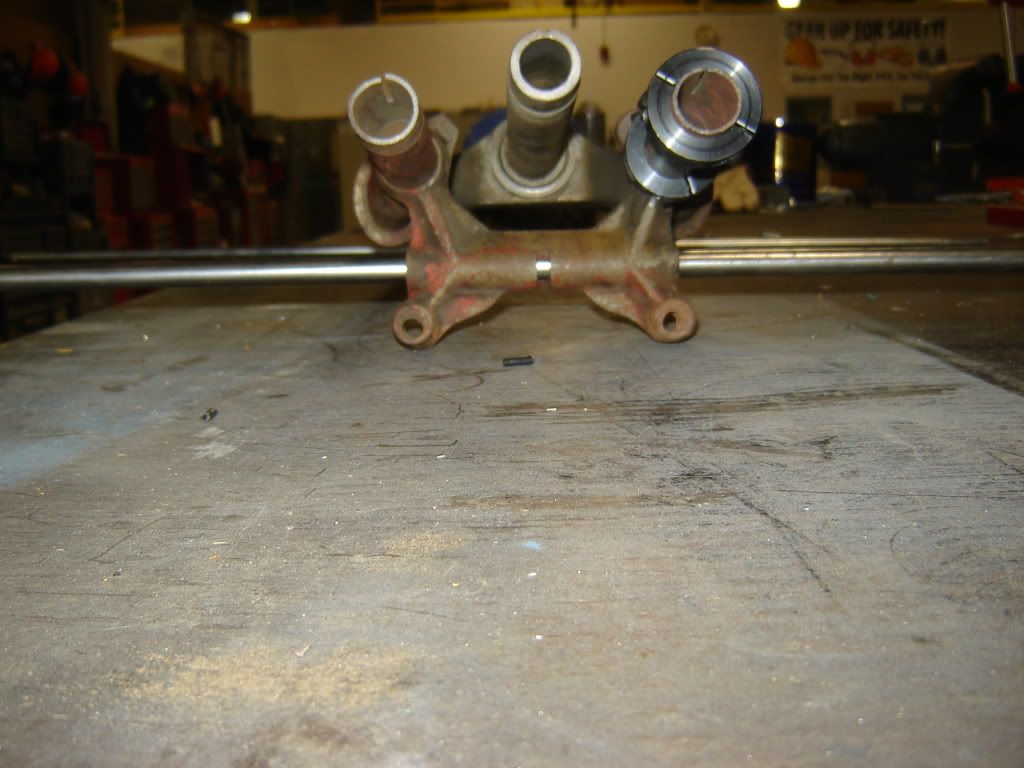
      I then built a couple of inserts that fit into the fork stem, top and bottom and then using a 1/2" drill rod as a pointer. I put a 1 degree taper on the lower inserts so that they slide into the tube until they are snug but are also quite easy to remove. I am now able to check how the center line of the stem compares to the mid distance between the lower legs.


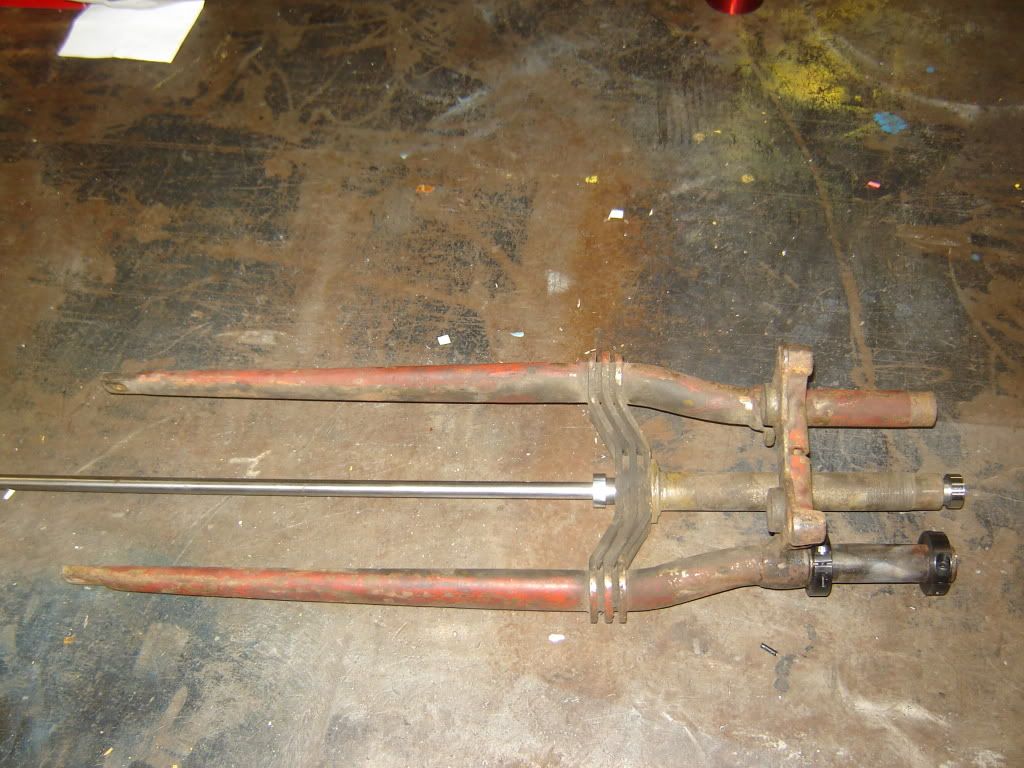
      I am fairly confident that the upper springer is now straight. I still have to double check the lower legs which 'wobbled' when placed on a flat surface as I discovered earlier.

      I use the 2nd piece 1/2" drill rod to go thru the upper spring perch hole and the 3/8" piece to go thru the lower rocker hole.


      Now with all this I am able to visually double check what I am doing on the lower part of the fork.


      If you look at this last picture you can see ever so little the difference between the plane of the 2 drill rods. That is what I will attempt to cure tomorrow. After that it is a matter of mocking up the front end to the WL wheel I will be using so that I can locate the brake anchor and build the spacer(s) for the axle so that the wheel locates exactly in the center of the fork legs.

      Jerry
      Last edited by Jerry Wieland; 04-28-2012, 11:03 PM.
      Comment


      • #63
        first congrats on being in the cannonball. its one thing to be doing every thing your doing to bring the old girl back (really a great job) but to take the time to show an tell of the entire process is very commendable. thank you.. gw
        gww57.com

        Comment


        • #64
          Originally posted by gww View Post
          first congrats on being in the cannonball. its one thing to be doing every thing your doing to bring the old girl back (really a great job) but to take the time to show an tell of the entire process is very commendable. thank you.. gw
          Jerry
          Well, for a while I have been wanting to comment without knowing the proper words, but GW said exactly how I feel. But I'll add thanks for sharing and educating, I wish you the best in your journey. Bob AMCA#6738
          Bob Rice #6738

          Comment


          • #65
            GW and Bob Thanks for the compliments. I have to admit that for a while I felt like I was yelling down a well - that the only person who heard was me.

            Thanks Jerry
            Comment


            • #66
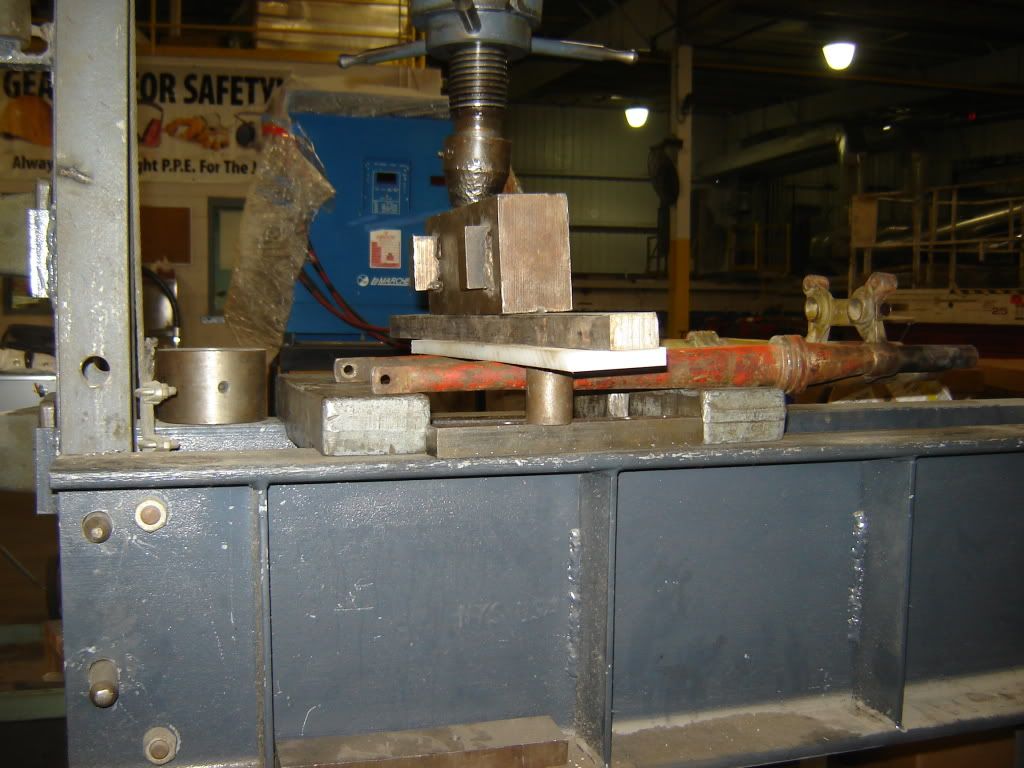
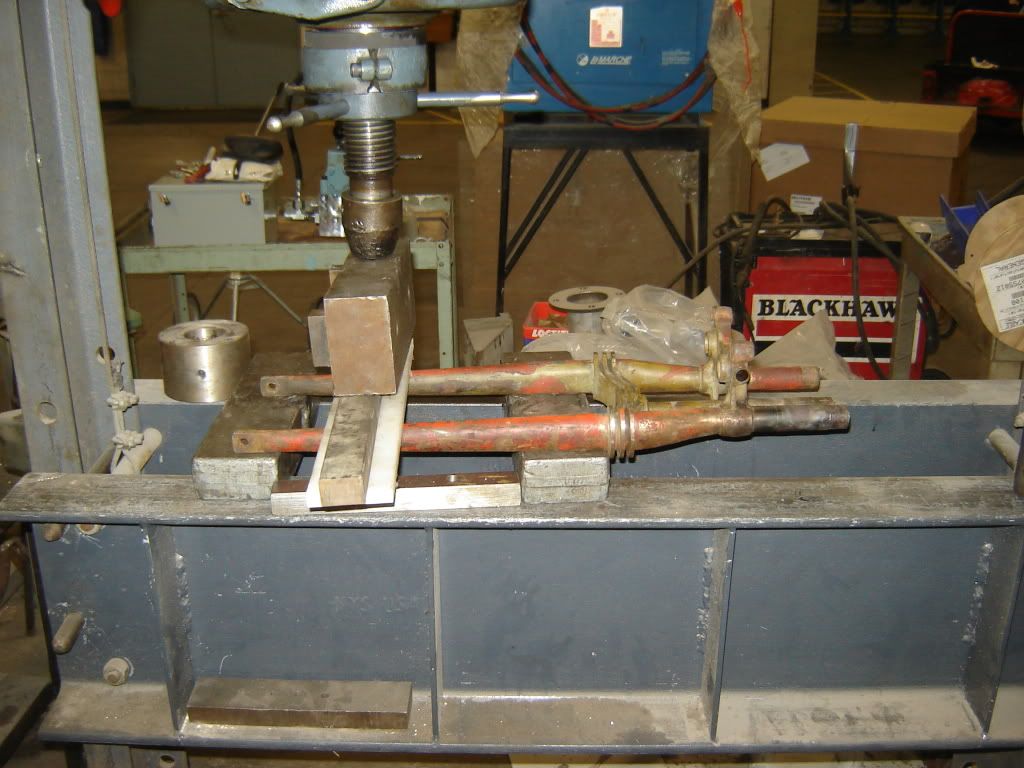
              Today I got a few more things done. I found the right rigid leg of the springer was bent back 1/8" about 6" above the rocker hole. So I stuck it in a hydraulic press and slowly and carefully pushed it back. This was really scary for me because it is strictly trial and err. With a bit of luck I got it with the second push. The white piece is high impact teflon and will conform slightly to the curvature of the leg and not cause it to flatten the tube. You will notice that I have the left leg blocked up so that only minimal press is exerted on it while the right leg gets most of the push. If you try to push strictly on one leg the springer will "flip out" because of the offset design of the legs.


              This completes the rigid leg of the springer with the except of fabricating and mounting a brake anchor bracket and possibly something to mount a steering dampner.

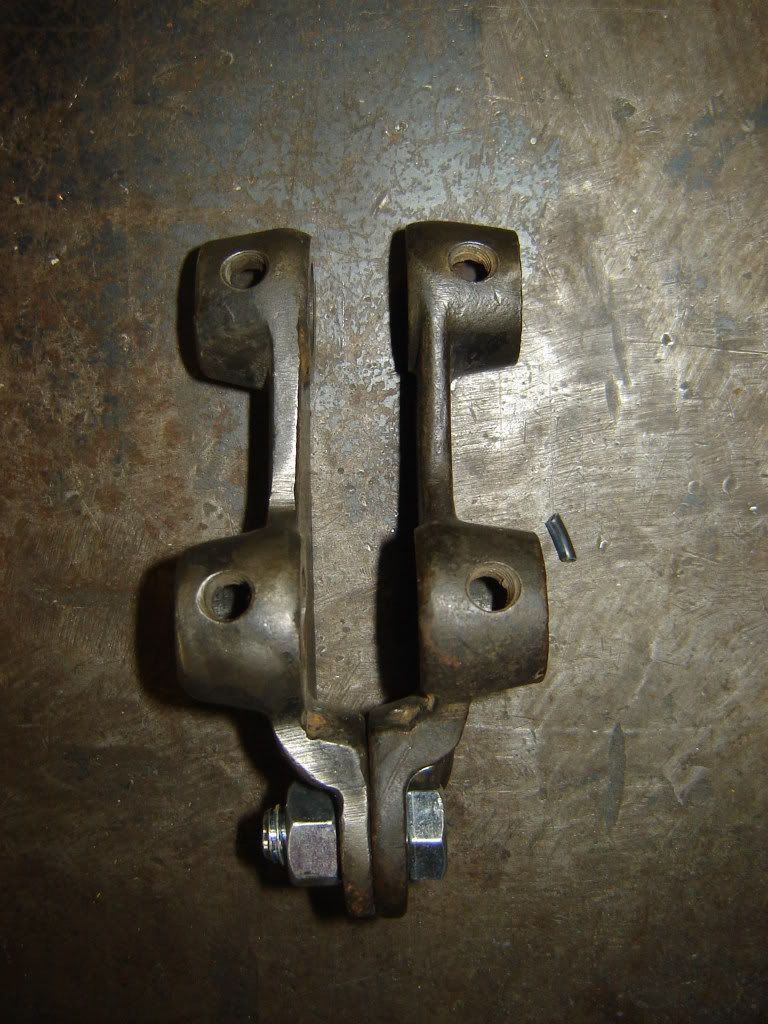
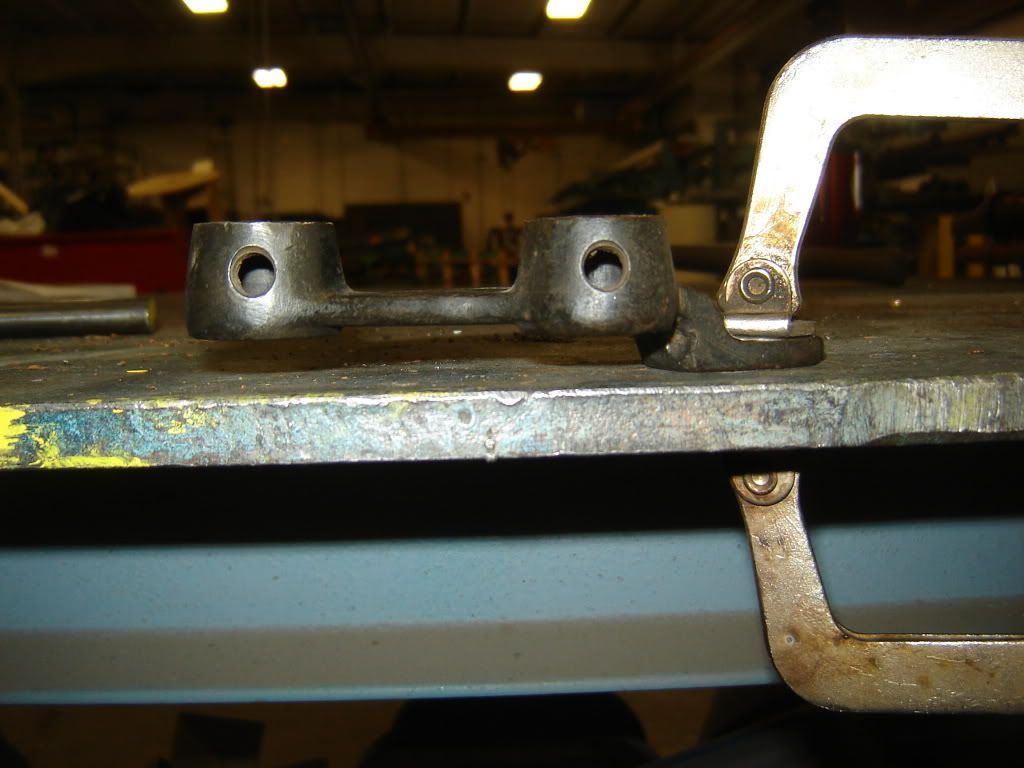
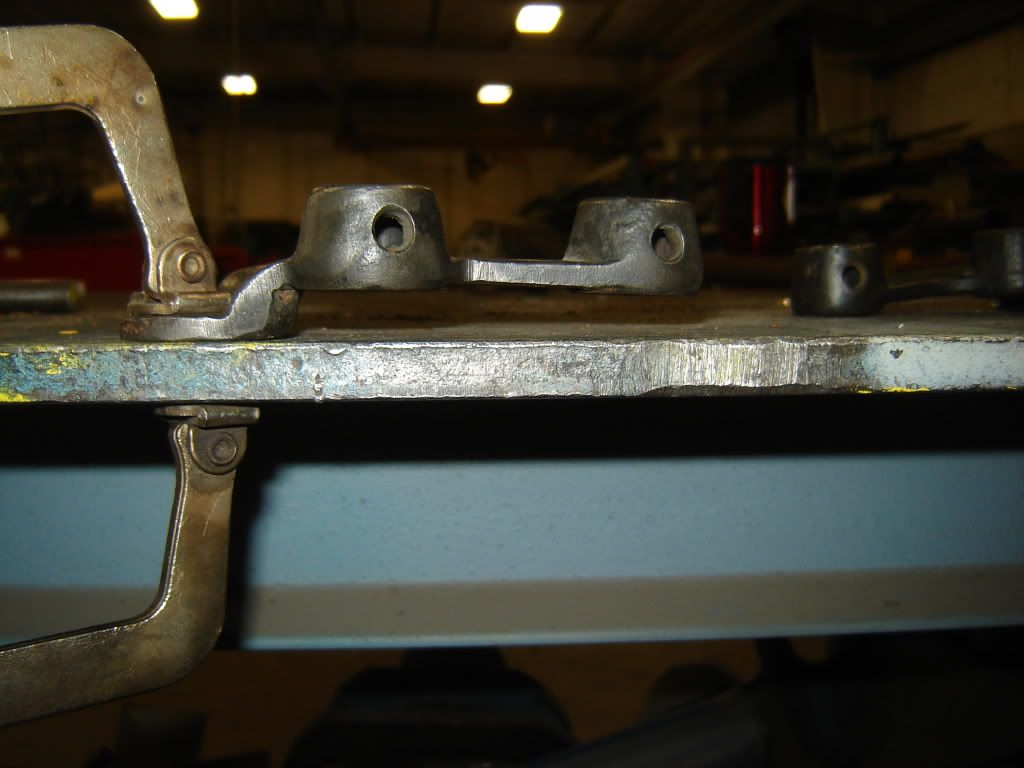
              I then moved on to the springer rockers. I clamped them together at the axle hole and noticed that one of them must have been slightly bent.

              The back was approximately .070" closer that the front when measured at the rocker stud hole.


              I have encountered this many times in the later knucklehead rocker and this can cause a problem with handling and wear of the bushing if not taken care of.

              I clamped one rocker at a time to a table and it was easy to see which one was the culprit.


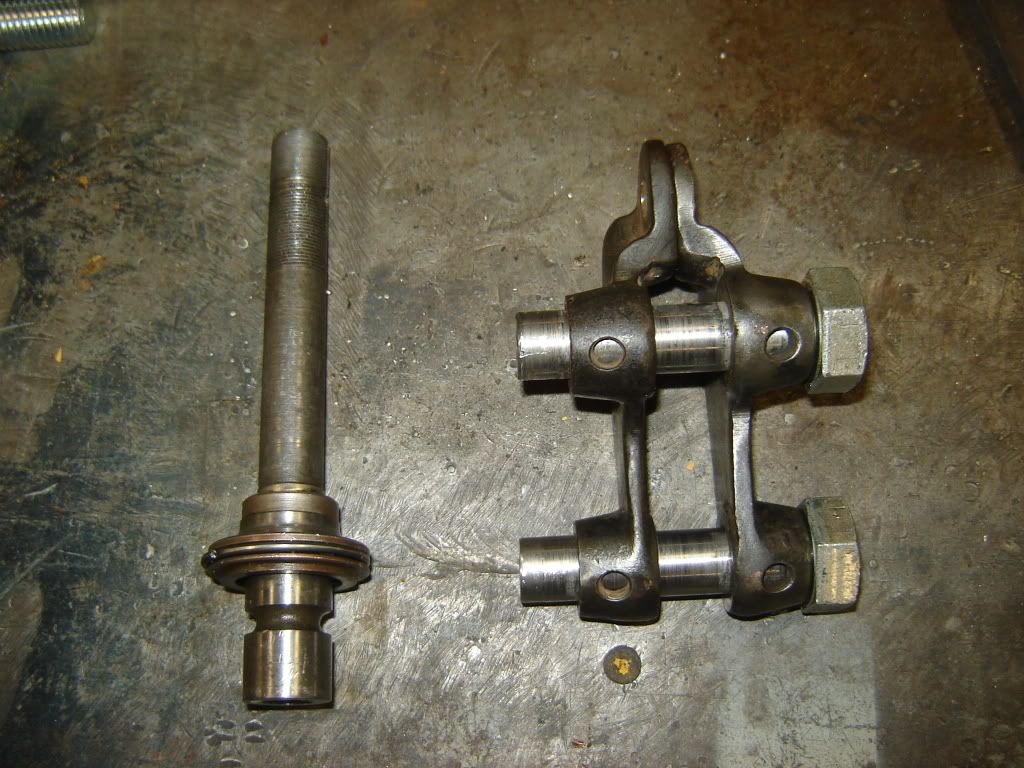
              Next I needed to see where it was bent, between the rocker stud holes or in front of them so I took 2 - 3/4" bolts and turned them down to 11/16" (inside diameter of the holes)


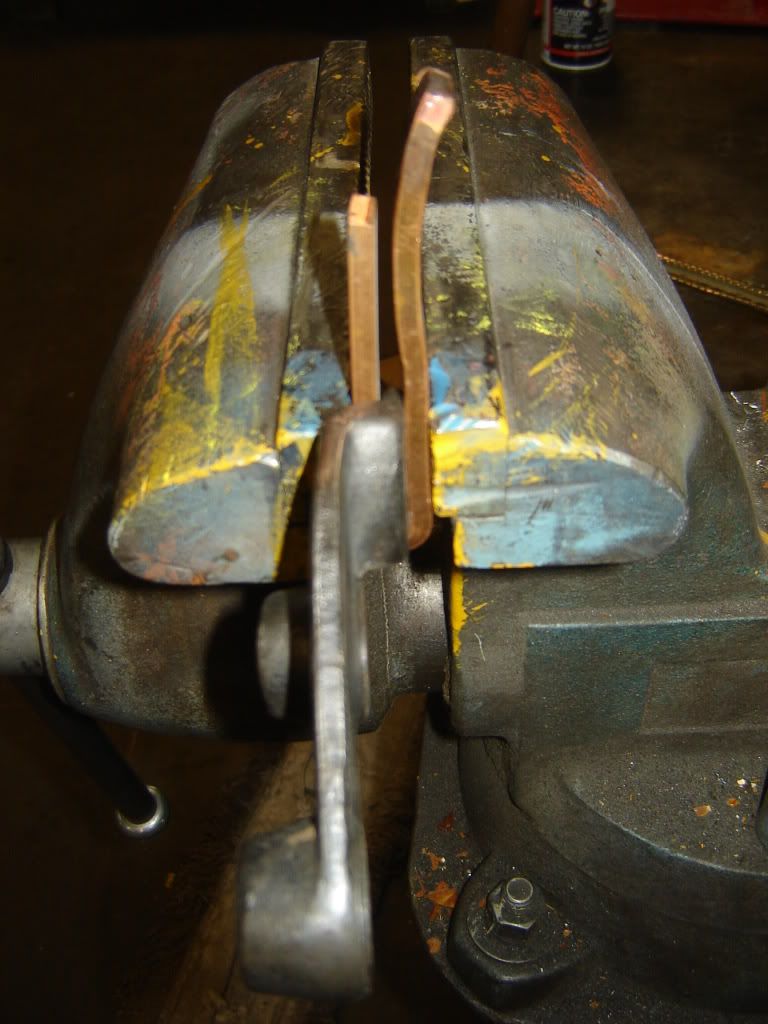
              This picture was actually taken after I had straightened because I forgot to take a picture before but the trick is that the bolts won't go thru the second rocker if either is bent between the holes. My rocker was bent in both places so I straightened it between the rockers first. I have never figured out a real clean way of straightening these other than in a vice with a big bronze hammer.


              I used the scrap copper as soft jaws in my vice so as not to put tracks in the rocker. I then hit it with my bronze hammer and believe me it takes a big hit to move these. I had it in and out of the vice many times and over a half hour in the straightening. I was being conservative at first because this was my first JD type rocker to straighten.

              Jerry
              Last edited by Jerry Wieland; 04-29-2012, 10:36 PM.
              Comment


              • #67
                JD's never got a front brake until 1928 so of course my 1925 has none. I did not feel the need to spend the big dollars for a 28/29 JD wheel and brake and the next closest thing is an 18" WL front wheel. The most obvious difference is that a JD uses a 7/16" axle and a WL uses a 3/8" axle.
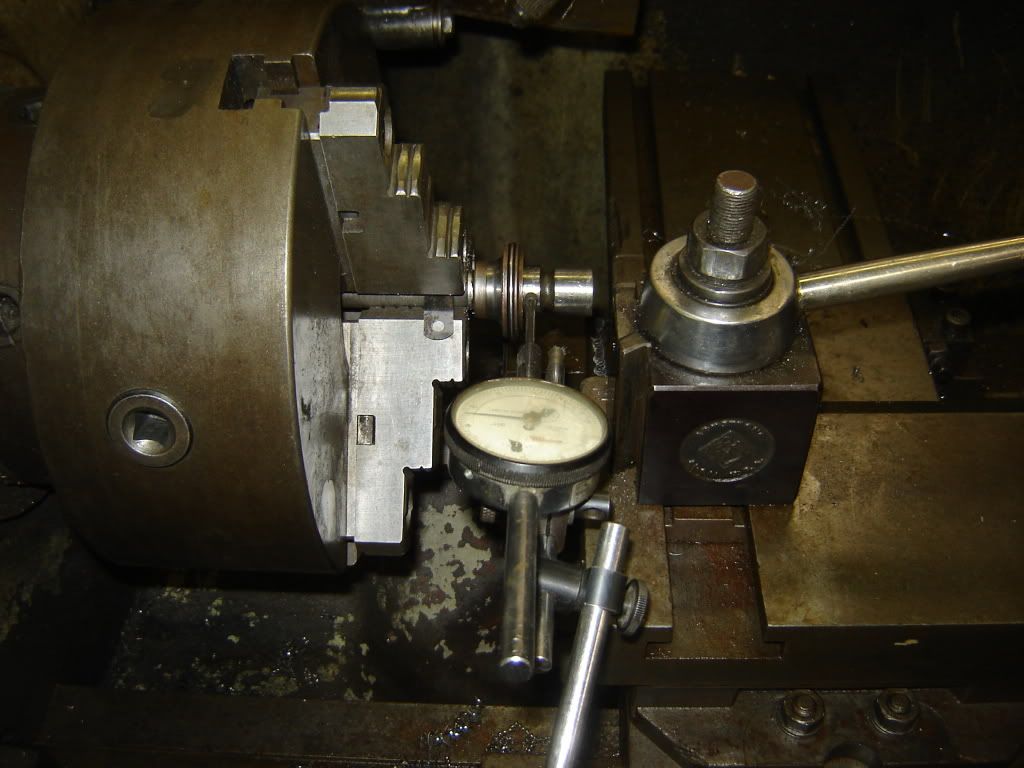
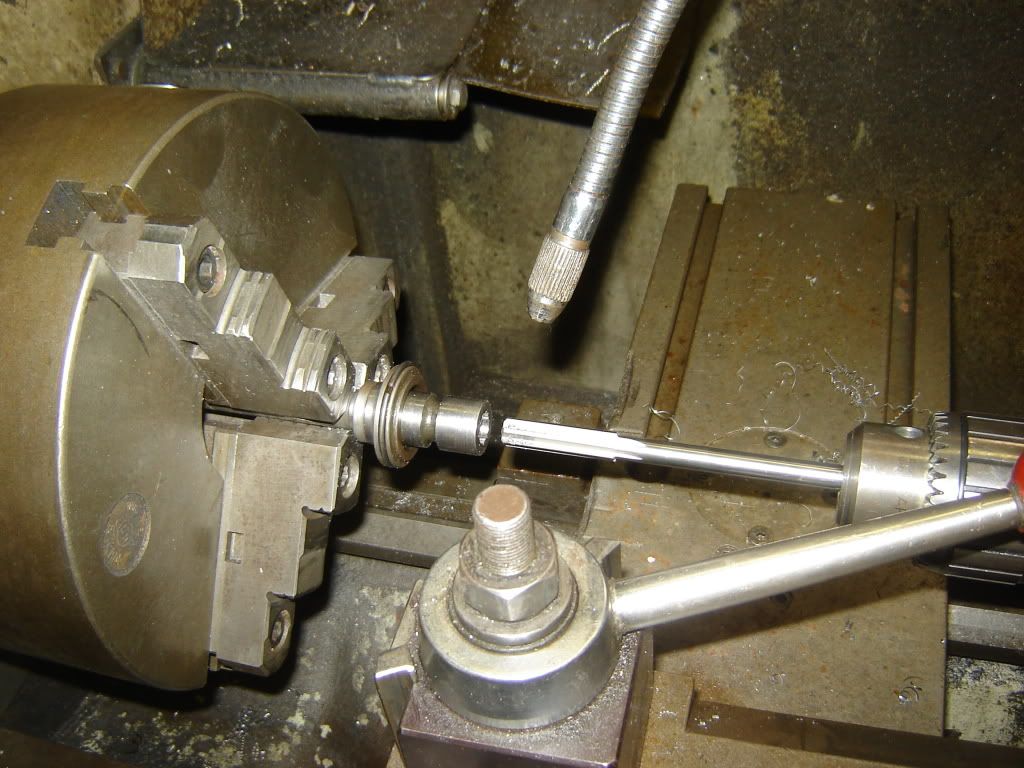
                So I reamed the WL wheel sleeve to 7/16" and the ease that I was able to cut it surprised me a little.

                I chucked up the wheel sleeve in a lathe, checked that was was running true and then proceeded to run the ream thru it.


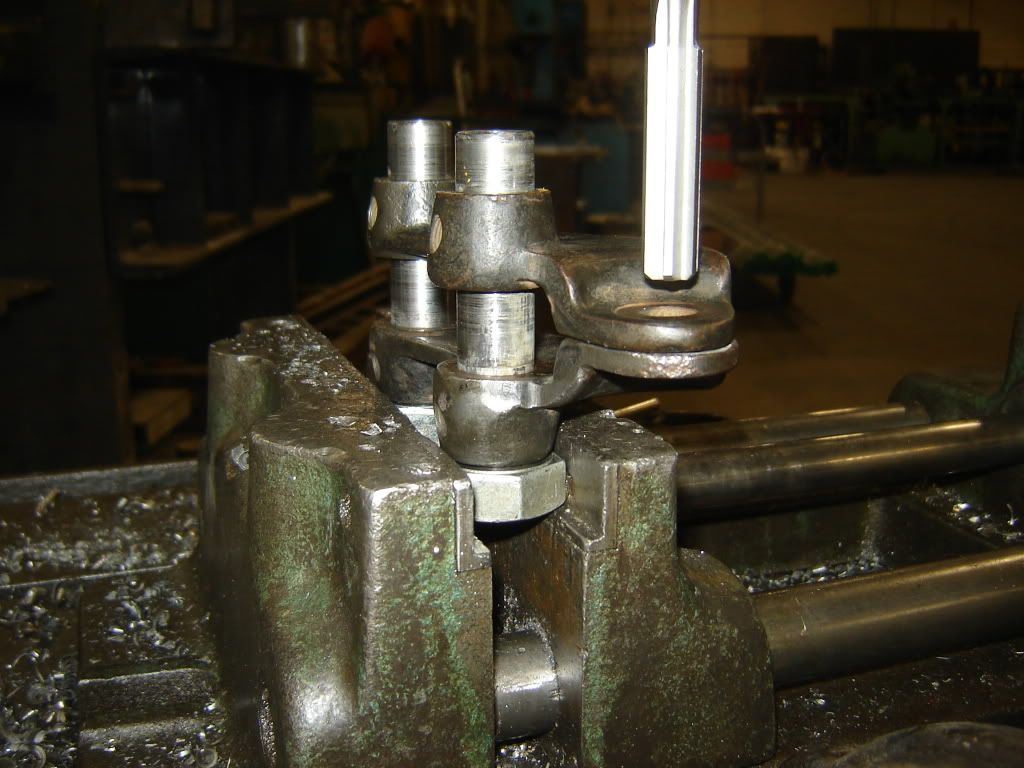
                At this time I tried my 7/16" axle in the rocker only to discover that one of the rockers was worn more than I really liked. I could either weld up the rocker and re-drill it or I could ream the sleeve to 15/32". I decided to ream the sleeve to 15/32" and had to redo the whole process and now I also have to ream the holes in the rockers. The bolts that I used earlier to test for the bent rocker made an excellent fixture to ensure that the axle holes in both rockers were exactly in line.


                I did the reaming of the rockers in a drill press.

                Jerry

                Comment


                • #68
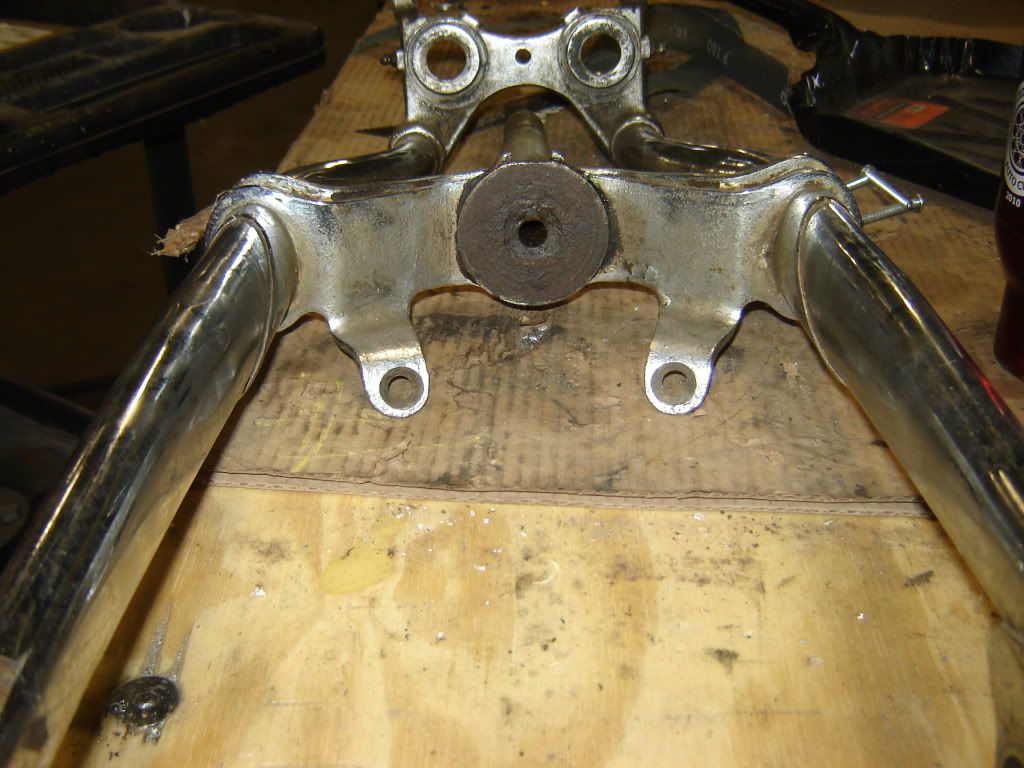
                  I have been doing some more work on the frontend. I decided that my first option on a steering dampner was underneath like a knucklehead springer.

                  Here is the bottom bridge of a knucklehead springer.


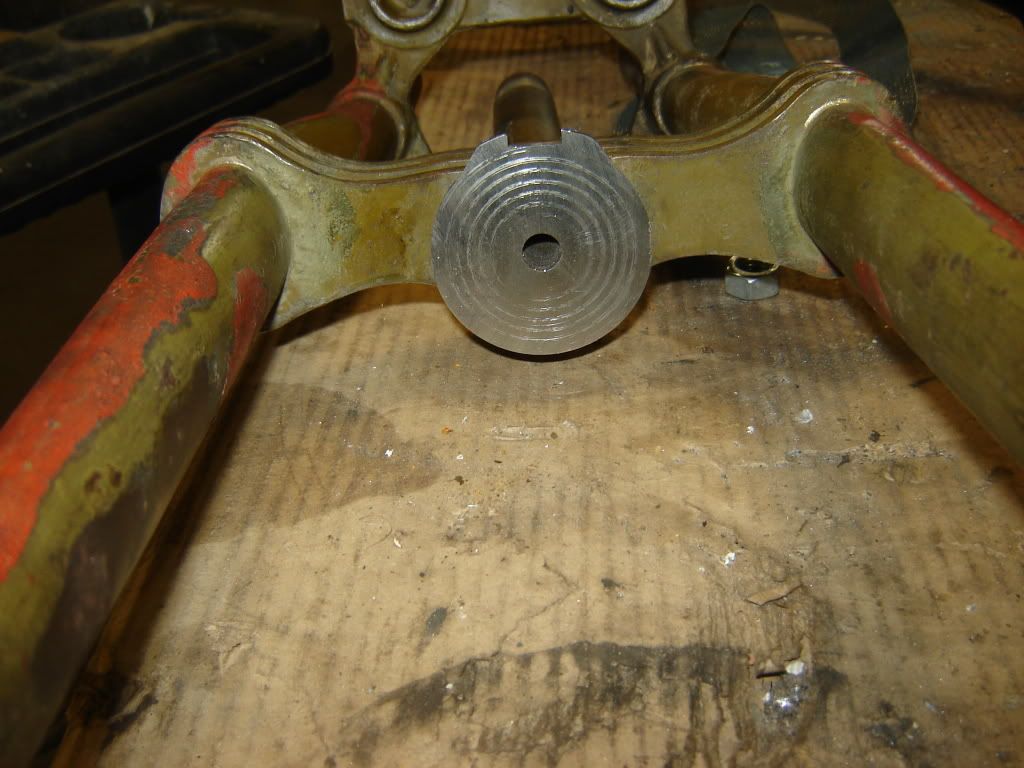
                  This is the bottom bridge of a late JD springer.


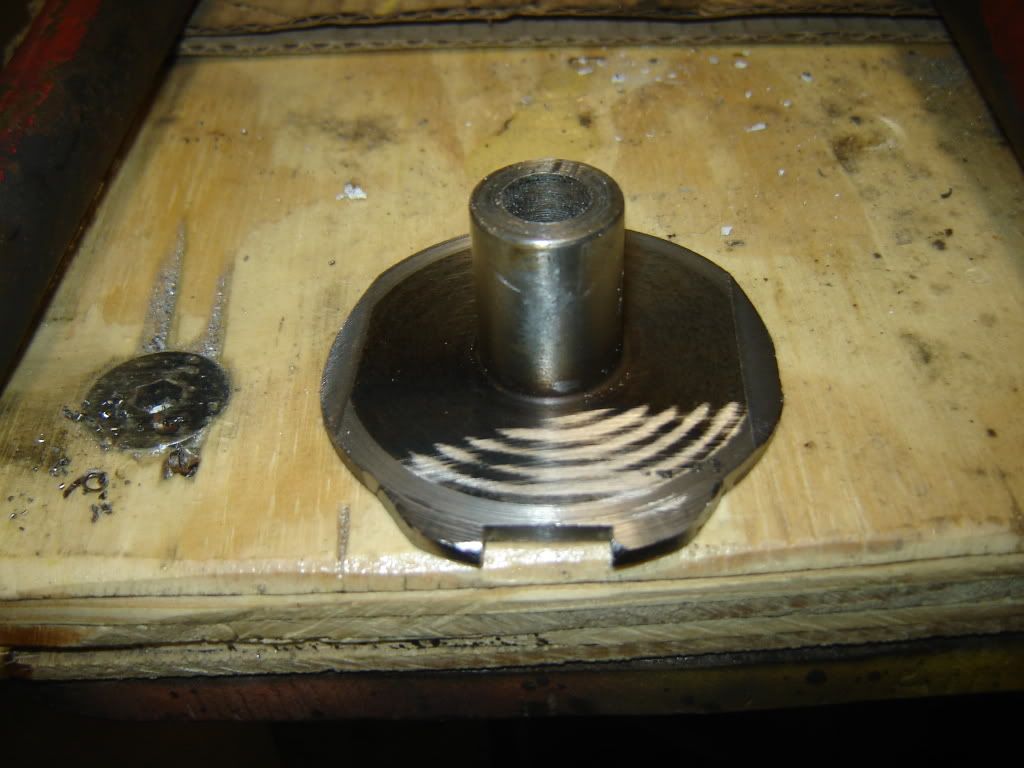
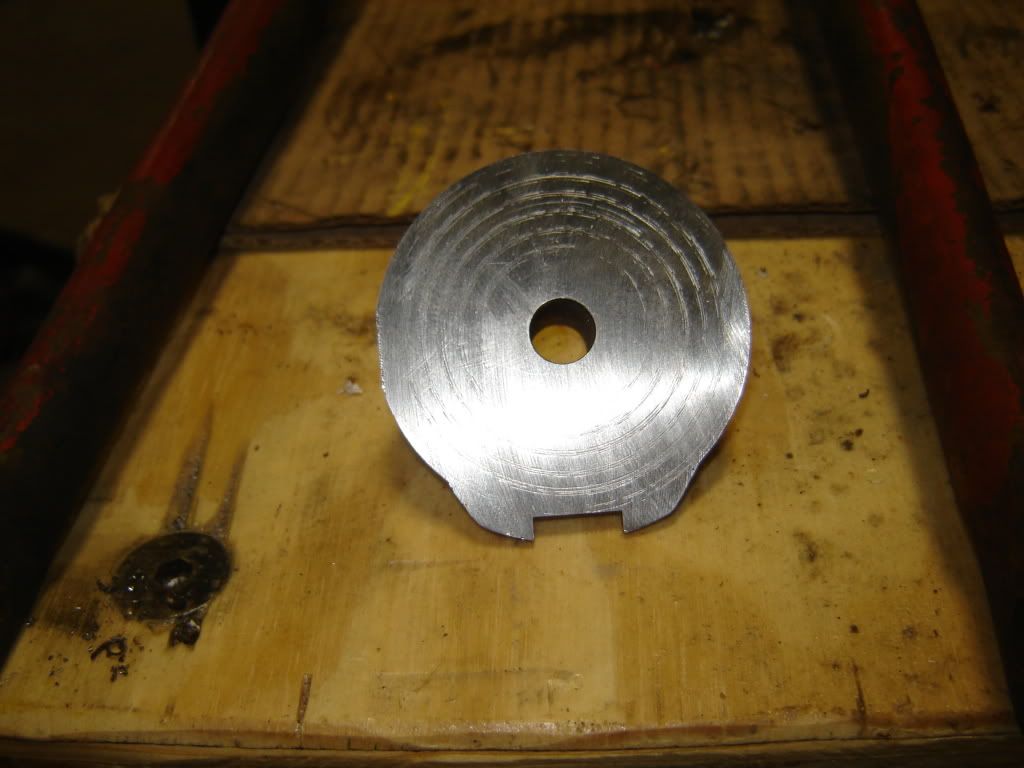
                  This is an insert that I built that fits in the bottom of the JD springer so that it accepts a 1936 and up type steering dampner.


                  I have not permanently fastened it in yet but this is how it looks inserted into the springer. This is all speculation yet so I will not do anymore until I know that it has enough room and hopefully mock up the frame, fork and wheel in the next couple of days. For some reason the machining on the insert appears to be much courser in the photos than in person - probably the flash of the camera.


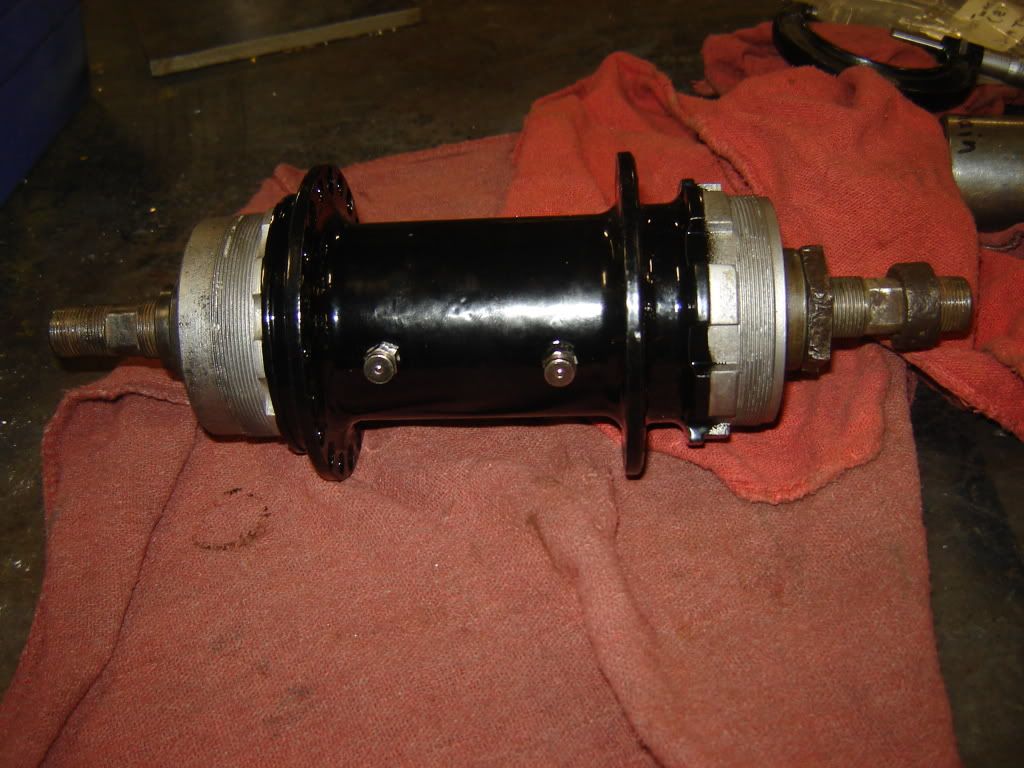
                  I also dry assembled the rear hub so that we can lace and true the rim.


                  Jerry
                  Last edited by Jerry Wieland; 05-01-2012, 10:32 PM.

                  Comment


                  • #69
                    morn n Jerry, are you lacing it to a drop center or original rim?
                    gww57.com

                    Comment


                    • #70
                      The rear is getting laced to a 18" VL drop center rim and on the front I am using a complete 18" WL wheel and brake.

                      Jerry

                      Comment


                      • #71
                        Looking good Jerry! I can't wait to see the finished product. Bob
                        Bob McDonnell AMCA #5480

                        Comment


                        • #72
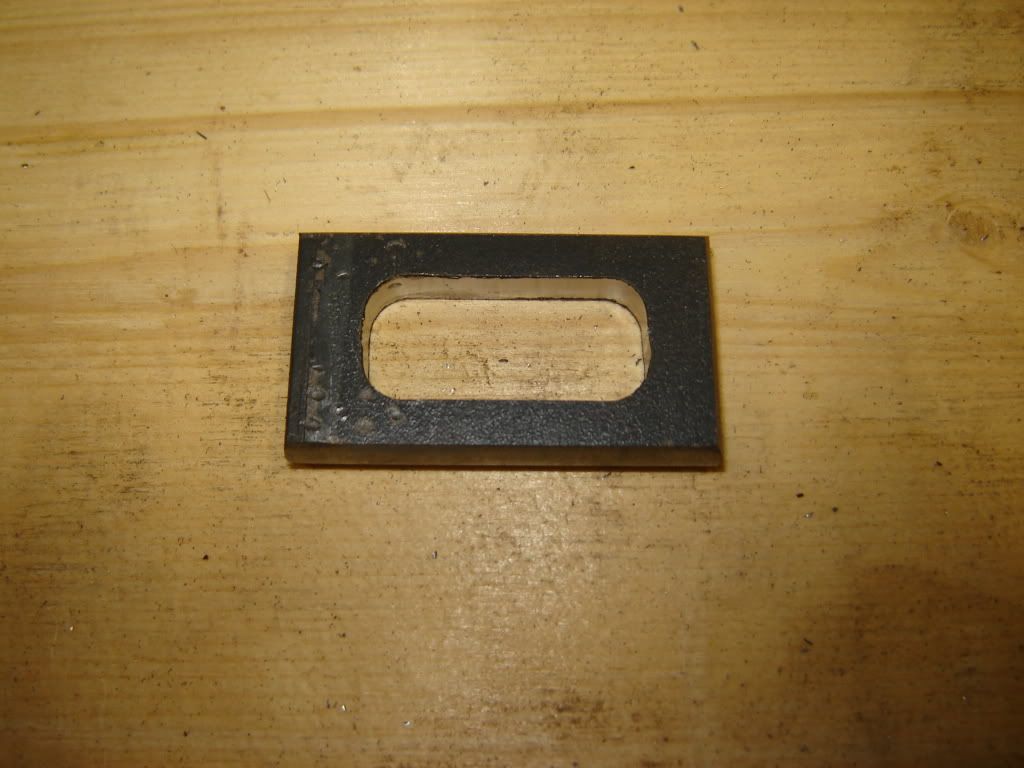
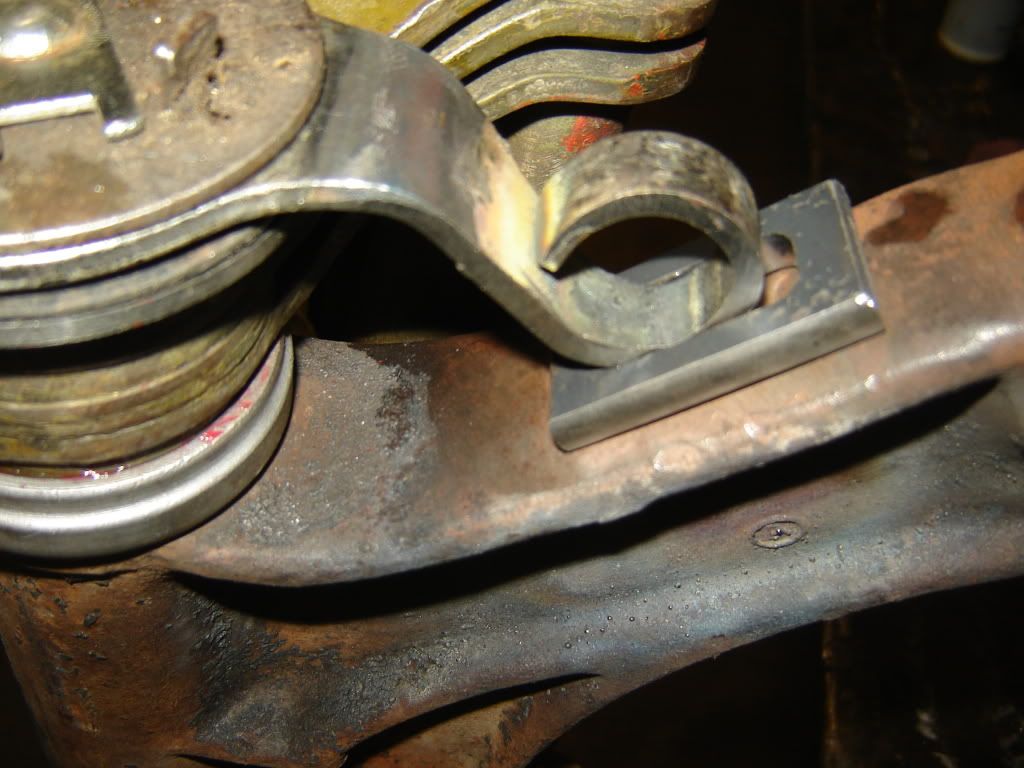
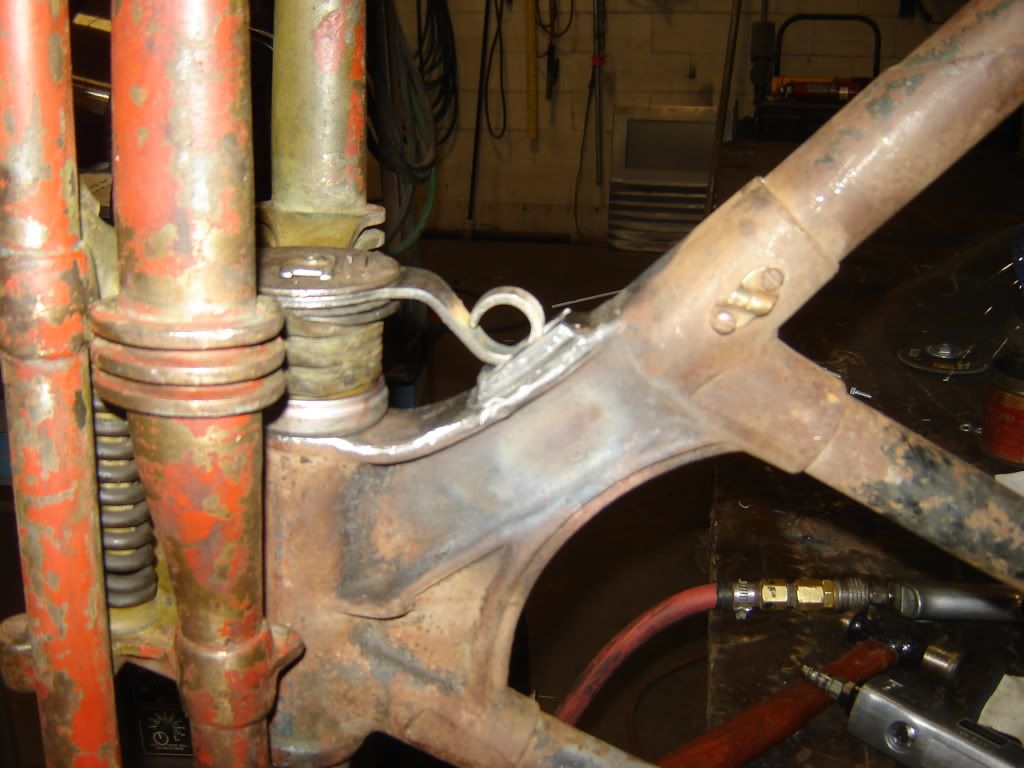
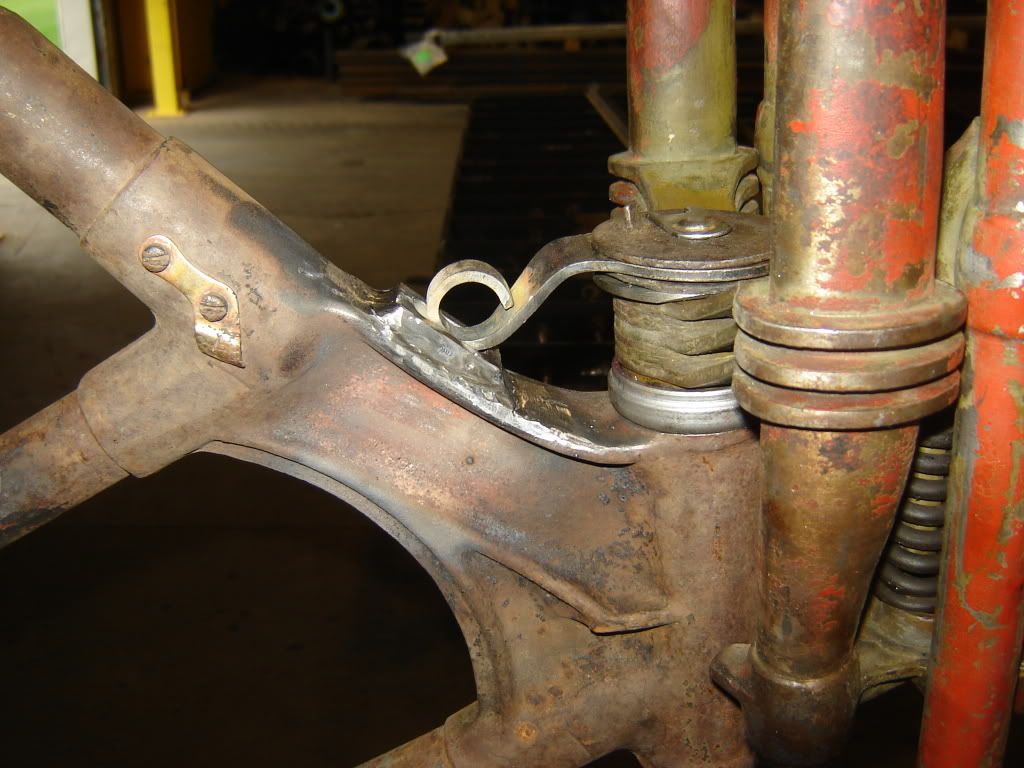
                          brake anchor bracket

                          Hi Jerry,

                          Are you willing to build brake anchor bracket for other riders?
                          I have a 27 JD and will be installing a front brake on it but need a anchor bracket.
                          If you are willing what will my cost be?


                          Thanks
                          Mark Wiebens
                          Rider 61

                          Comment


                          • #73
                            Mark I got some pictures today of an OEM brake bracket on a friend's 1928. I will have to see if I can reproduce it or not. I was originally going to cut an anchor off a later knucklehead leg that I have lying around. Will let you know in the next couple of days.

                            Bob Thanks for the the encouragement.

                            Jerry

                            Comment


                            • #74
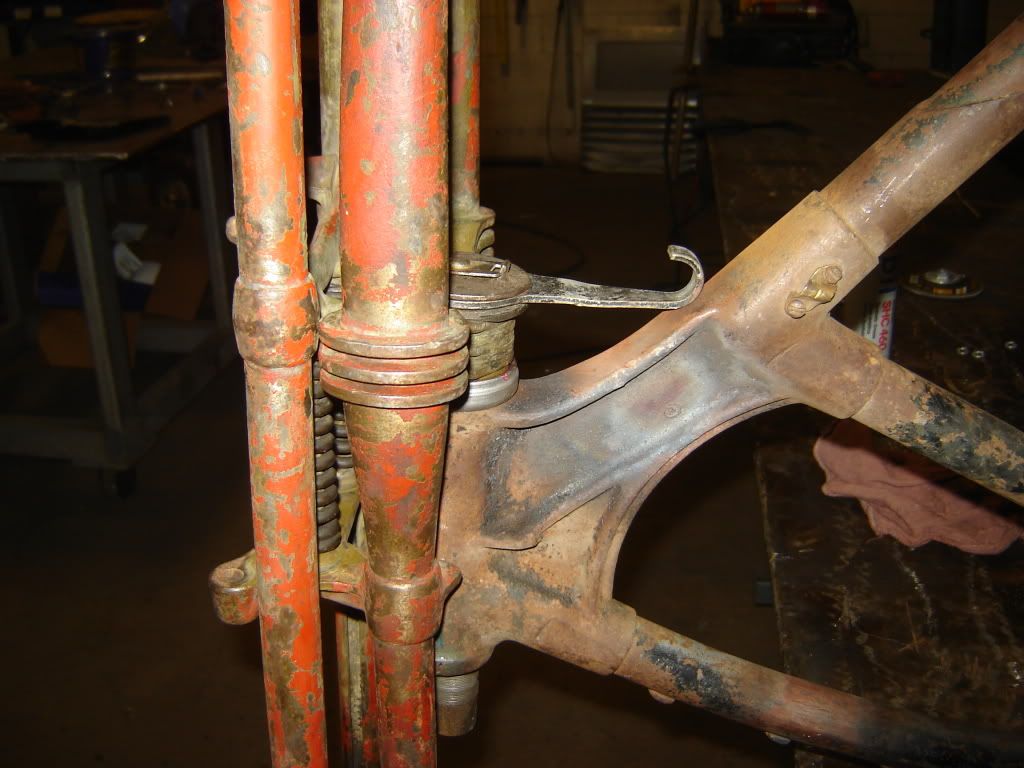
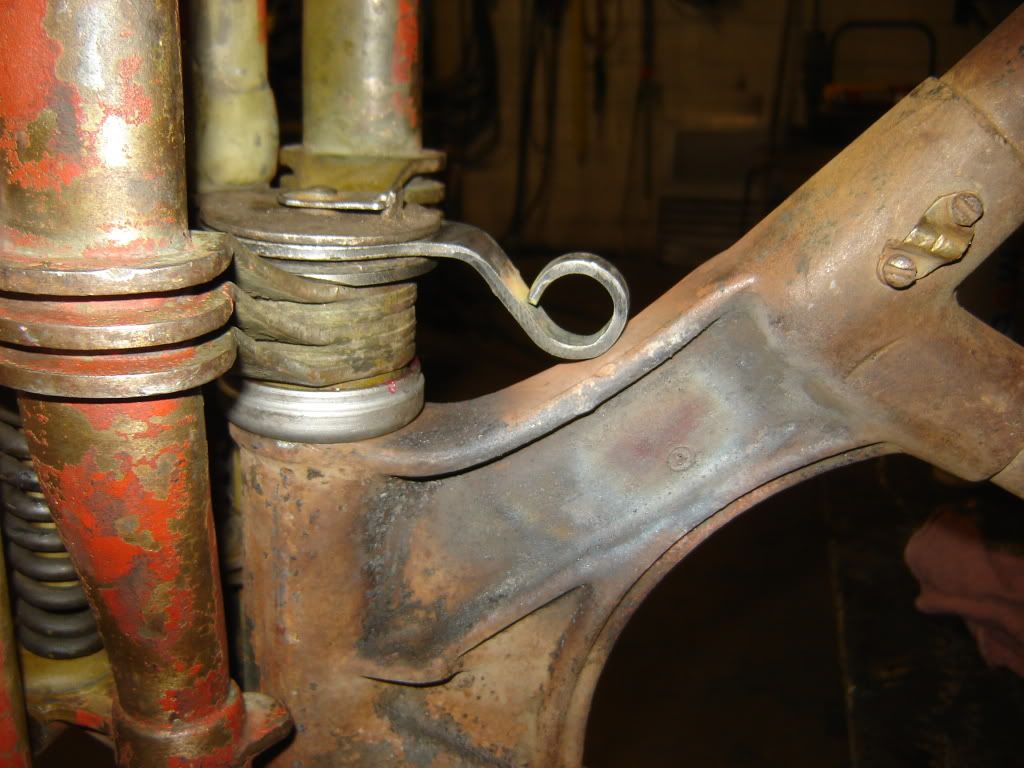
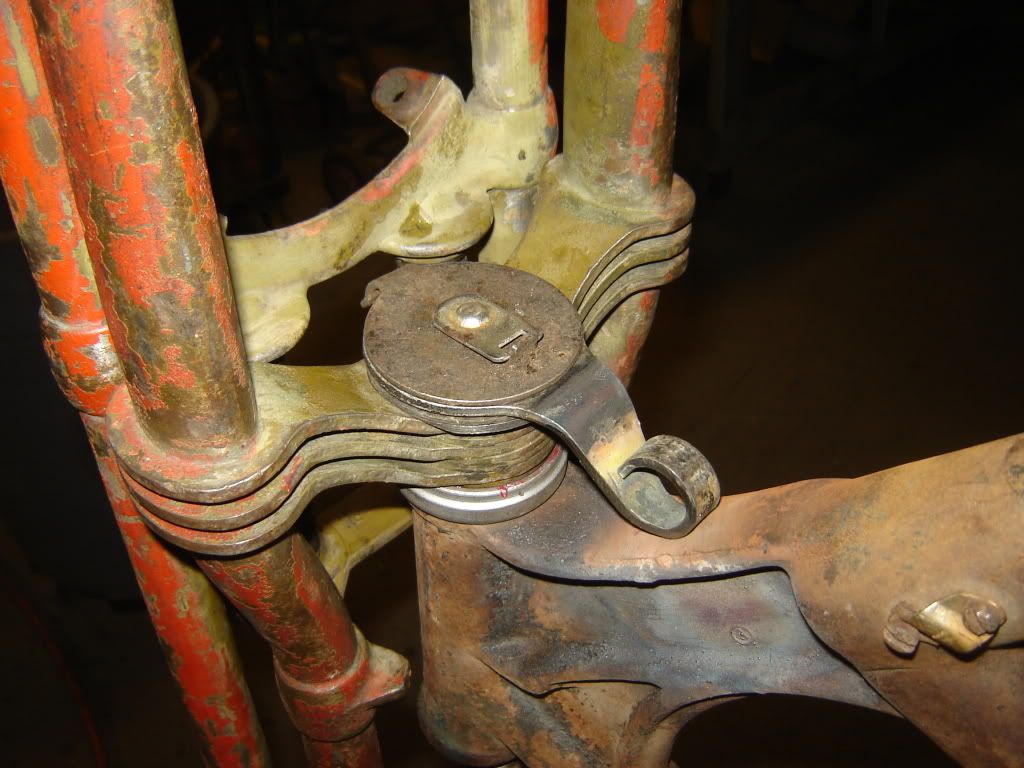
                              This weekend I got a bunch of small stuff done. The one major thing I accomplished was to get the steering dampner all fabricated. Digging thru my 36 and up dampner stuff I found some suitable to be modified parts and the next few photos should show what I did to mount it.


                              One of my goals when I started this project was to get a reliable ride out of it without modifying any stock parts and on these series of photos I did but they already had been messed with to some degree. I feel only a little guilty.

                              Jerry
                              Last edited by Jerry Wieland; 05-06-2012, 11:24 PM.

                              Comment


                              • #75
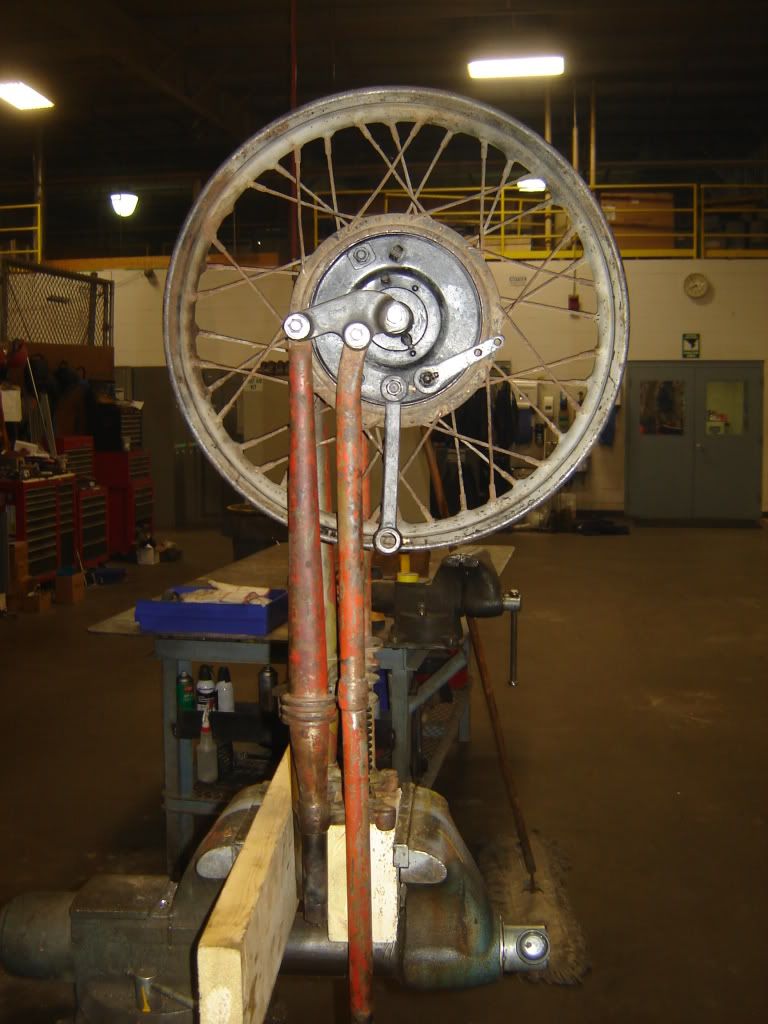
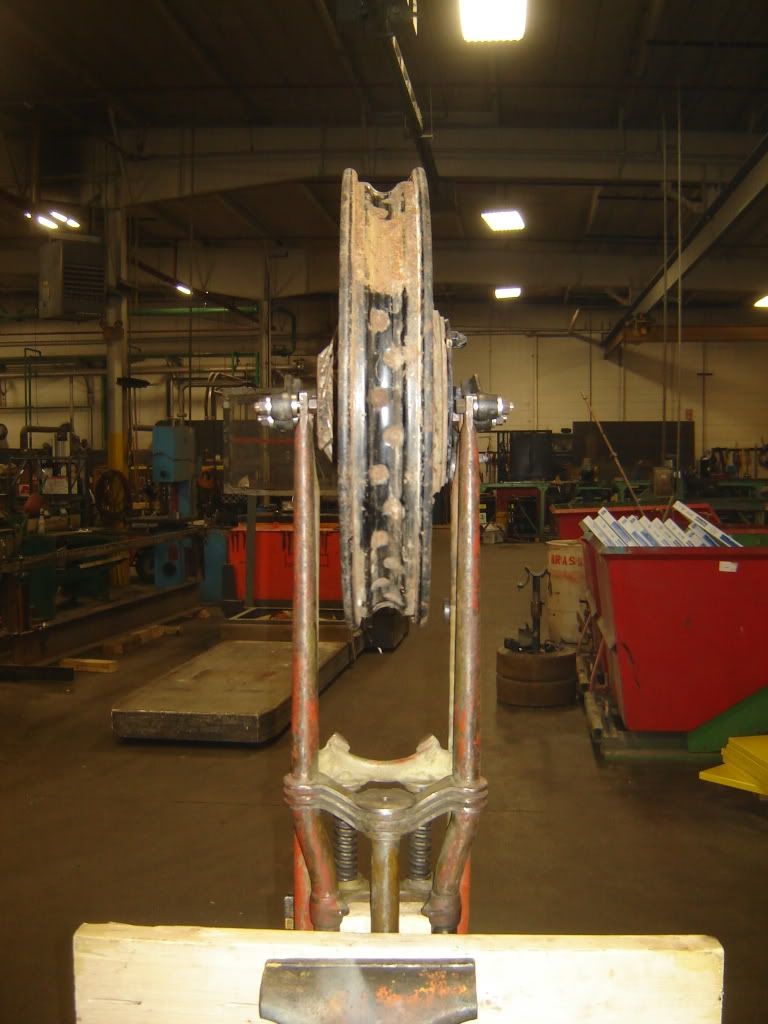
                                Spent some time fitting the wheel to the front end. Here it is loosely fit into the front fork.


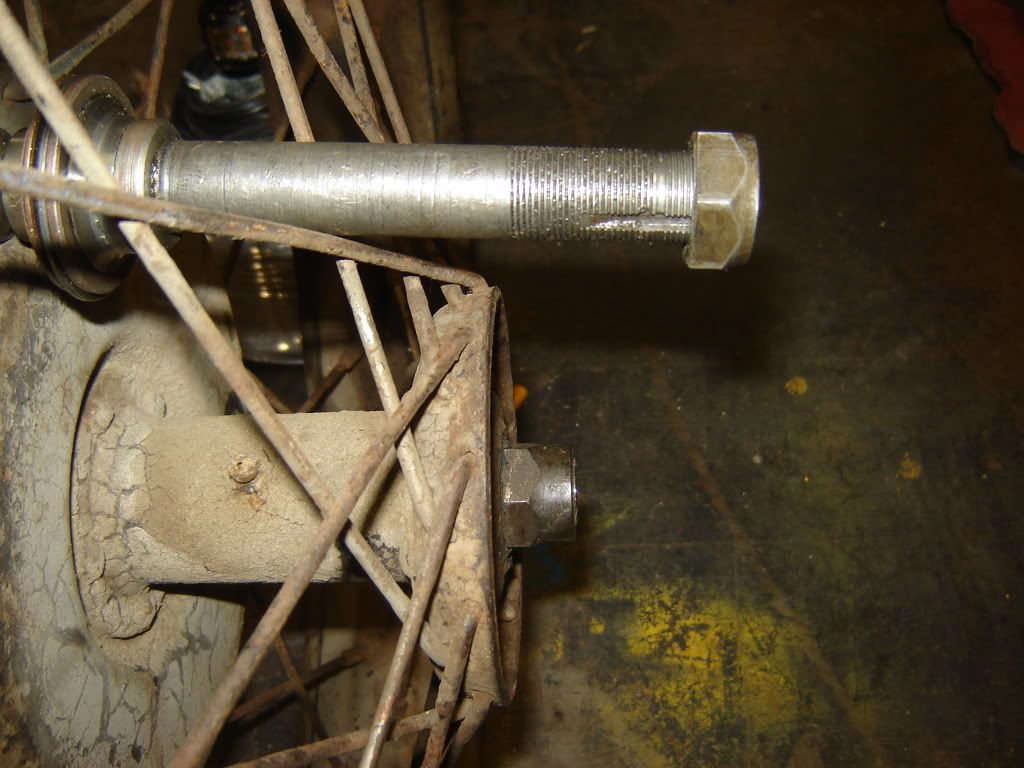
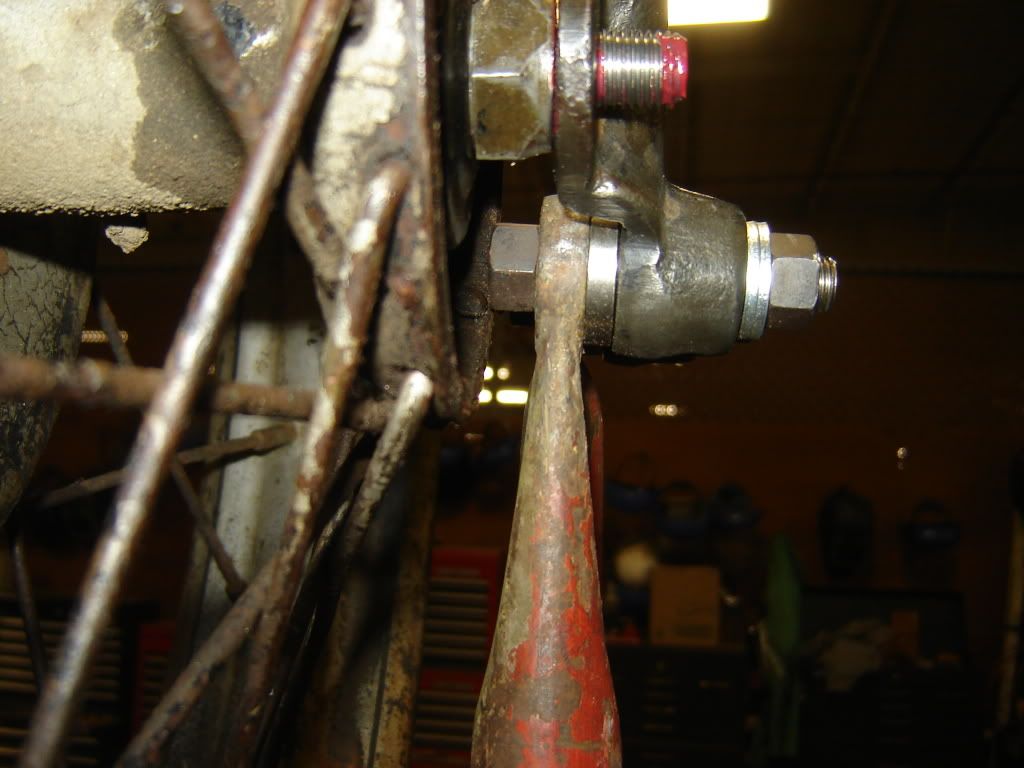
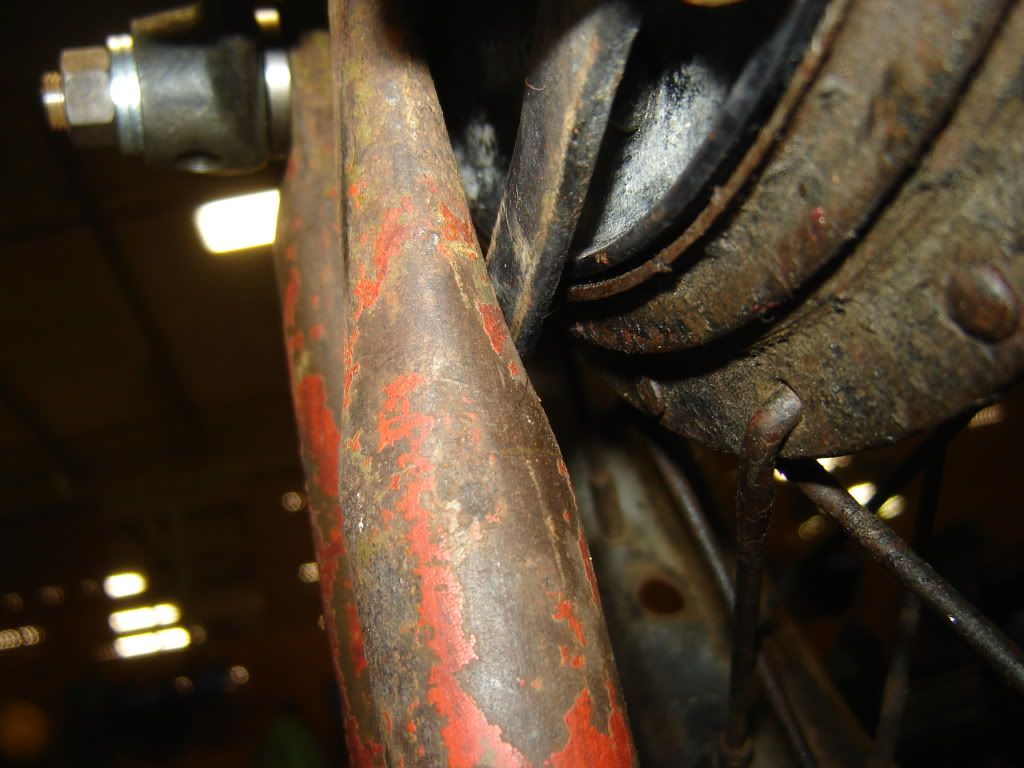
                                I found out the hard way that a 1935 - 40 WL front hub is 5/8" wider than a 1928/29 JD hub and subsequently I had to figure a way around that. I had to loosen up the right rocker to even get the stock OEM wheel in place. I ended up shortening the WL inner wheel sleeve and nut .220".


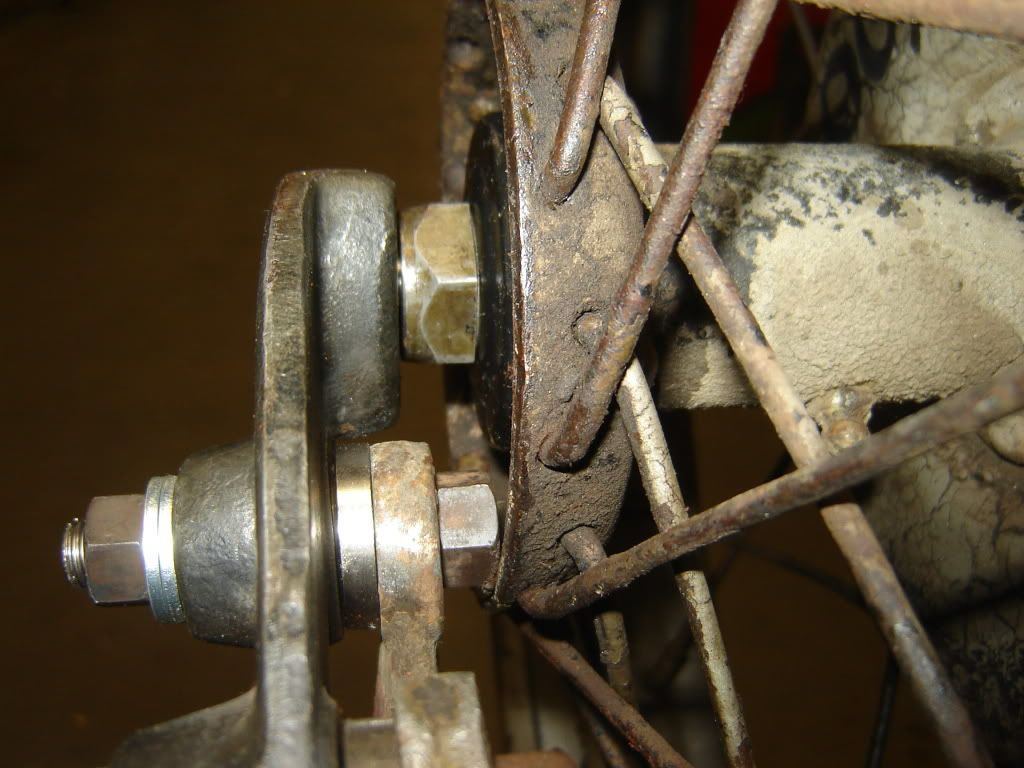
                                That said another problem was created. Now the right side front rocker stud interferes with the edge of the WL hub.


                                I think I can get around the interference by shortening up the nut and rocker stud but time will tell for sure. The wheel pictured is not going to be the wheel I am using. That currently is disassembled and getting painted and then I will mock up the brake and hub and figure out the offset if any that the wheel will need to run in the center.

                                It is also going to be a tough fit on the brake anchor arm on the other side. I might not be able to use an OEM type brake anchor.


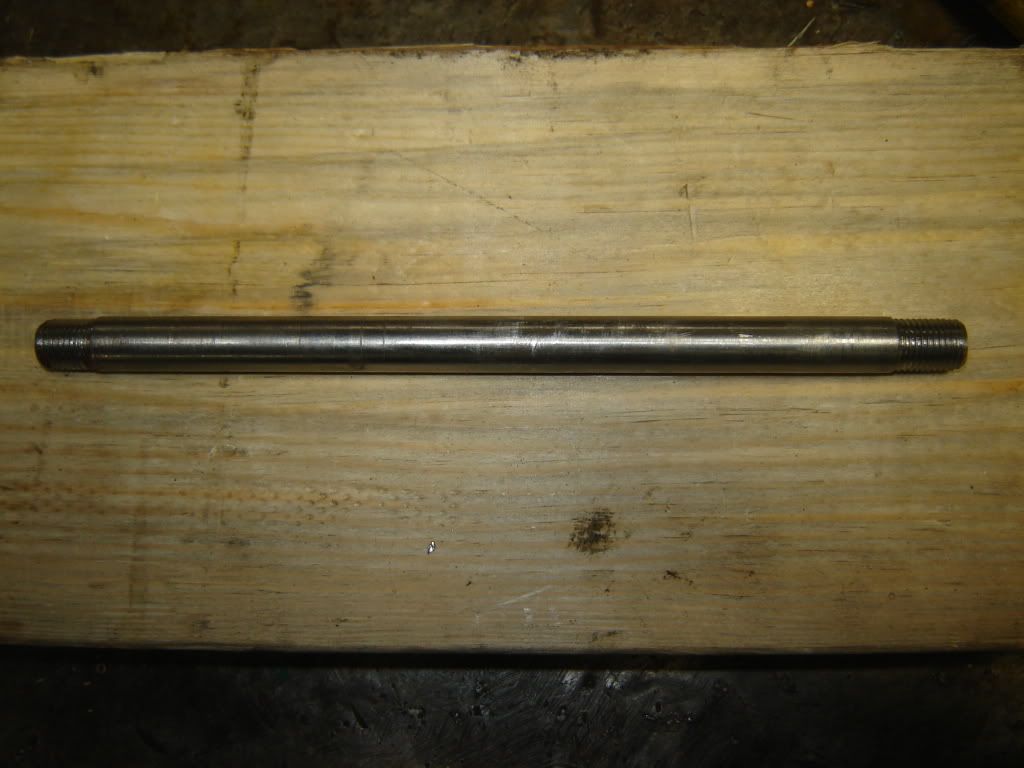
                                I also got the axle made that I will be using. It is 15/32" except on the threads where it is 7/16".


                                Jerry
                                Last edited by Jerry Wieland; 05-08-2012, 11:31 PM.

                                Comment

                                Working...
                                X