Announcement

Collapse
No announcement yet.

1925 JD Cannonball Bike

Collapse
X
 
  • Filter
  • Time
  • Show
Clear All
new posts

  • #46
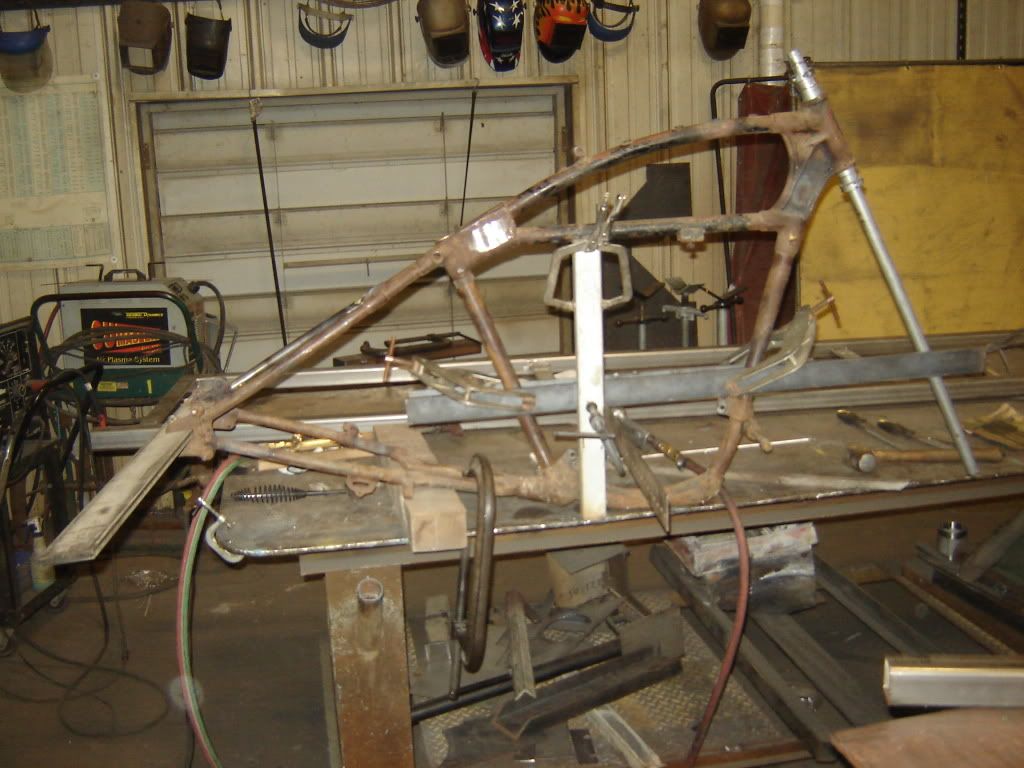
    Tonight I got everything done on the frame except a little dressing of the welds. I found some defects when I was grinding them plus I filled in the tube that was worn away using a tig welder.

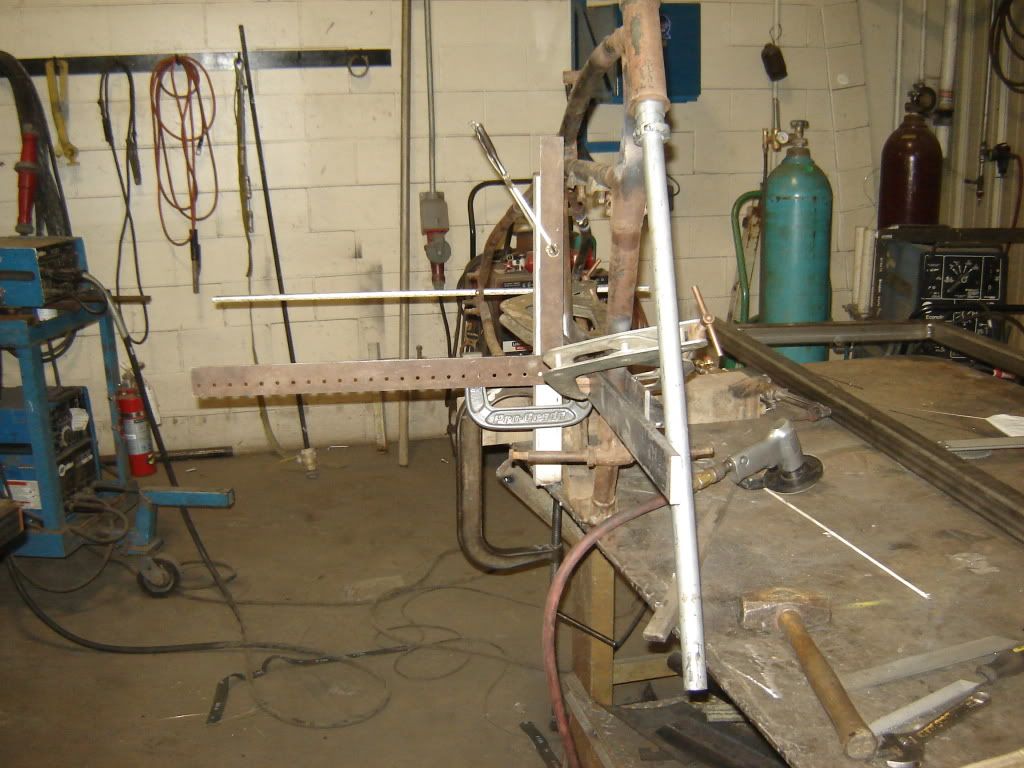
    Then I proceeded to set the frame up on the table one last time and then I determined that it was slightly tweeked in the neck. I figured this out by laying 3" x 3/8" flat stock across the seat post tube to the front down tube. Then I made a pointer that fit in the neck and found that the pointer was off center between the flat irons that stuck forward from the frame.

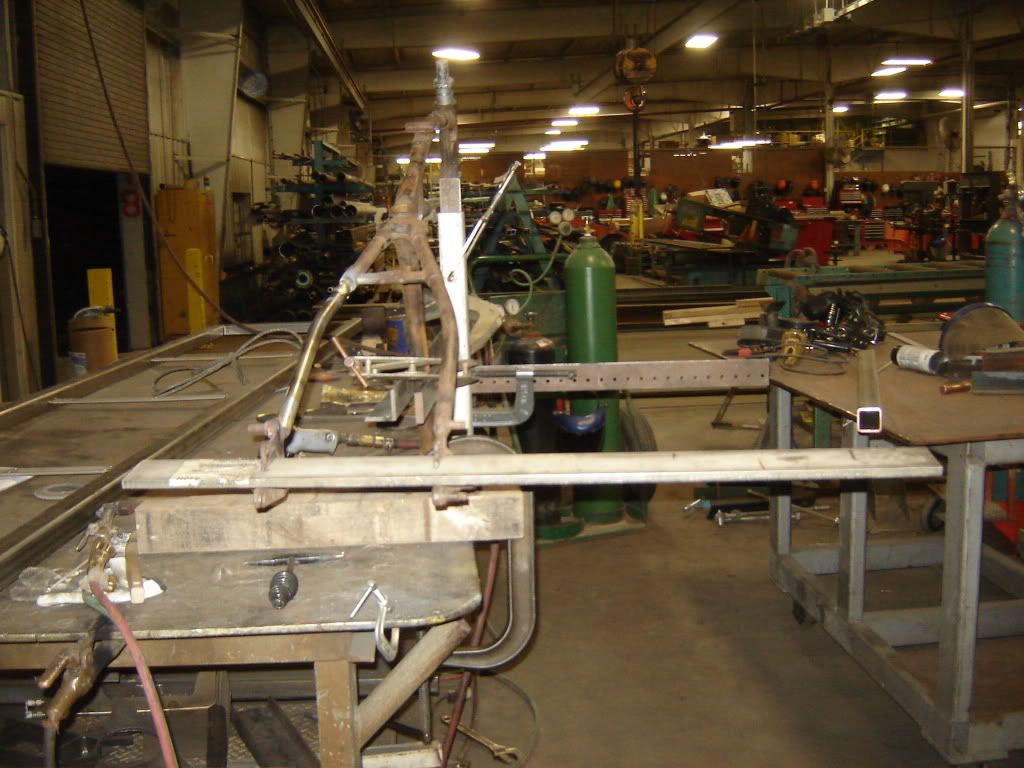
    I took six 1 1/2" split collars and put 2 on the seat post and I put one just above the front motor mount casting, one just under the neck and to on a big point I made for the neck. Where the frame was not 1 1/2" I had to make a split bushing to take up the slack. Now all of the collars were located on a tube that should have been centered over the center line of the frame. Then I cut some box tubing to use as a stand off to get the frame off the table surface. I located where I want the 4 pieces of box tubing to set and then used a transit to check that the table was perfectly horizontal. I ended up sticking 1/8" flat stock under one leg and that got the surface within .050" on all points. Then I set the box tubing at each of the 4 locations and repeated the process and then used shim stock under the box tubing to get within .010". I think welded down the box tubing to the table and laid the frame on it and welded the bottom side of the collars to the box tubing.
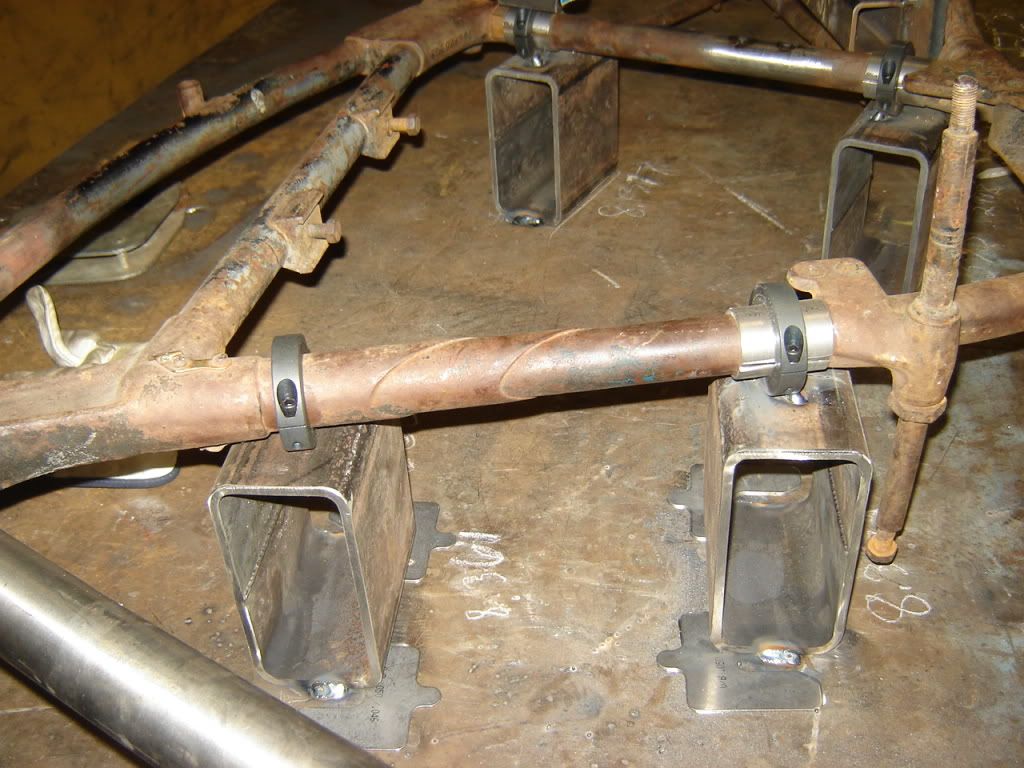
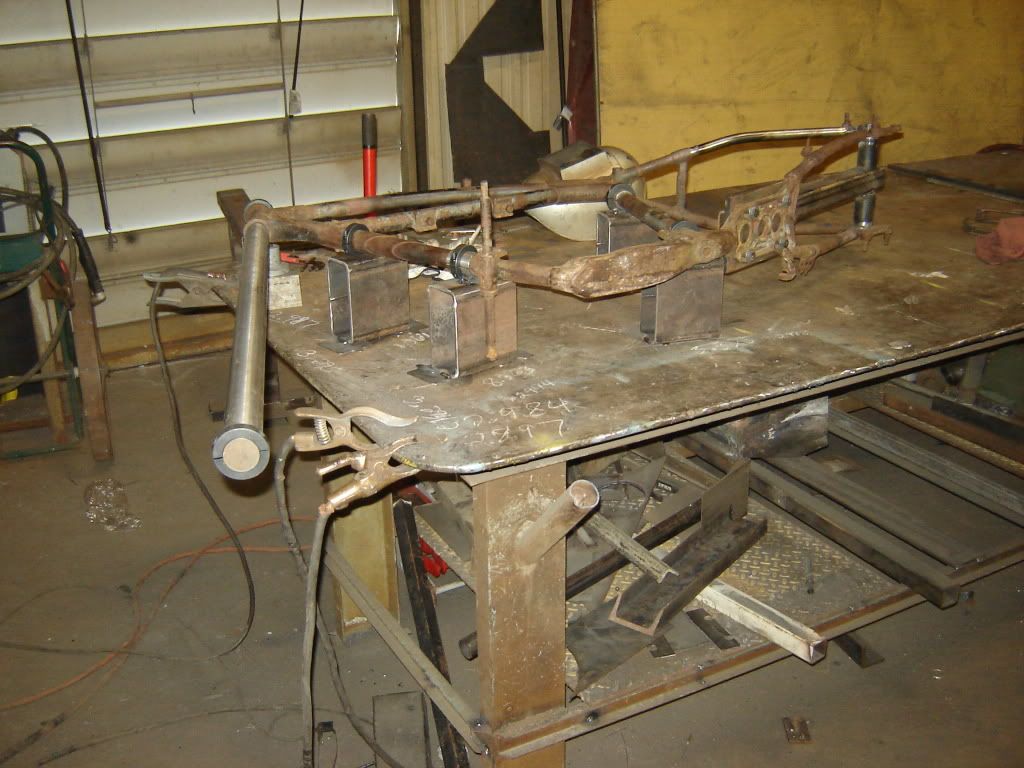


    You can see the shims under the tubing to bring it all level.
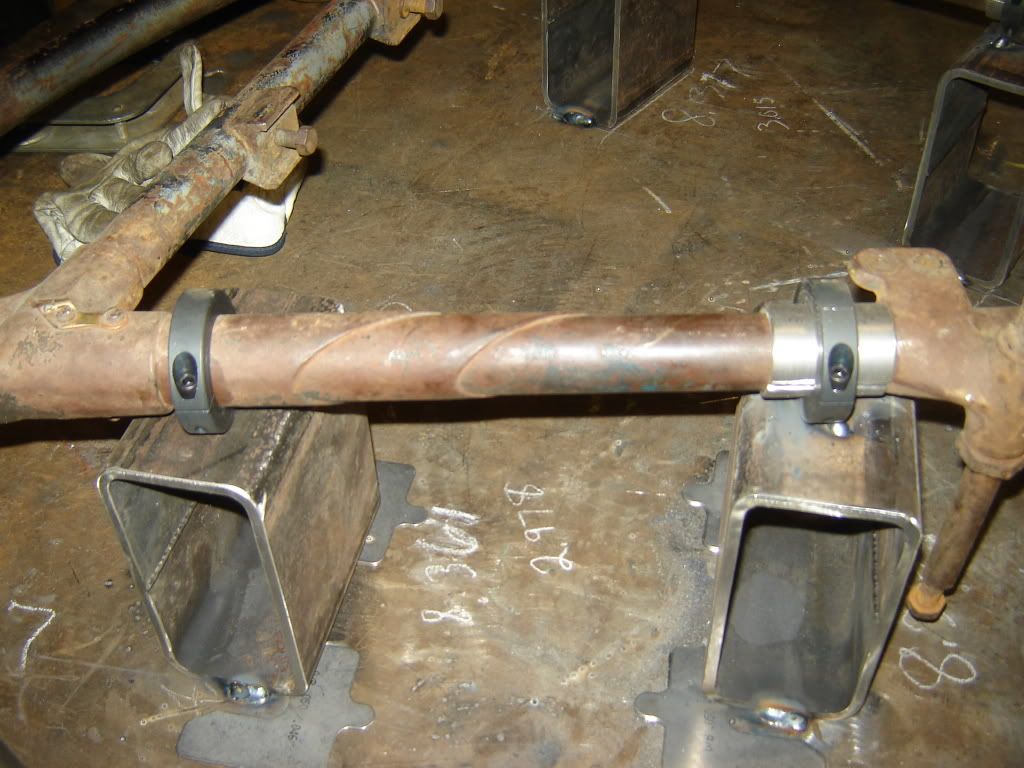


    Now if the frame is straight all 6 of the collars top edge should be in the same plane or in other words have the same distance vertically when viewed thru the transit. We were able to confirm that the neck was off by a distance of about .220" from the collar just above the neck to the collar at the bottom end of the pointer. That is a distance of about 4'. Now what I had to due push down on the bottom end of the pointer and try to get the neck to stay where it was supposed to be. We found out that we were moving the whole neck down instead of twisting it like we wanted so I stuck a small machinists jack under it to hold it up on the upper end.
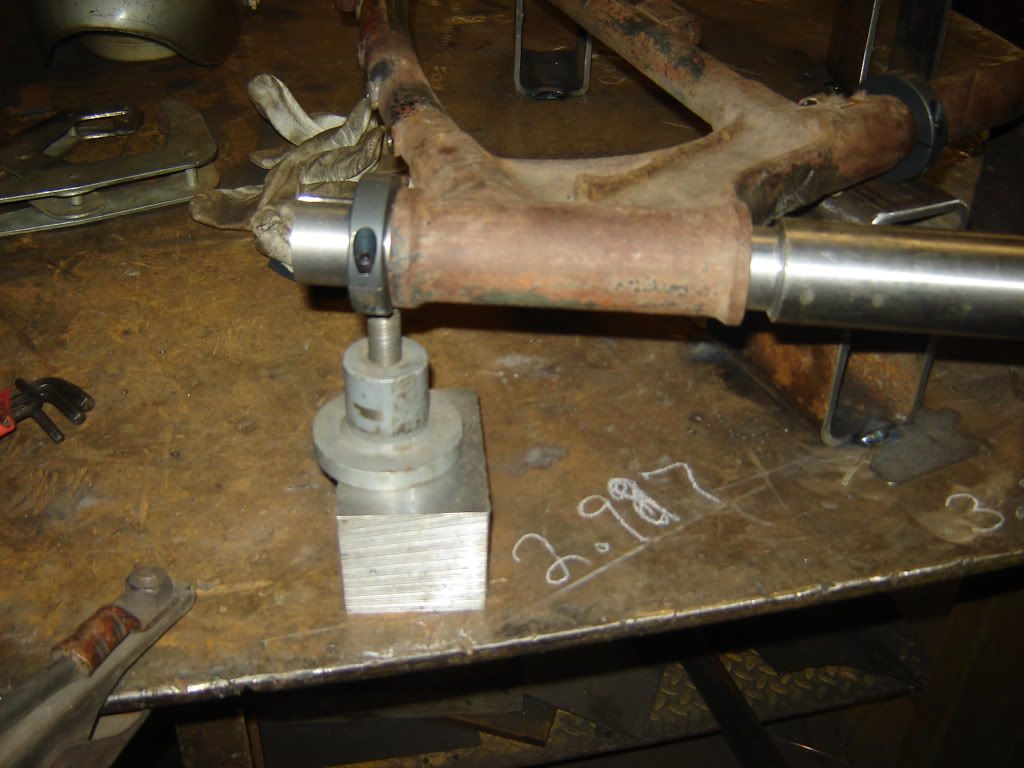


    Then we repeated the process and it took a lot so we had to repeat and measure many times. Eventually we got it within about .010" and let it stand for a few hours and as expected the frame did go back a little to being bent so we had to repeat the process a couple more times until it stayed where we wanted it.
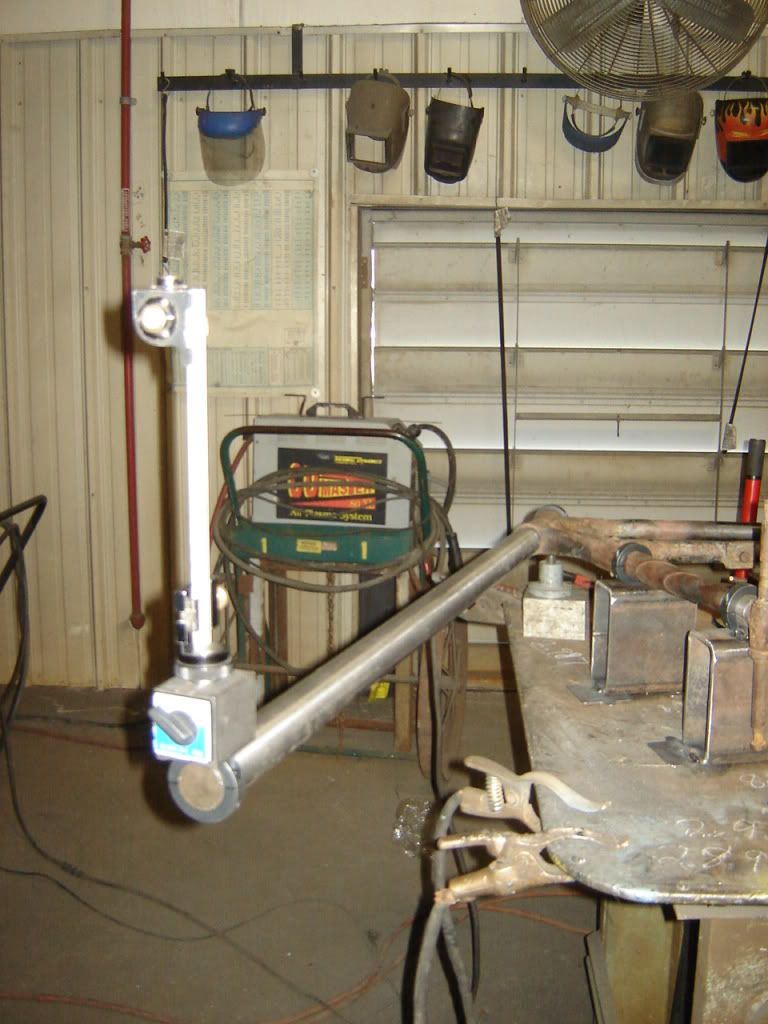
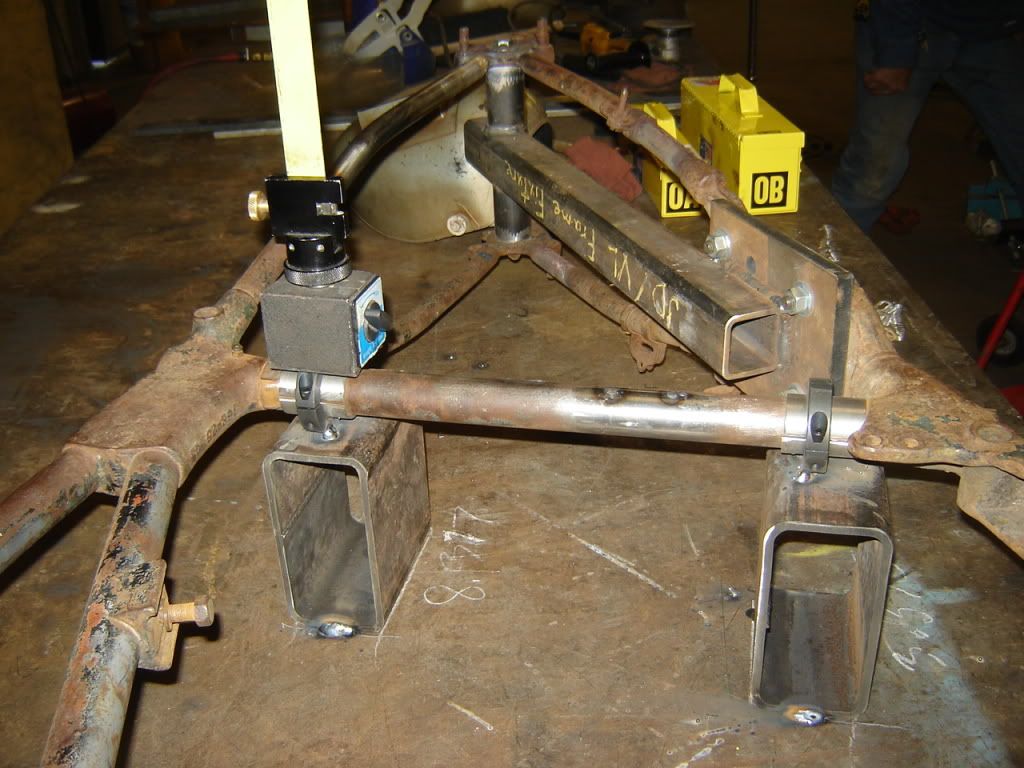


    I hope you can understand what I did and hopefully the pictures can add something.

    Jerry
    Last edited by Jerry Wieland; 04-11-2012, 10:54 PM.

    Comment


    • #47
      I'm certainly gaining a greater appreciation for what it takes to tweak a frame back to how it's supposed to be. Thanks again for taking us through this Jerry.
      Cory Othen
      Membership#10953

      Comment


      • #48
        Well, As far as I am concerned the frame is finished except for paint. Tonight just to double check that everything had stayed in place I fixtured it up using straight irons, squares, my eyeball and lots of clamps.

        I also finished up some cosmetic work on the joints.


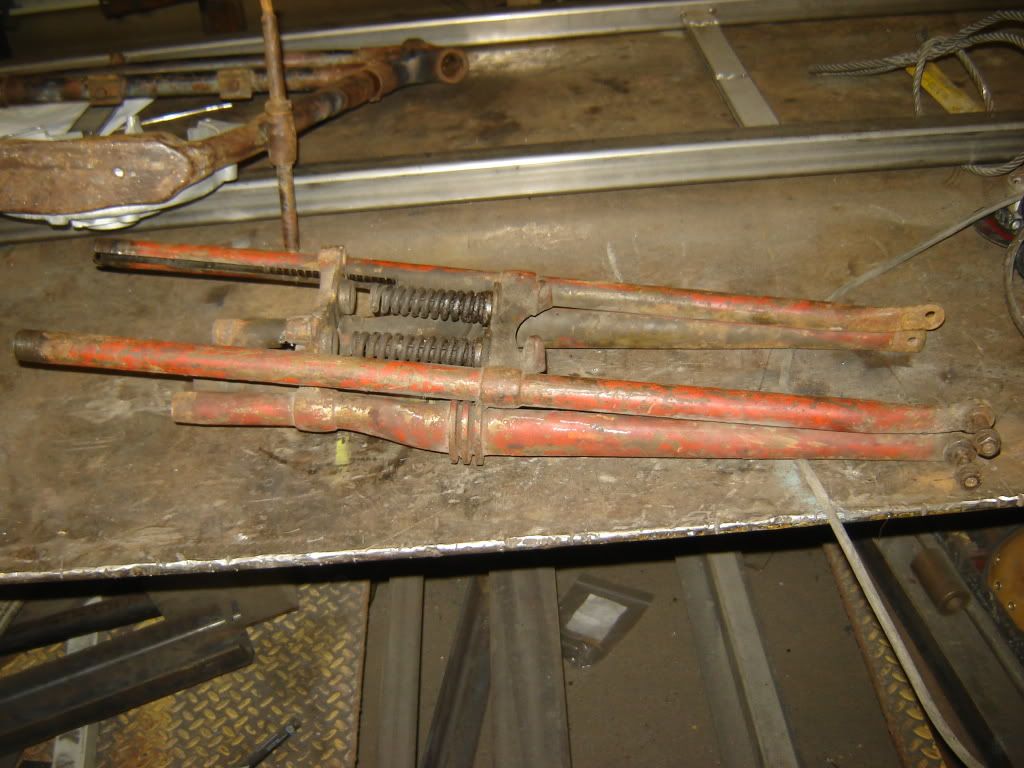
        Next I have to get the front end ready to go. Hopefully it goes smoothly. It hung on the wall of the chicken coop most of its' life so it is really in great looking shape with no rust and all the grease in place. I have a couple of dents to remove and then check it for straightness.

        Jerry

        Comment


        • #49
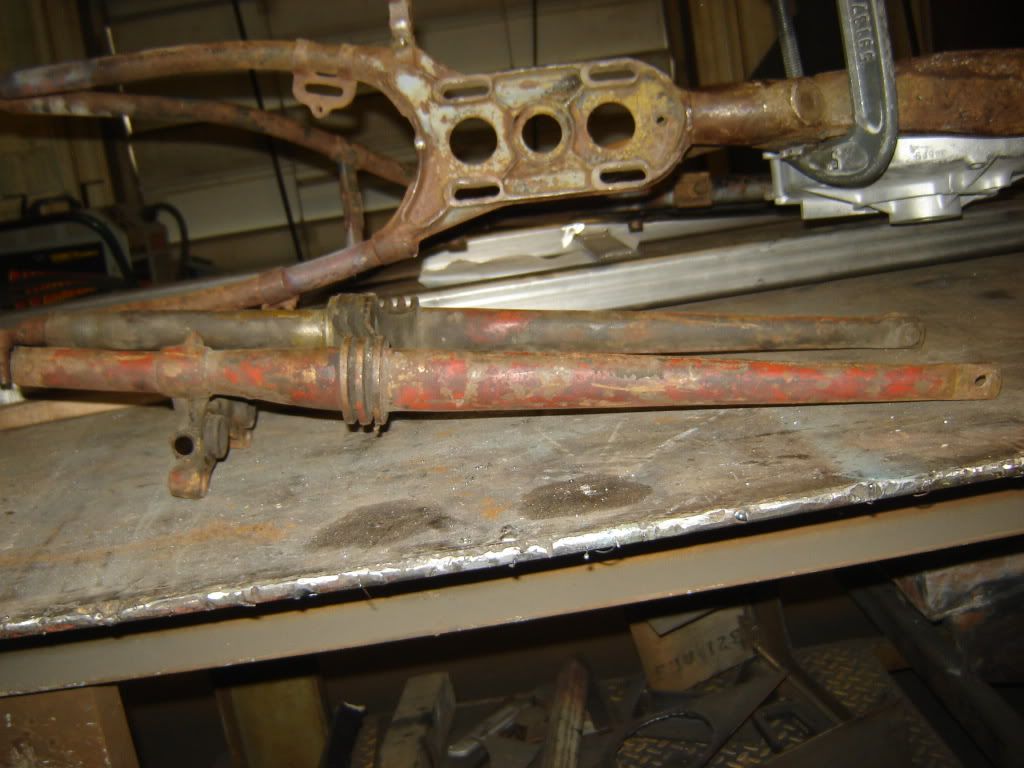
          Here is the front end. Has the same red paint on it that appears on some other pieces.


          I am sending the cylinders out for nickle plate tomorrow and also finish fitting the cases to the frame before we build the engine.

          Jerry

          Comment


          • #50
            On another note here. Does anybody know if someone is making an oversized breather bushing for the rightside crankcase. Part # 502-17 or are there any suggestions on what type of brass should be used if I make it myself.

            I also need a source for the rod thrust flywheel washers or what suitable ones will work. These are the ones staked into the flywheel at the crankpin. I think the part # is 372-21 but it really hard to see in my reprodudtion parts book and all it calls them are 'flywheel washer'.

            Thanks Jerry

            Comment


            • #51
              Jerry, this is very interesting stuff + fun to watch your progress and methods. Thanks for sharing!

              Comment


              • #52
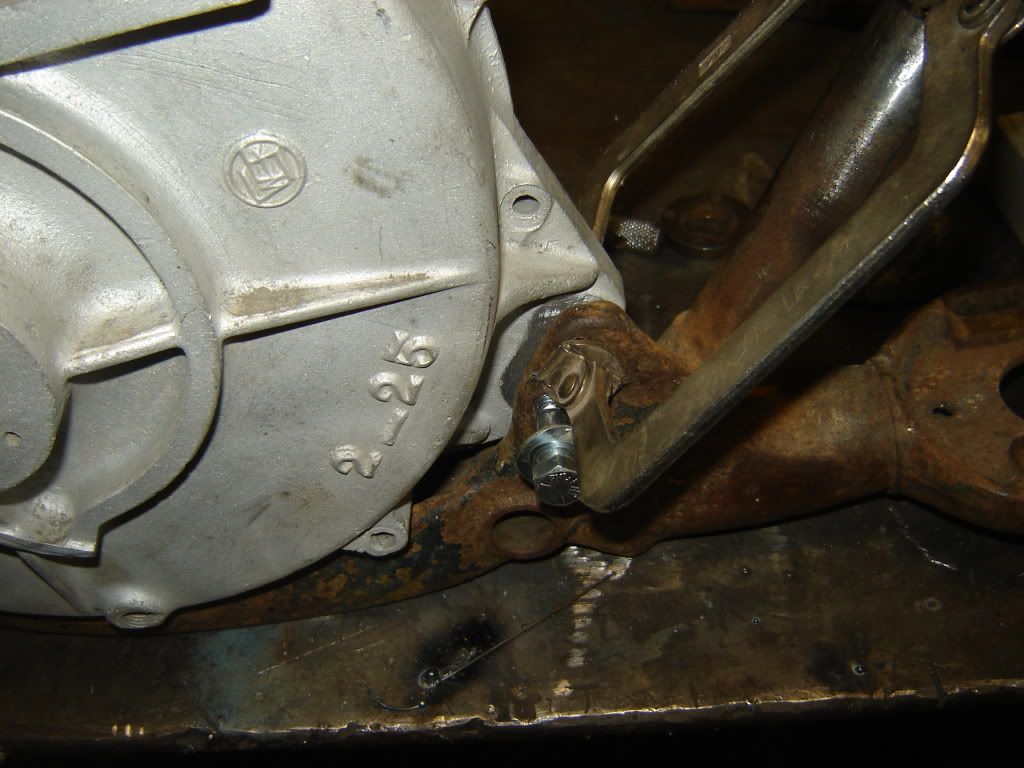
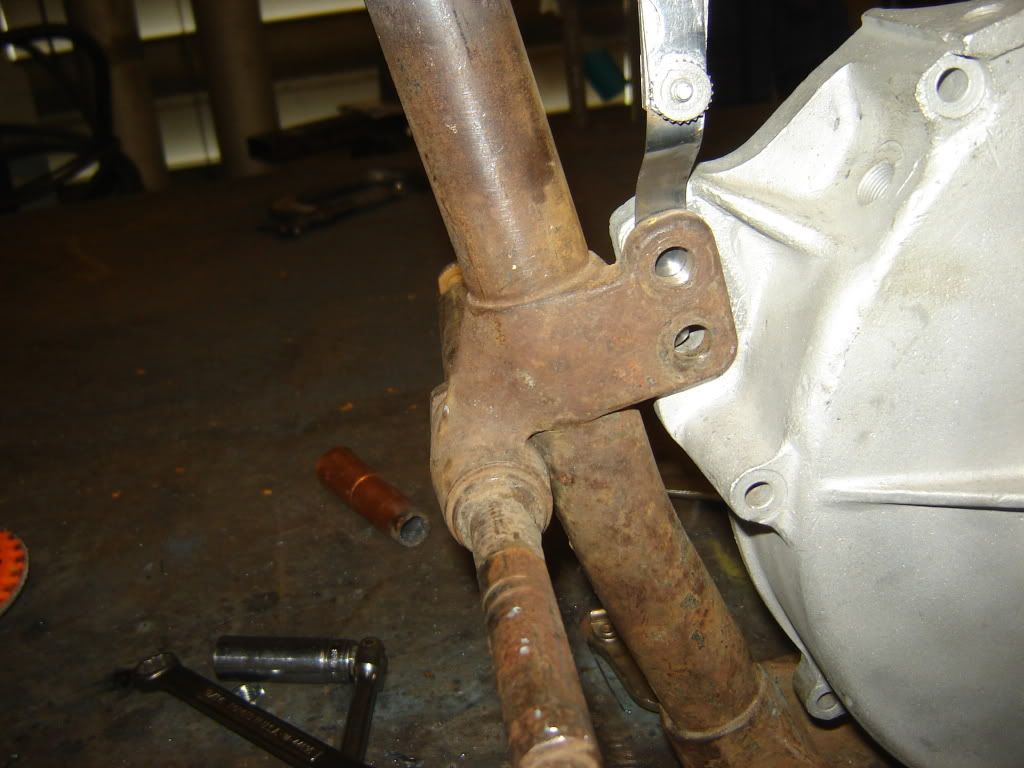
                Yesterday we got a bit more accomplished. I got the left case fit to the frame. First thing I did was take a file and knock down the high spots on both the frame and the engine case. Actually I had done the frame weeks ago when I first started straightening. At that time I had determined that they were in the same plane by using a heavy straight edge and running a feeler gauge behind it to make sure that there were no low spots. The engine cases I did yesterday. The pjot is actually after I got done because I forgot to take a photo before - sorry.


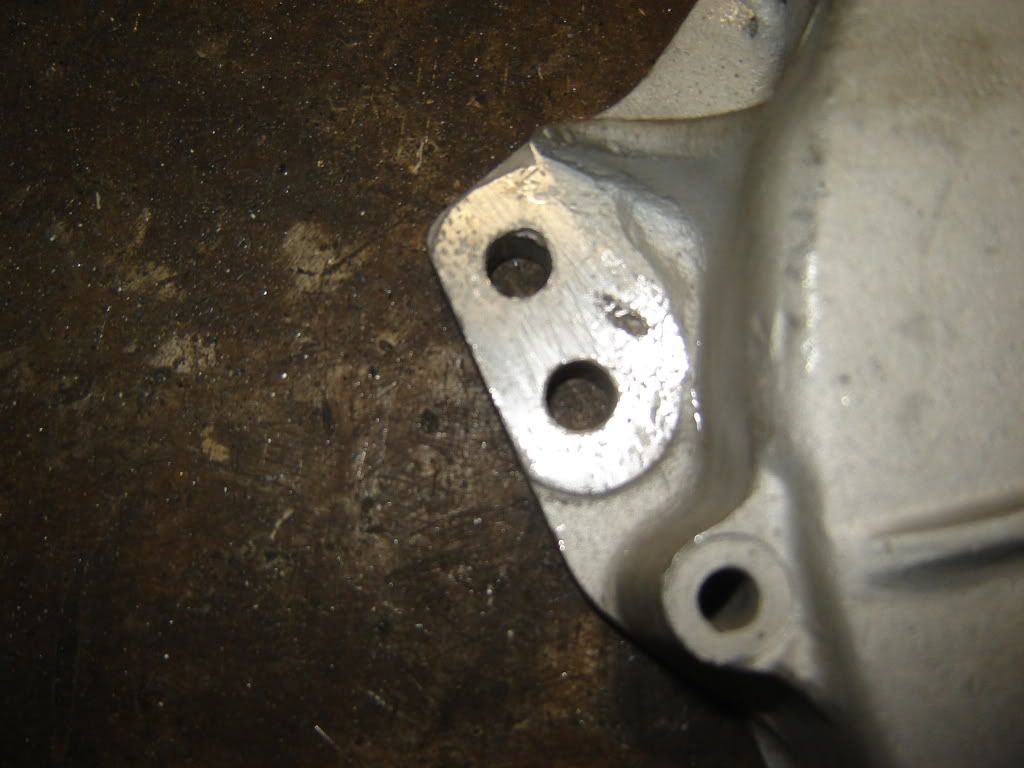
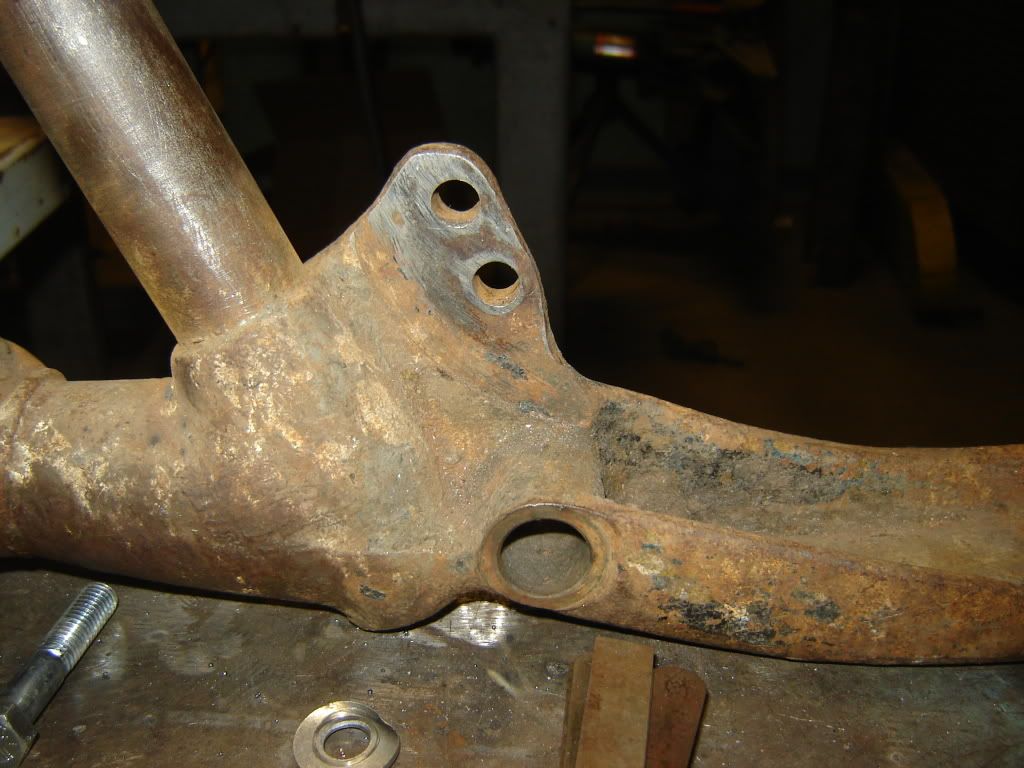
                Be careful filing because doing one end can affect the fit on the other drastically. I do not recommend using any power tools for this because they remove metal entirely too fast. The first thing I did was to clamp the case light in the frame on the back mount making absolute sure that all the holes were aligned and the case was sitting exactly where it would when mounted. Then I took a feeler gauge and run it between the front motor and frame mount. I had about .007". I then reversed the procedure. I clamped the front mount and took a feeler gauge between the rear motor and frame mount. It was what I would call a "negative" fit. I had to spread the case over to get it in and when I tried to pull it out I had to tug on it a little bit. On both ends of the motor I took as many reading with the feeler gauge as I could so as to get a good feel for where I had to remove metal. With the readings I got I was comfortable with being able to rectify the situation without using shims or having to build up either surface. There is a point and I do not now where it is that a light filing will not do the job to fit a case into a frame. I should add here that this case is actually not the original case to this frame because I ended up with almost 1/4" gap on one end when I first tried the original so I got a replacement 1925 case.


                I used a very small fine flat file that I could easily manipulate with my fingers. Number one problem today is that it is almost impossible to find good flat files and that is what is needed to do a good job.


                After spending some thought on it and at the risk of simplification I filed a light bit off of the rear mount, please understand that I only stoked the file a few times before I remounted and this time with bolts. This whole procedure took at least 4 hours and I repeatedly alternately bolted and filed until I had it so that I could not get my thinnest feeler gauge (.0015") in anywhere.

                Also remember that if your cases do not fit together perfectly this can be wrong when you try to mount them when they are assembled. The left case can easily be distorted by the right case. The cases should be fit together and race ready before you fit them to the frame.

                Jerry
                Last edited by Jerry Wieland; 04-22-2012, 11:03 PM.

                Comment


                • #53
                  Now that's fine tuning!!! Other than skill and knowledge the biggest attribute to a restoration is patience!!! Great stuff!!!
                  Cory Othen
                  Membership#10953

                  Comment


                  • #54
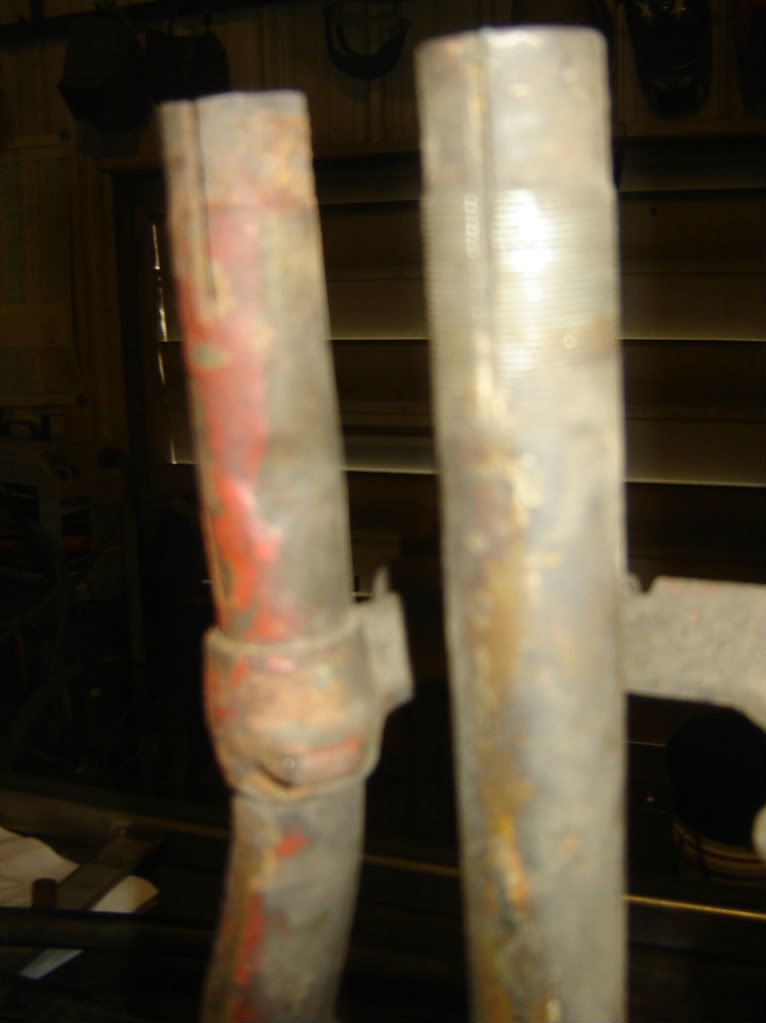
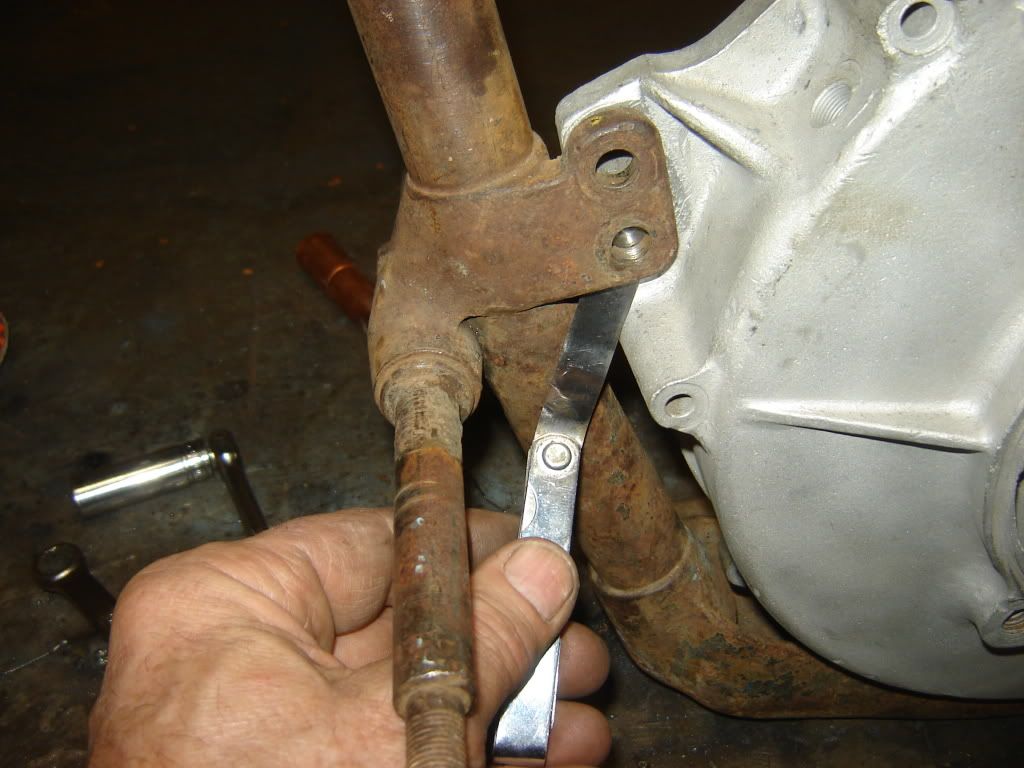
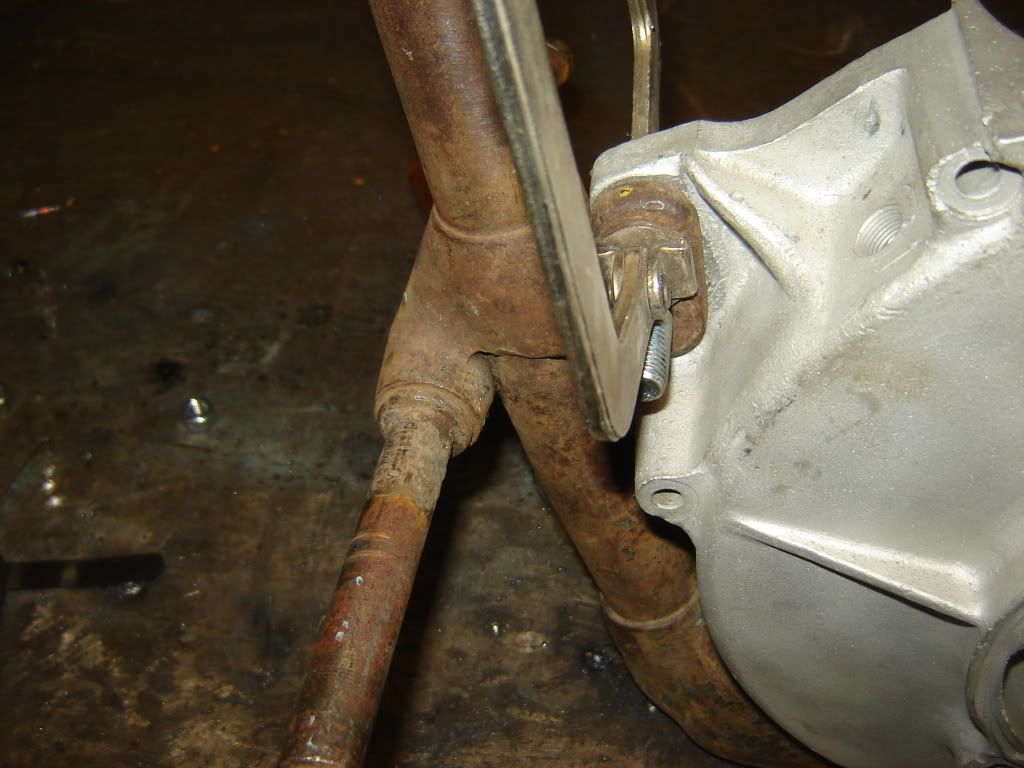
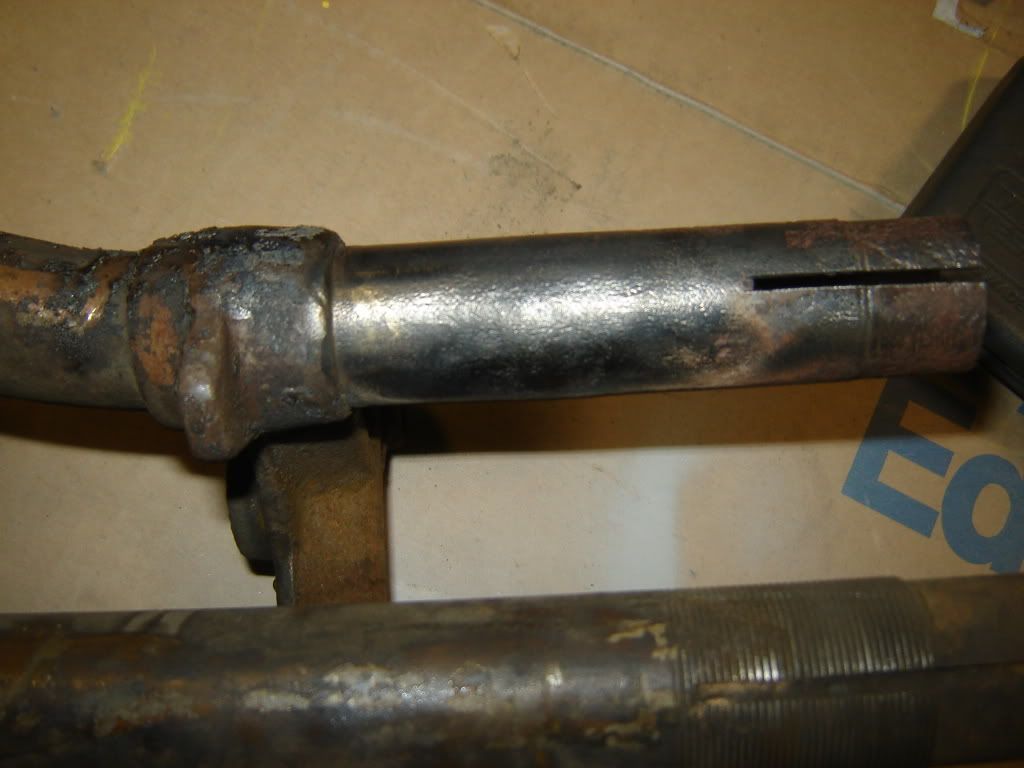
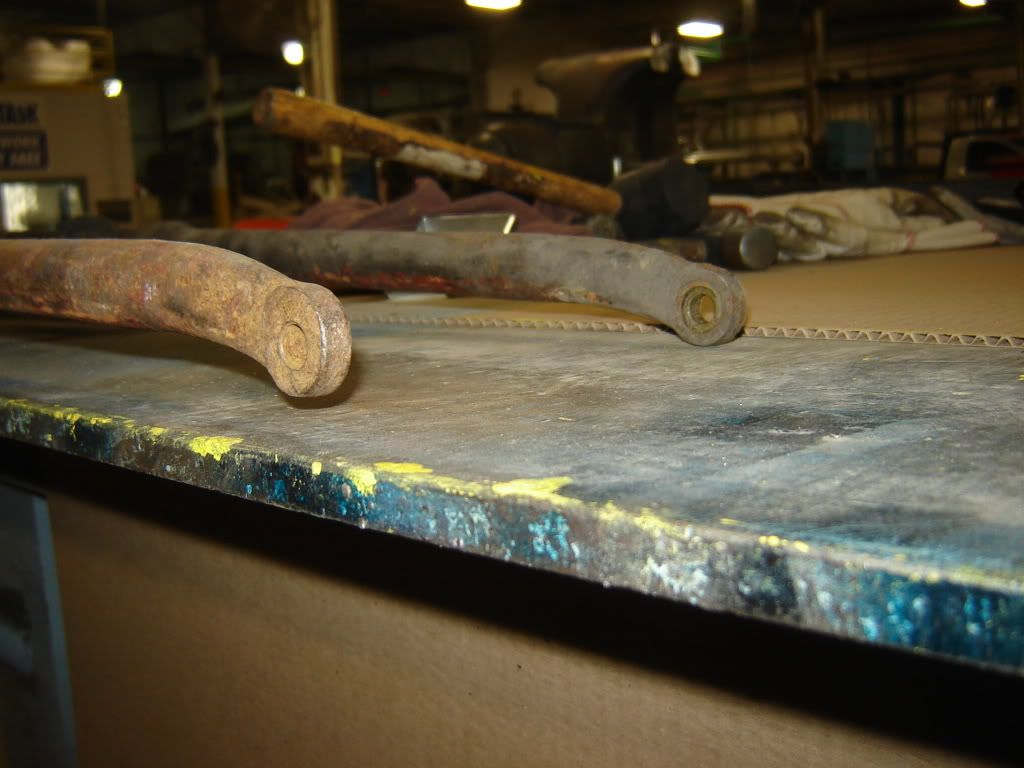
                    Started on the front fork yesterday. Here is a picture of the dent that I need to get out.


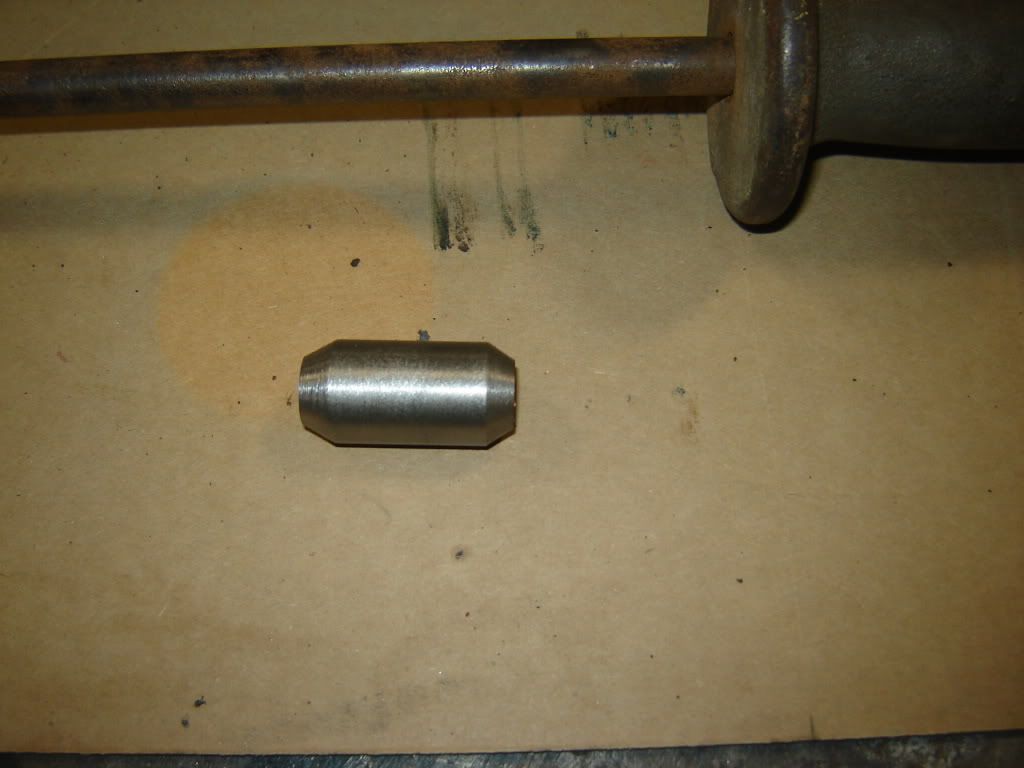
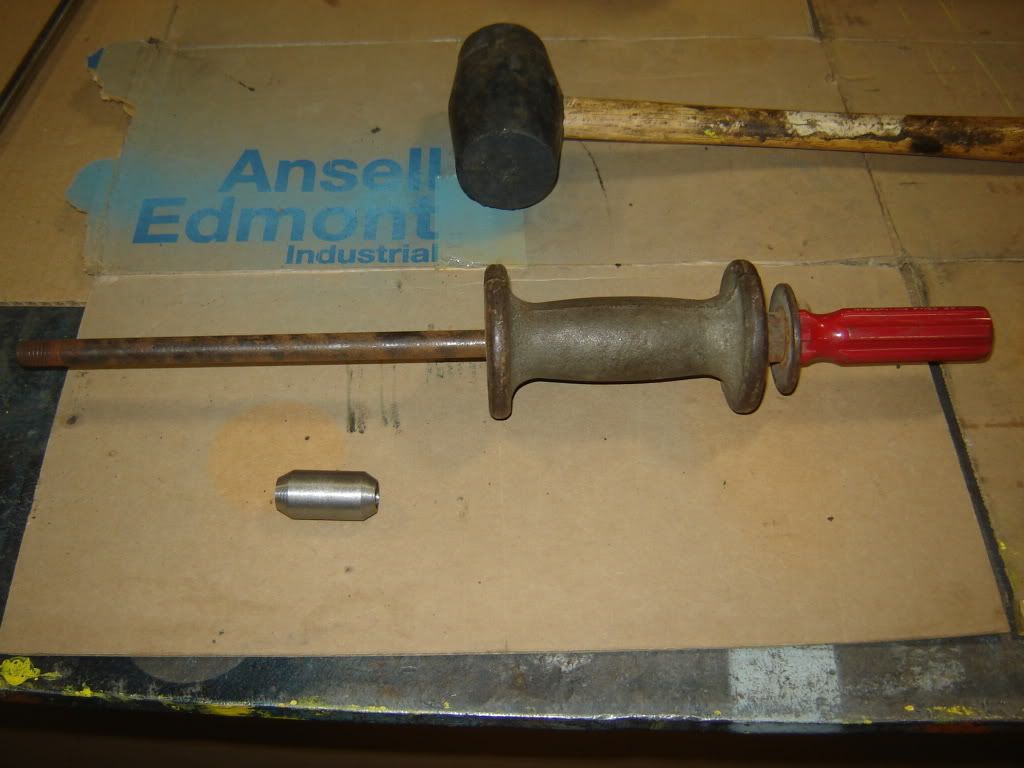
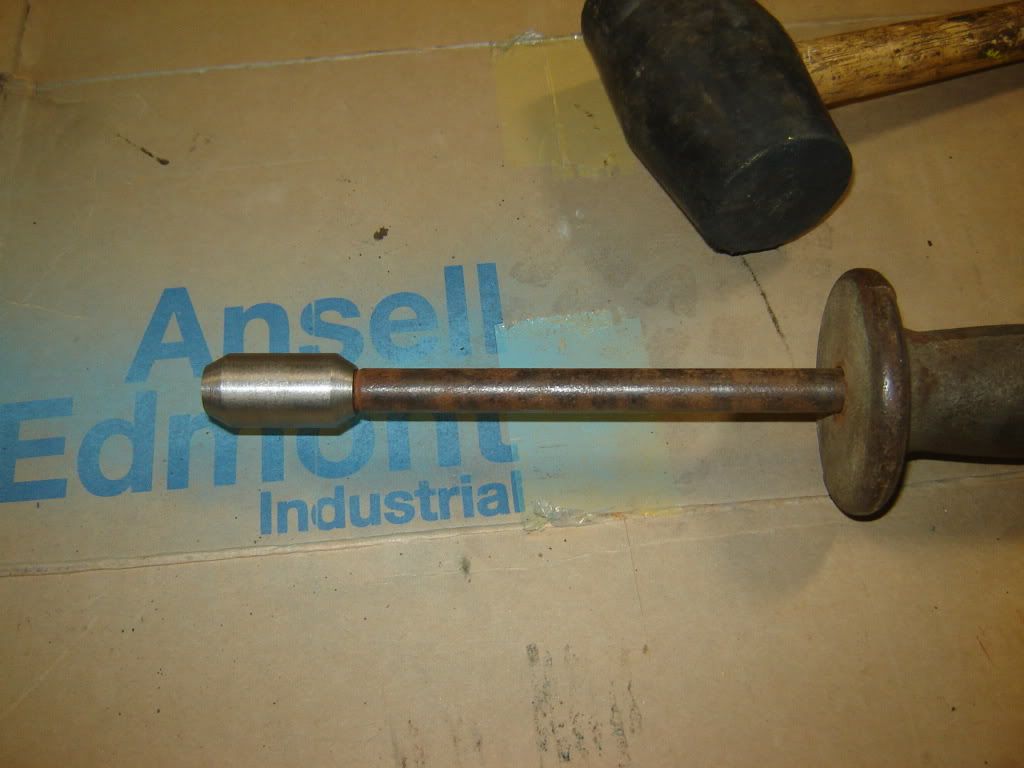
                    Made a slug on the lathe out of some scrap shafting that was tapered at both ends and threaded on one end so I could drive it in and drive it out of the tube with the dent.


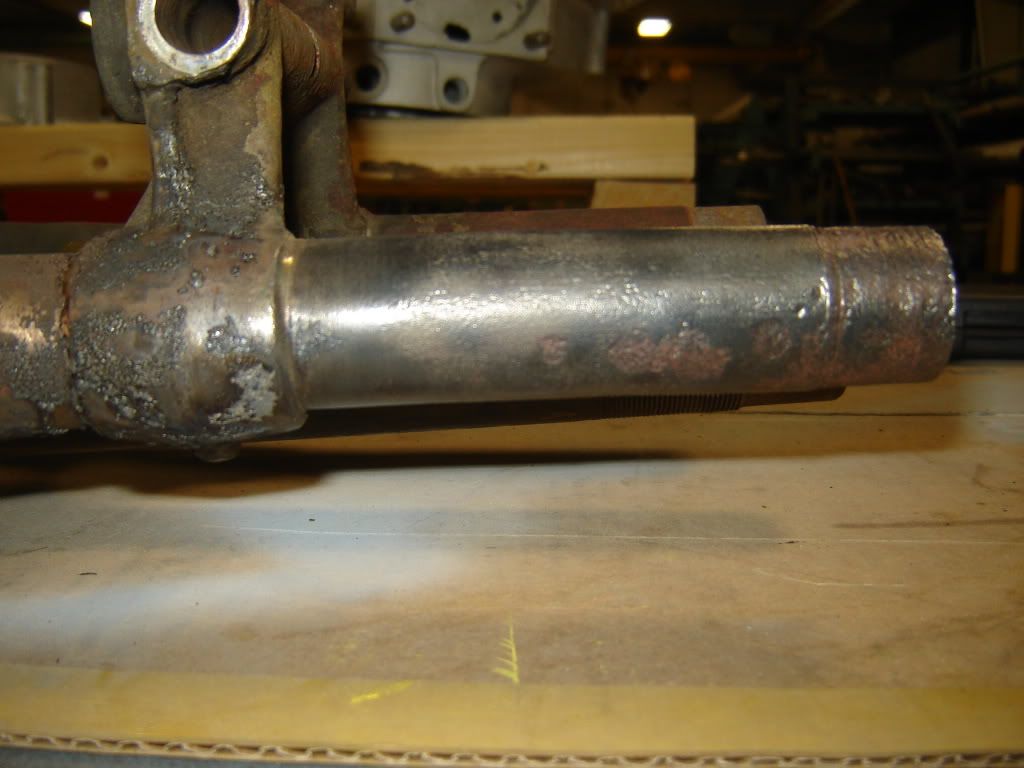
                    I heated it red hot and drove it in and then pulled it back out. I'll have to do some dressing of the surface with a flat file but all in all it came out decent.


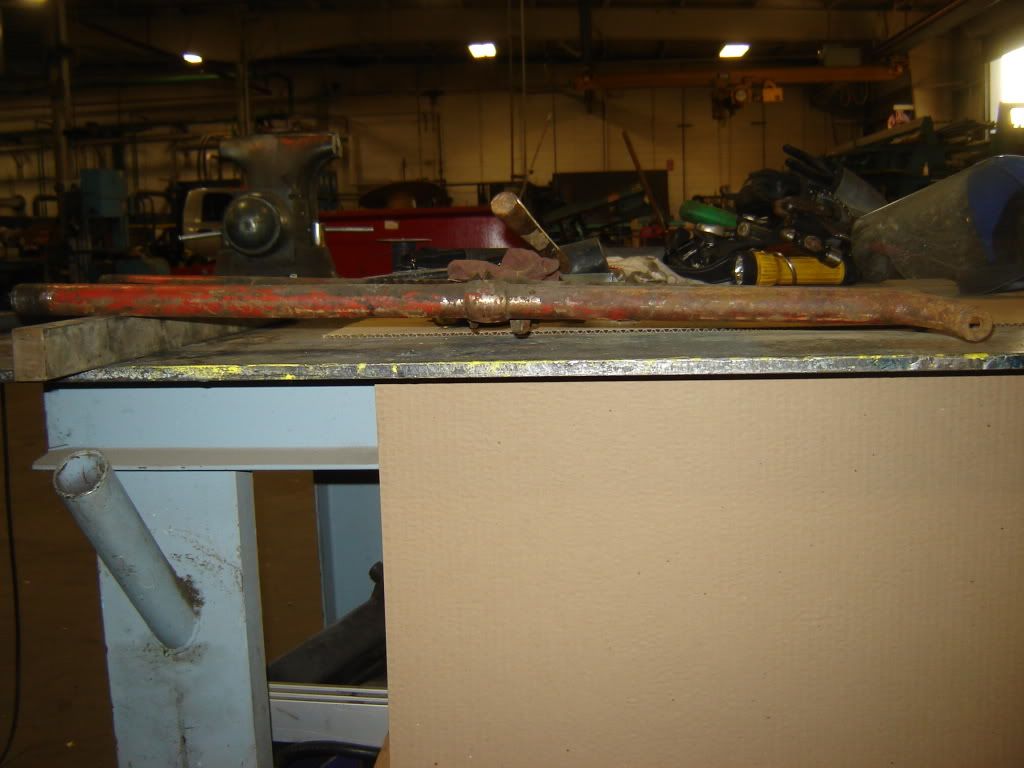
                    I did discover another another problem after the fact that is evident in this next photo. Either there was a slight bend in the upper tube from the original dent or I put it there when I heated and removed it. It is inexcusable that I did not notice this before hand if in fact it was there but either way it is something that is not totally unexpected as anytime you dent metal it causes a distortion.

                    Last edited by Jerry Wieland; 04-24-2012, 10:46 PM.

                    Comment


                    • #55
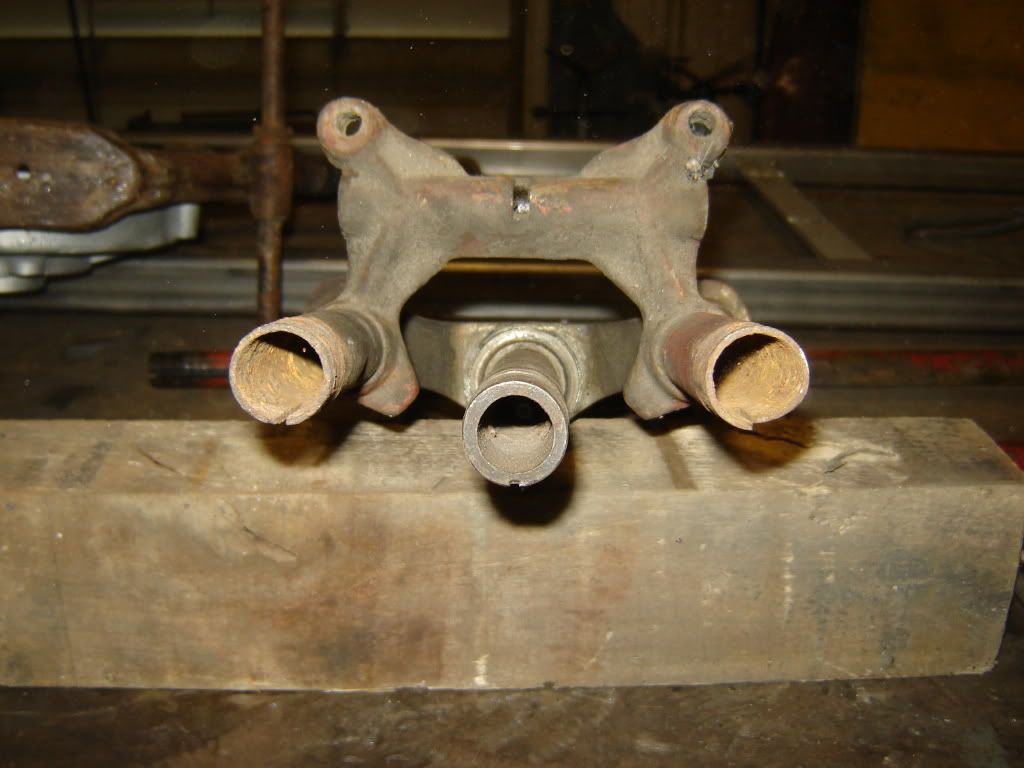
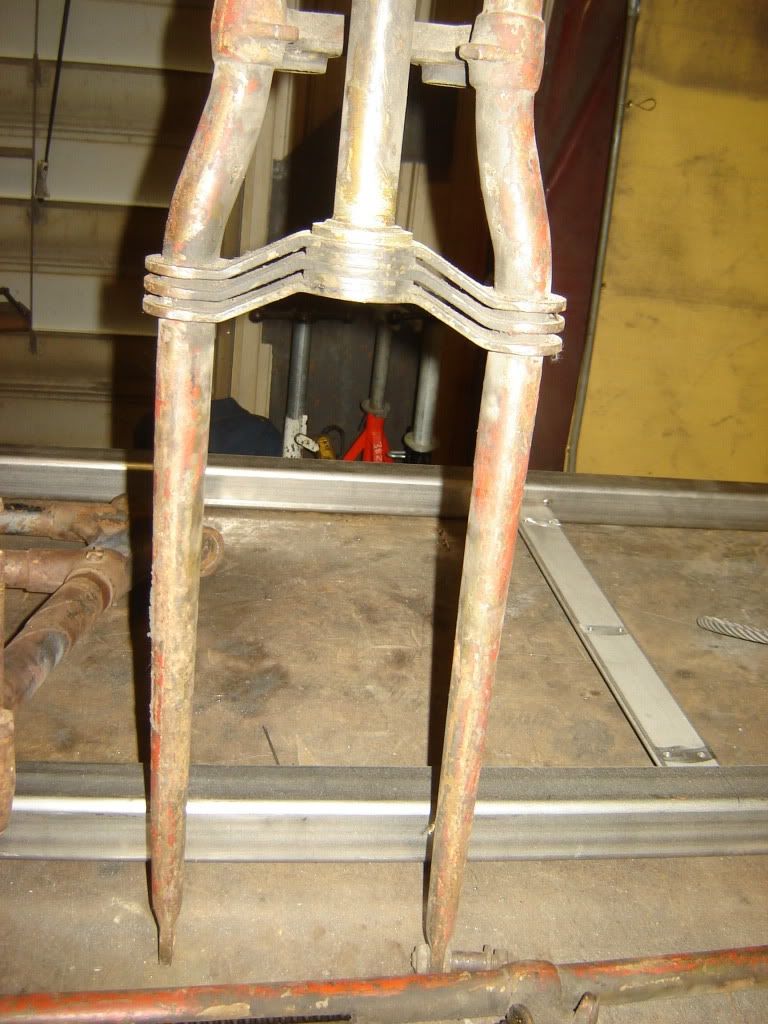
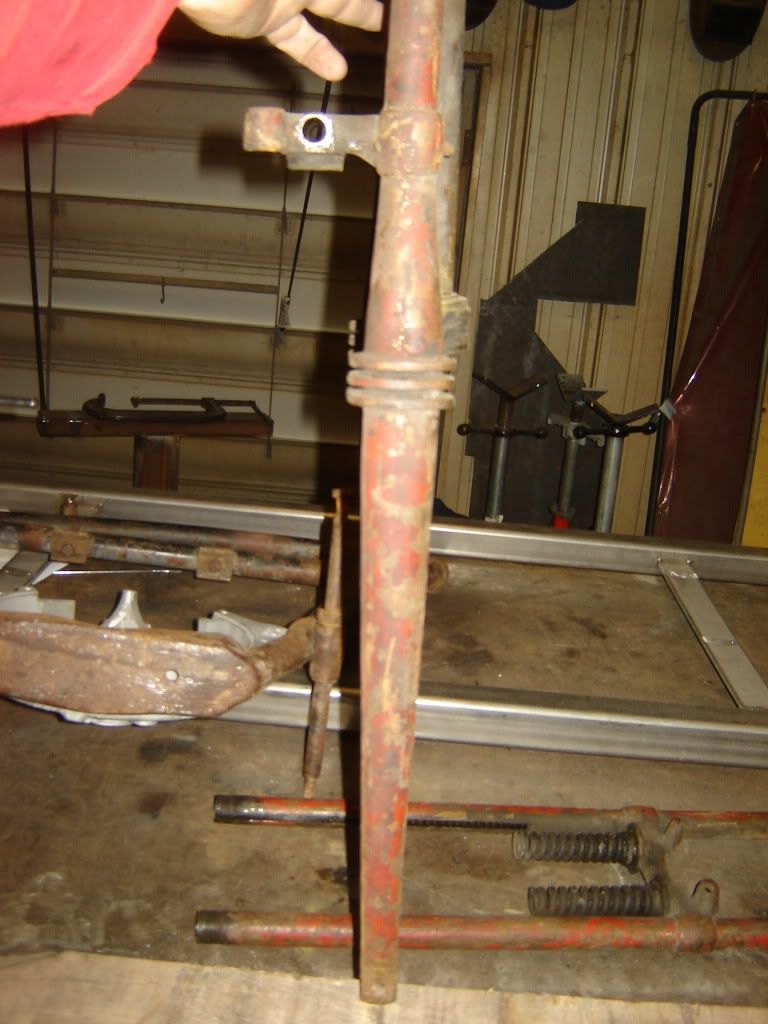
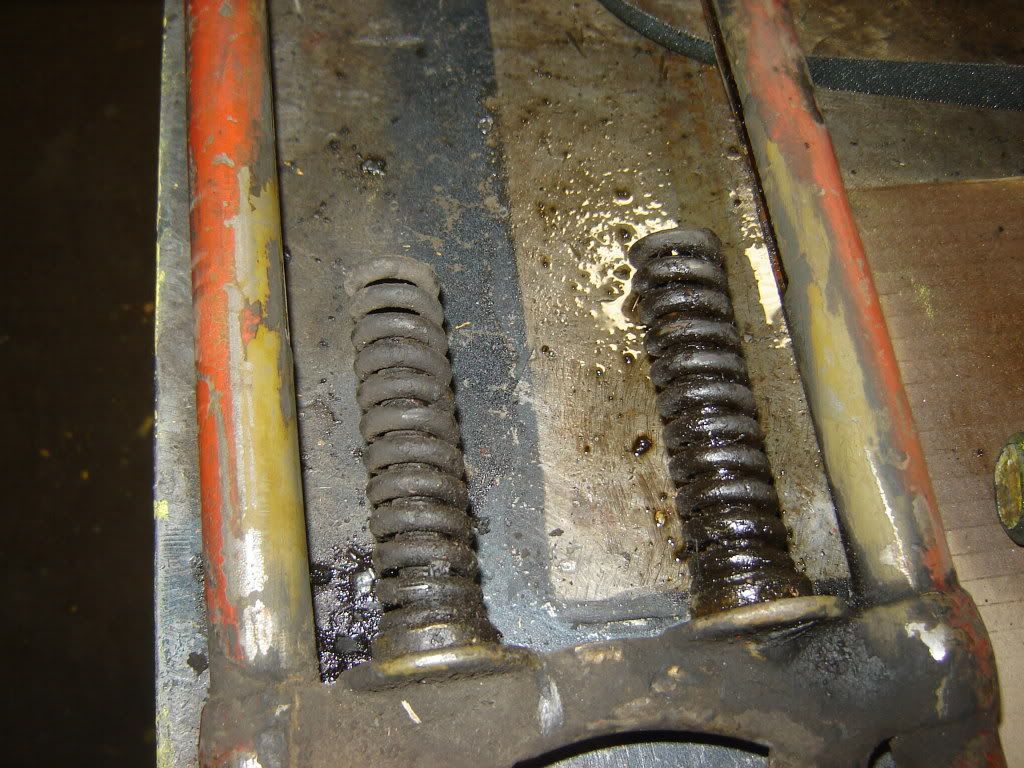
                      Today I also took a good look at my spring fork and found that although the tubes seem to be straight the assembly is twisted about 3/8" at the bridge.


                      I also found evidence of the original Olive paint. I was really hoping that I would not see this because I hate to destroy any original paint considering the value of original paint bikes. It is gone on the surfaces that were easy to get at but inside by the springs it still remains. I have found no other OP on any other component. It appears that it was painted red while the fokr was assembled.


                      Hopefully I can knock the front end out tomorrow night.

                      Jerry

                      Comment


                      • #56
                        Still working on the front end. Nothing is ever as esay as one would think. Mainly making a fixture to check for straightness and to fix the bend I already know about. Should be able to get a bunch done this weekend.

                        I got to looking at the front end and started wondering if JD's need a steering dampner. I think it would be fairly easy to install. I have never actually ever ridden a JD so I have no clue. Any outside help/suggestion would be appreciated. I once got into a high speed wobble on a 1940 EL and it is not fun. Closest I ever came to crashing

                        Jerry

                        Comment


                        • #57
                          jerry look at some photos of brough superiors. i think i saw some with a dampner mounted from the tank mounting bolts up to the fork.
                          rob ronky #10507
                          www.diamondhorsevalley.com

                          Comment


                          • #58
                            I've had my 26 jd to 60mph and it was solid. I have never felt a wobble coming on. I have about 500 miles on mine, and had not ridden one before, either. It is a nimble machine, I really like it.
                            Dan Margolien
                            Yankee Chapter National Meet July 31/August 1 2020 at the TERRYVILLE Fairgounds, Terryville CT.
                            Www.yankeechapter.org
                            Pocketvalve@gmail.com

                            Comment


                            • #59
                              Rob I kind of mocked it up and it looks like underneath would probably be the easiest but I am not sure of clearance. I have seen bikes with a top dampner and in fact HD used one on their Glide front ends in the 50's. A top one would probably have enough room -- I would probably have to design it from scratch.

                              I am going to go look at a friend's 1928 JD later this evening to get an idea about how much clearance there is between a dampner and the fender.

                              Jerry

                              Thanks for the reply and idea. Jerry

                              Comment


                              • #60
                                Dan I have now talked to a few JD owners and some say it wouldn't hurt and some say they do not believe it is necessary. With that in mind I think I will start looking into fitting one to the bike just to be sure. Jerry

                                Comment

                                Working...
                                X