Announcement

Collapse
No announcement yet.

1925 JD Cannonball Bike

Collapse
X
 
  • Filter
  • Time
  • Show
Clear All
new posts

  • #31
    Jerry i can't see why the rear wheel would not run center in the frame.i thought about using bar stock to measure my frame. thought i could place it in the head stock seat tube and axle plates.i'll put a hole in the center of all the bar stock and run string through it maybe hang some weight on the string to keep it tight. i guess the laser just makes it more high tech.
    the wheel may not run center on the hub. if that is the case then one side axle clip will be farther from center. with any luck tommo will jump in and say "rob your wrong here is how it goes".
    rob ronky #10507
    www.diamondhorsevalley.com

    Comment


    • #32
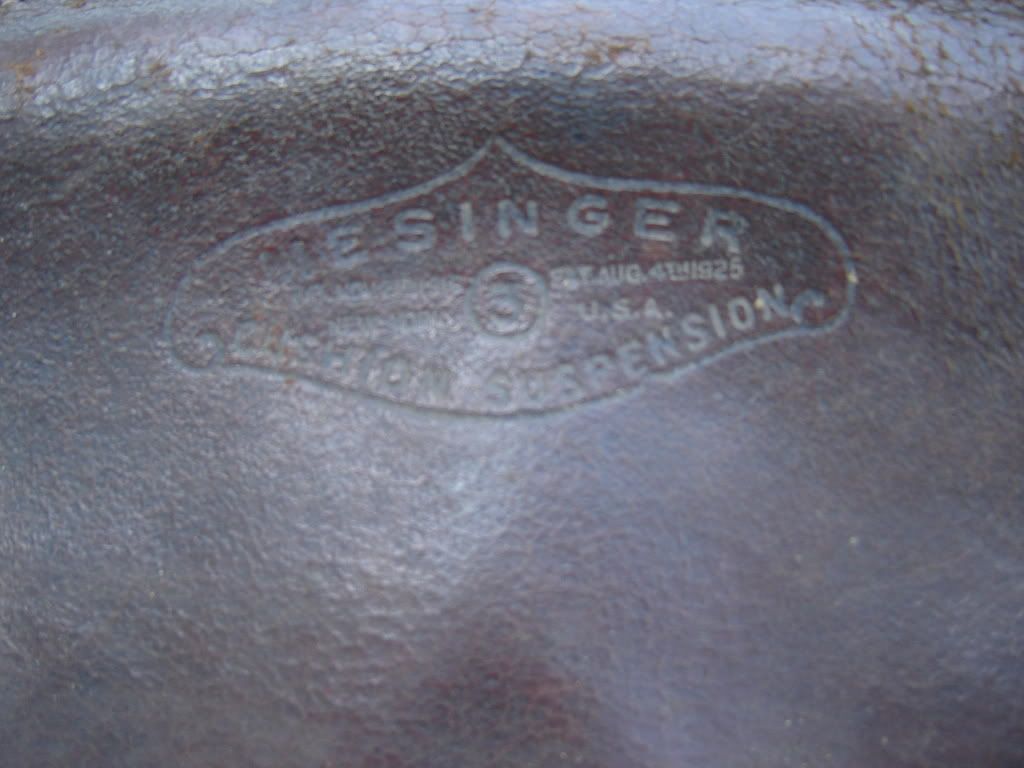
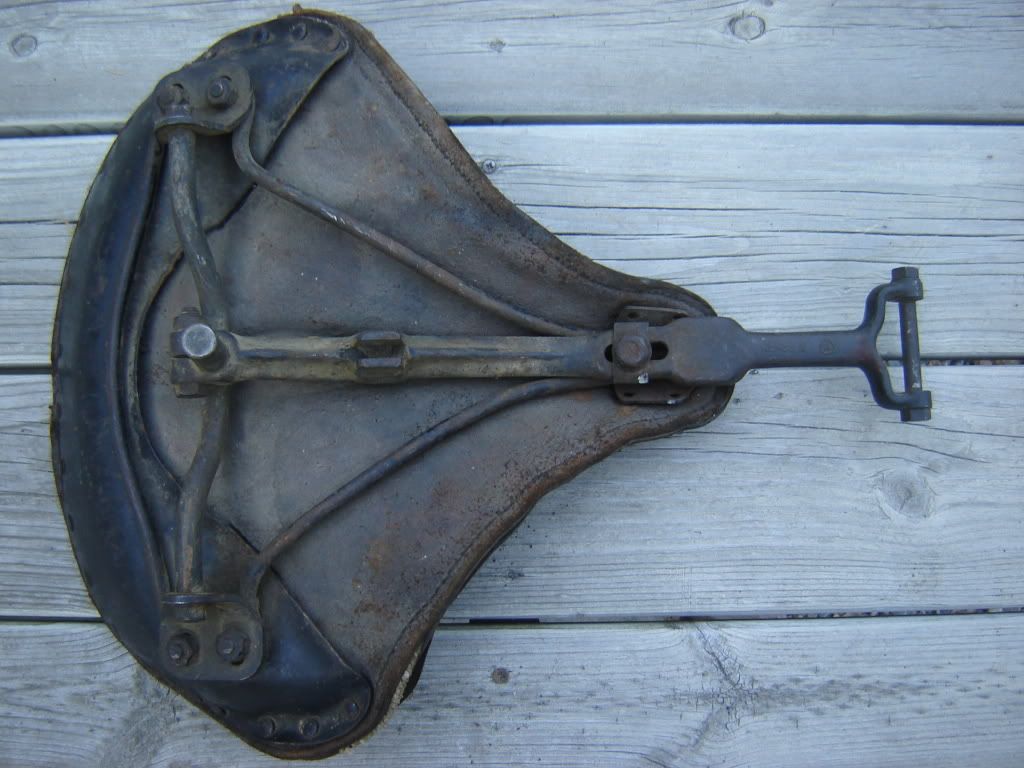
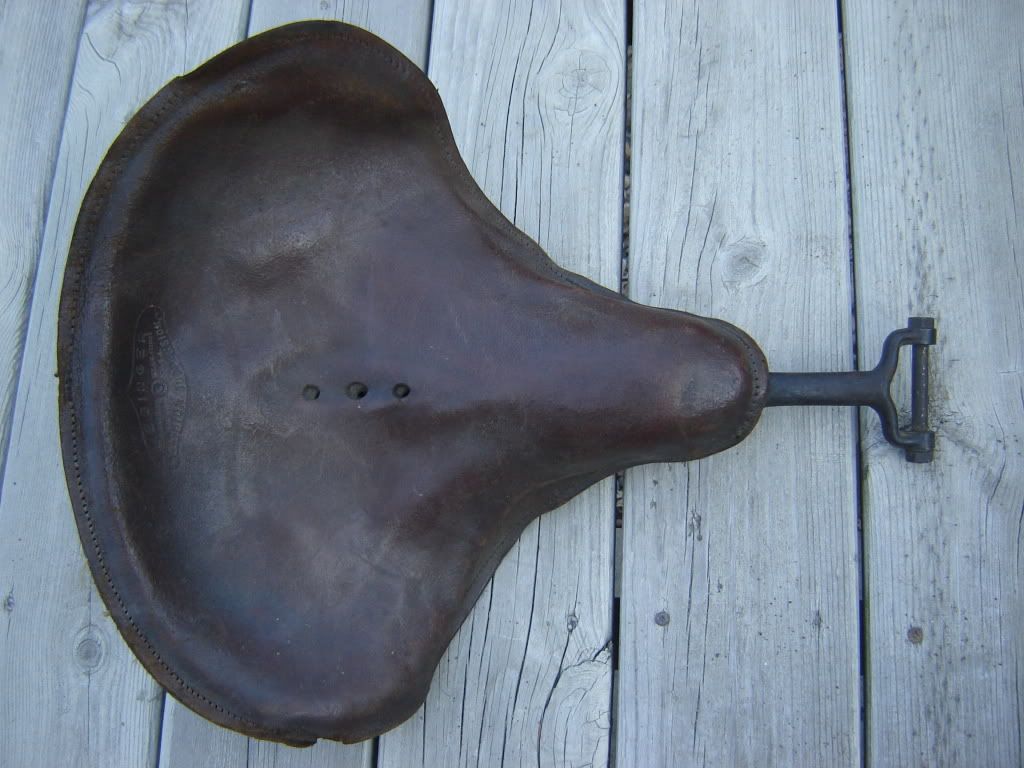
      This is a seat I could possibly acquire. Is it and the 'tee' of the right vintage for 1925.


      Jerry

      Comment


      • #33
        Jerry
        That is of the 1925-1928 variety for sure and it does look like the earlier style where the main seat bar is more or less straight. The later ones, circa 1927?,have a bit of a vertical dogleg towards the rear.
        Mark Masa
        Mark Masa
        www.linkcycles.com

        Comment


        • #34
          Mark Do you know if anybody is making a good reproduction of this style seat? Jerry

          Comment


          • #35
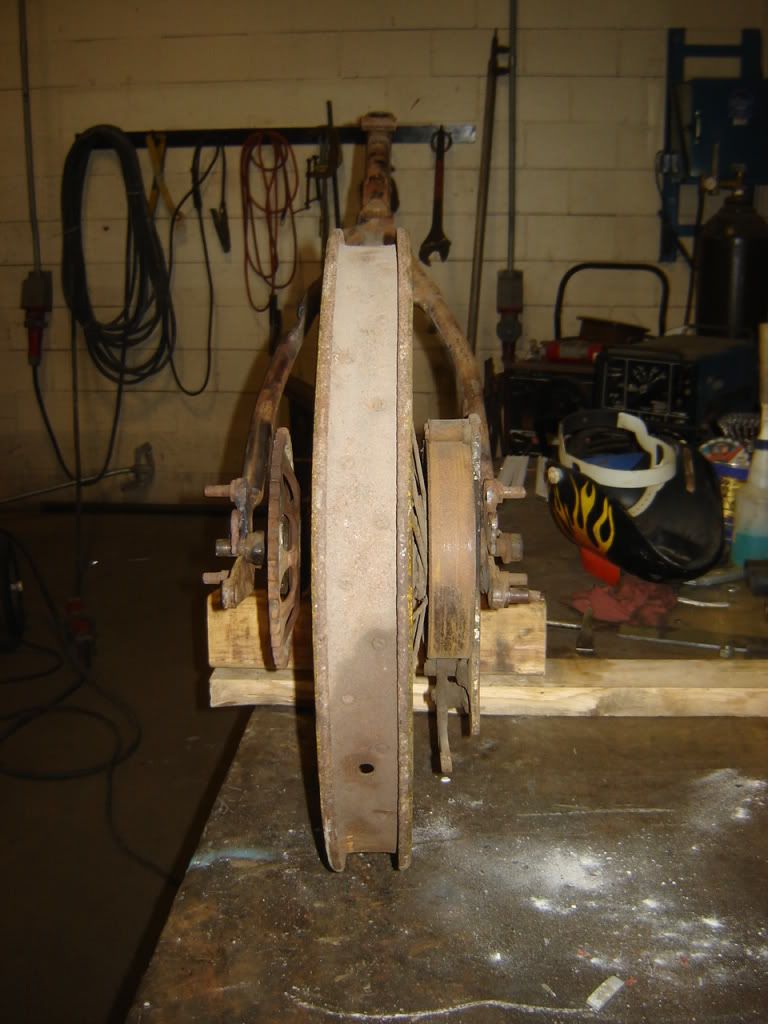
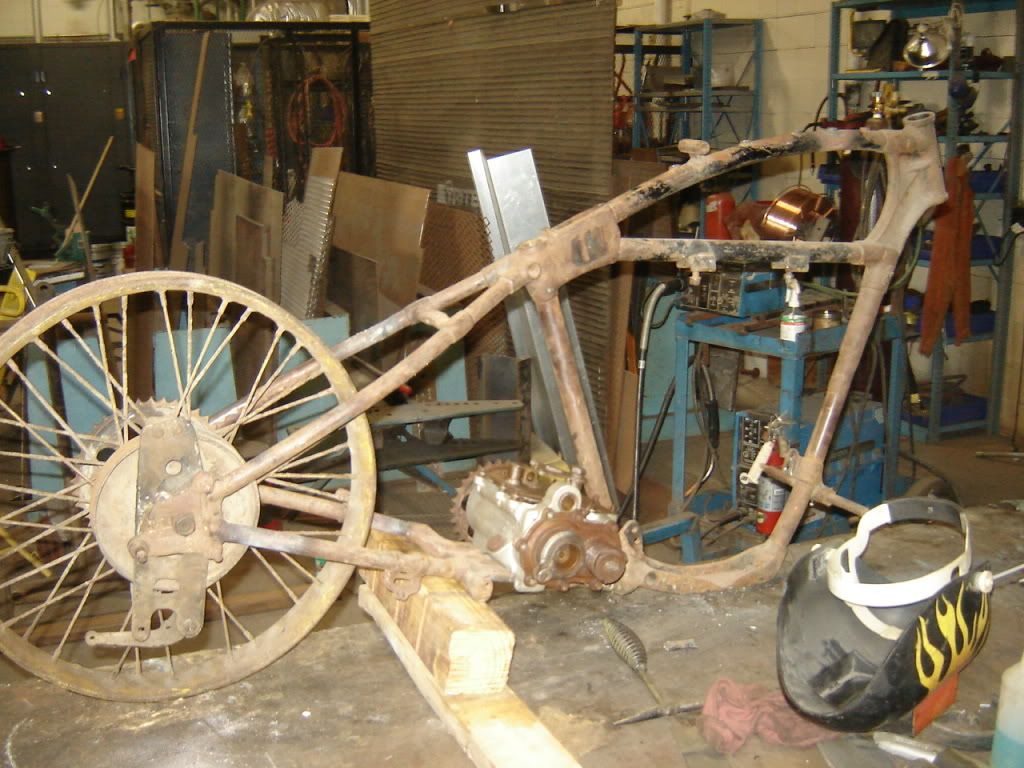
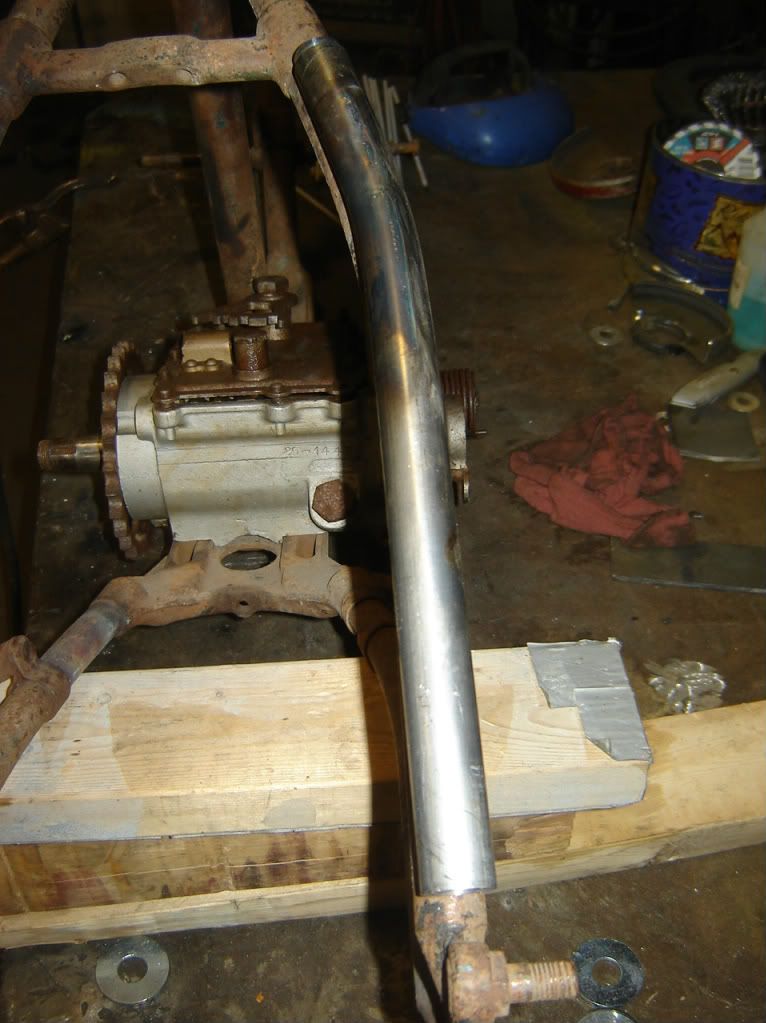
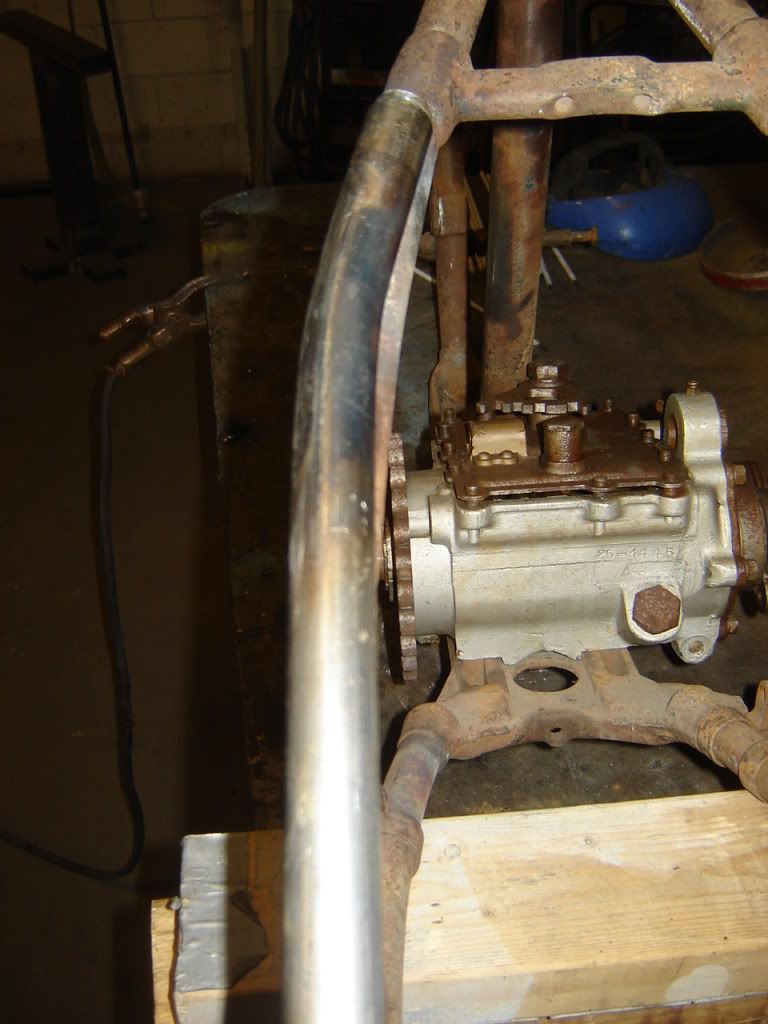
            Here are some pictures where I mocked up the frame with the transmission and the rear wheel to make sure that I had the hardtail section in such a position that the chain would run straight. I was fairly certain that it was but wanted to make sure. If you are working on a 25 to 29 JD frame you can rest assured that the rear wheel tracks dead center between the frame stays and exactly on the center line of the bike. You may even use me as a reference. The frame stays are exactly 8" apart on the inside edges.


            Comment


            • #36
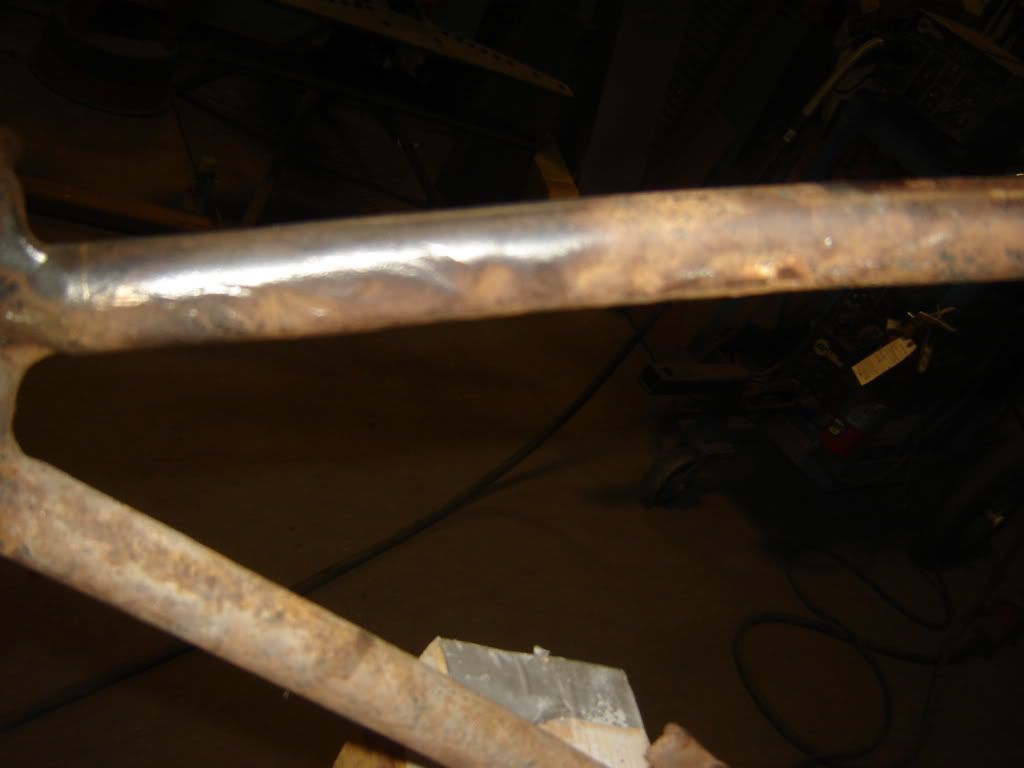
              If you had asked me weeks ago I would have told you I was done fixing the frame. I was convinced that I had everything where it was supposed to be and I did but every time I walked by the frame I would notice the little waver in the top left rear frame tube. It would have worked because the tube would have cleared the fender, it would have cleared the chain but the profile was wrong from where it had been hit and straightened a few times plus on the inside it had lost a chain a time or two.


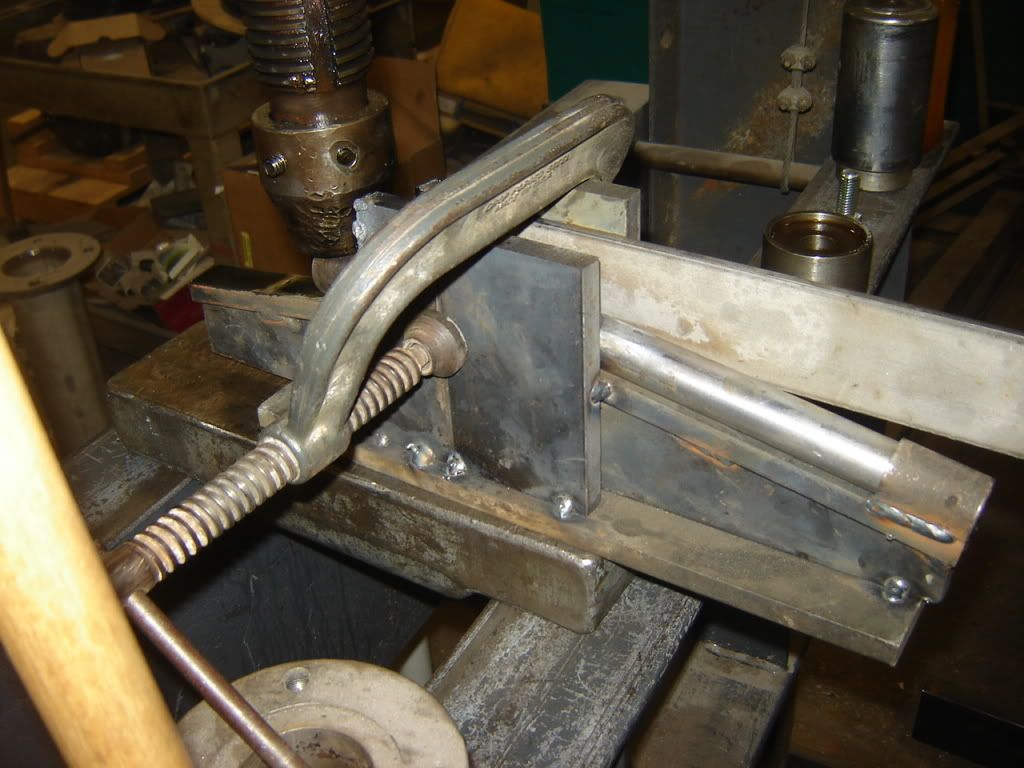
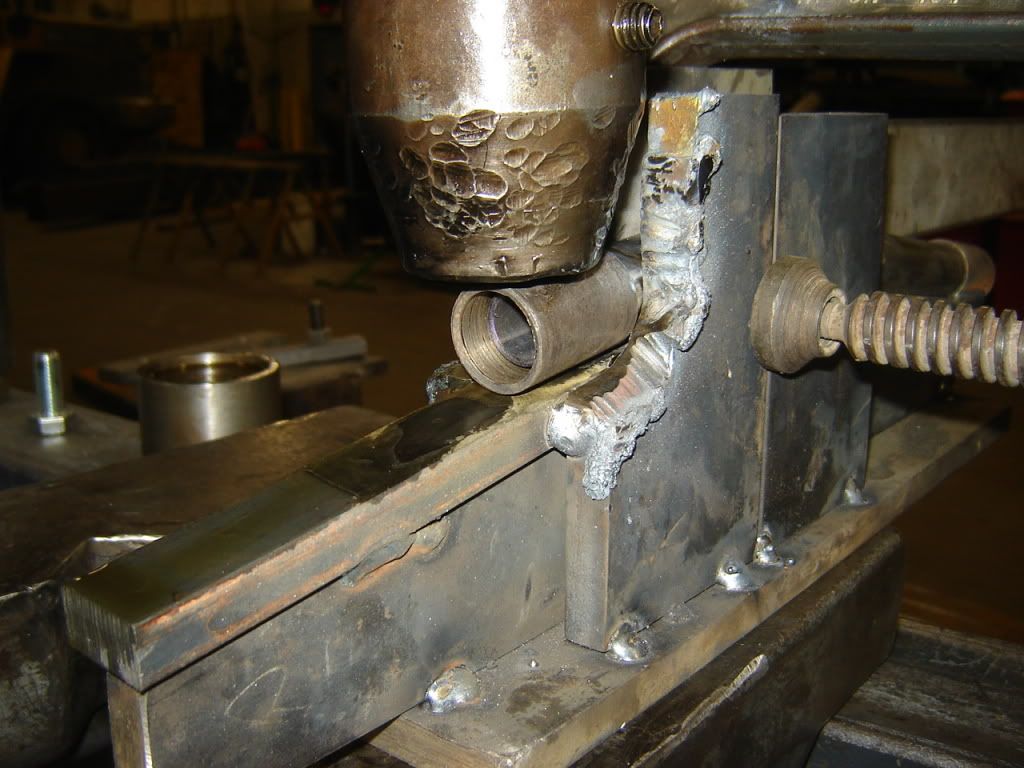
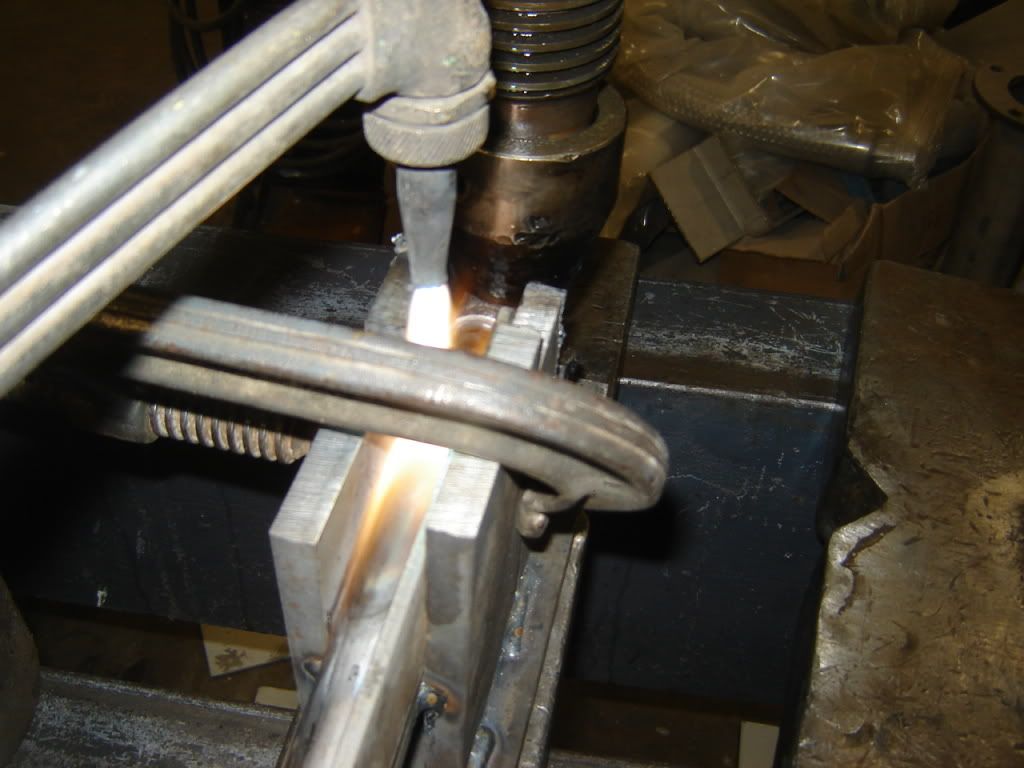
              So tonight I decided that I was going to replace the tube so I built a jig by laying a piece of flat stock under the good frame tube and tracing the profile on it it with a chalk. Then I cut it out on a band saw and wrapped a piece of 1" x 1/2 flat stock over it to reinforce it. Then I put sides on it to keep the tub from squashing out. I made some pushing blocks to prevent the press from leaving marks on the tube and I proceeded to heat and bend - and hold my breath that it would not squash too bad.


              I could not have been happier with the results. It came out almost perfect and it only squashed out .015" and when I measured the OEM tube that was almost exactly what happened to them too.

              Here is the tube laid over the good right side tube.


              Here it is laid over the tube it will replace and you can now see exactly what was bugging about this frame for the last month.


              My next posts will be about doing the actual replacement. I first have to build a jig to hold the rear exactly where it is so when I remove the tube it will not be able to shift around.


              Jerry
              Last edited by Jerry Wieland; 03-18-2012, 11:42 PM.

              Comment


              • #37
                Thanks for taking us through the process Jerry. I always look forward to your updates.
                Cory Othen
                Membership#10953

                Comment


                • #38
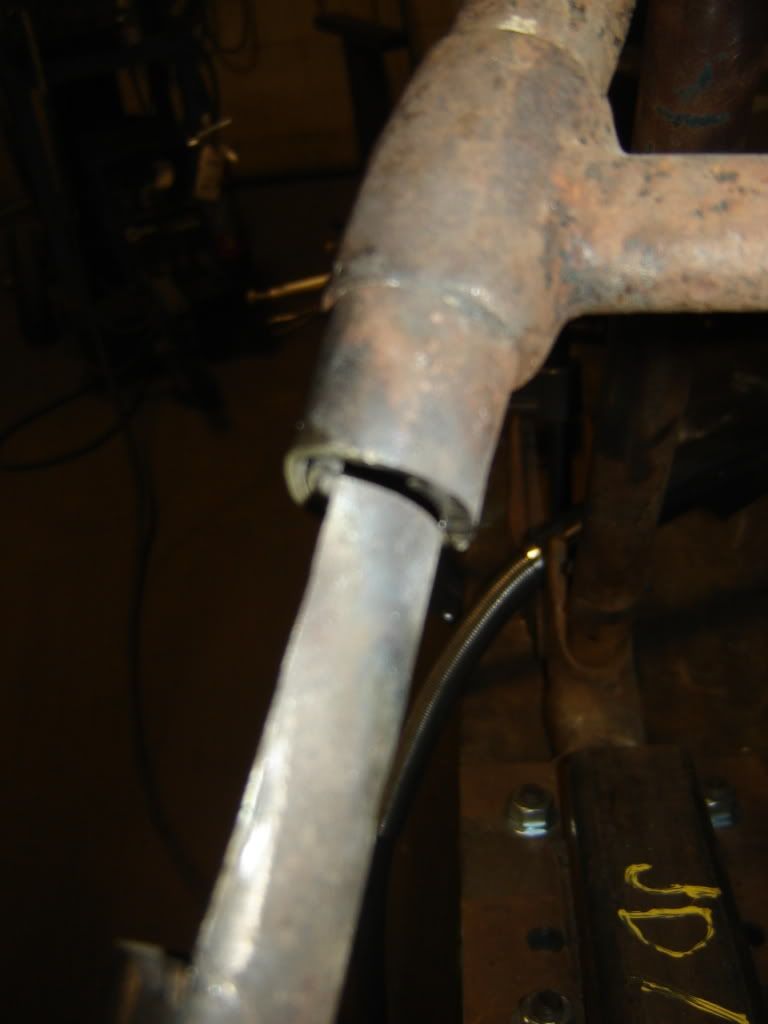
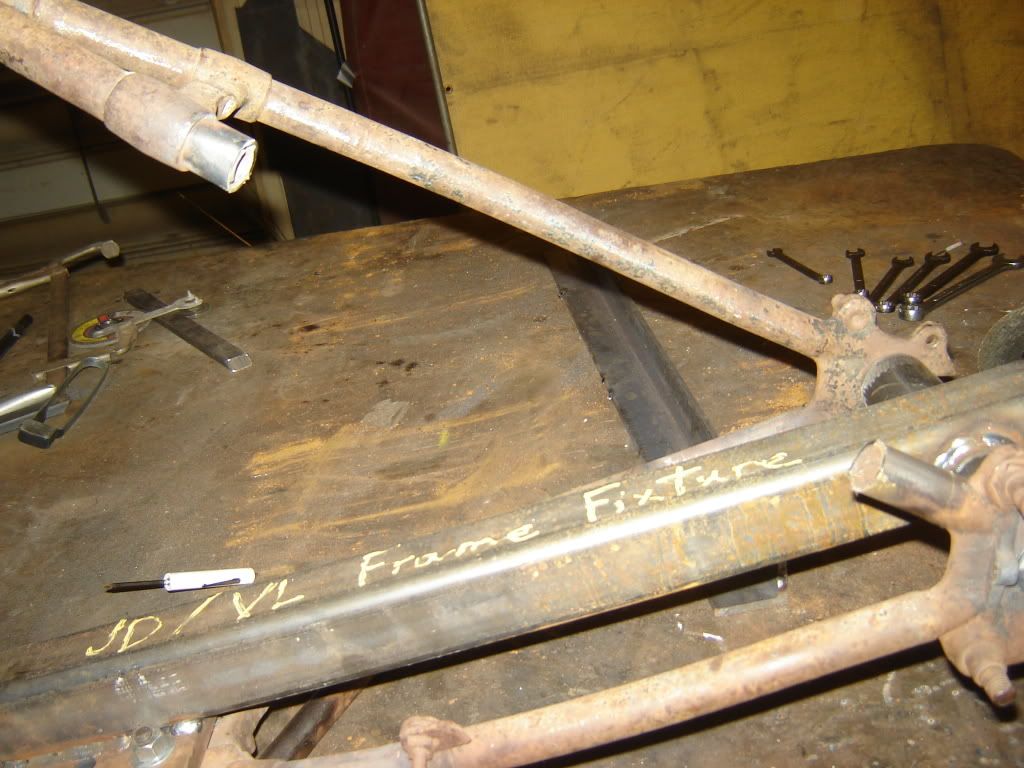
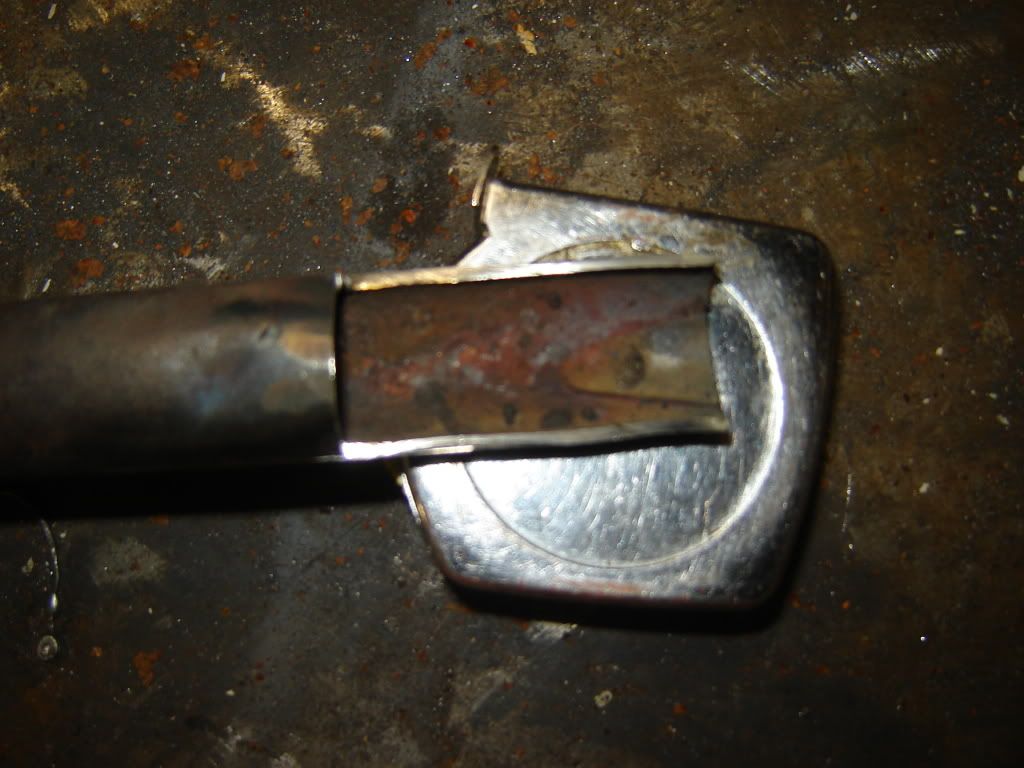
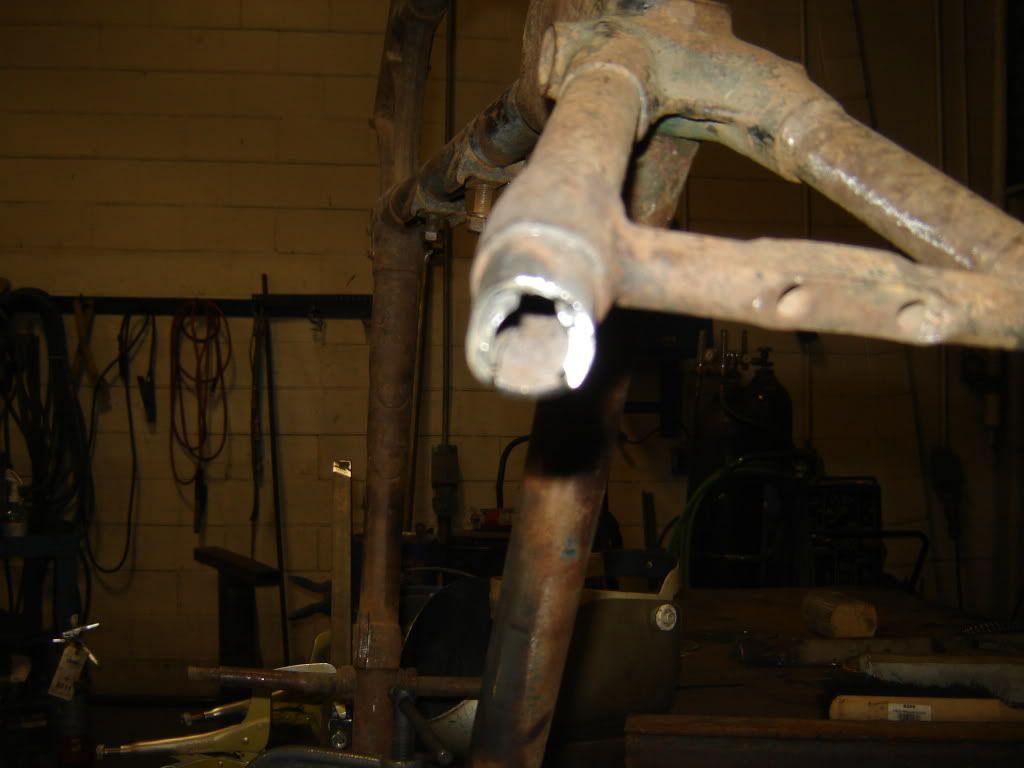
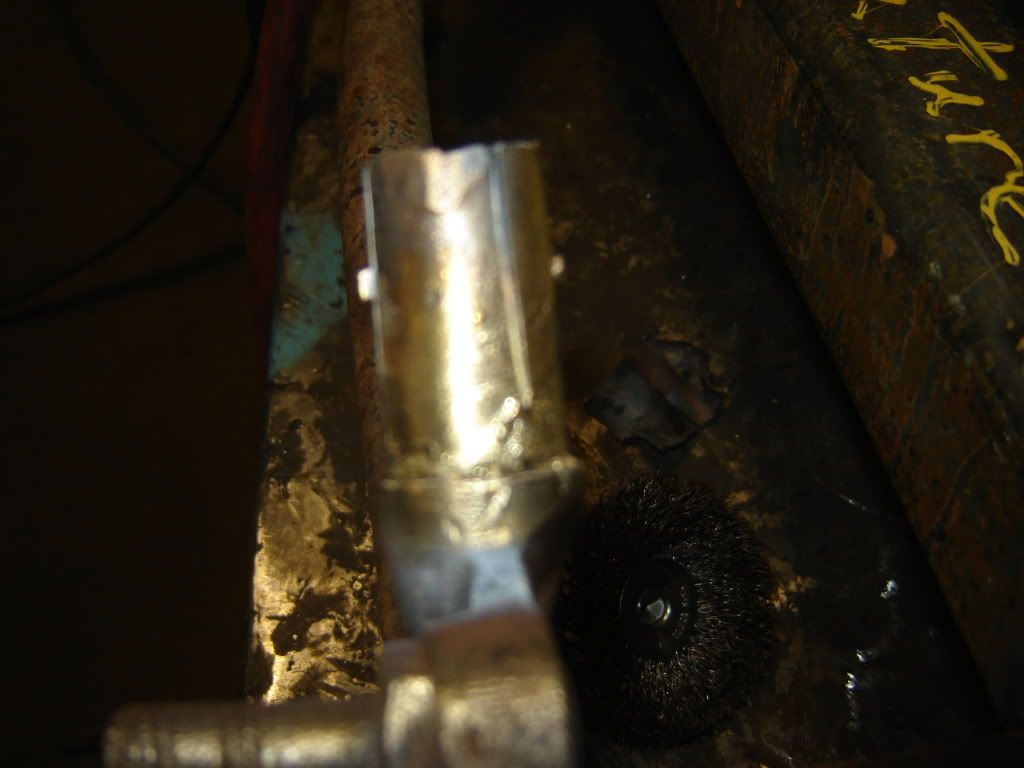
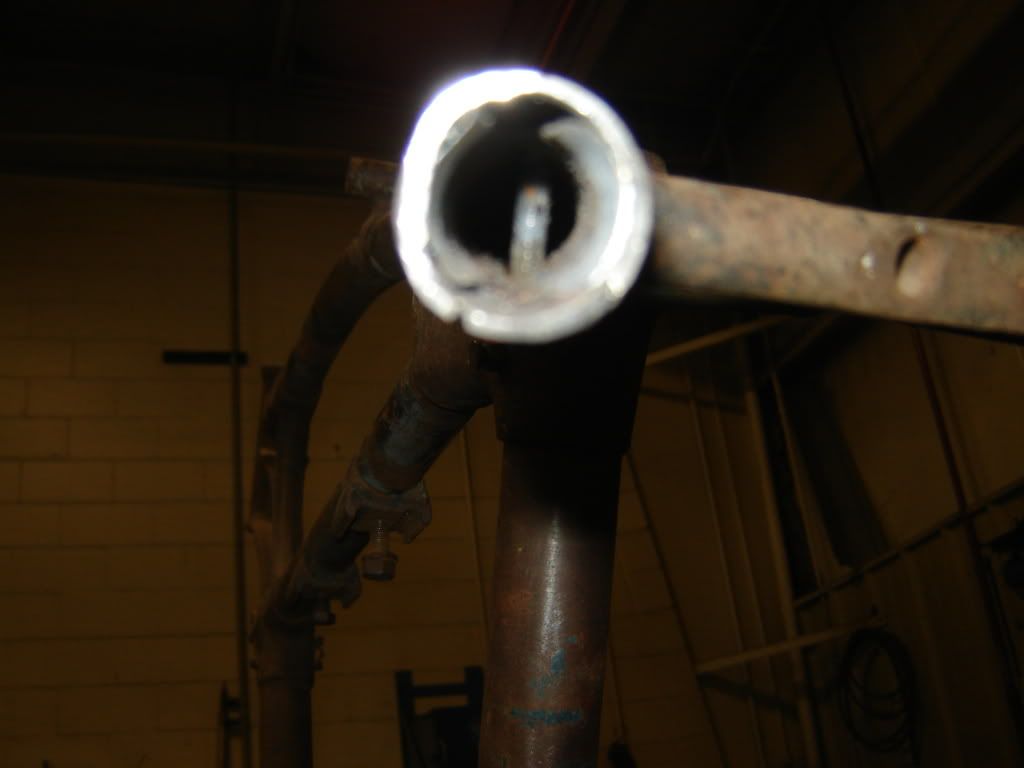
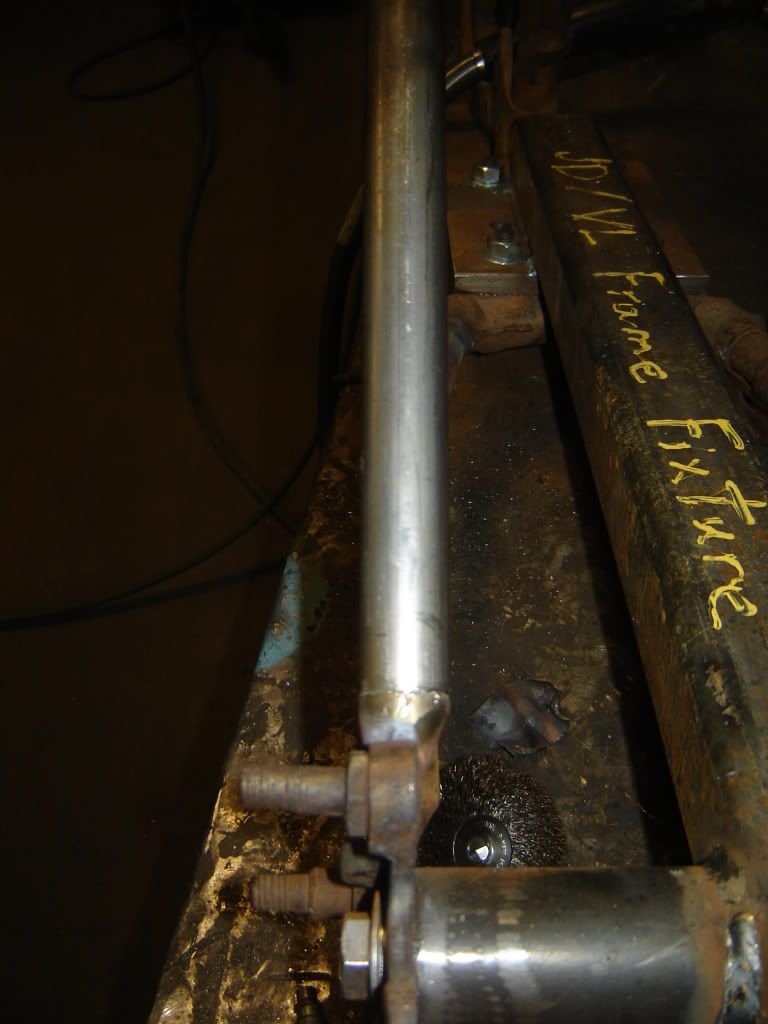
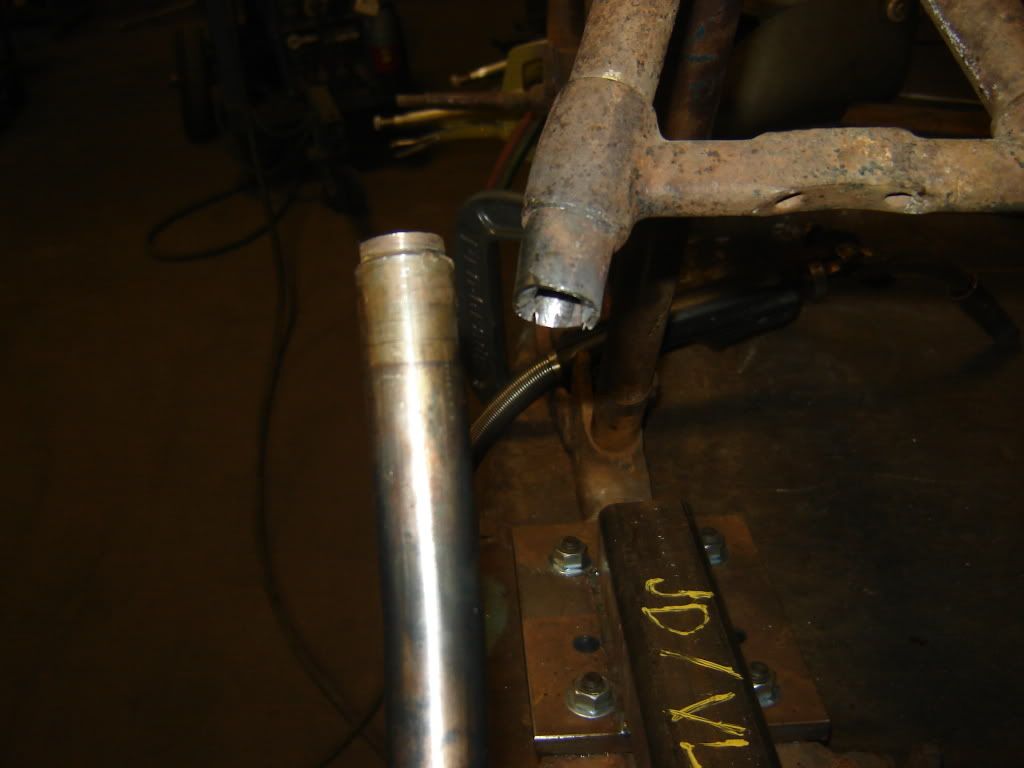
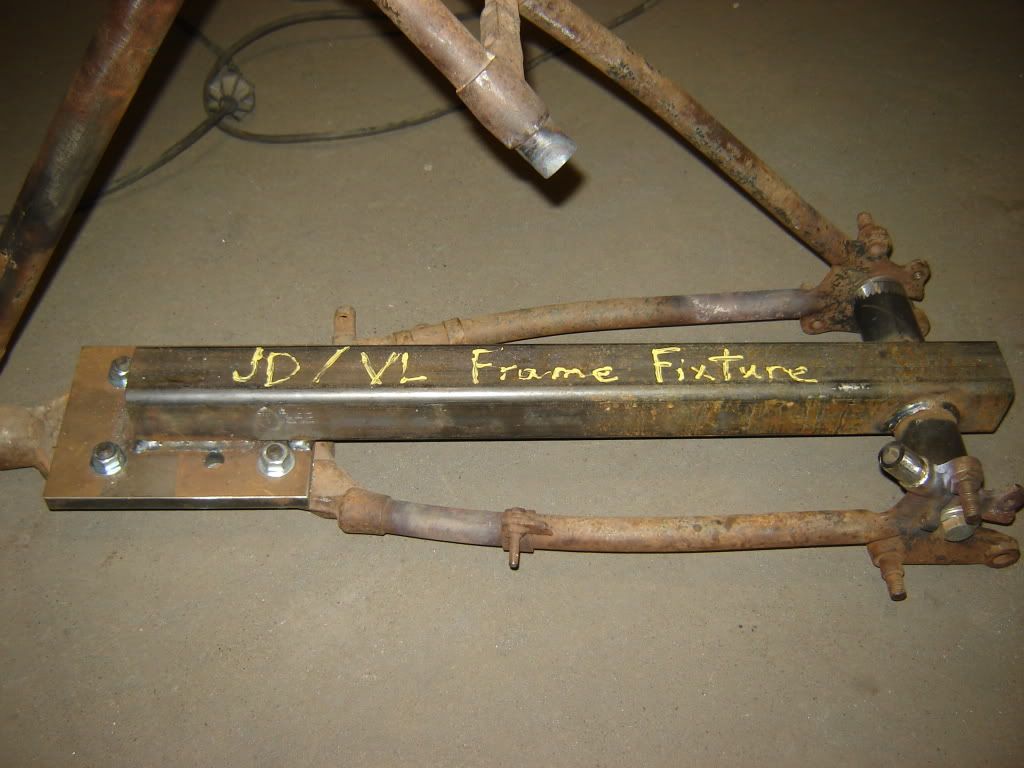
                  Finished building the fixture to hold the rear frame stays while I proceeded with the replacement of the left upper hardtail tube. Forgot to take a picture of the fixture but will get one later but basically it ties the 2 frame stays together and mounts off of the tranny plate. When I finished cutting the upper tube with a cutoff die grinder it shifted about 1/8" outward which is actually less than I expected.


                  These frames have the same basic construction concepts as the VL, knuckle and 48 pan. The are sleeved at the perceived stress points and pinned at the joints. Knucklehead frames are assembled with a sleeve of brass in the joint to facilitate brazing but that does no appear to be the case with a JD frame. They must have sweated the brass all the way from the seam of the joint.


                  Once I got the tube cut out I cleaned up the joints and then trial fit the tube one end at a time. The upper tube was slightly squashed so I had to build a tapered punch that rounded it out after I heated the tuve to low glow red. Next I will have to probably loosen the fixture from the left rear stay and spread it just enough to get the new tube in. I am going to have to rebraze the bottom joint because there is entirely too much brass to try to weld it. The upper joint I am hoping to be able to tig weld. Hopefully there is no brass close to the joint that can get in the weld.


                  That will be all until tomorrow when hopefully the tube fits in. Jerry
                  Last edited by Jerry Wieland; 03-27-2012, 11:39 PM.

                  Comment


                  • #39
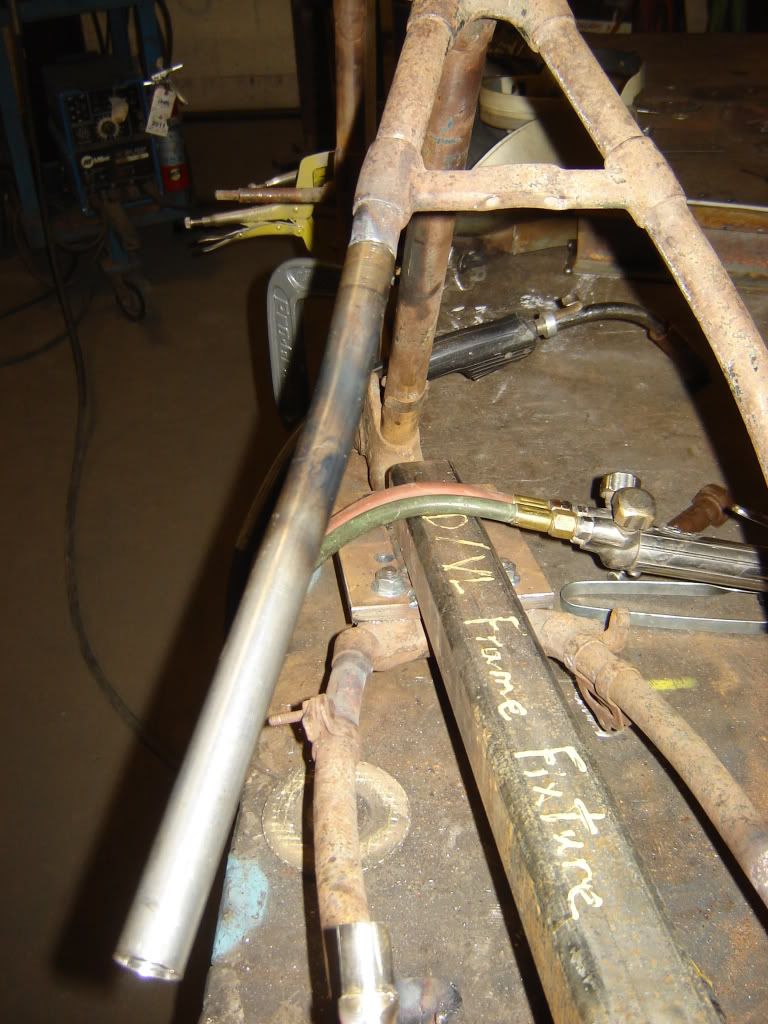
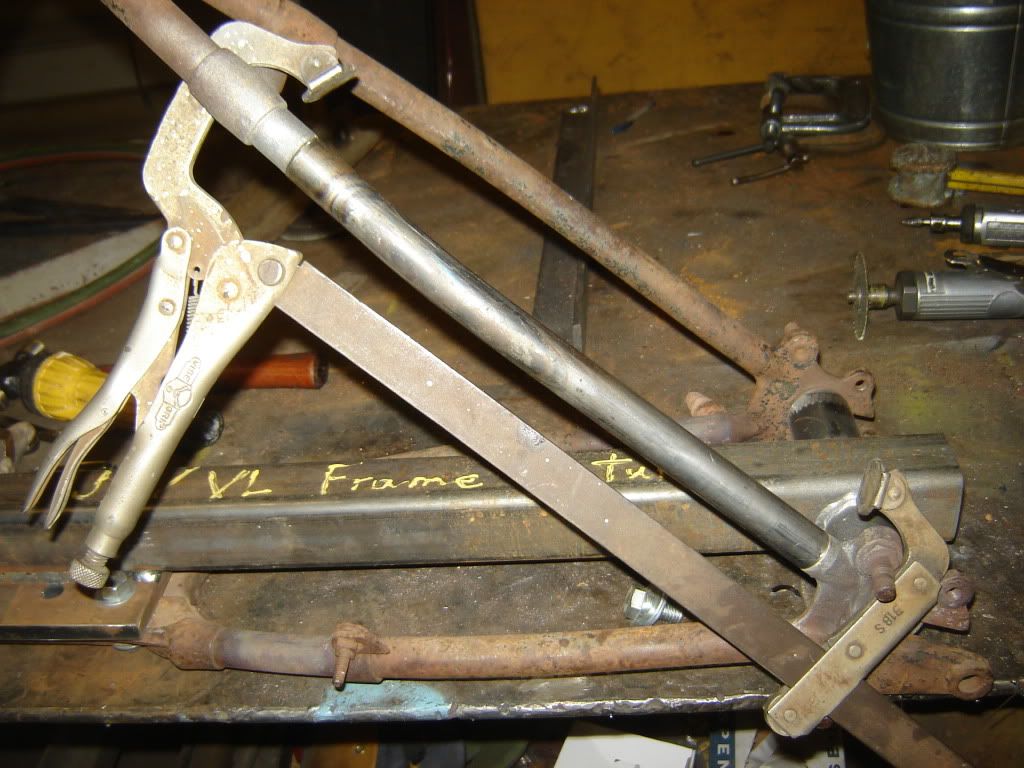
                    Here is the picture of the fixture I built to hole the JD frame stable while I cut out the original tube and got the replacement tube in place.


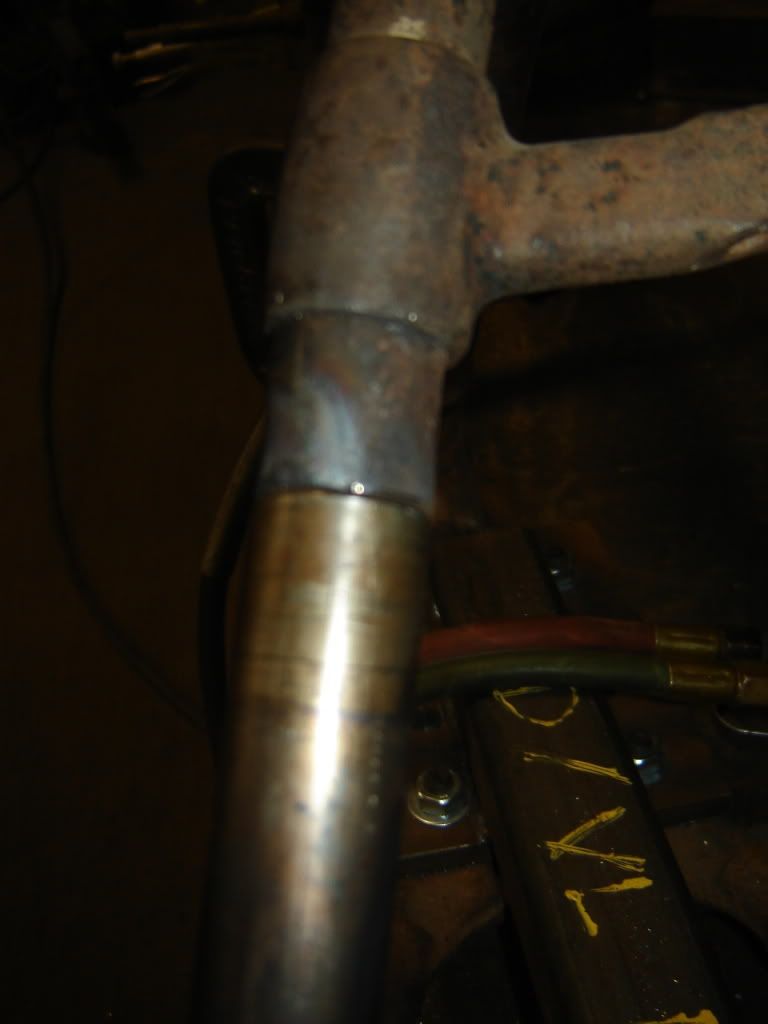
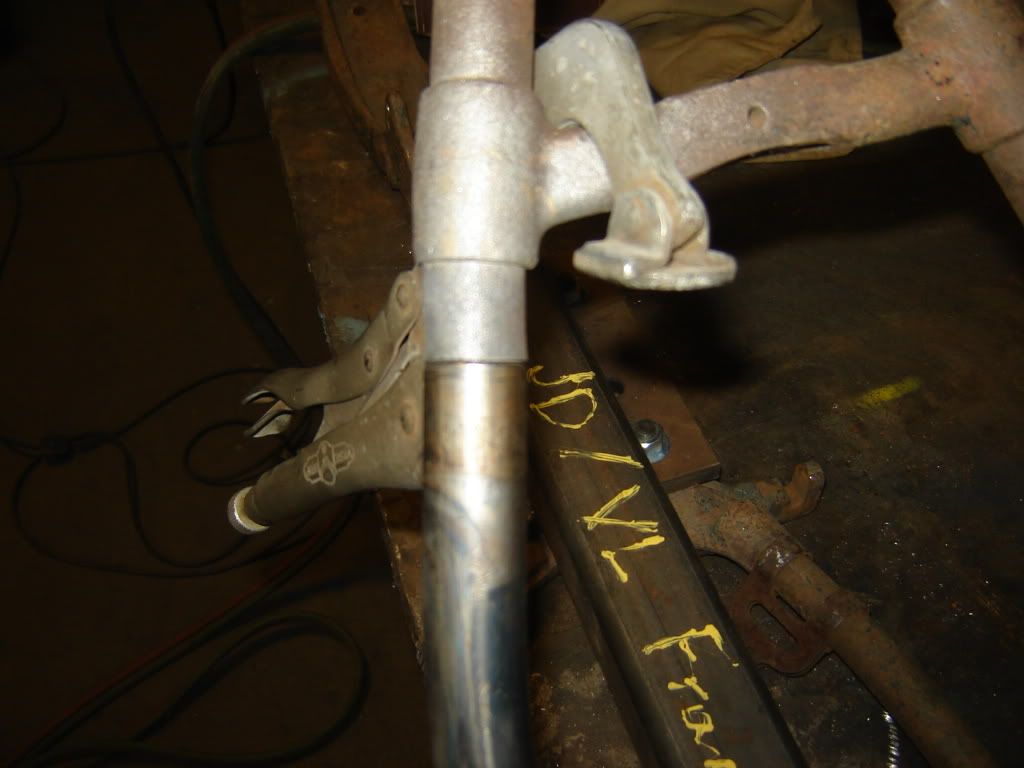
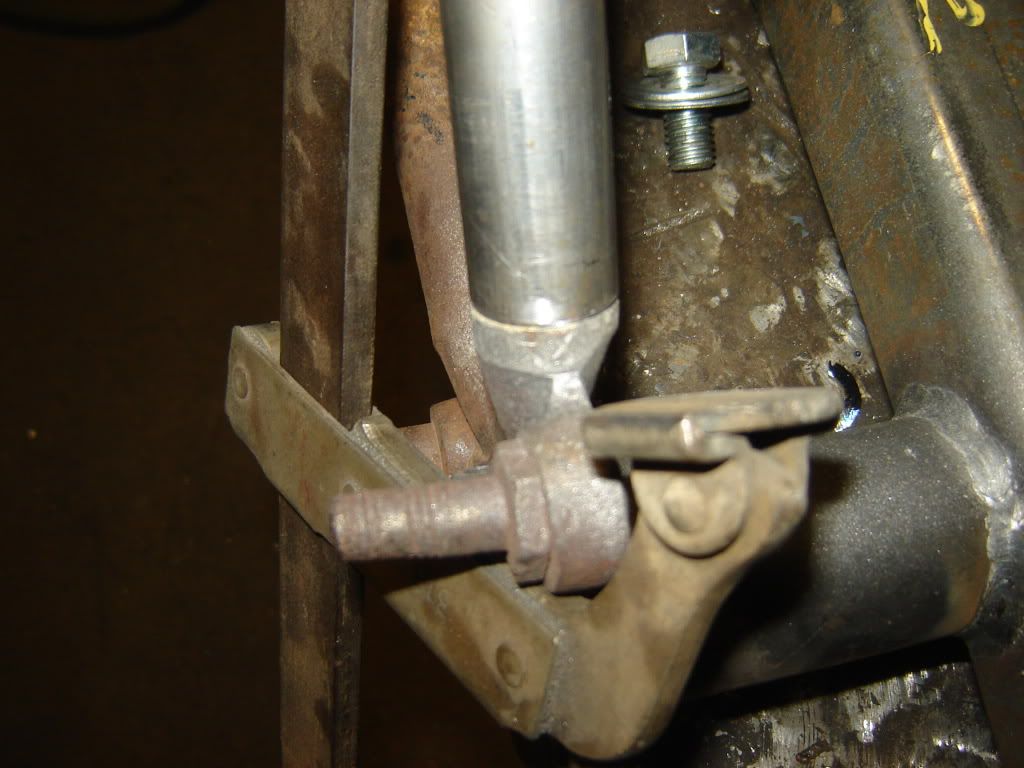
                    I got the tube in with a little help from a bronze hammer and a Vise-Grip sliding bar clamp and by loosening the fixture bolt and pushing the frame stay downward ever so slightly. Then I had to do all my measurements again just to verify that everything was back where it belonged. These JD frame are real flimsy when compared to a knucklehead frame. The smaller tubes have a wall thickness of 1/16" and the seat post has a wall thickness of 3/32". The tube I used for the replacement has a wall thickness of 3/32" so I could cut a shoulder in it and get a slip fit.

                    Then I plug welded the bottom so that when I braze it, the tube will stay exactly where I need it. I guess that my plug welds do the same job that the pins did for HD.


                    I should also add that I sand blasted the frame in the areas that I plan on brazing and welding.

                    I run out of time so the actual brazing will probably be this weekend. Jerry
                    Last edited by Jerry Wieland; 03-29-2012, 11:20 PM.

                    Comment


                    • #40
                      Thanks for posting this stuff Jerry. I'm a learnin'...
                      Cory Othen
                      Membership#10953

                      Comment


                      • #41
                        Nice work, wish I had the space for a shop like yours.

                        Comment


                        • #42
                          Ric It isn't like it just showed up yesterday. I have been accumulating shop machinery for the better part of 40 years. It started when I was 14 on the family farm when I bought my first acetylene torch - but that is a story all its' own. It is only just starting to come all together.

                          Comment


                          • #43
                            I got a little more done this weekend but pictures can wait. I need to know the original paint or plating that was on the following pieces for a 1925 JD.

                            -springer rocker studs
                            -side control straps and foot levers
                            -rear brakedrum
                            -rear brake band
                            -rear brake lever
                            -shifting rods and tower and mounting bracket
                            -sprockets
                            -transmission lid

                            I am sure that I have more but that is what comes to mind right now.

                            Thanks in advance, Jerry

                            Comment


                            • #44
                              Not a single person knows what the OEM finish is of the items in question? Well I guess I am not going to let it stop me.

                              Jerry

                              Comment


                              • #45
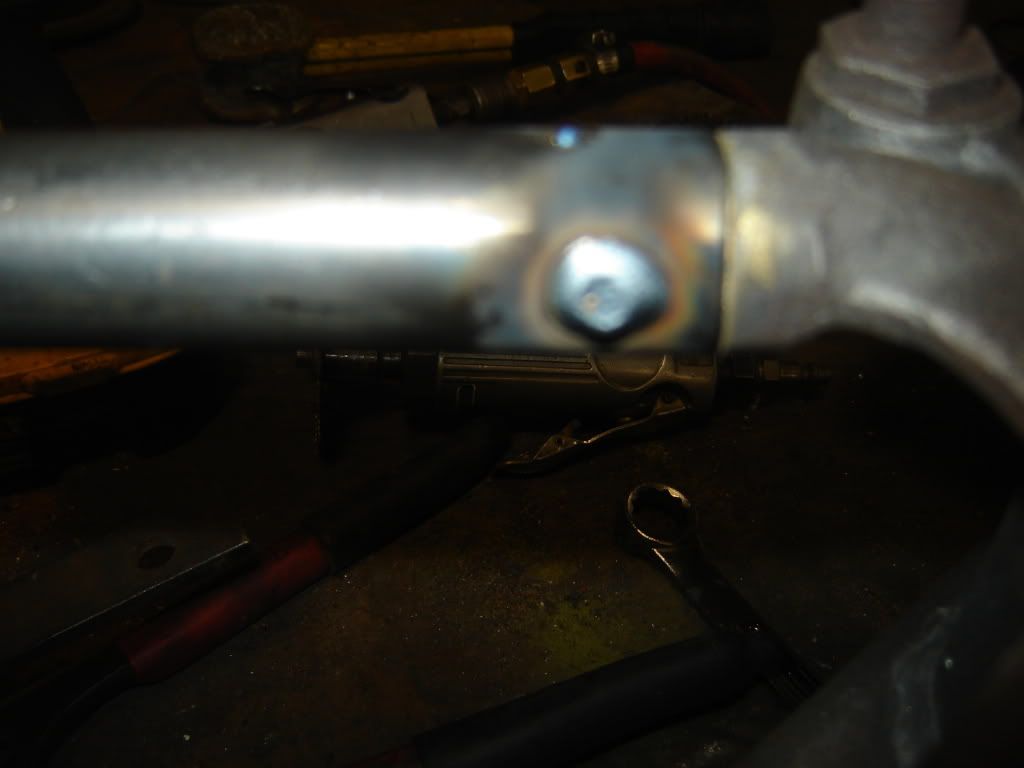
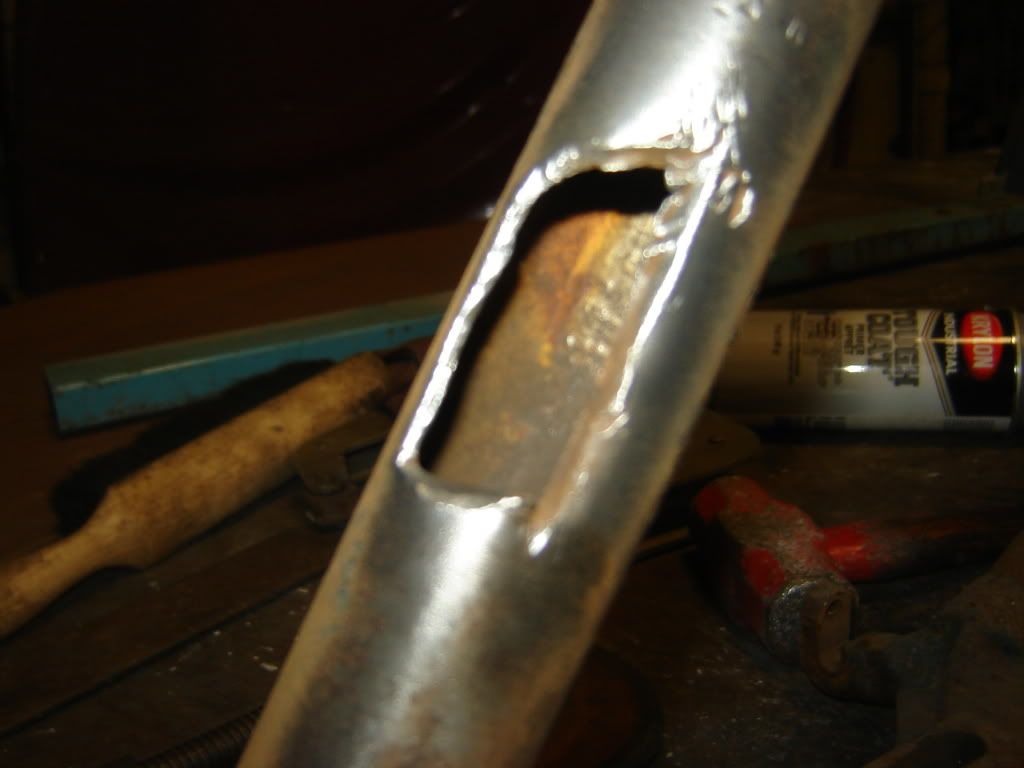
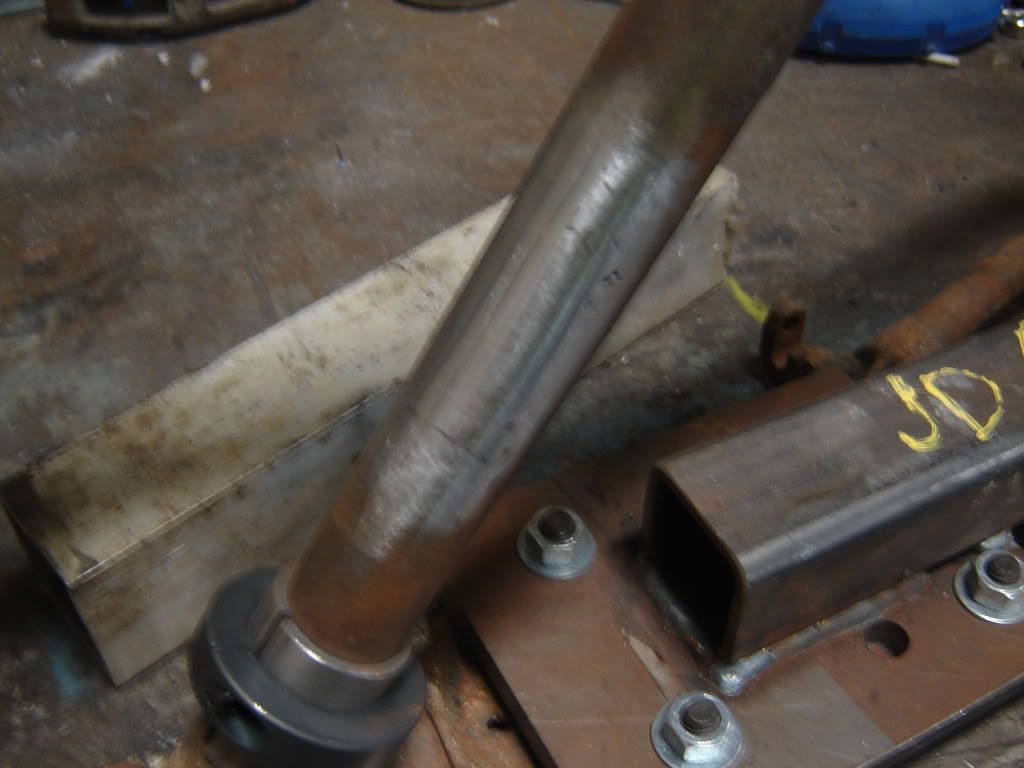
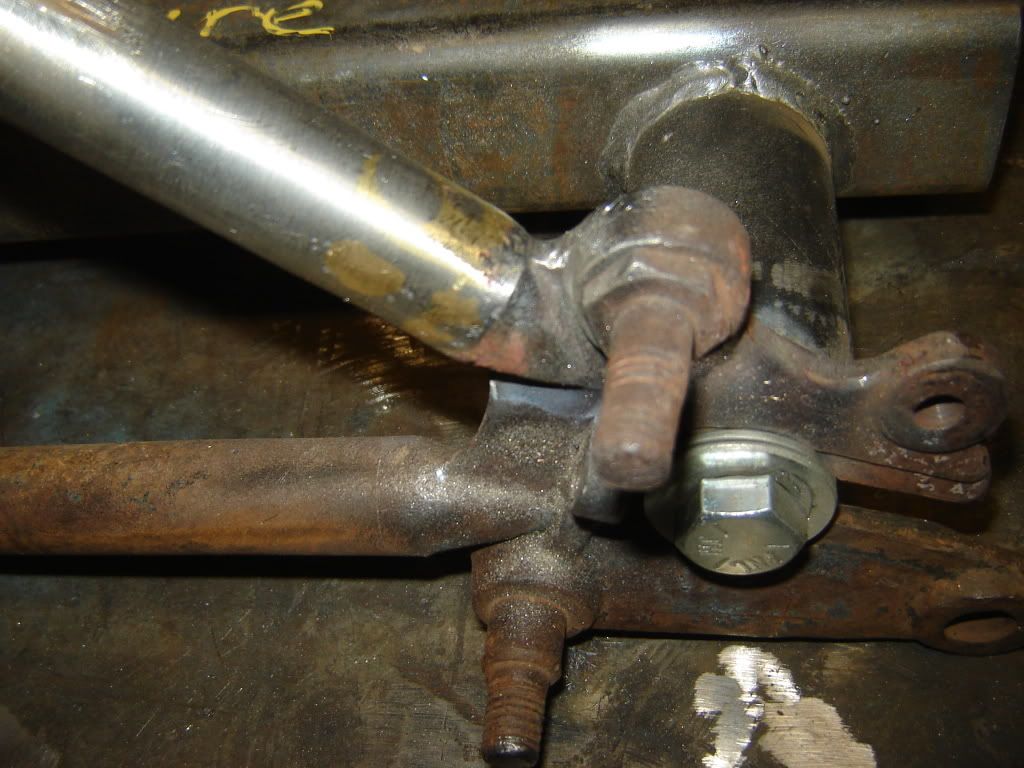
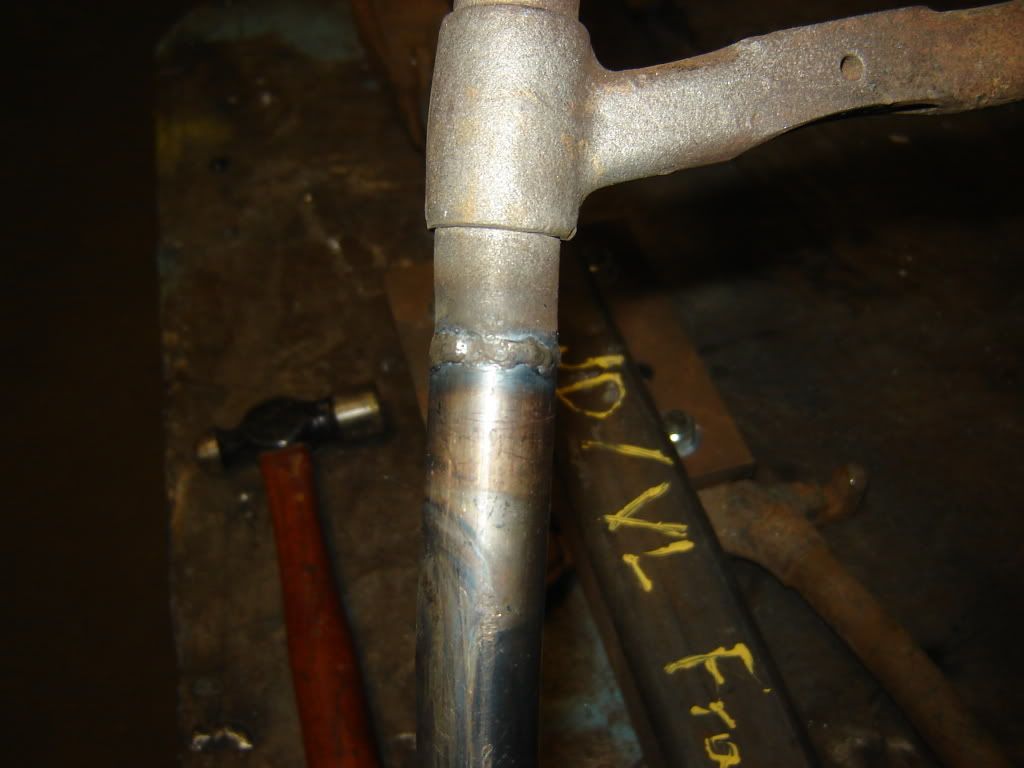
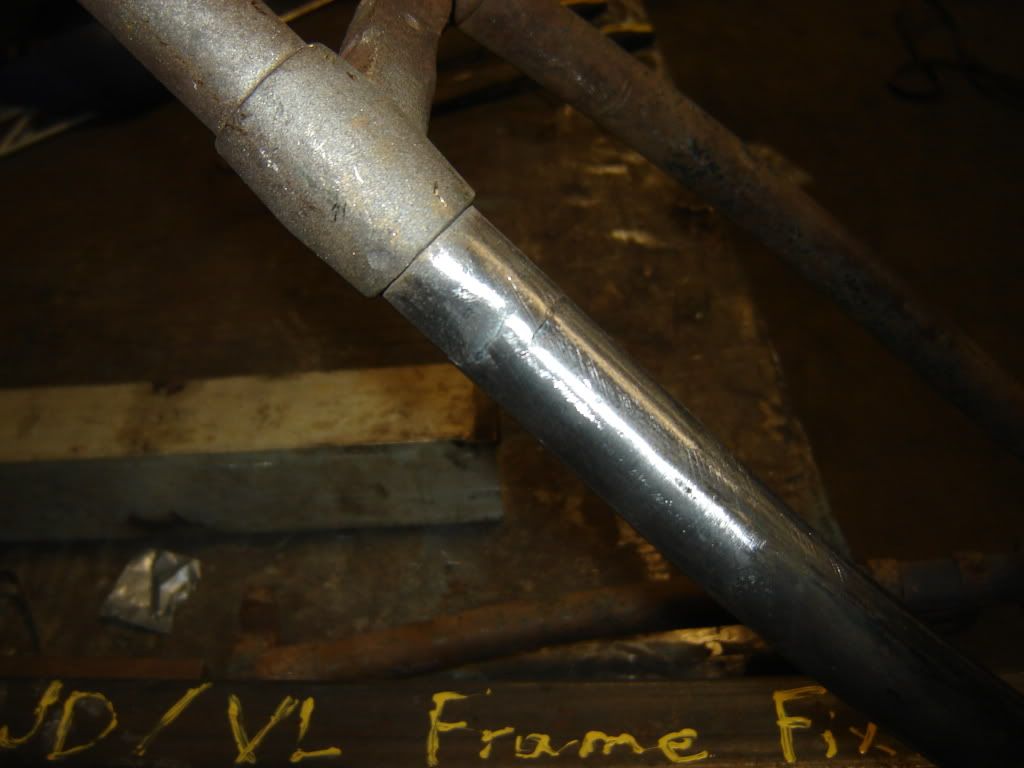
                                These are the pictures I took the other night of the work I got done. I forgot to take a picture of the brass sweat joint before I cleaned/finished it off. I filed off the excess weld and then 'buffed' with a floppy disc grinder using a worn disc of the finest grit I could find so as not to cut in the metal too much. Not good for removing high spots because they conform to the surface and remove metal from a wide area whether you want to or not, but excellent for removing file marks.

                                Chunk missing from seat post before:


                                After:


                                Rear upper frame stay before:


                                After:


                                On the upper joint I have a bit of a low spot on the old original part of the tube, I knew this but did not dare get any closer to the brass joint of the cross piece for fear of getting brass inclusion in the tig weld. I haven't figured out what to do about the low spot yet. My options are weld it in, braze it in or body filler. The last is the least desireable to me.

                                Some of the joints appear to have more distortion than there is probably due to camera flash.

                                Jerry
                                Last edited by Jerry Wieland; 04-06-2012, 06:12 PM.

                                Comment

                                Working...
                                X