 Tweet
Tweet
I am currently on a mission to build a 1925 JD to run in the 2012 Cannonball Run. When I was given it 30 years ago it was mostly complete but taken somewhat apart. Over the years a lot of it got away from me for various reasons. This is a picture of most of what I had before Davenport. At Davenport and shortly after I added most everything I need except a left side foot control.
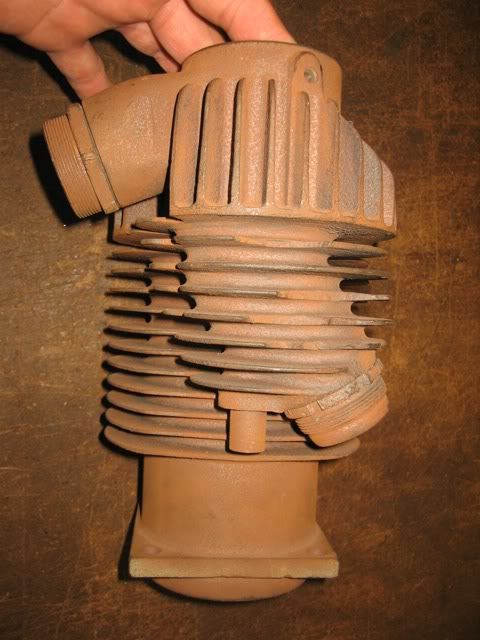
I am currently trying to fit the engine to the frame and found out one of the at least 2 reasons it was taken apart sometime before WW2. The engine had come loose in the frame and the motor mount tabs are worn. The original thickness seems to have been about .500 of an inch (1/2 inch). The front motor mount is worm almost .040" and when I pull the rear bolts tight the front mount is about .060 from the frame tab. I suspect that the additional .020" is caused by uneven wear on the rear mount pulling the case to the right.
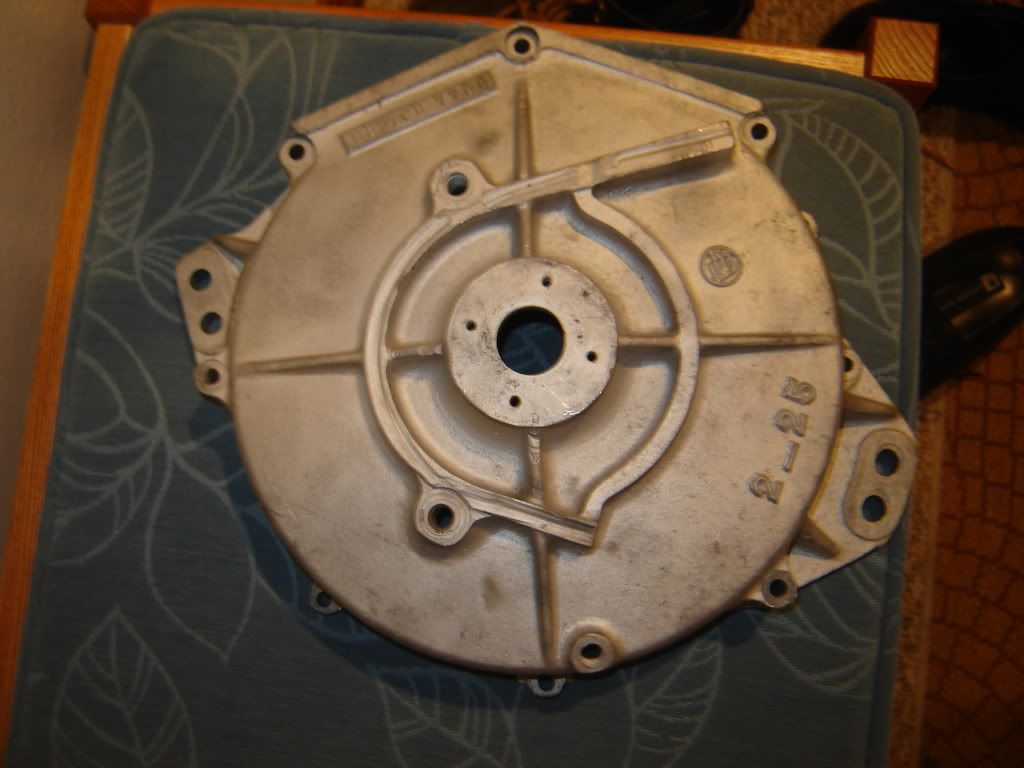
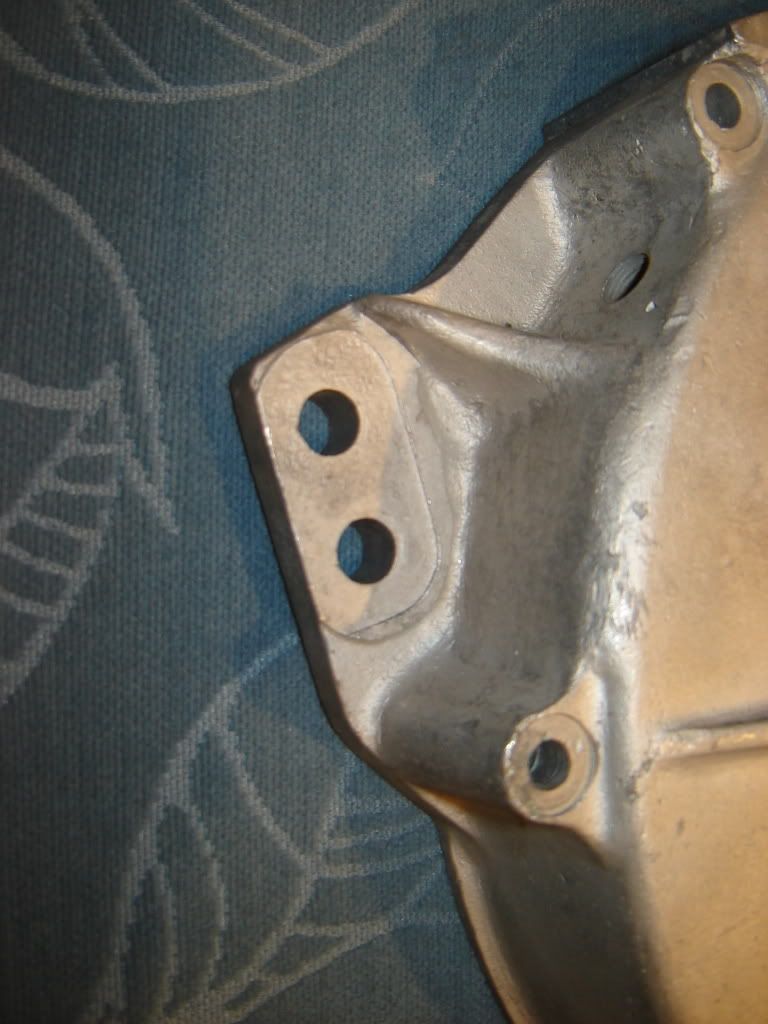
Front engine tab:
Rear engine tab:
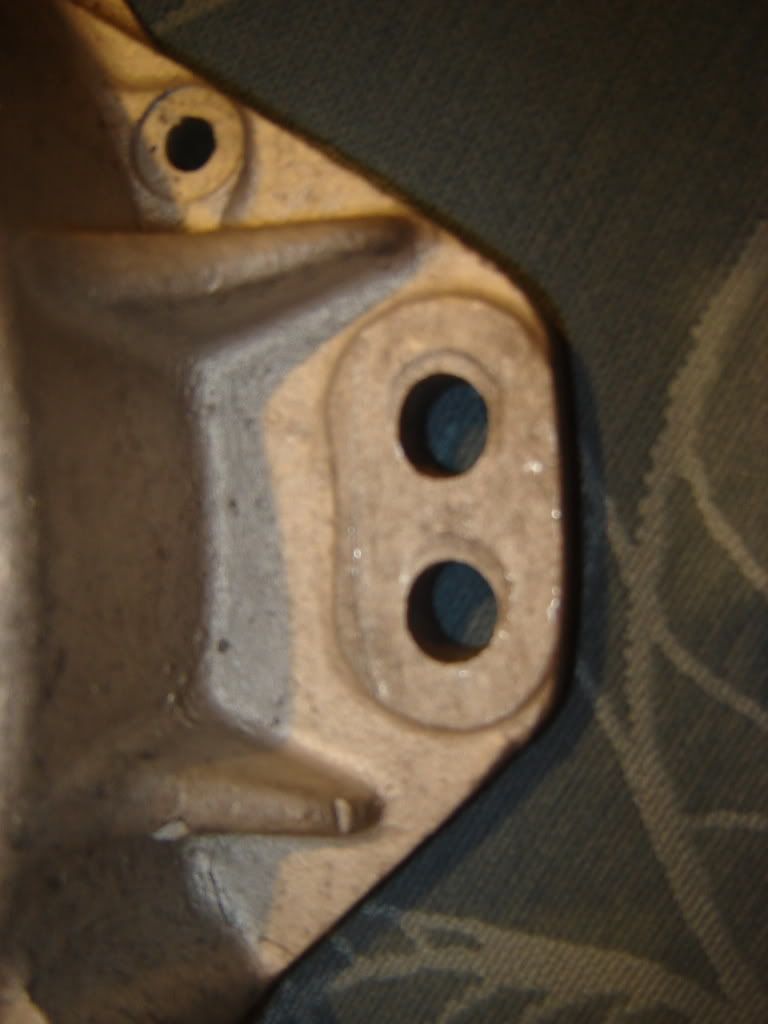
I also have the problem of the holes being wollered out on the rear tab. My question is - what is the recommended fix for these tabs. All opinions welcomed.
Jerry
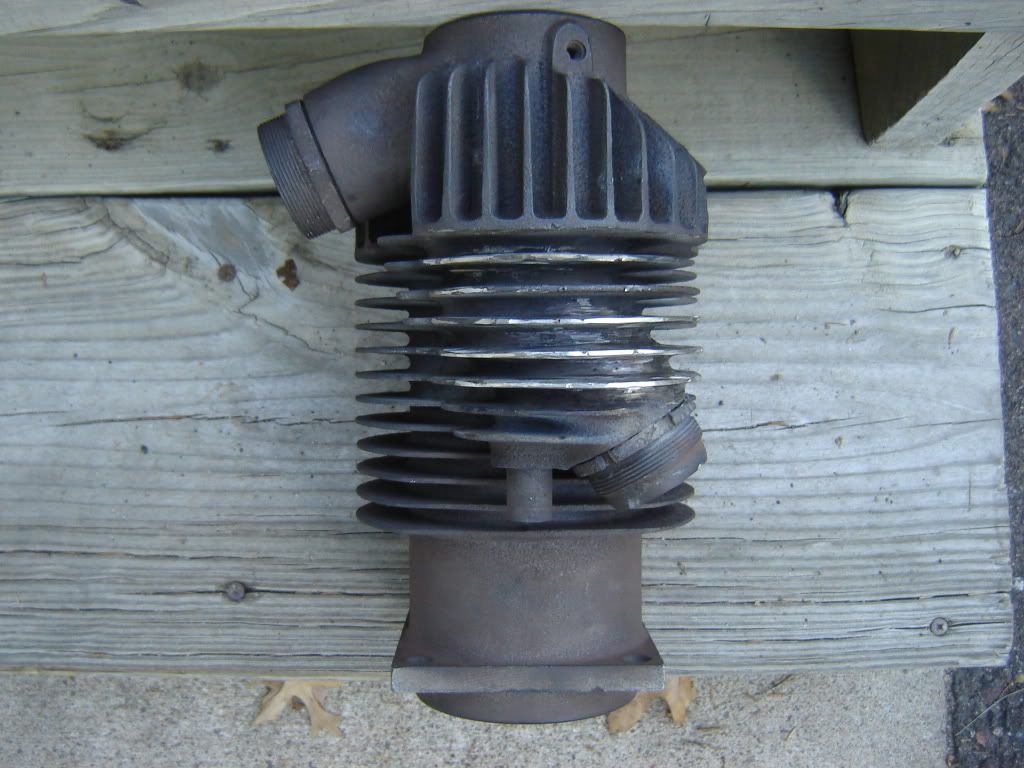
I am currently trying to fit the engine to the frame and found out one of the at least 2 reasons it was taken apart sometime before WW2. The engine had come loose in the frame and the motor mount tabs are worn. The original thickness seems to have been about .500 of an inch (1/2 inch). The front motor mount is worm almost .040" and when I pull the rear bolts tight the front mount is about .060 from the frame tab. I suspect that the additional .020" is caused by uneven wear on the rear mount pulling the case to the right.
Front engine tab:
Rear engine tab:
I also have the problem of the holes being wollered out on the rear tab. My question is - what is the recommended fix for these tabs. All opinions welcomed.
Jerry
Comment