Announcement

Collapse
No announcement yet.

Ryan's A.M.C.A. Giveaway bike build!

Collapse
X
 
  • Filter
  • Time
  • Show
Clear All
new posts

  • Ryan Mackey
    replied
    Matt I have a couple of those #25350-37 NOS breather valves. I will get one into the mail for you guys first thing Saturday AM.
    Thanks a lot. I really appreciate it. This is so amazing to me, what other group could get enough guys to donate parts to give away a bike like this...you guys are great!

    Matt Ryan and of course Carl
    You guy are doing a great job. The speed which your are moving along is impressive.
    Keep it comming.
    Joe
    Thanks Joe, we are all surprised at how much is getting done.

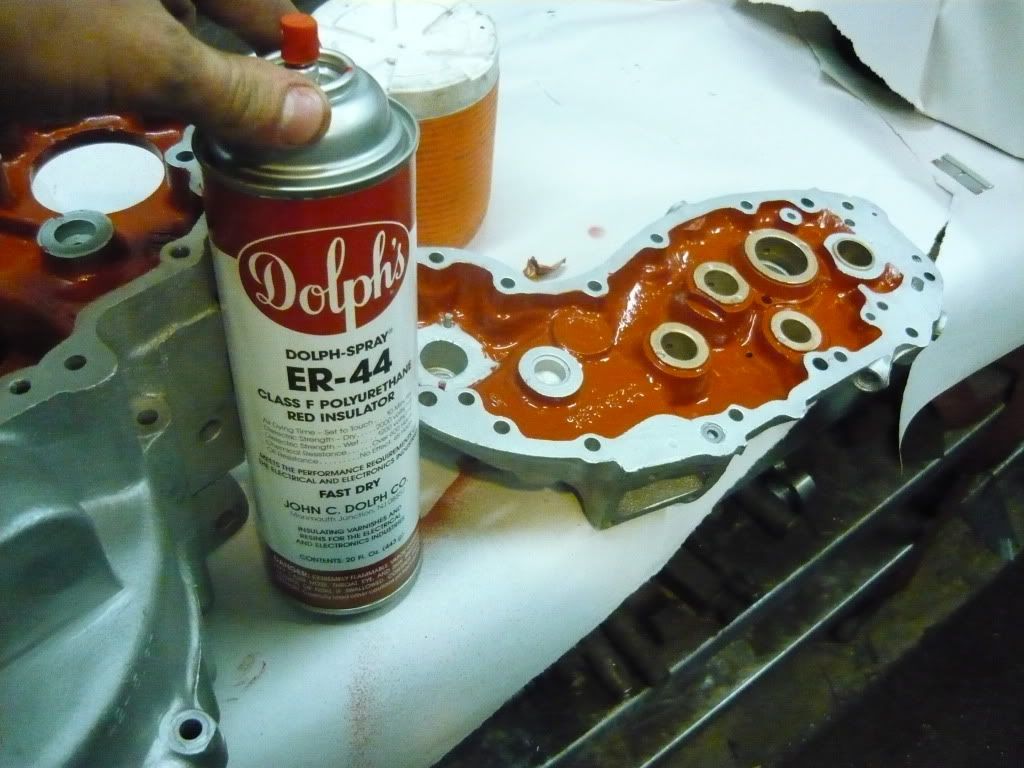
    i might have missed this earlier in the post, but, what is the purpose of using an electrical insulator inside the cases of the engine? keep up the good work.
    It is to seal the inside up so that over time, oil won't seap through the cases and discolor the outside. The way the cases were cast, there are air pockets in them which can let oil get through...I asked the same thing.

    Last night I got a cool surprise and got some aluminum heads thanks to Brian Crawford. He is another ace engine rebuilder in South Dakota that is friends with Carl. He does very good work on vintage motors. His phone number is 605-329-2805 if anyone is interested. The heads are in really good shape, there were no broken fins or anything...just need a little cleaning up and will be as good as new!
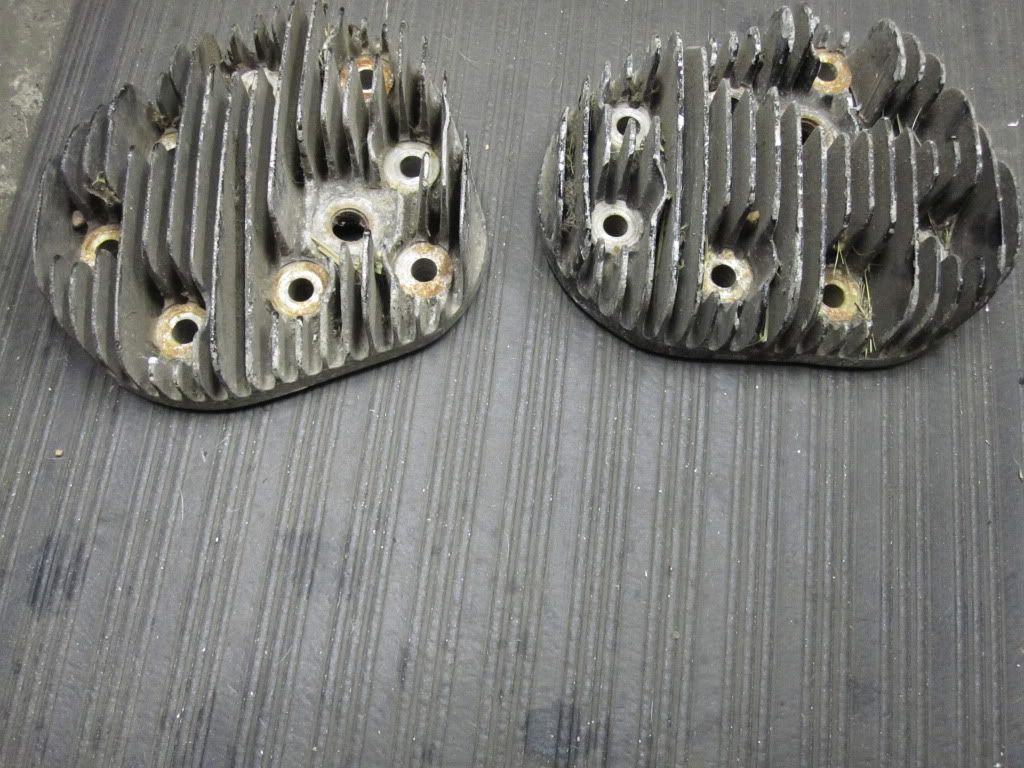

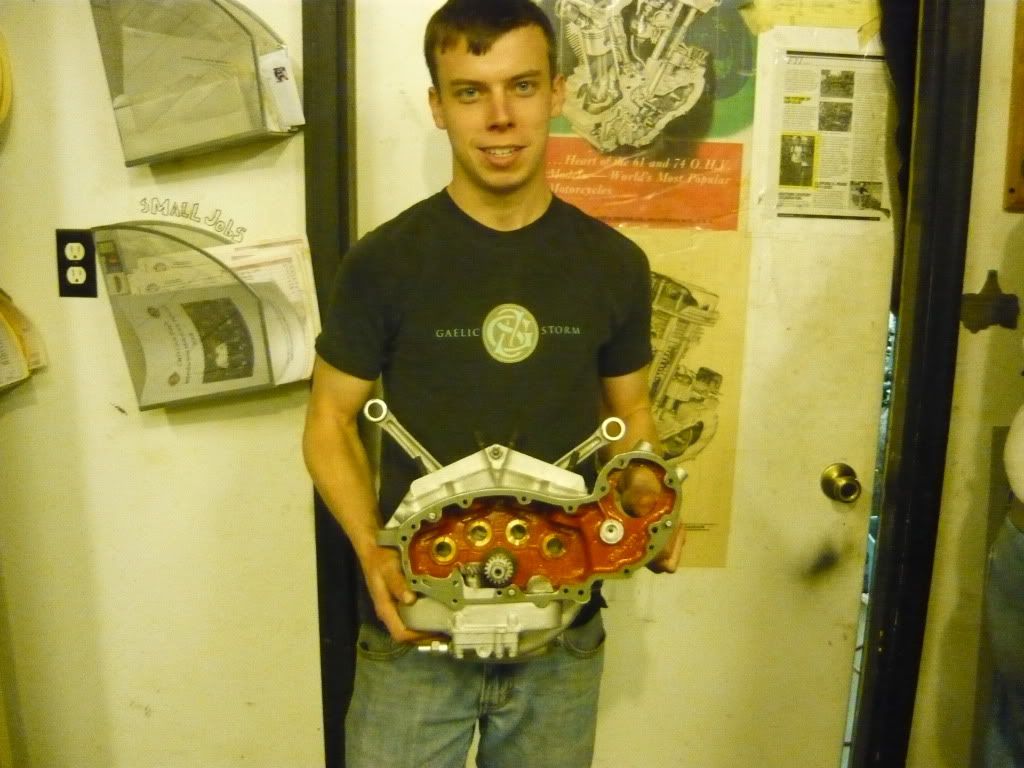
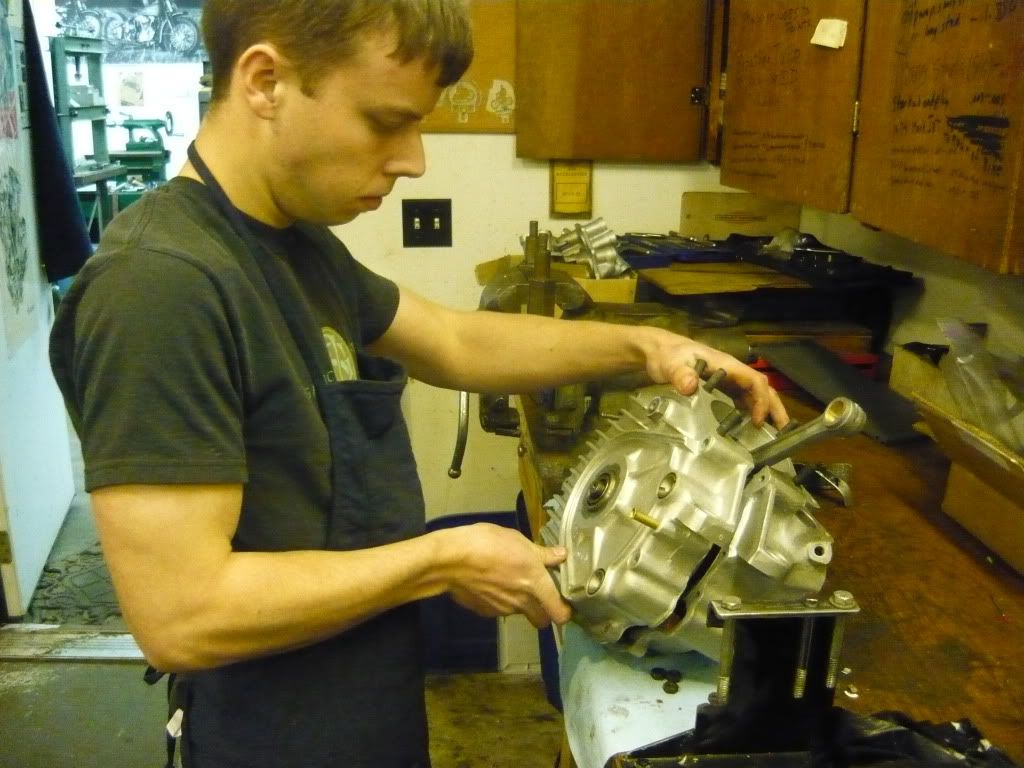
    After I got the bottom end assembled last night, Carl did a thorough inspection and heard some grinding from some grit that must have gotten missed so today I tore everything down and cleaned it really good and put it back together. Now it is really quiet and smooth. I am really glad that Carl caught, I would much rather tear it all down now than have to do it later when something breaks. I was also much more comfortable putting everything together for the second time.

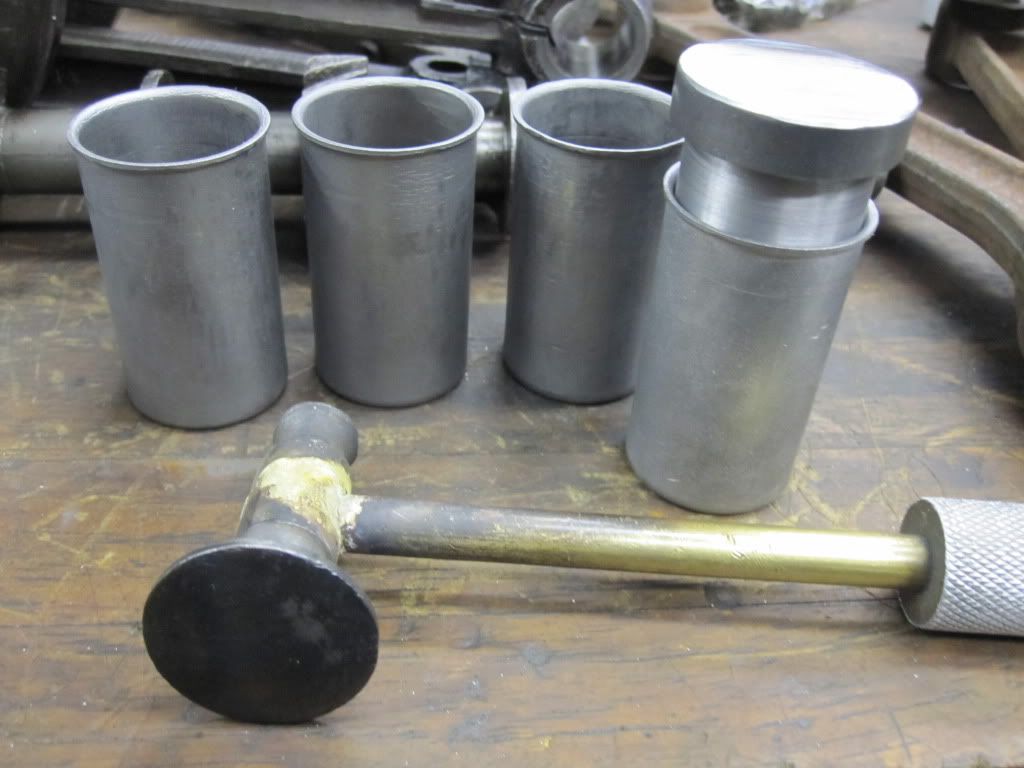
    Once everything was cleaned I straightened out the valve spring covers. You can see in the pic that they were a little rough.
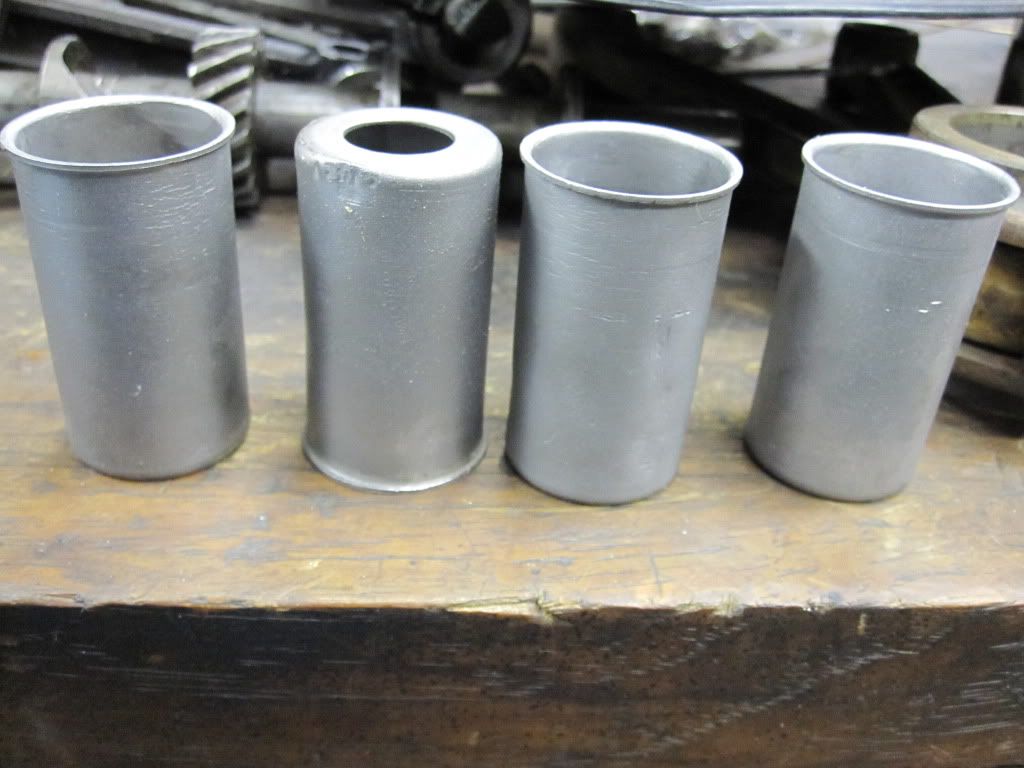

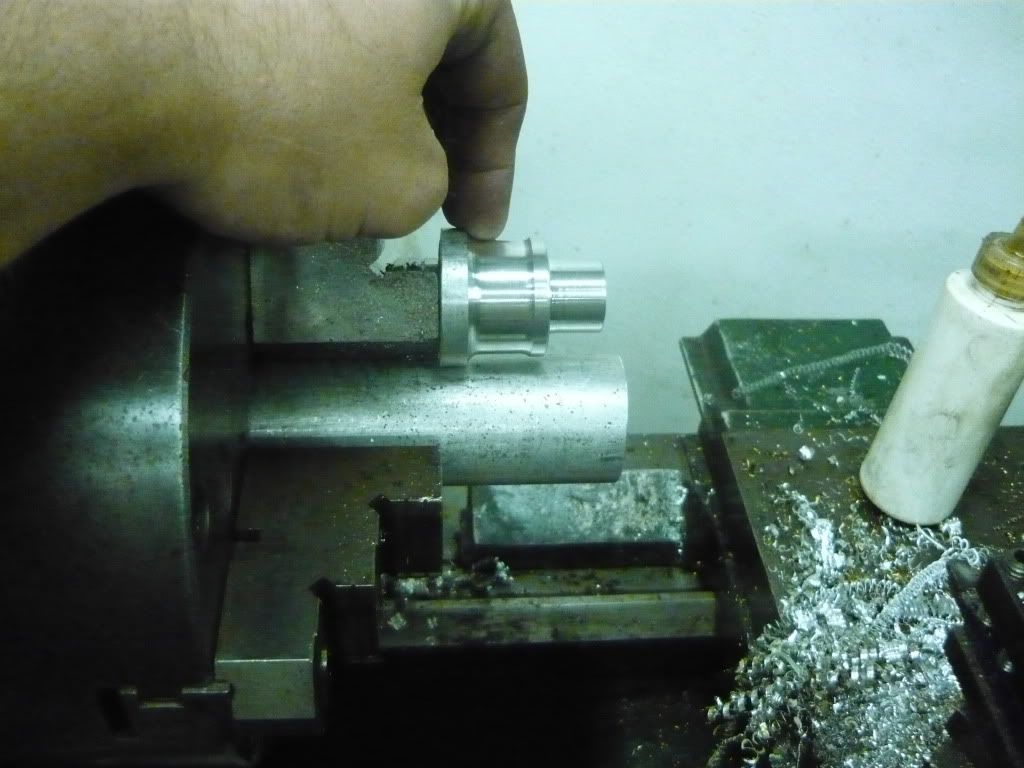
    I had to do this to make sure that there is a nice flat surface to get a good seal when everything is put together. I made an arbor on the lathe that fit snugly into the covers so that I had something to hit against and straighten everything out. Here is the arbor.
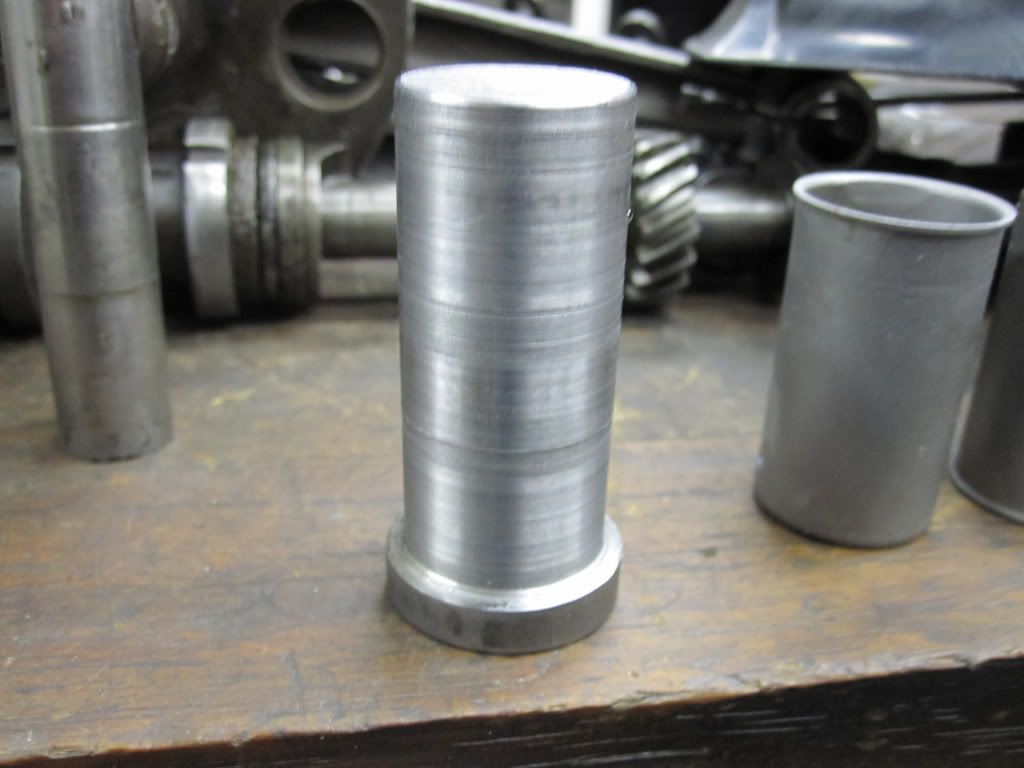

    And here they are all straightened out, you can see how the arbor fits inside.

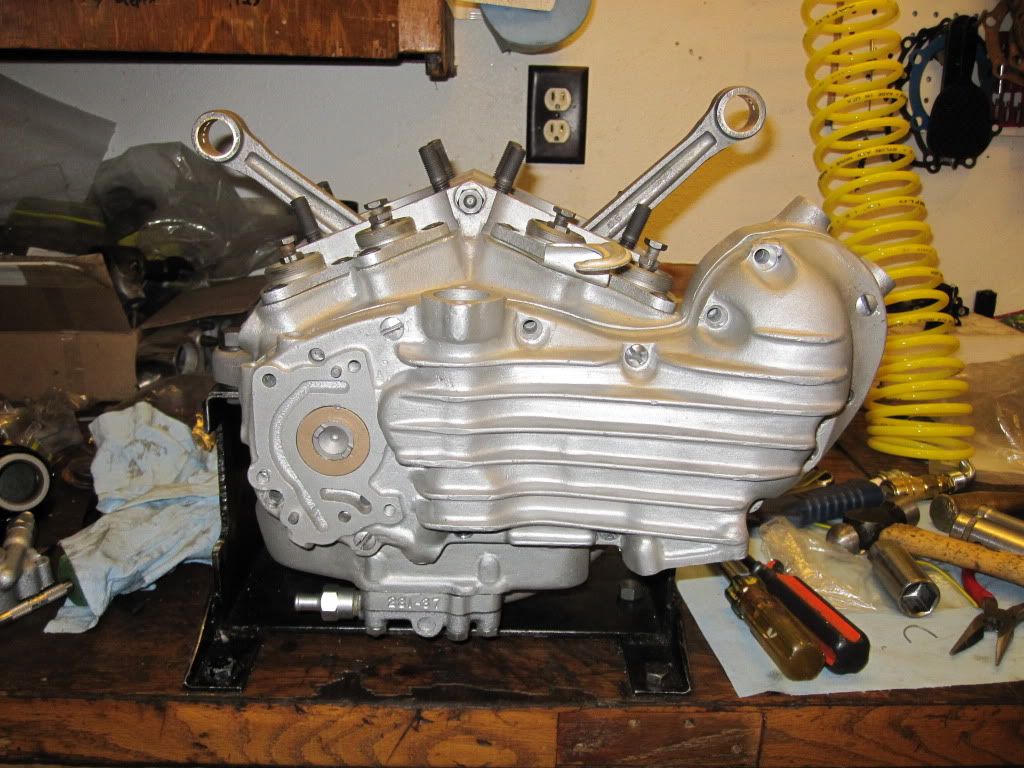
    I also got the tappet blocks installed today, its really cool to turn the motor over and see everything moving... I can't wait to fire her up!

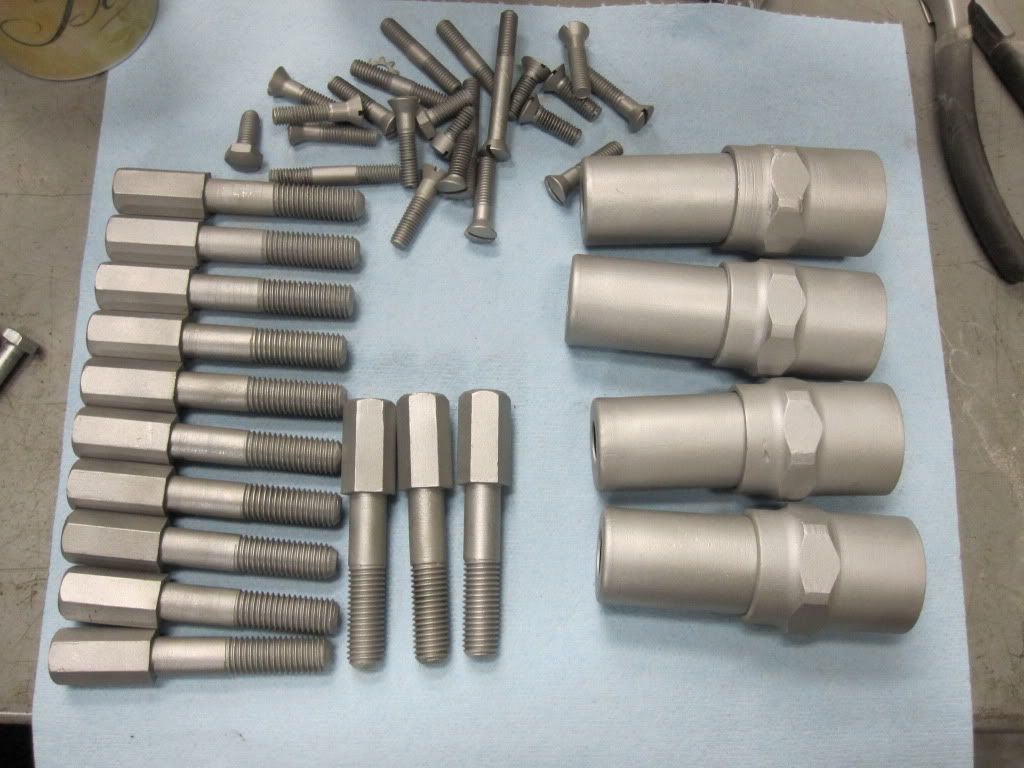
    Before we could go much further, I had to get the covers ready for parkerizing. While I was at it I cleaned up some other hardware that will be getting parkerized as well.
    Tomorrow we will do a batch of parkerizing and keep moving along on the motor.
    Last edited by Ryan Mackey; 01-01-2010, 10:57 PM.

    Leave a comment:


  • 1945UL
    replied
    i might have missed this earlier in the post, but, what is the purpose of using an electrical insulator inside the cases of the engine? keep up the good work.

    Leave a comment:


  • Slojo
    replied
    Matt Ryan and of course Carl
    You guys are doing a great job. The speed which your moving along is impressive.
    Keep it comming.
    Joe
    Last edited by Slojo; 01-01-2010, 10:29 PM.

    Leave a comment:


  • sswaney
    replied
    HD Part #25350-37

    Matt I have a couple of those #25350-37 NOS breather valves. I will get one into the mail for you guys first thing Saturday AM.

    Leave a comment:


  • Matthew N. Olse
    replied
    Today was a good day. Ryan got his flywheel endplay all set up and his wheels in his cases. Then he installed and timed the scavenger pump in the right case. Everything was going well until we ran into a minor speed bump. We desperately need to replace the valve that presses into the cam cover part number 25350-37. This valve doesnot work on Ryan's cam cover. It is back ordered in v twin's book, does anybody out there have a spare one lying around? Please respond if you do. I would love to keep moving forward on this project.
    Here is a pic of Ryan putting his bottom end together.


    Here he is with the almost finished product!

    Leave a comment:


  • Ryan Mackey
    replied
    Originally posted by rickgeo View Post
    Hey Guys,
    Don't forget to lay down the wrenches & pop the bubbley (choose you're own poison!) tonite!
    What better way to bring in the new year by working on old bikes?

    Last night Carl and I got the cam tolerances set. They had to be free to a maximum of .005 of play.


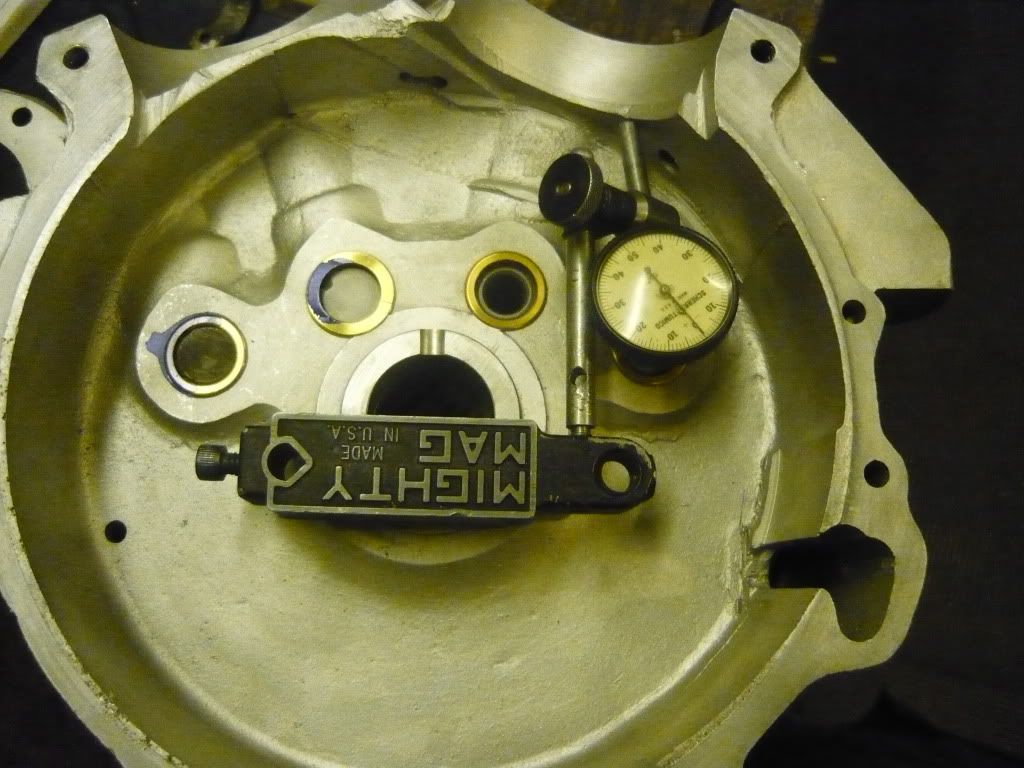
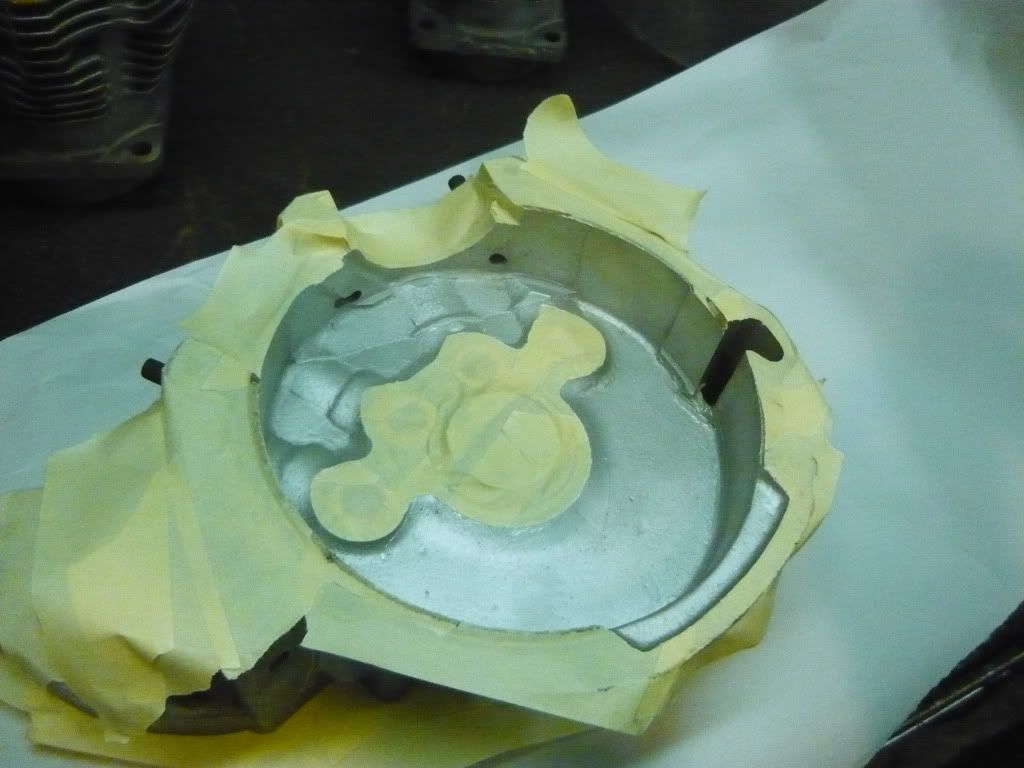
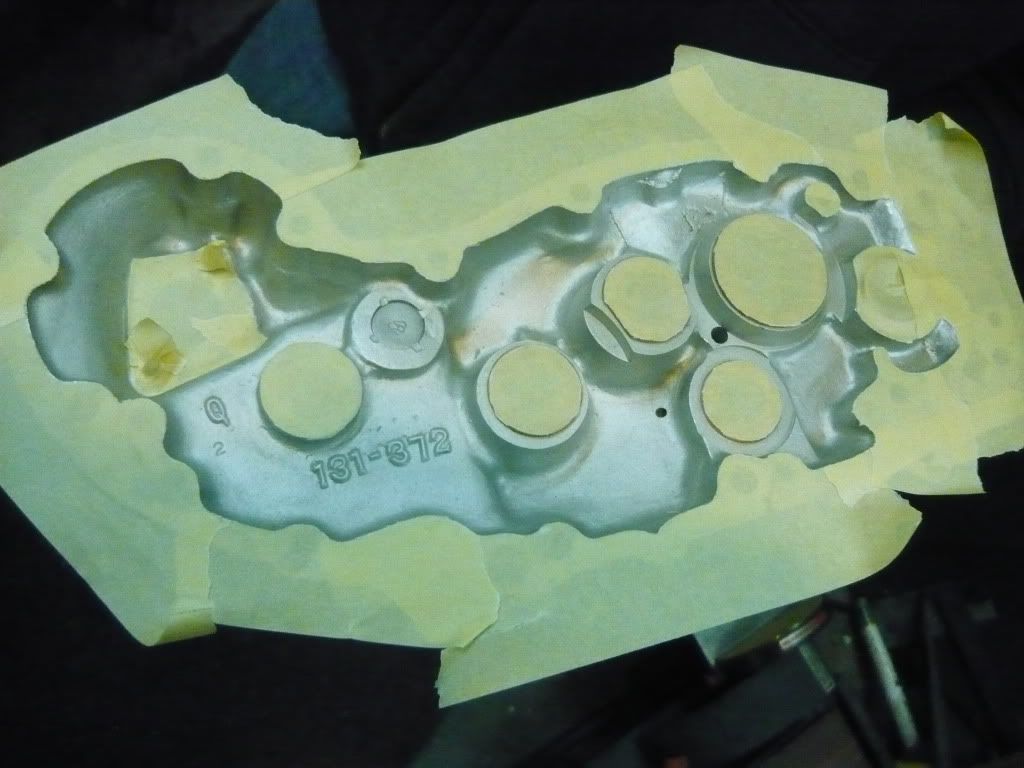
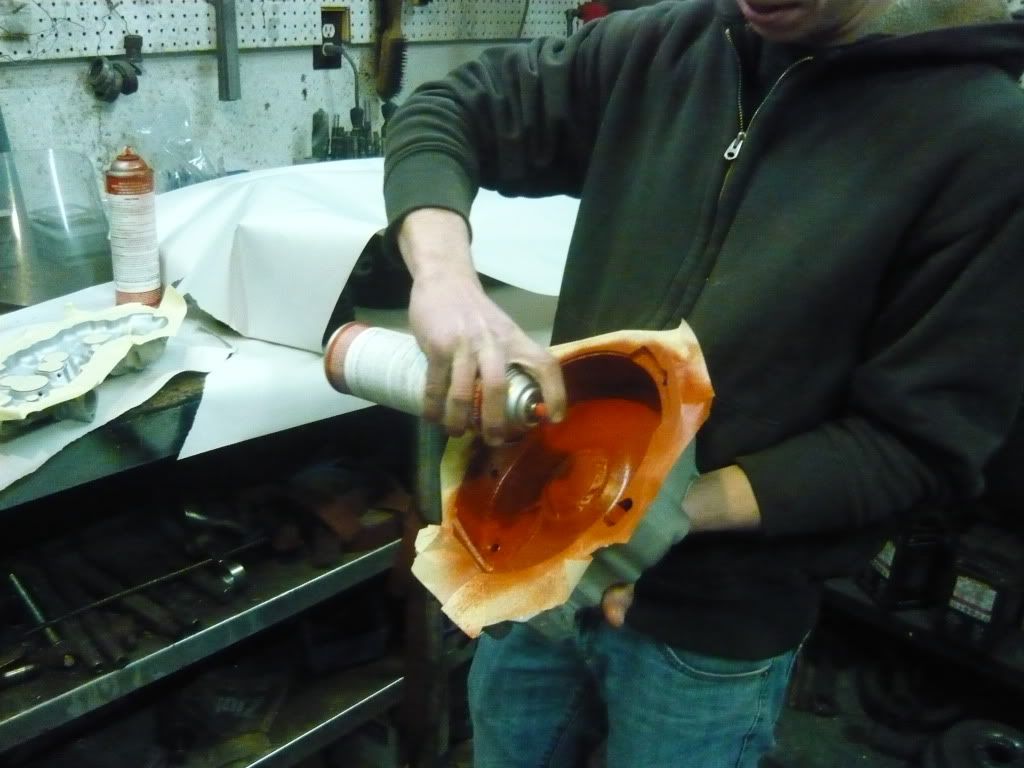
    After we got them all set up, I stayed up and cleaned the cases really good and taped them to get painted.


    I just finished painting them to seal the inside this morning.


    This is what I used, Matt and Carl use it on all their motors.


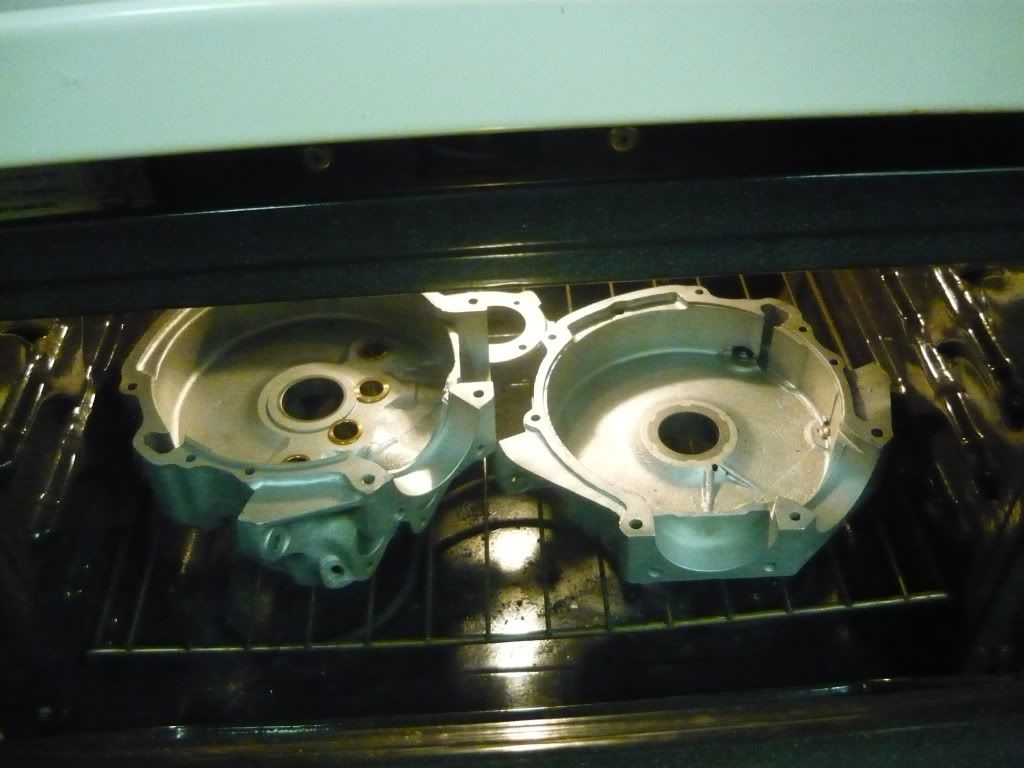
    They are curing in the oven now and once they are cooled off I will start to put the motor back together! Not a bad way to end 2009 I'd say!

    Leave a comment:


  • rickgeo
    replied
    Hey Guys,
    Don't forget to lay down the wrenches & pop the bubbley (choose you're own poison!) tonite!

    Leave a comment:


  • Matthew N. Olse
    replied
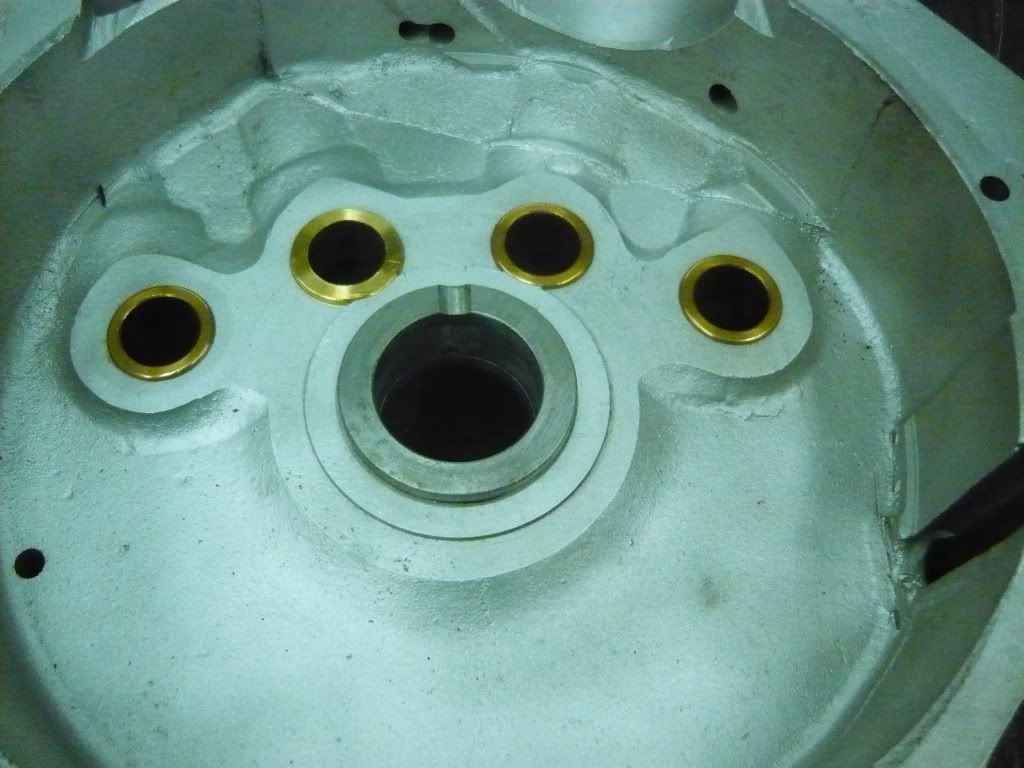
    Today was a good day. We got Ryan's case races from V twin and installed them in his cases. They were a .001 and .0015 press fit when measured at room temperature.
    Here is a pic of the cases being heated up before the races were installed. We baked them at 300 degrees for an hour.


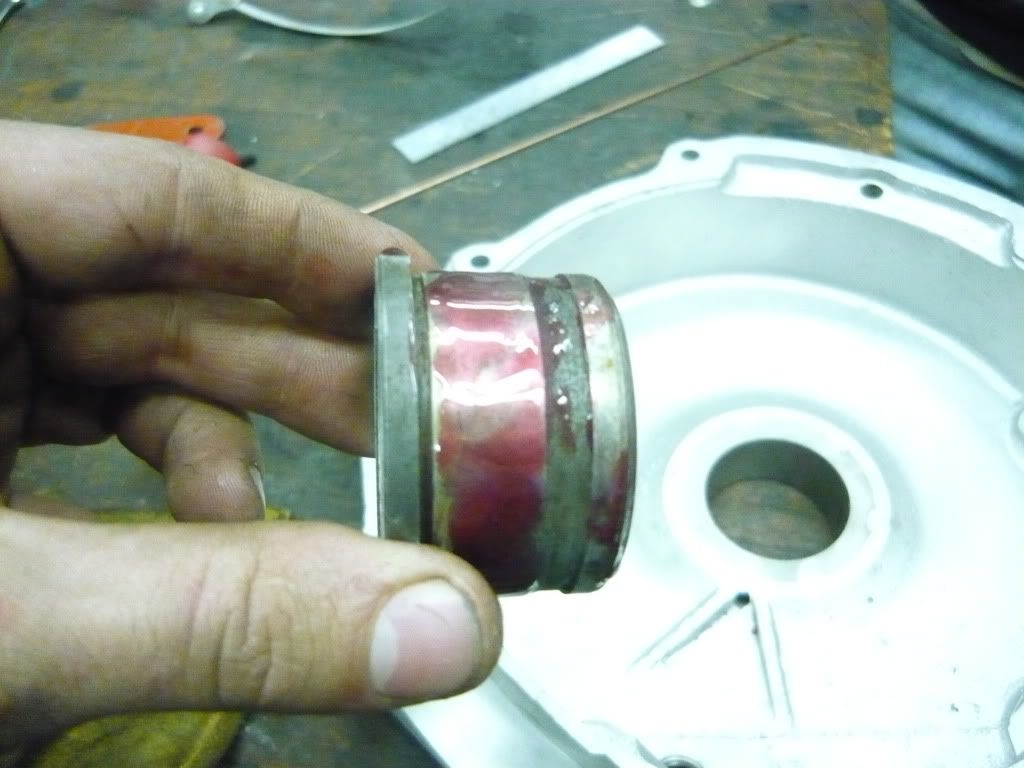
    Here is the race after we pulled it out of the freezer. We put red loctite on the races just for a little extra insurance.


    Here is a pic of it installed


    And the other side!


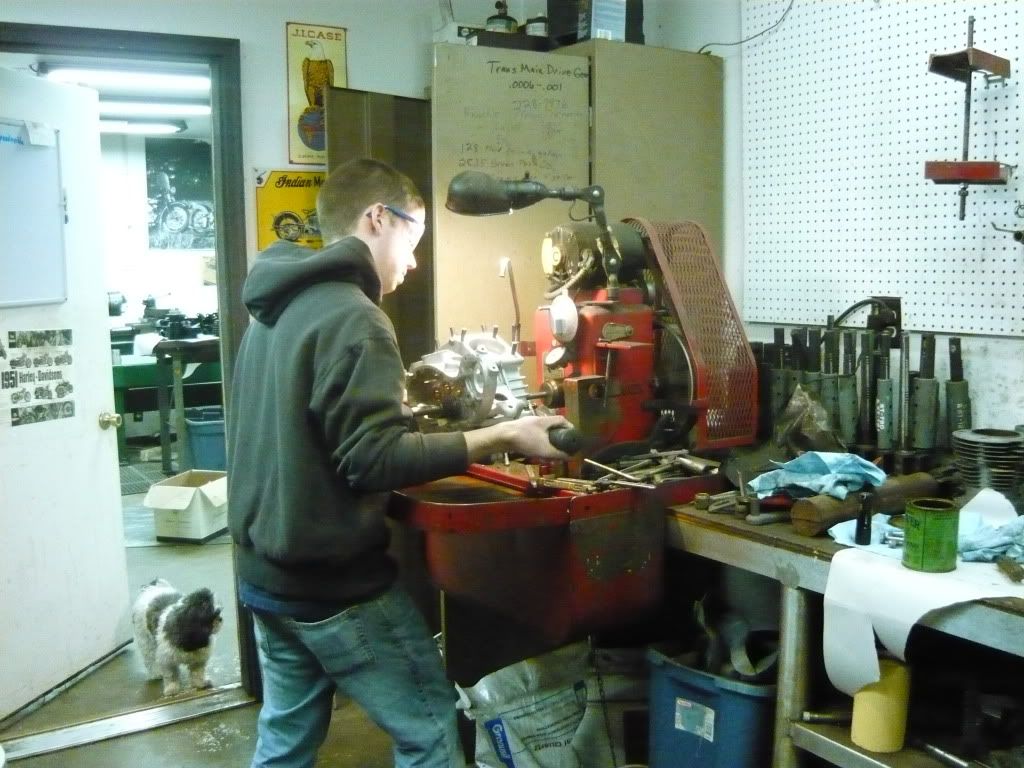
    After they cooled off my dad showed Ryan how to line lap the races, here he is getting them hogged out!


    Ryan is setting up his cam endplay right now, and hopefully will have his cases painted and sealed up in the next day or two.

    Leave a comment:


  • Ryan Mackey
    replied
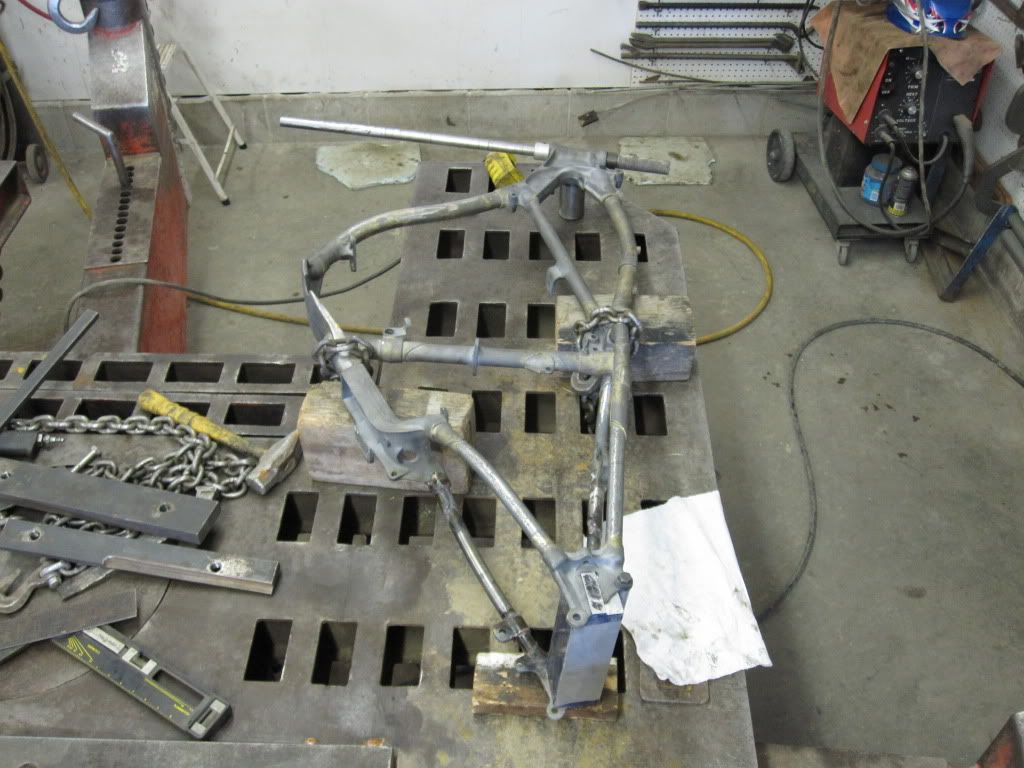
    This morning we took the frame to get rechecked to make sure it is straight. It was really close but is now straight as an arrow!


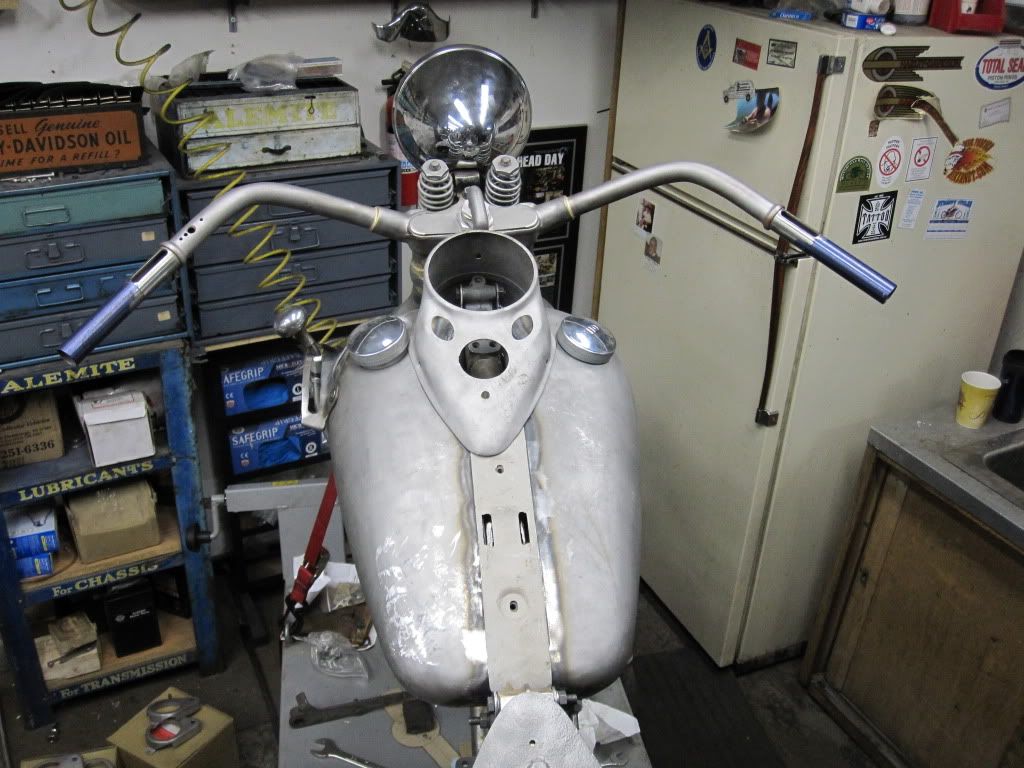
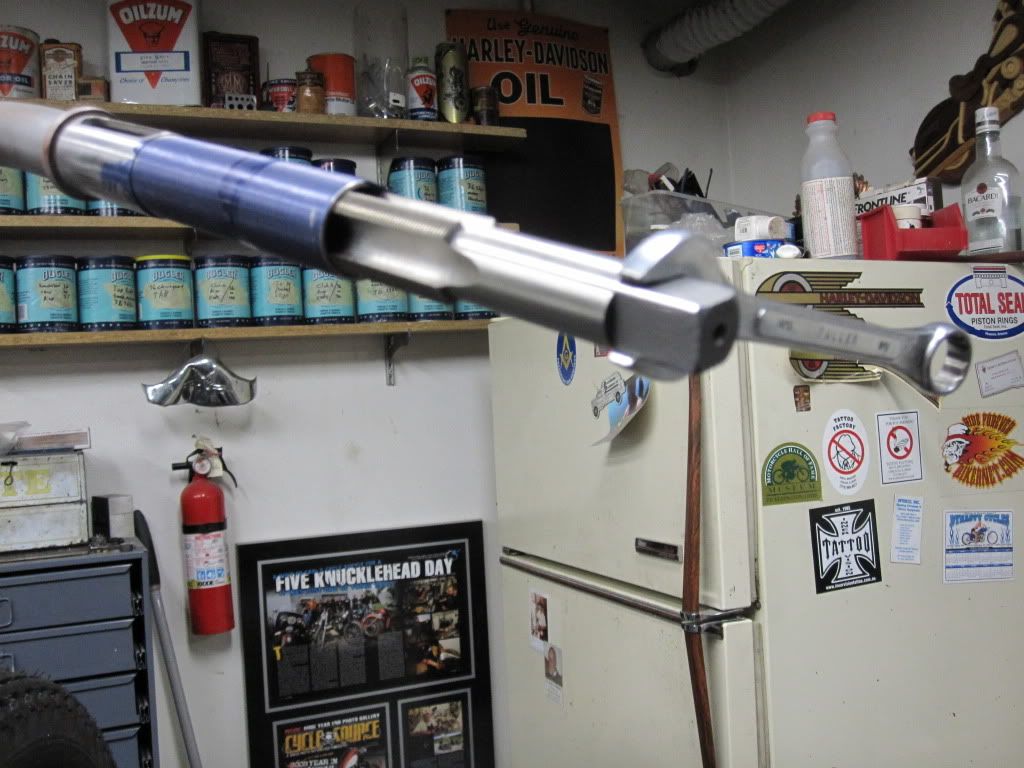
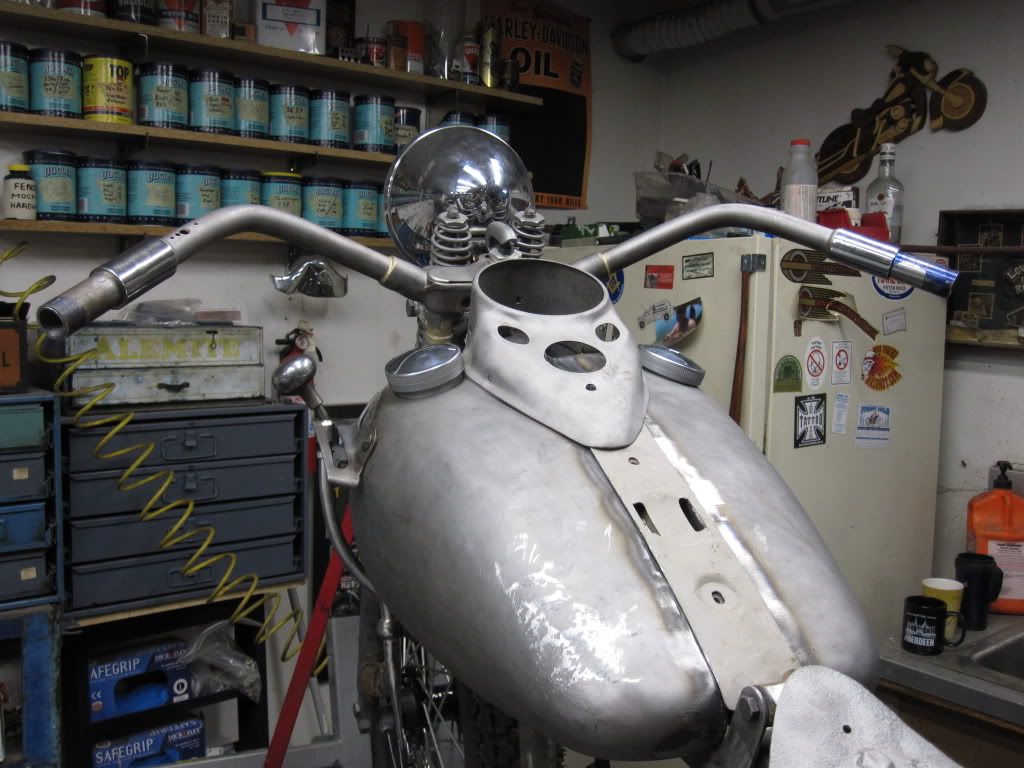
    I decided to cut down the bars tonight. I made the spirals and the grips the same length. First I measured everything out and tapped the threads in the end of the bar longer so that when I cut off the end, I still would have threads to work with. I cut the bars first and filed them flat. After that I cut the spirals to match. Here are the bars before I cut them.


    Here they are getting tapped.


    And here is the final product!

    Leave a comment:


  • Matthew N. Olse
    replied
    Paps,
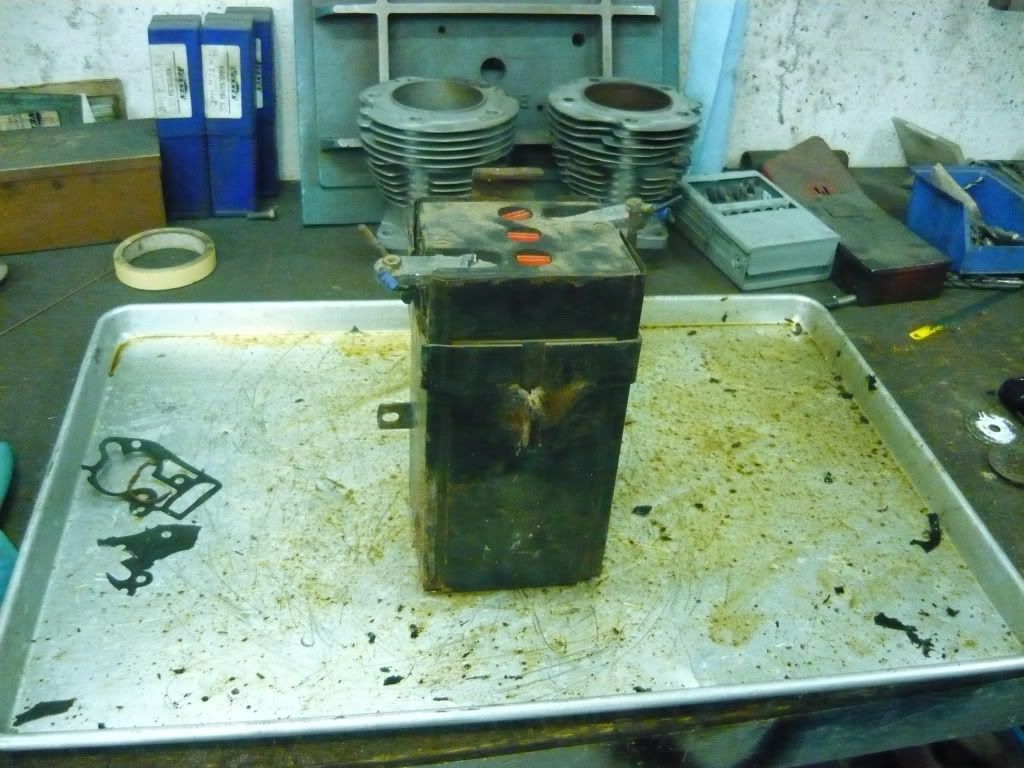
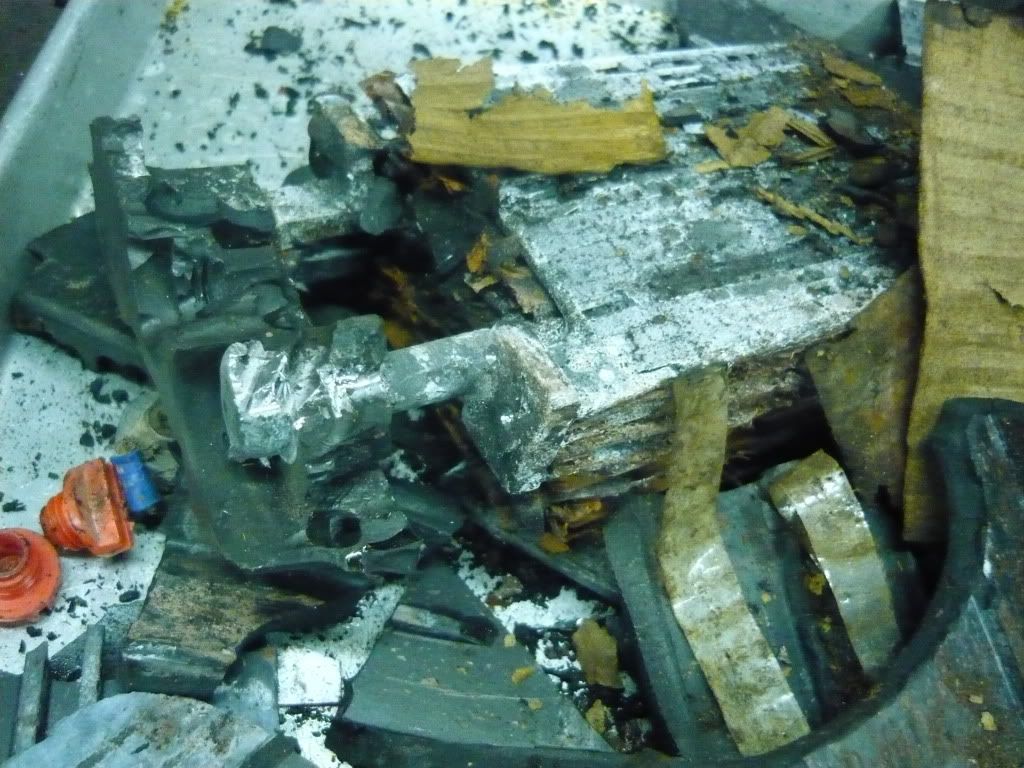
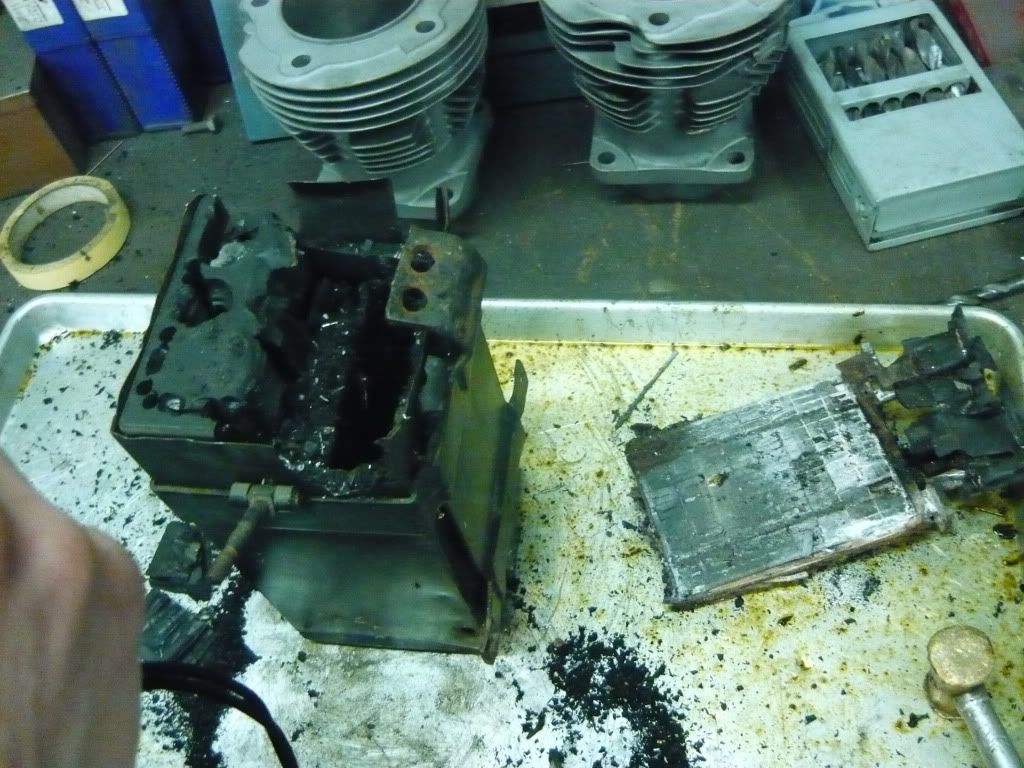
    The cylinders cleaned up at .040 over with .004 clearance. They are getting painted as we speak, which is really cool. Hopefully we will have the batch of cylinders back from Mike in a day or two. Our case races from V twin showed up today, so we can heat up Ryan's cases and drop them in. Here are some pics of Ryan taking apart his battery. It had frozen up in the case and had to be broken down to salvage the case and frame.
    best,
    Matt Olsen


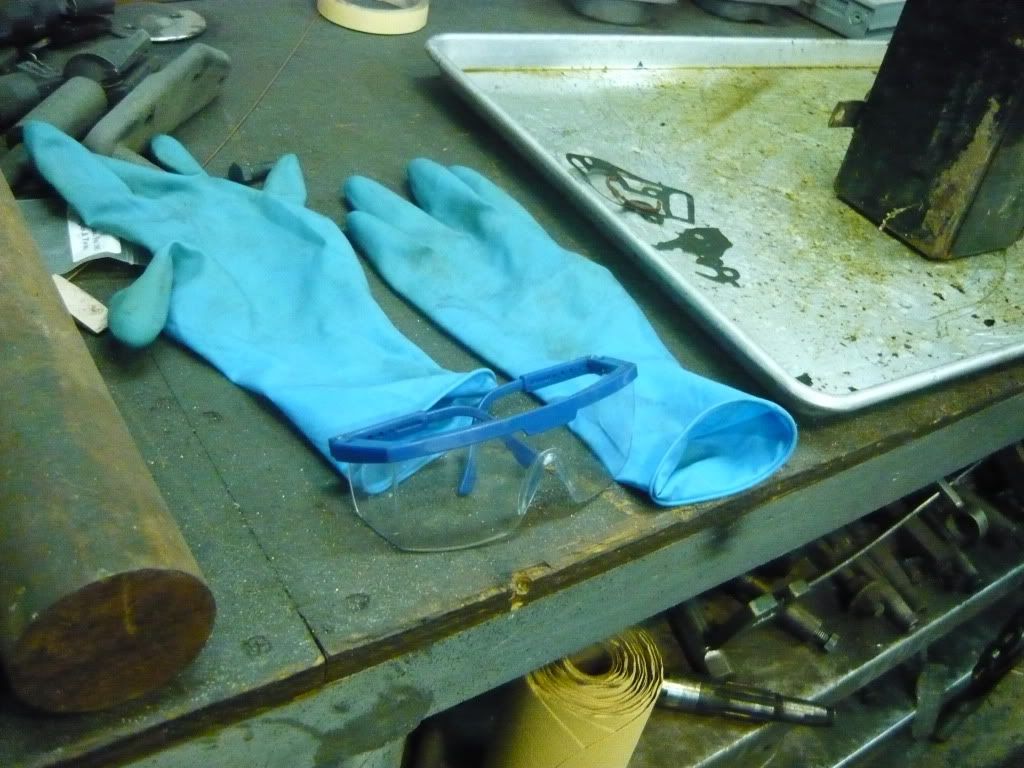
    Safety doesn't sleep over at our shop, Ryan made sure that he had protective gloves, ear plugs and face shield so he wouldn't accidentally sniff some battery acid and freeze his brain cells.


    Ryan was on his own for this project. I didn't have any good advice or past experience to tell him in regards to breaking old batteries. He just started drilling holes in it and breaking it apart piece by piece.


    After an hour or so of work, he had it completely taken apart, here is what a battery looks like in pieces.

    Leave a comment:


  • Paps
    replied
    What did the cylinder bore sizes come out at ? Paps

    Leave a comment:


  • Ryan Mackey
    replied
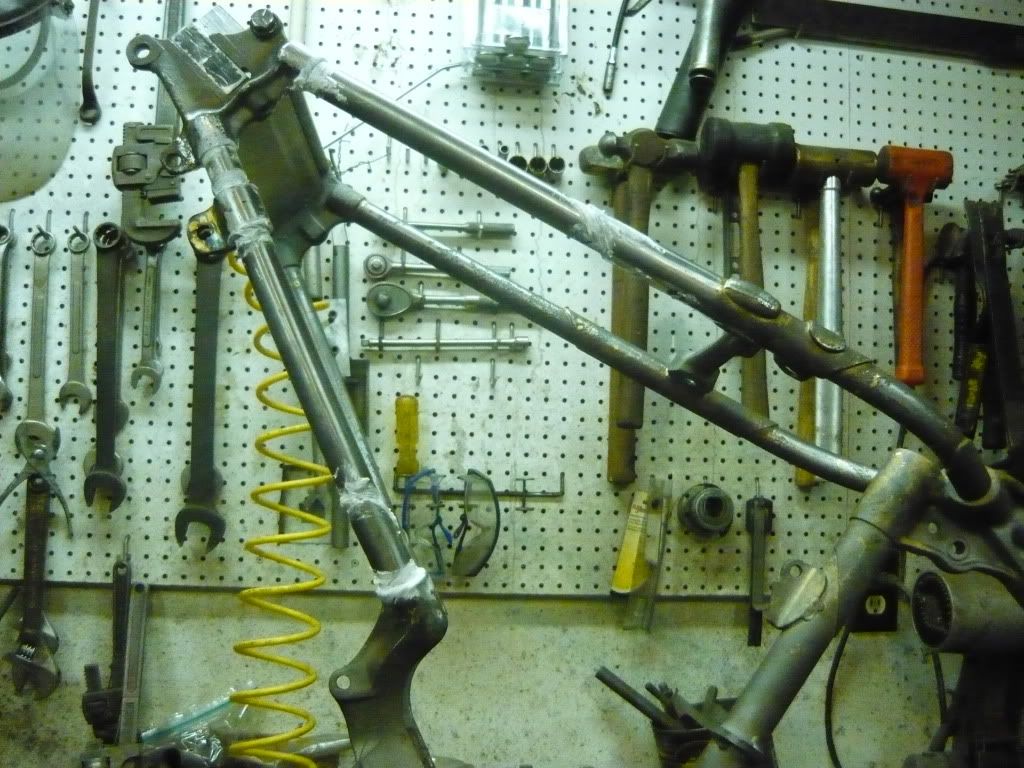
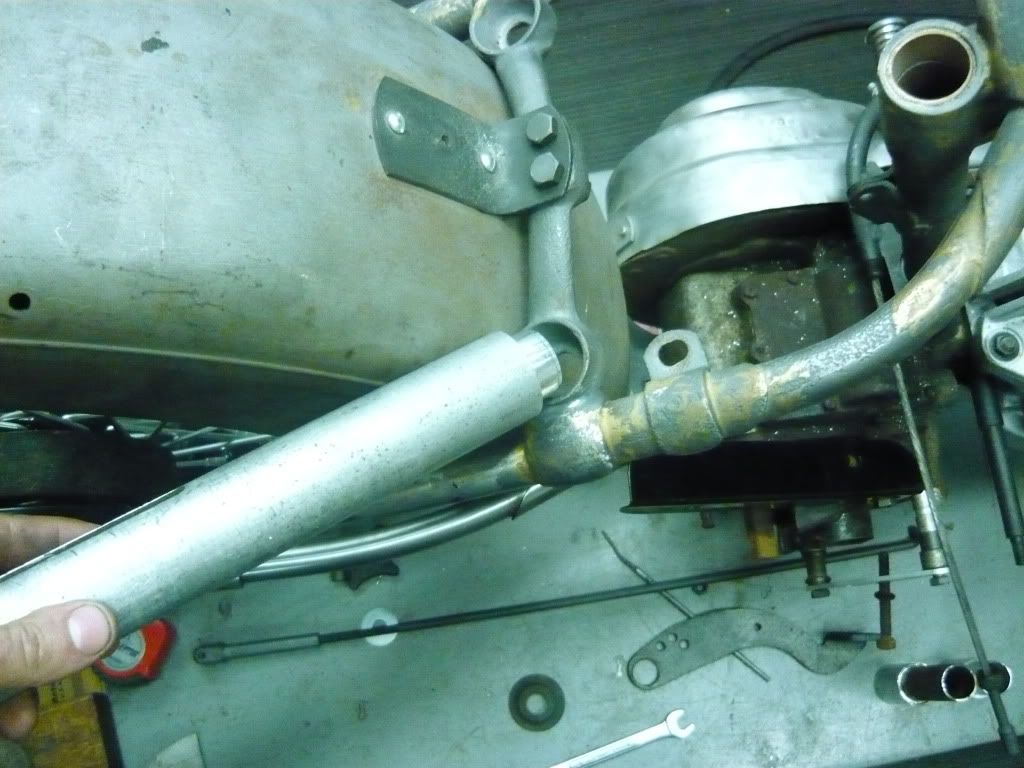
    I had to tear down the bike today to do some more work on the frame. It was kind of sad to see it back in pieces but she will be back together in no time! We had to silver solder all the joints of the tubes that we replaced. Here is the frame all fluxed and ready.


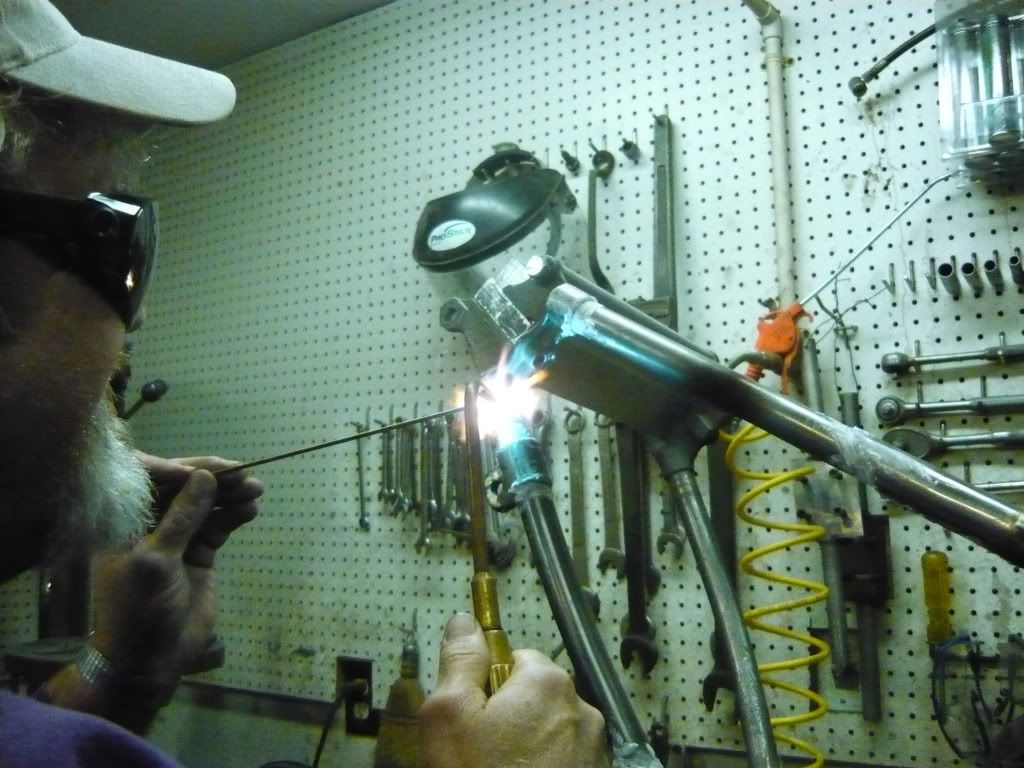
    Carl did the silver soldering, here he is in action! Check out the cool eye protection!


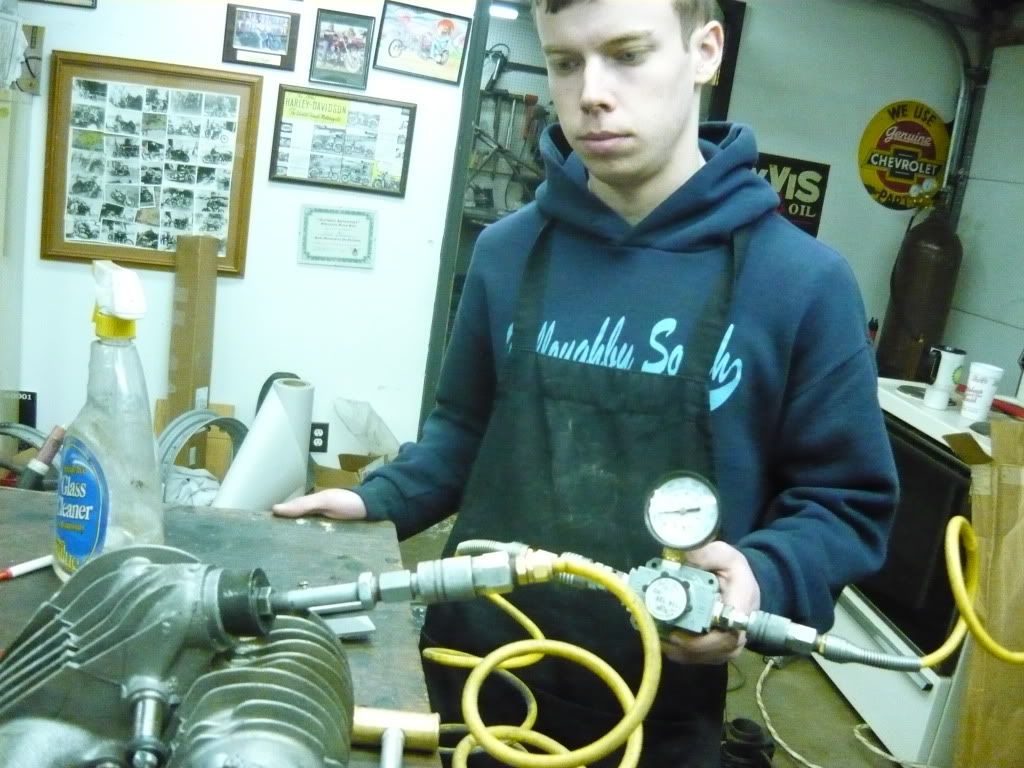
    We got the cylinders back from getting honed this morning. Here I am pressure testing the intake to make sure there are no leaks. I sealed the intake valve and the nipple and pressurized it to 10 psi. There were no leaks!


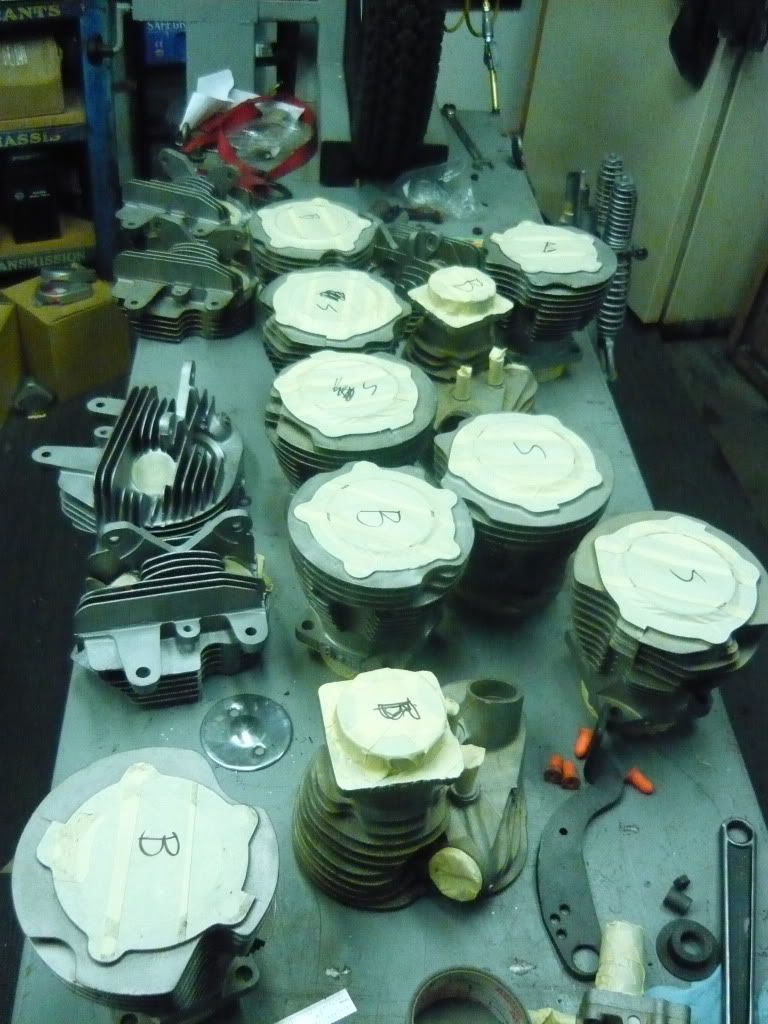
    After that I cleaned the cylinders up and taped them for paint. While I was at it I did some other parts for Carl and Matt to get painted too.


    Tomorrow we are going to take the frame to get rechecked for straightness. After applying all the heat from silver soldering it is always good to double check.

    Leave a comment:


  • moon wolf
    replied
    Just thought I'd mention that EVERYONE I know is following this thread. It's more the sort you simply follow than reply to. Keep up the great work, guys (I'm jealous, Ryan, and I be a lot of other old guys are, too).

    Leave a comment:


  • Matthew N. Olse
    replied
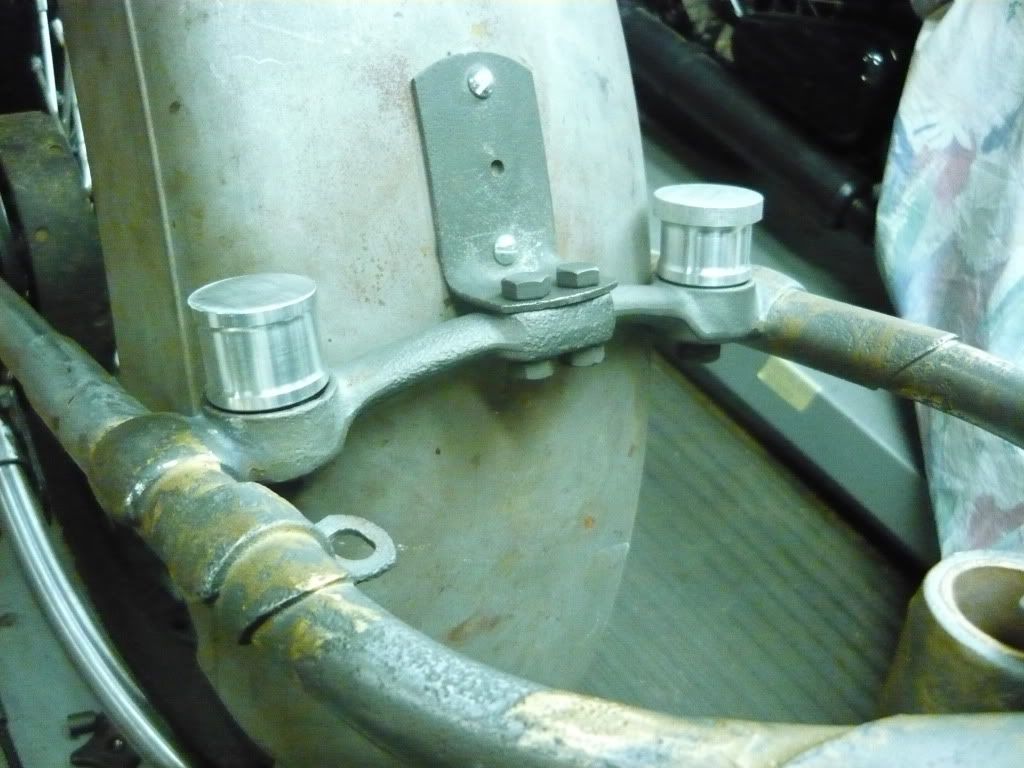
    Ryan and I worked on his rear seat mounts today. Here are both of them before being machined. They are in the bar in my left hand


    Our original plan was to have a post go through the hole in the frame and be held in place with a spring pin. This plan quickly changed to drilling and tapping a 3/8 16 hole in the bottom which is a much better set up.


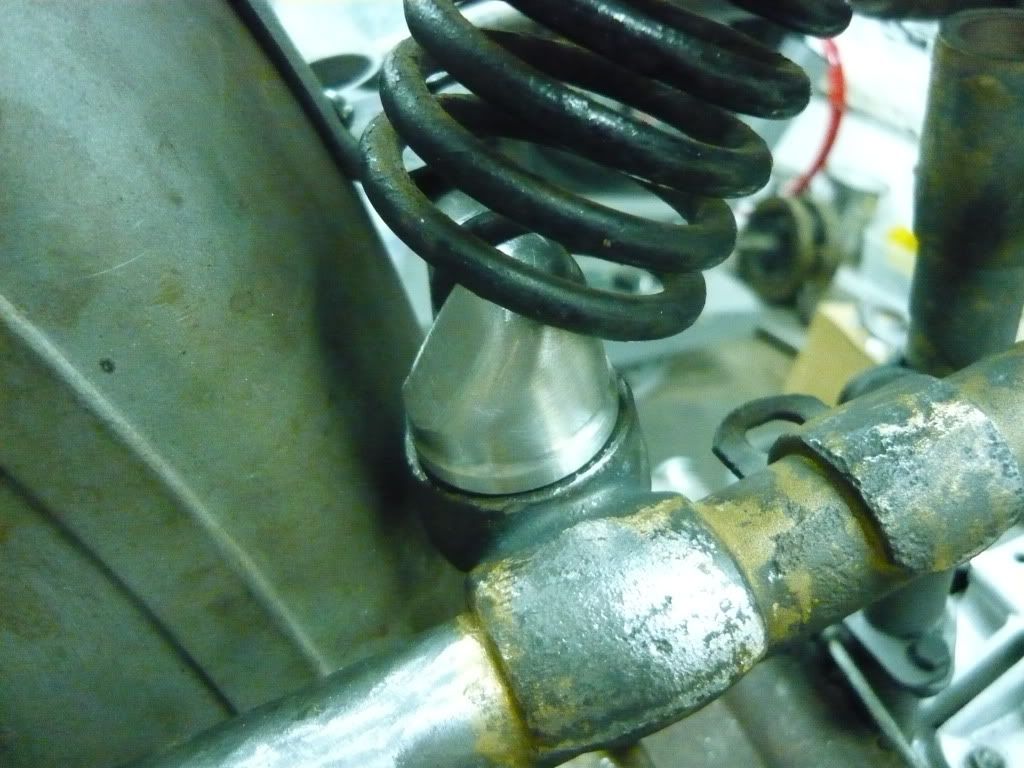
    Here they are bolted in place


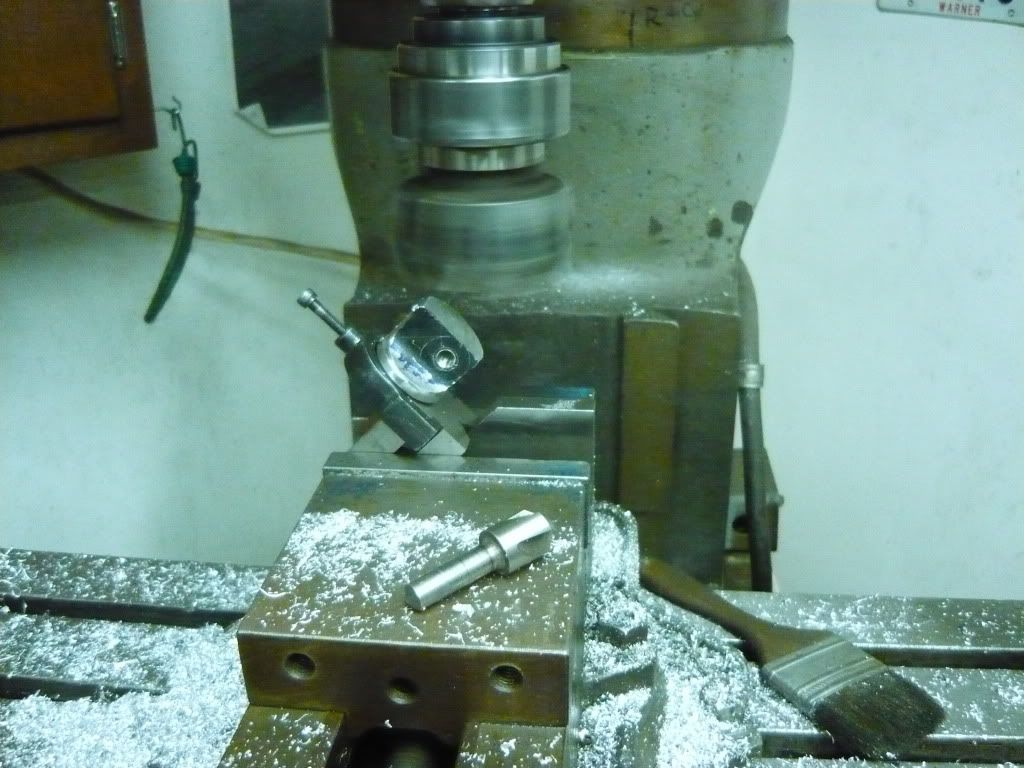
    Here is the set up for cutting the flat on the round piece. It is not the sturdiest set up. We only took .o30 passes. It worked well though.


    Here is the finished piece after a bit of grinding and filing and sanding.


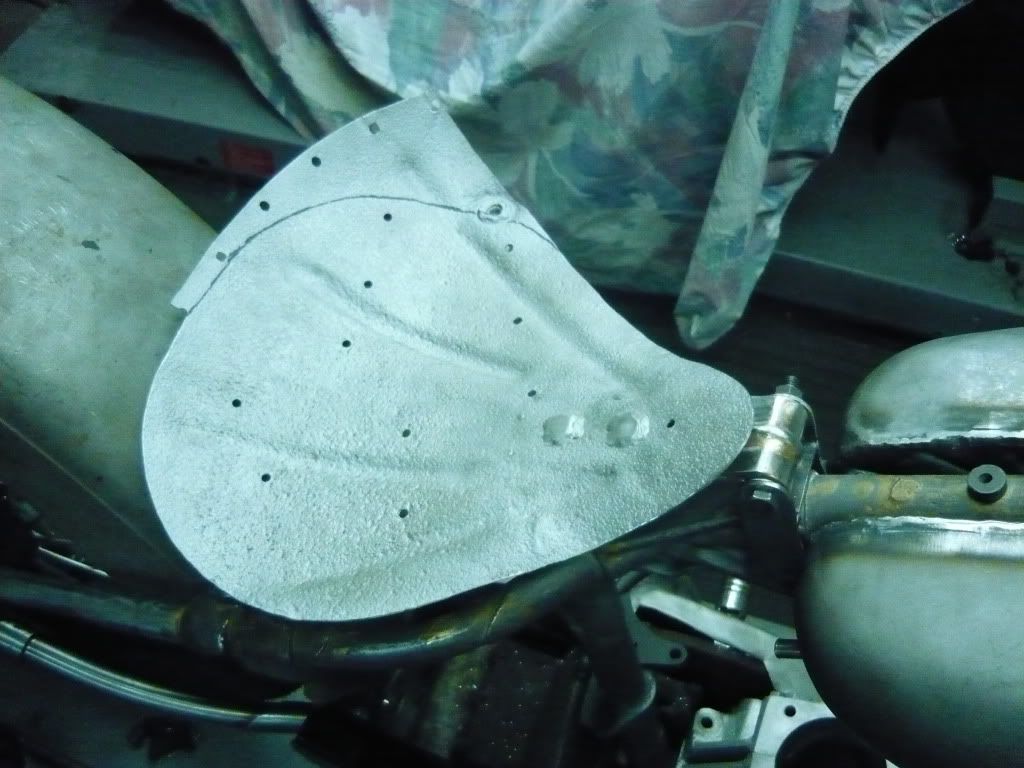
    Ryan cut up the rest of his pan. This pan was in terrible condition before he started. It was theworst seat pan that I have ever seen, I am glad that he cut it up and turned it into something useable.


    Here is the finished pan, He did one side first, made a tracing of it and transferrred the line to the other side.

    Leave a comment:


  • 1945UL
    replied
    this is really awesome the way you guys are posting the progress online. i'm sure theres alot more photo's that arent being posted, and im excited to see what the finished product is going to look like. have fun and enjoy it, this is a truly once in a lifetime experience ryan.

    Leave a comment:

Working...
X