-
time to deal with the fork, the front stays were dented in multiple spots on both sides and I investigated straightening the existing tubes, but when it all was said and done I wanted a set of forks that were properly braced. The fellas at Race Metalsmiths took a look at the fork and came up with a plan, a few of the many dents in the stays:
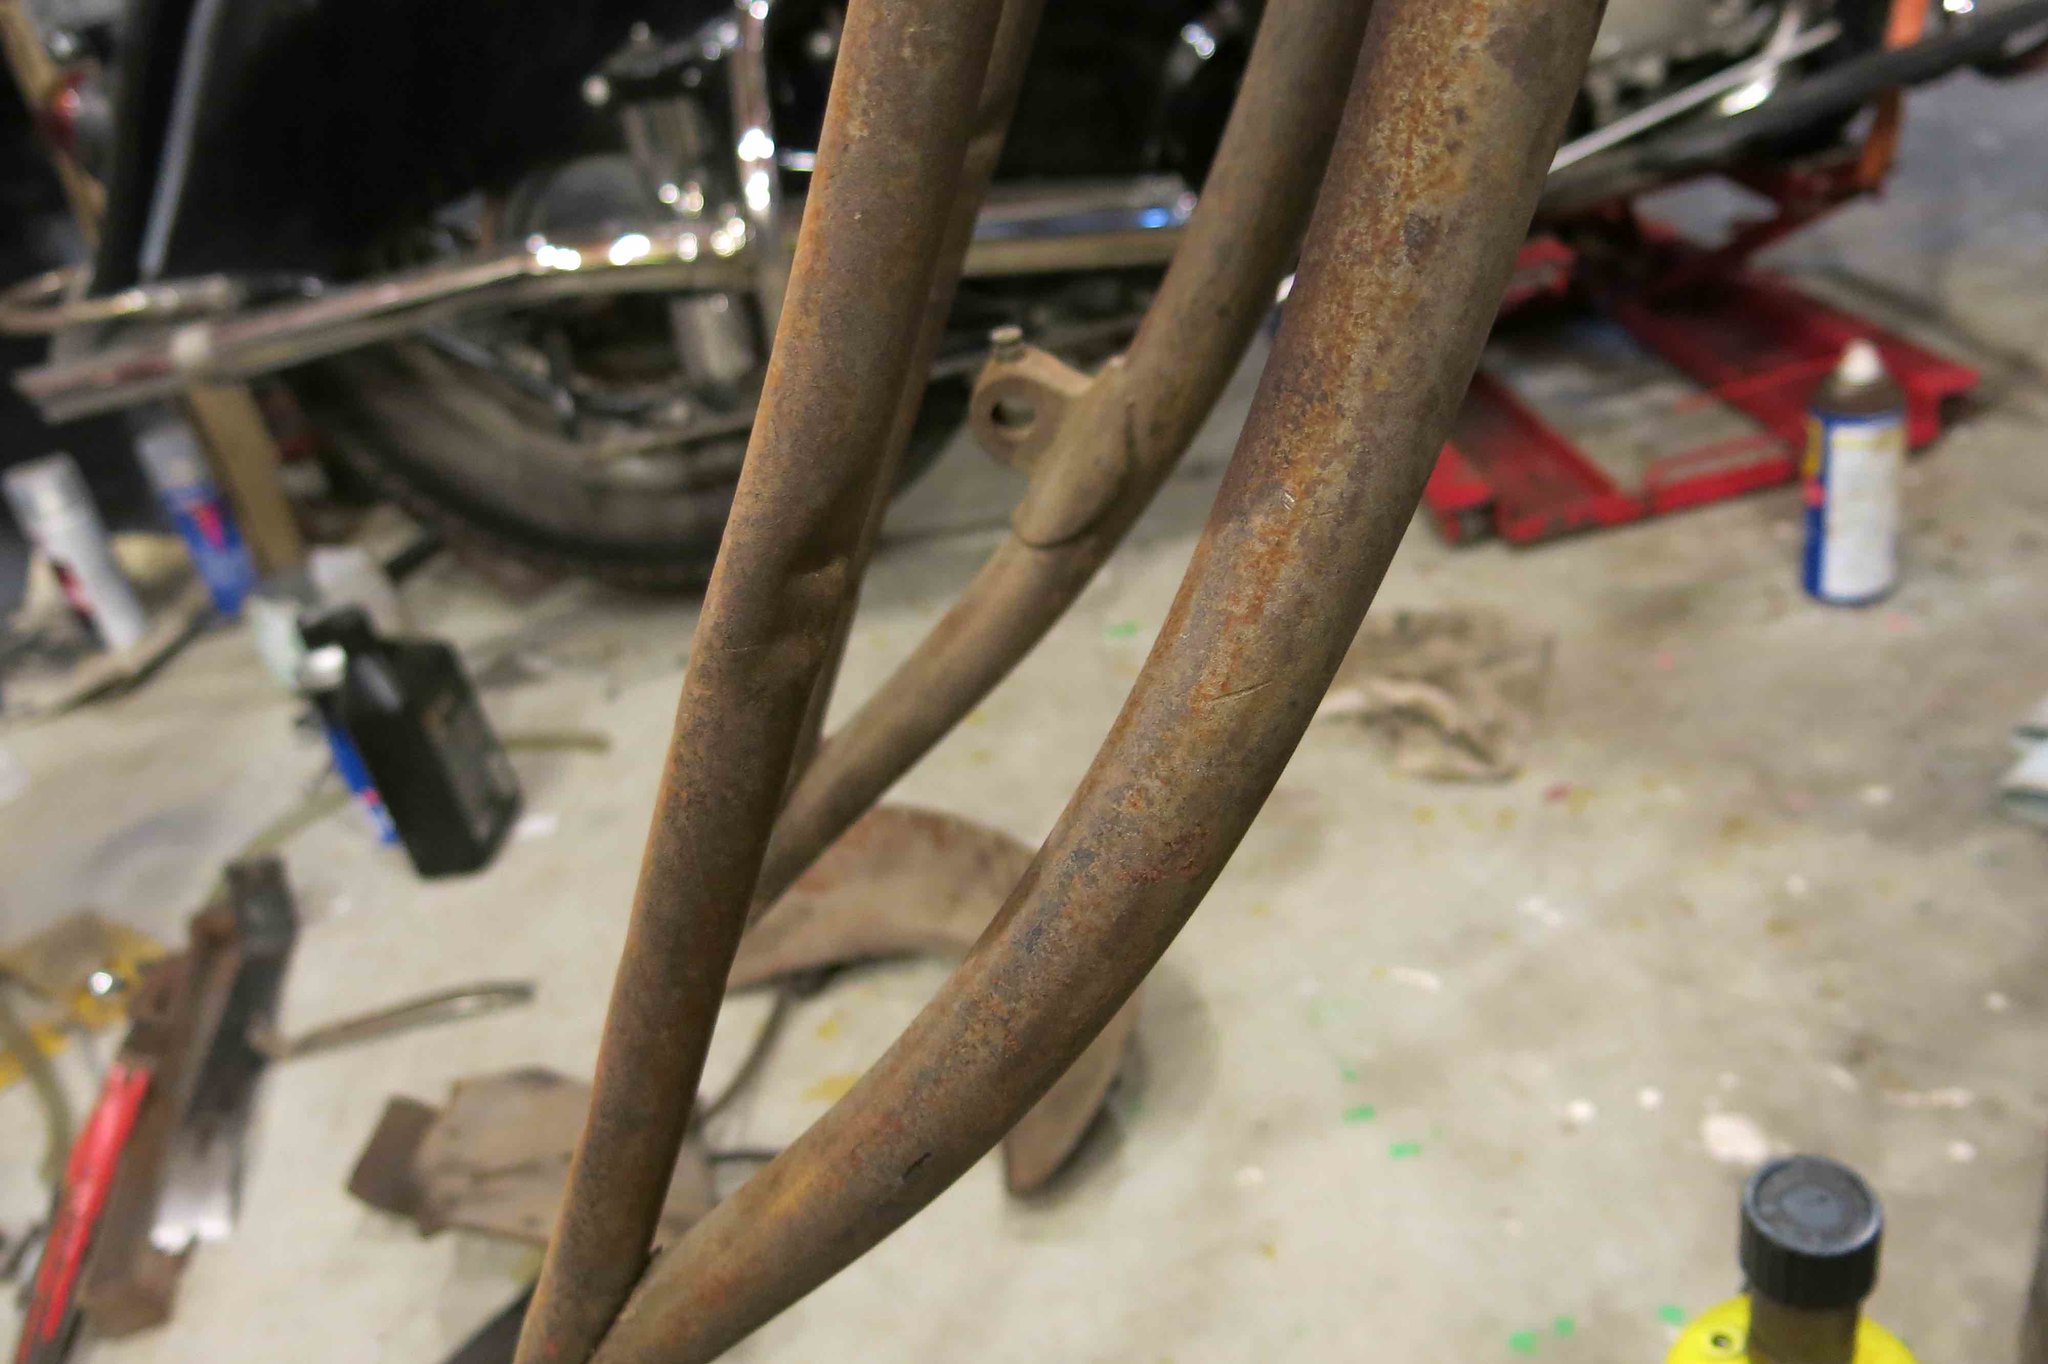
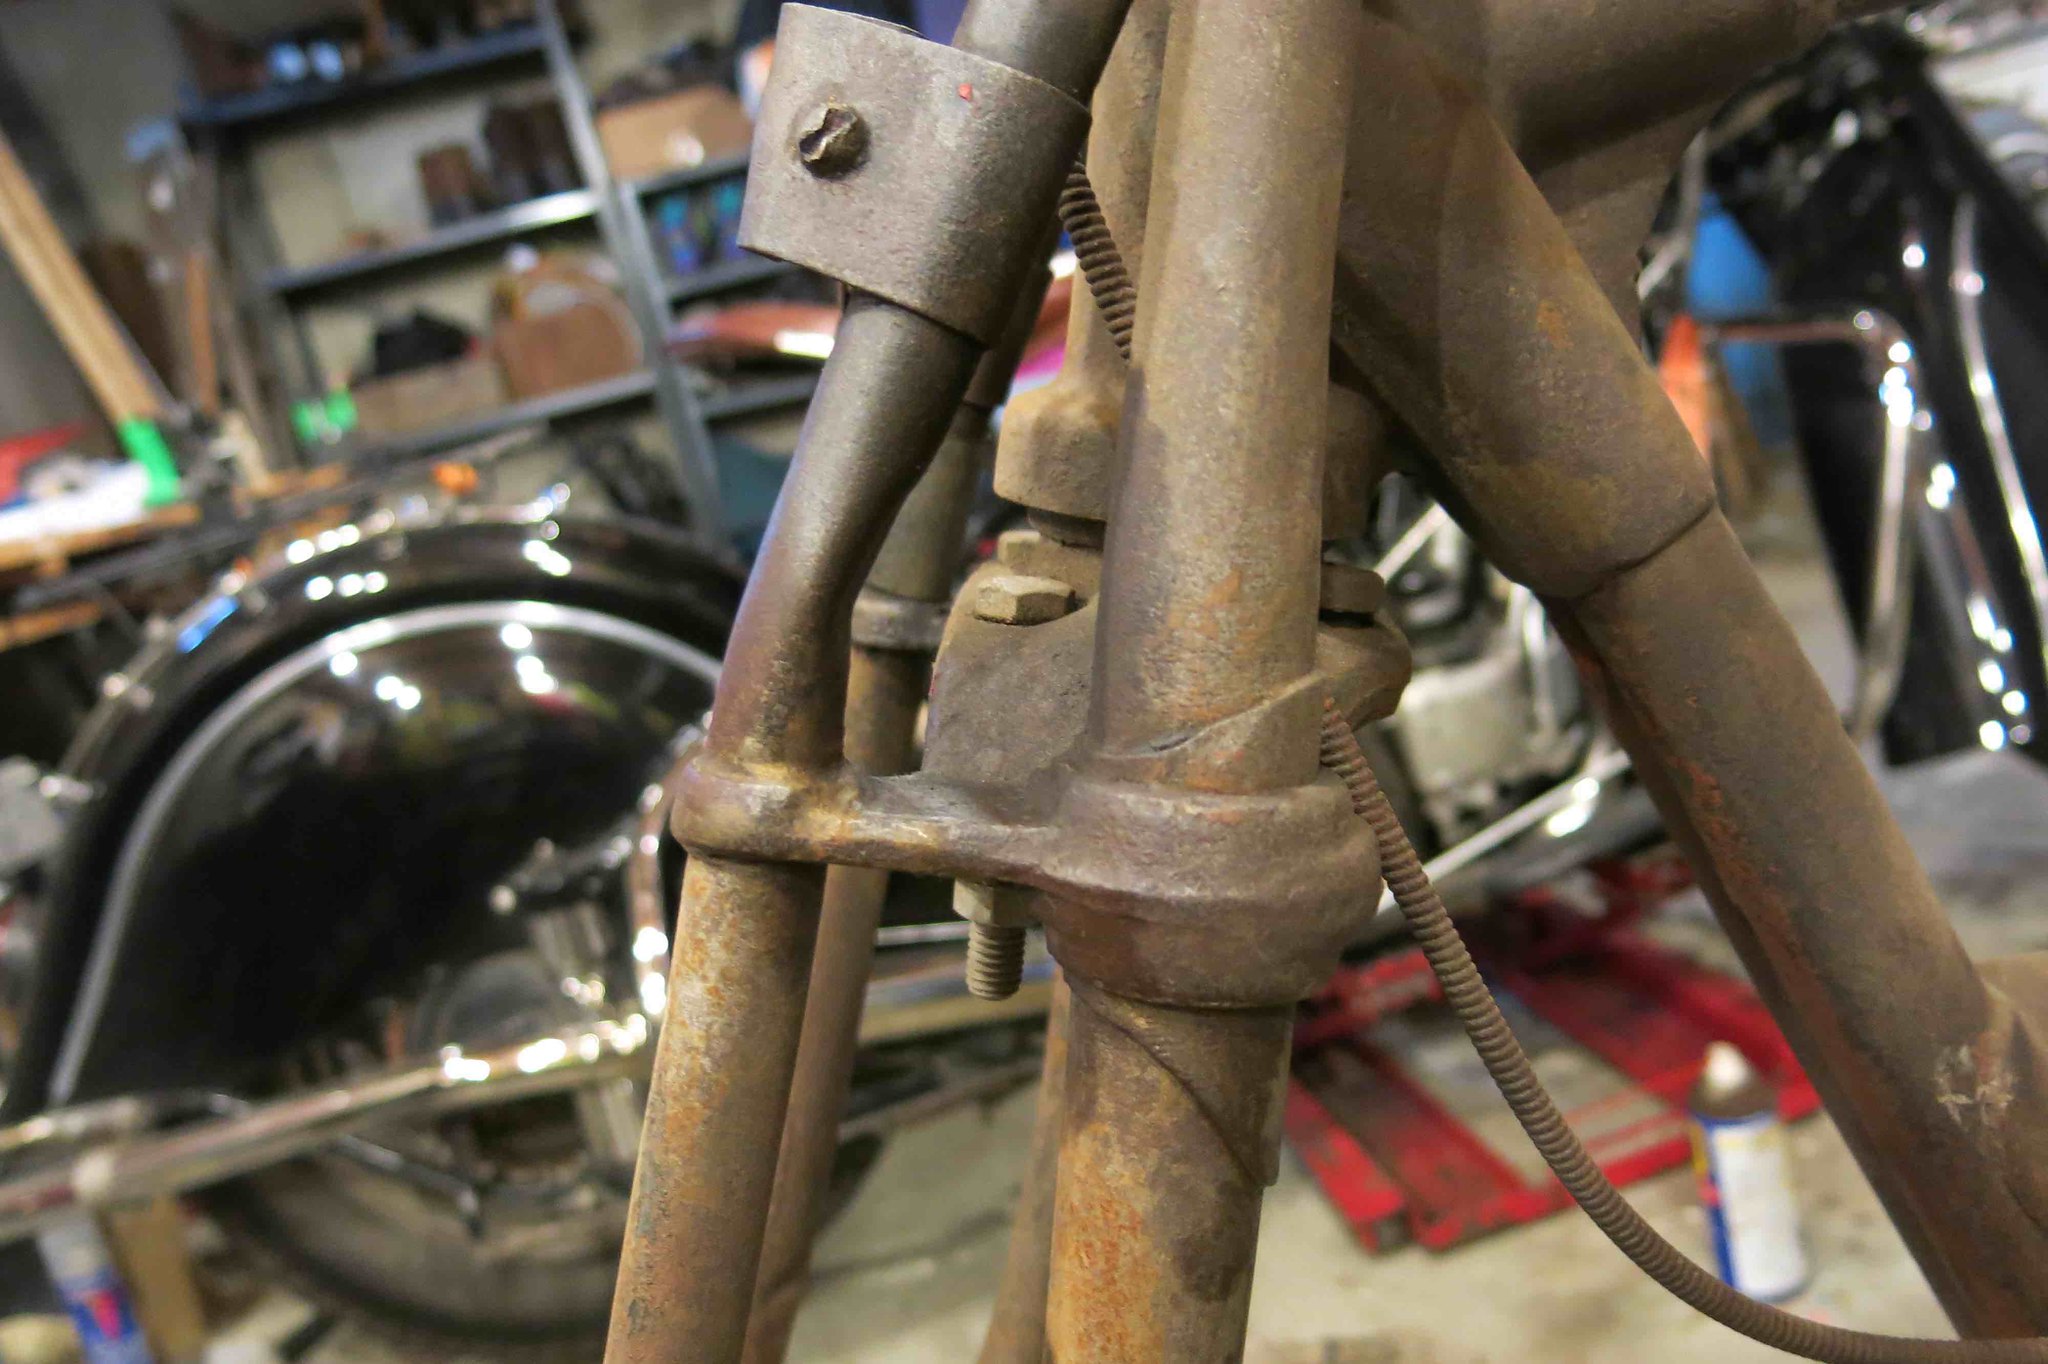
Brothers Scott and Mitch convinced me that replacing the tubes was the best way to go. The old tubes were cut off and solid slugs were brazed into the casting for the new tubes to slide over and be brazed in place;
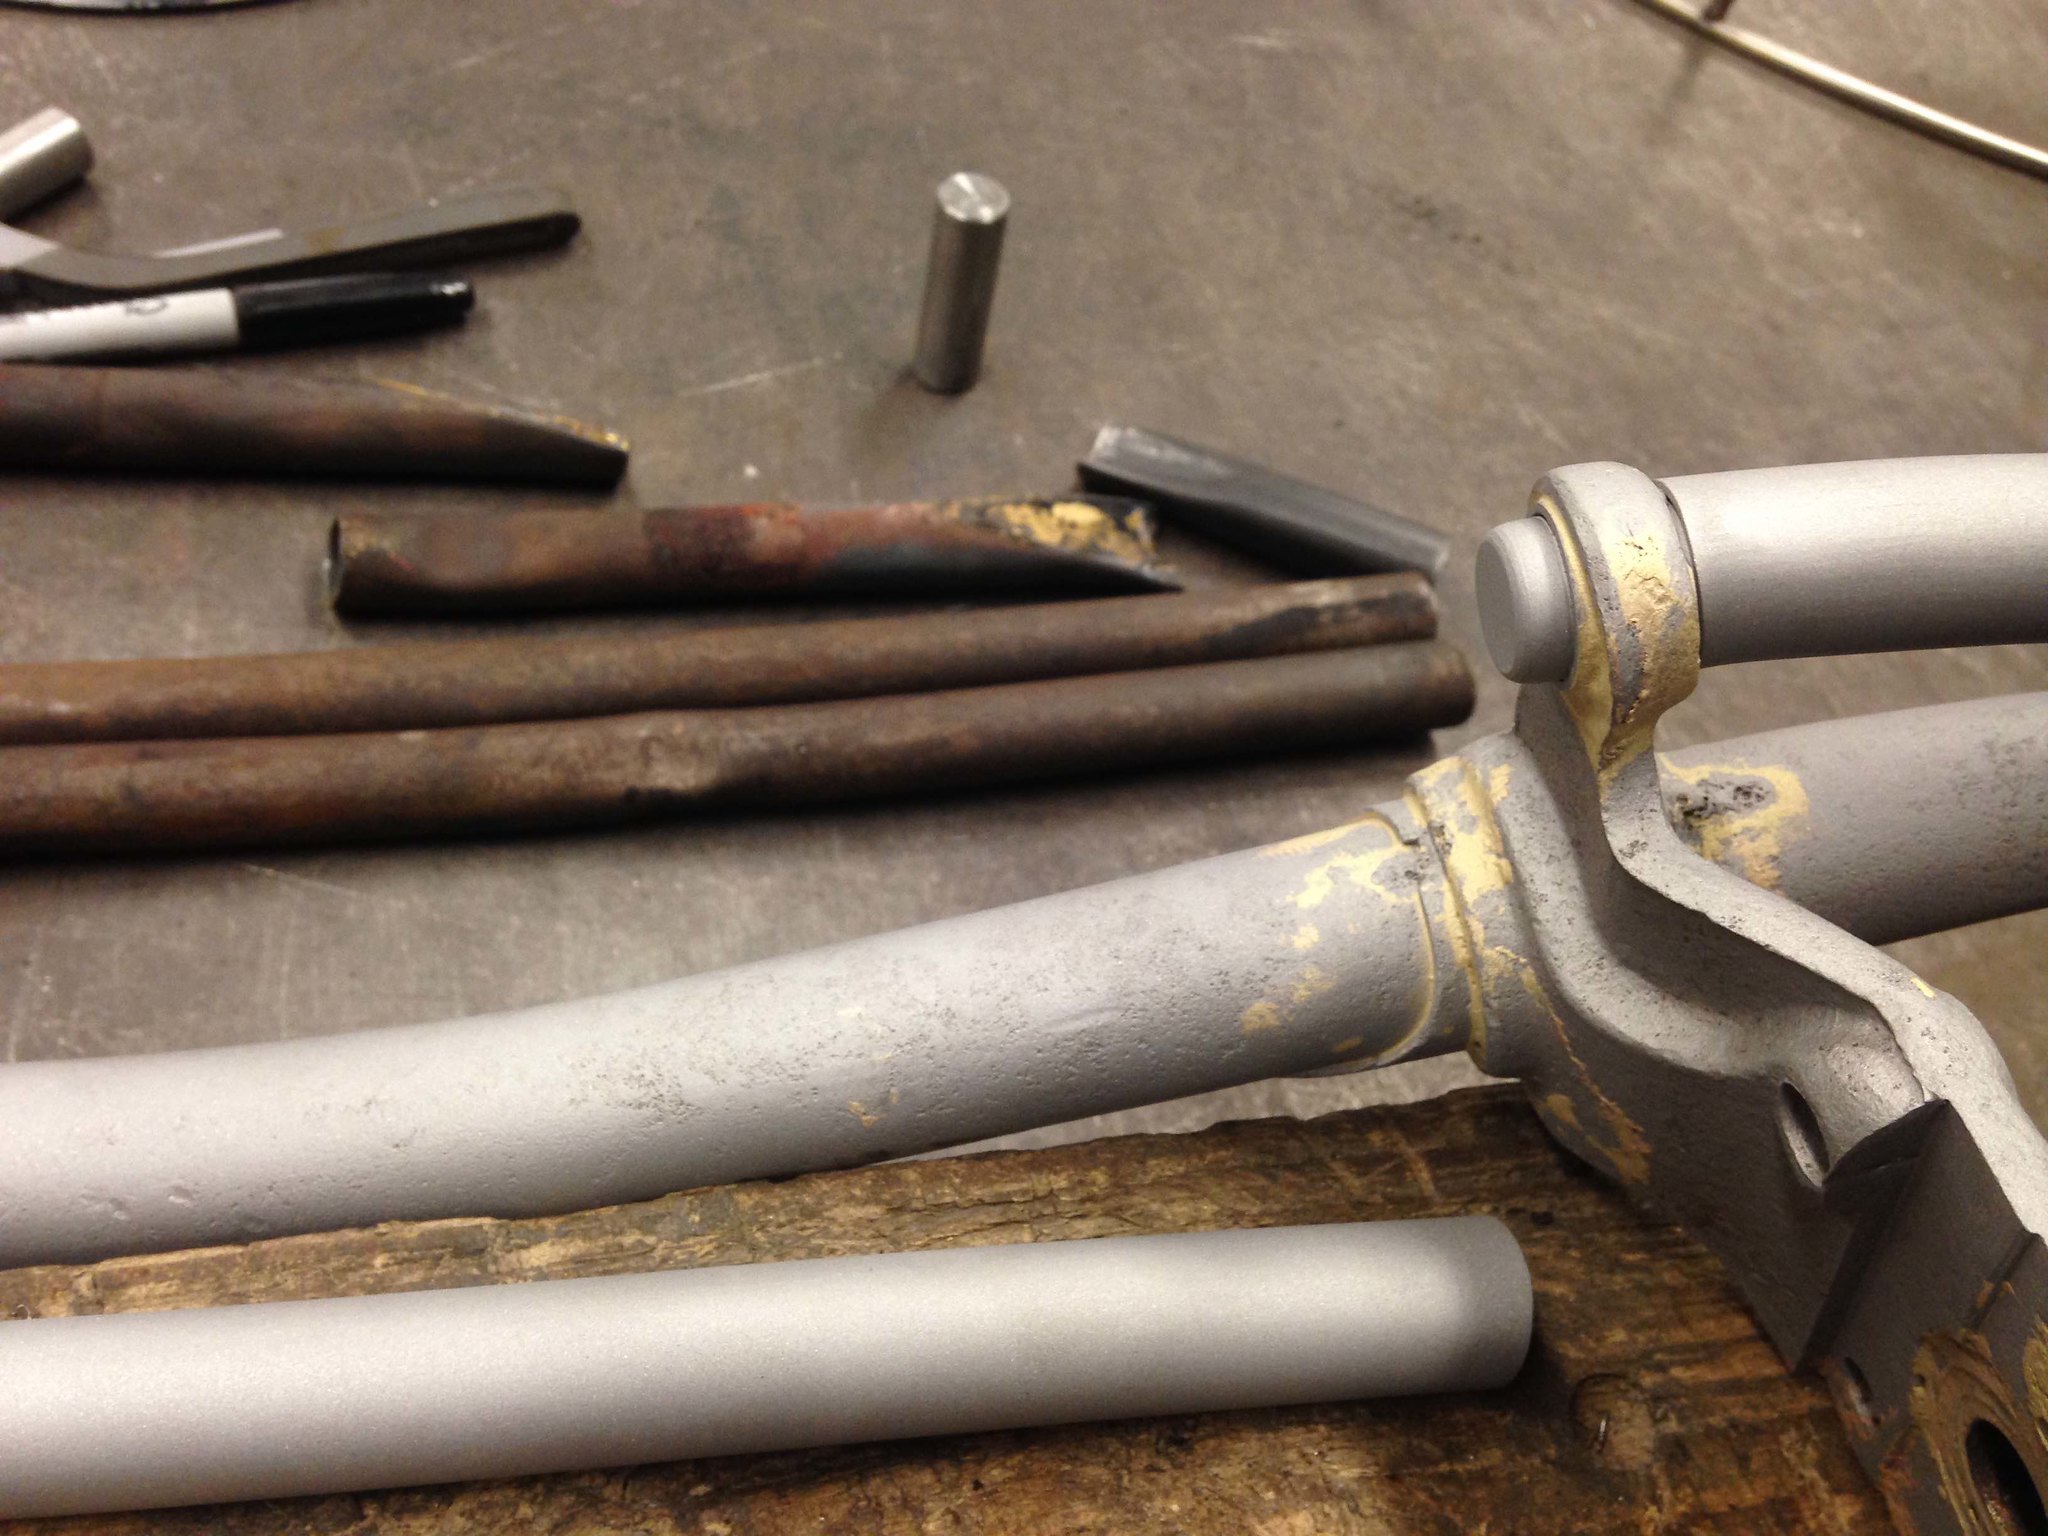
Mitch made a die so that the crushed tubing on the lower end, where it's brazed to the main fork, matched up perfectly with the original crush:

New tubes were made that matched up exactly with the old ones that were cut off, they used 4031 chromoly tubing... should be safe forks!
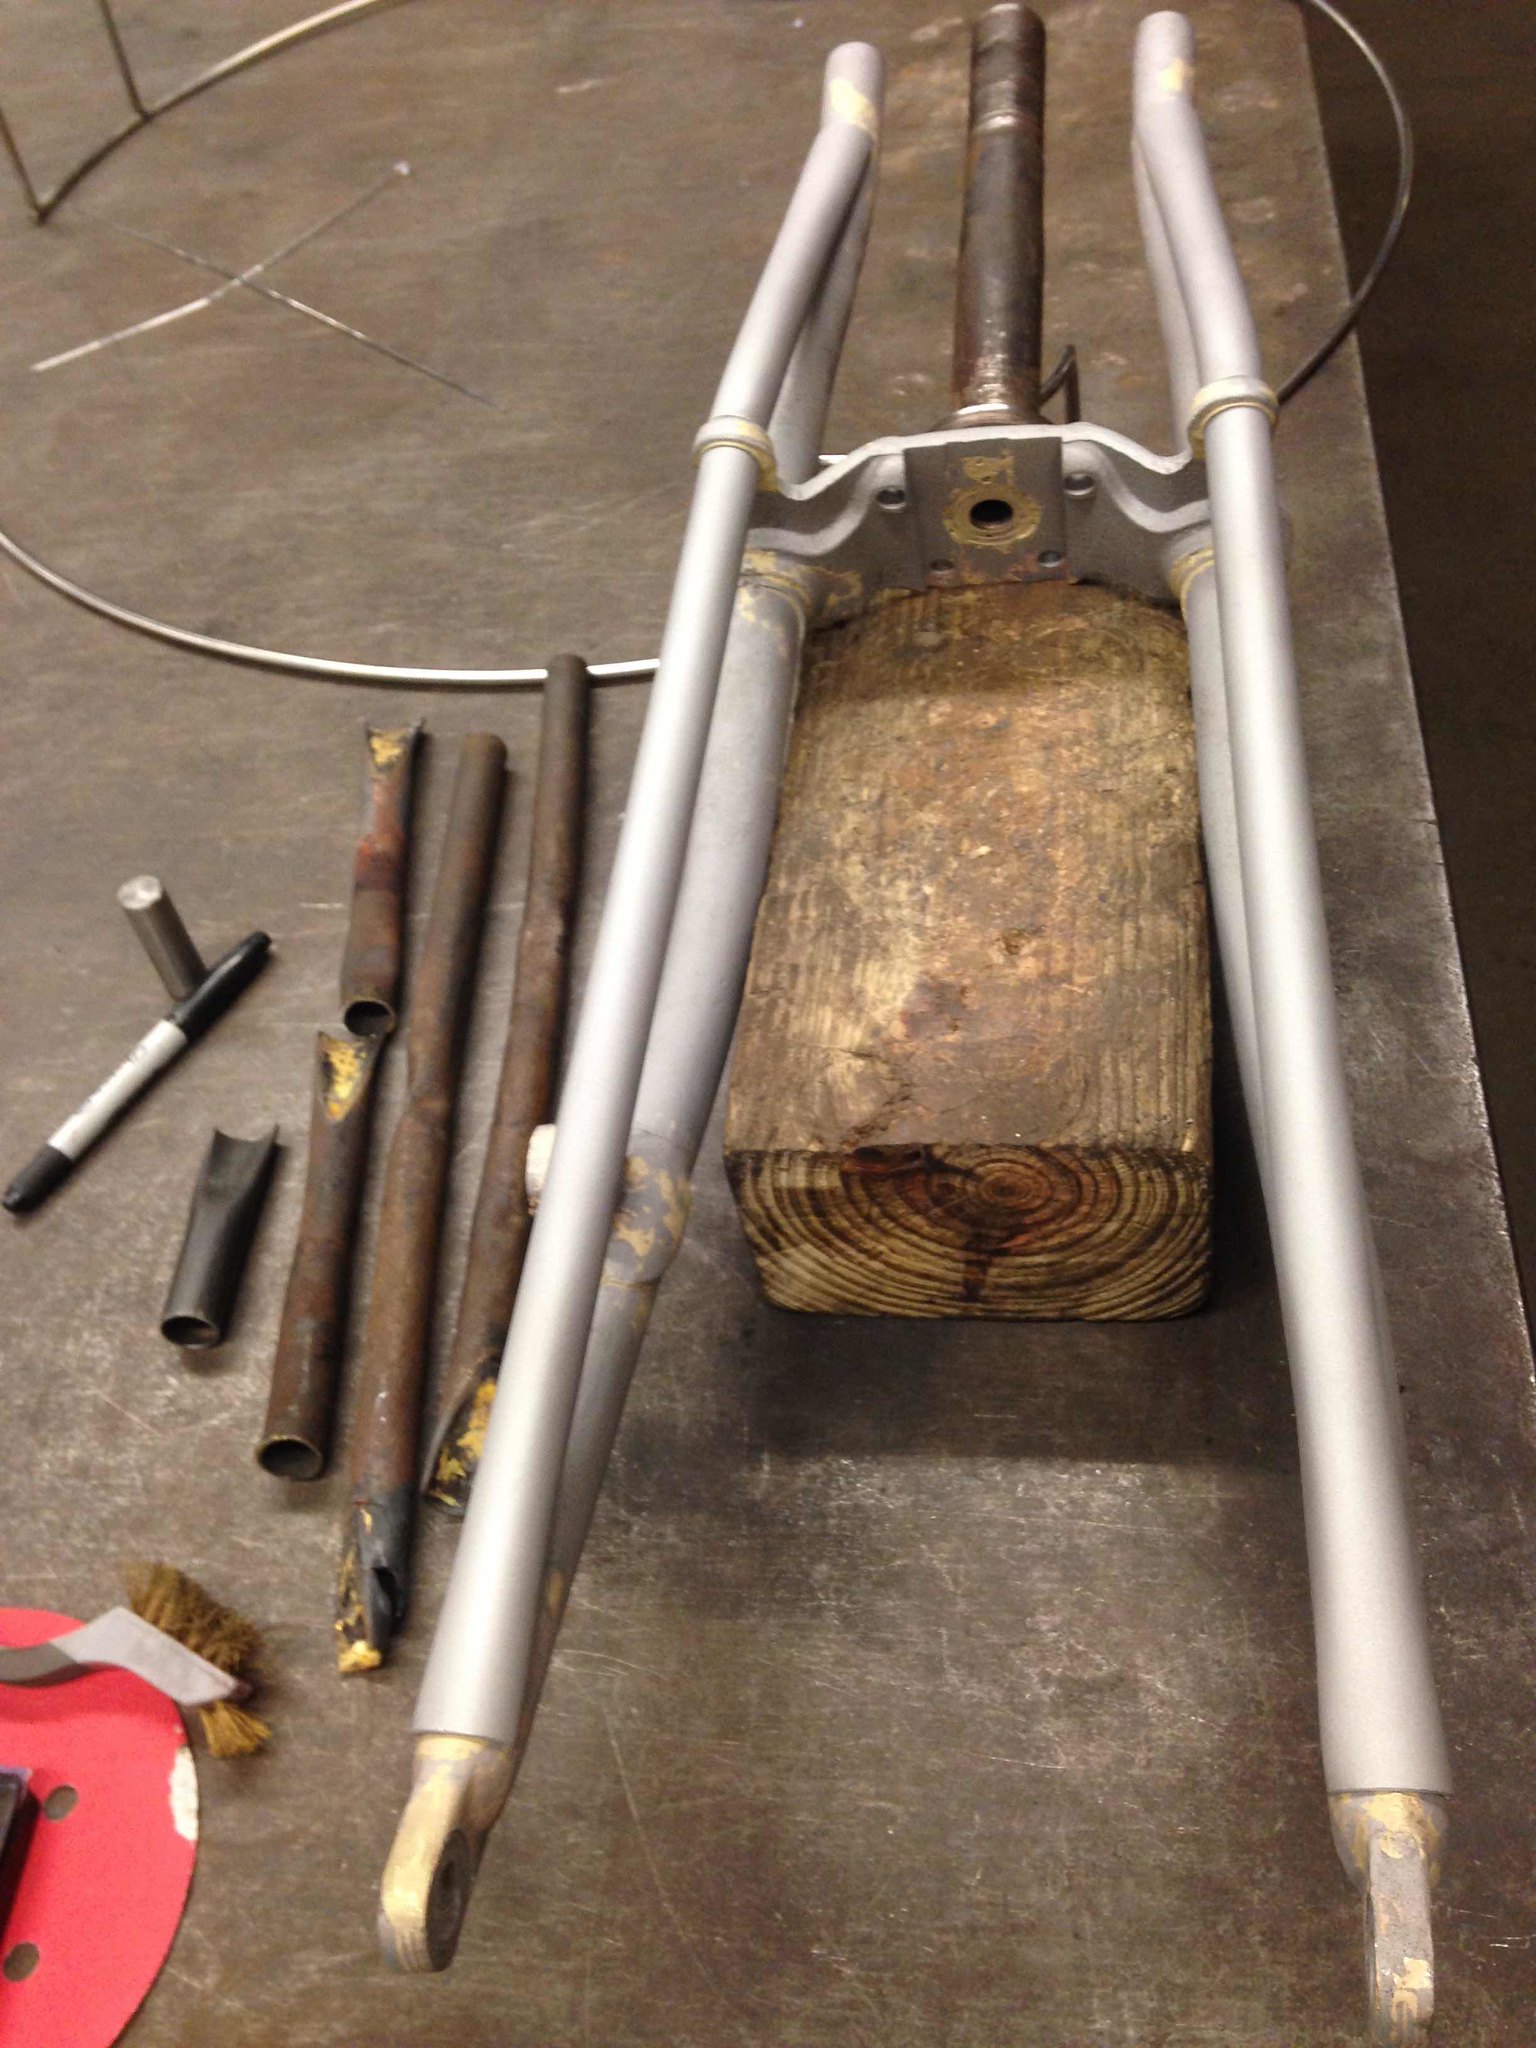
One of the things I struggle with is the decision to do it myself or let someone else do it. The guys at Race Metalsmiths know their stuff and are sensitive to matching new fabrications up to original. Lots of things are beyond my pay grade so I let the pros do it!Last edited by pisten-bully; 09-26-2018, 09:53 AM.Leave a comment:
-
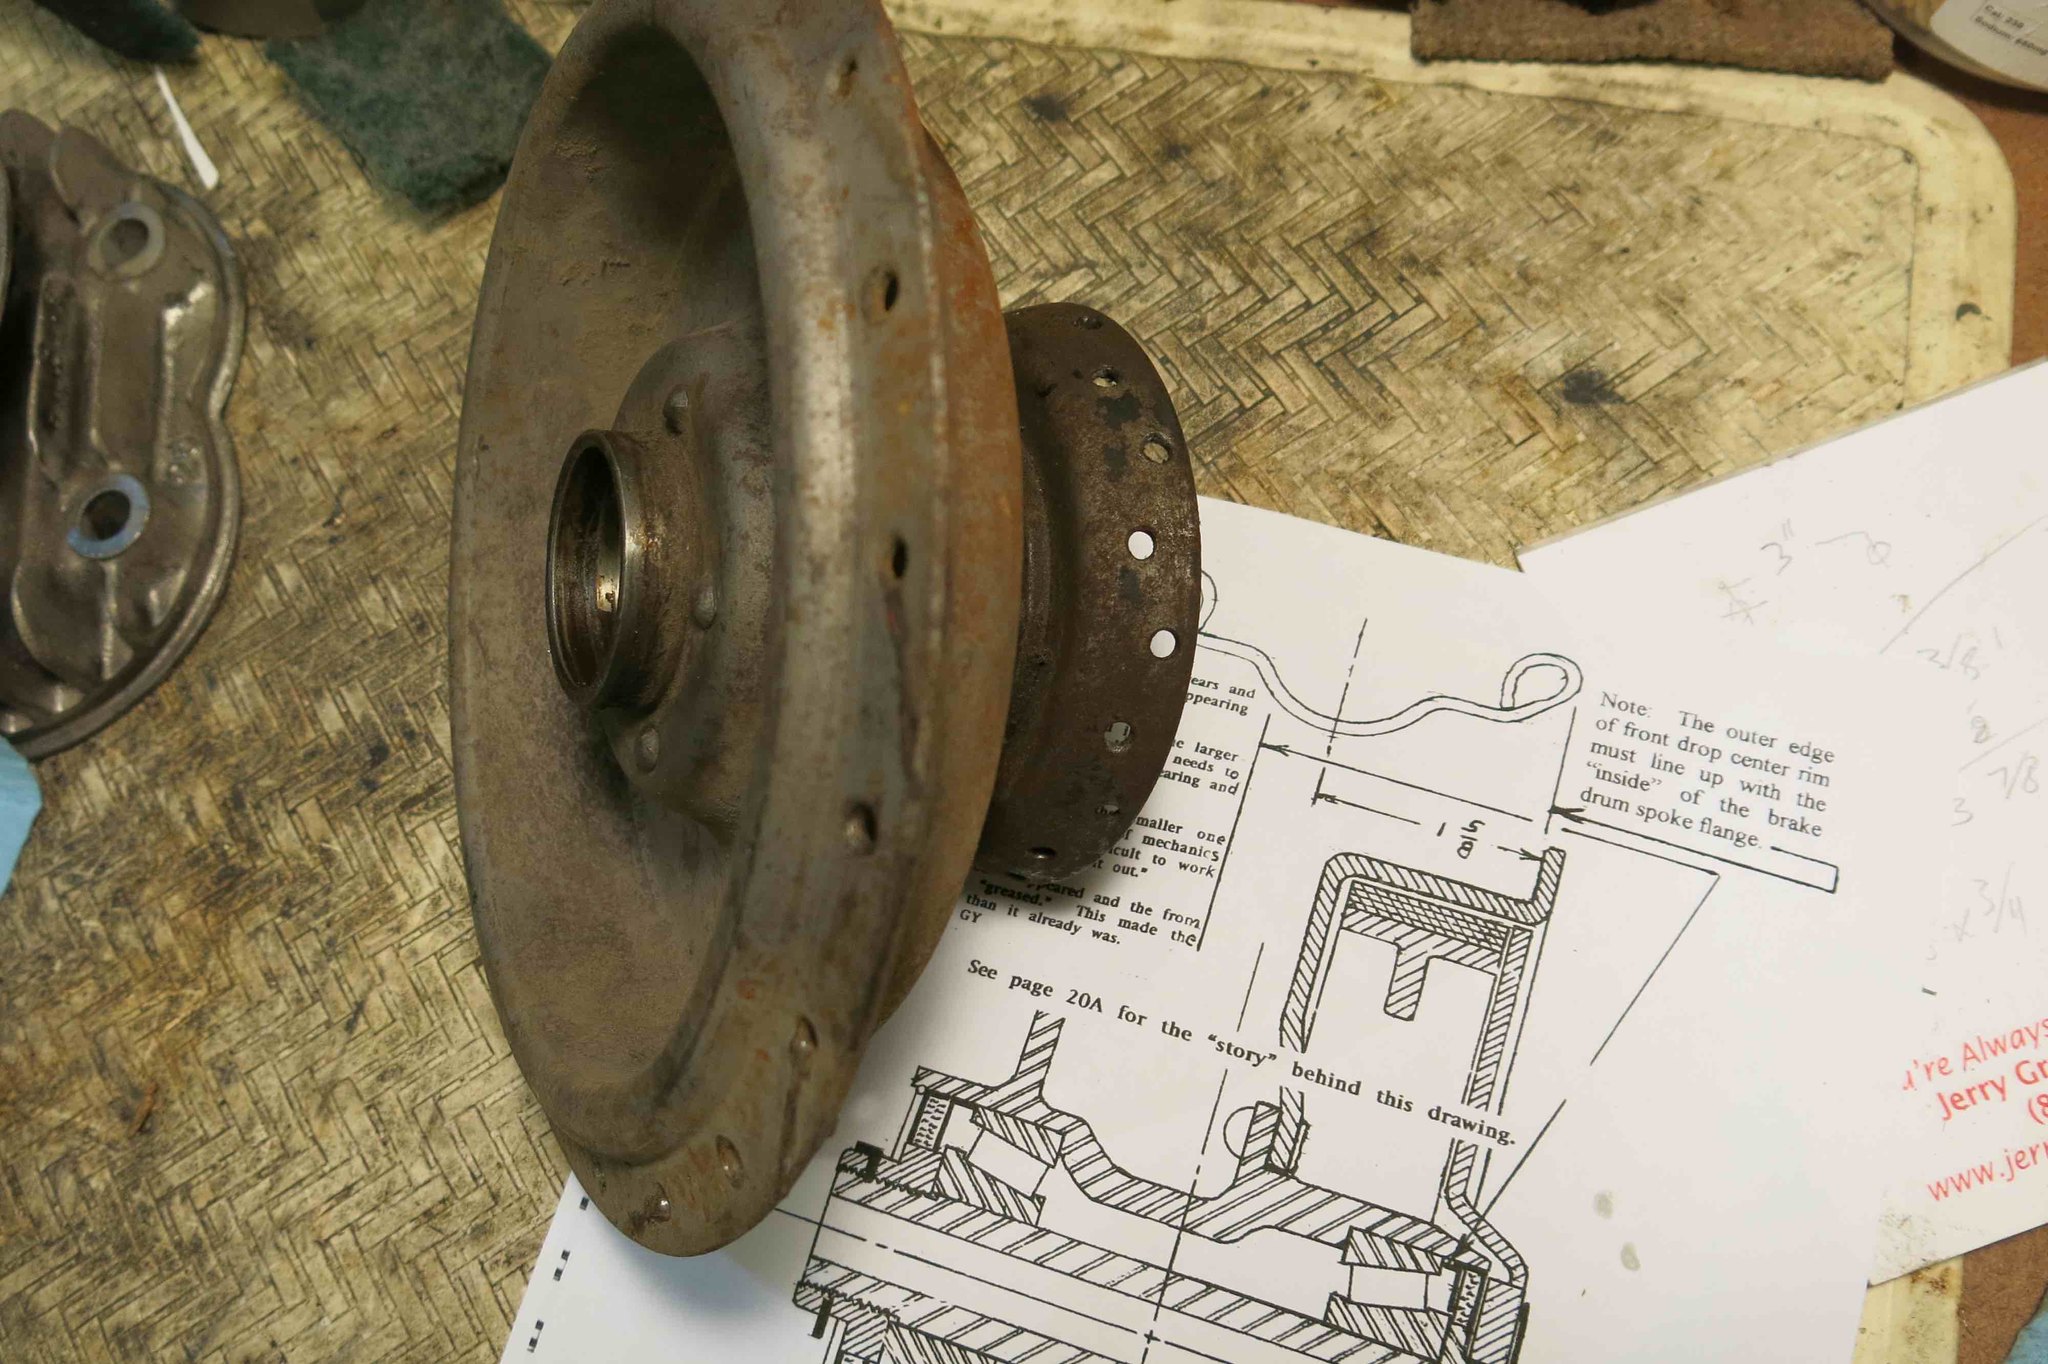
I got a bit of interesting information on my front wheel hub this morning (thanks to the sharp eyes of Dave on the Caimag site), until he mentioned the dished flange away from the brake side, I had never paid attention. Brake drum, spoke count, and rim size all looked good.... but this is not the correct hub! I measured it up and it's way wrong.... sheesh. So now I need to figure out what it is and where to get the correct hub. Makes sense that it's not the right one, the rear wheel that came with it turned out to be Henderson. One step forward and two steps back....at least I hadn't painted it and laced it up to the new rim!
Leave a comment:
-
Tom, mines a Chout build and far from stock - 1930 frame 101 and highly modified 47 Chief engine. With cylinders that were shortened almost 2 inches, so that it would go into a stock 101 frame - that's why I had to cut the trans tower, also my trans is one of the new 4 speed overdrives :-)Leave a comment:
-
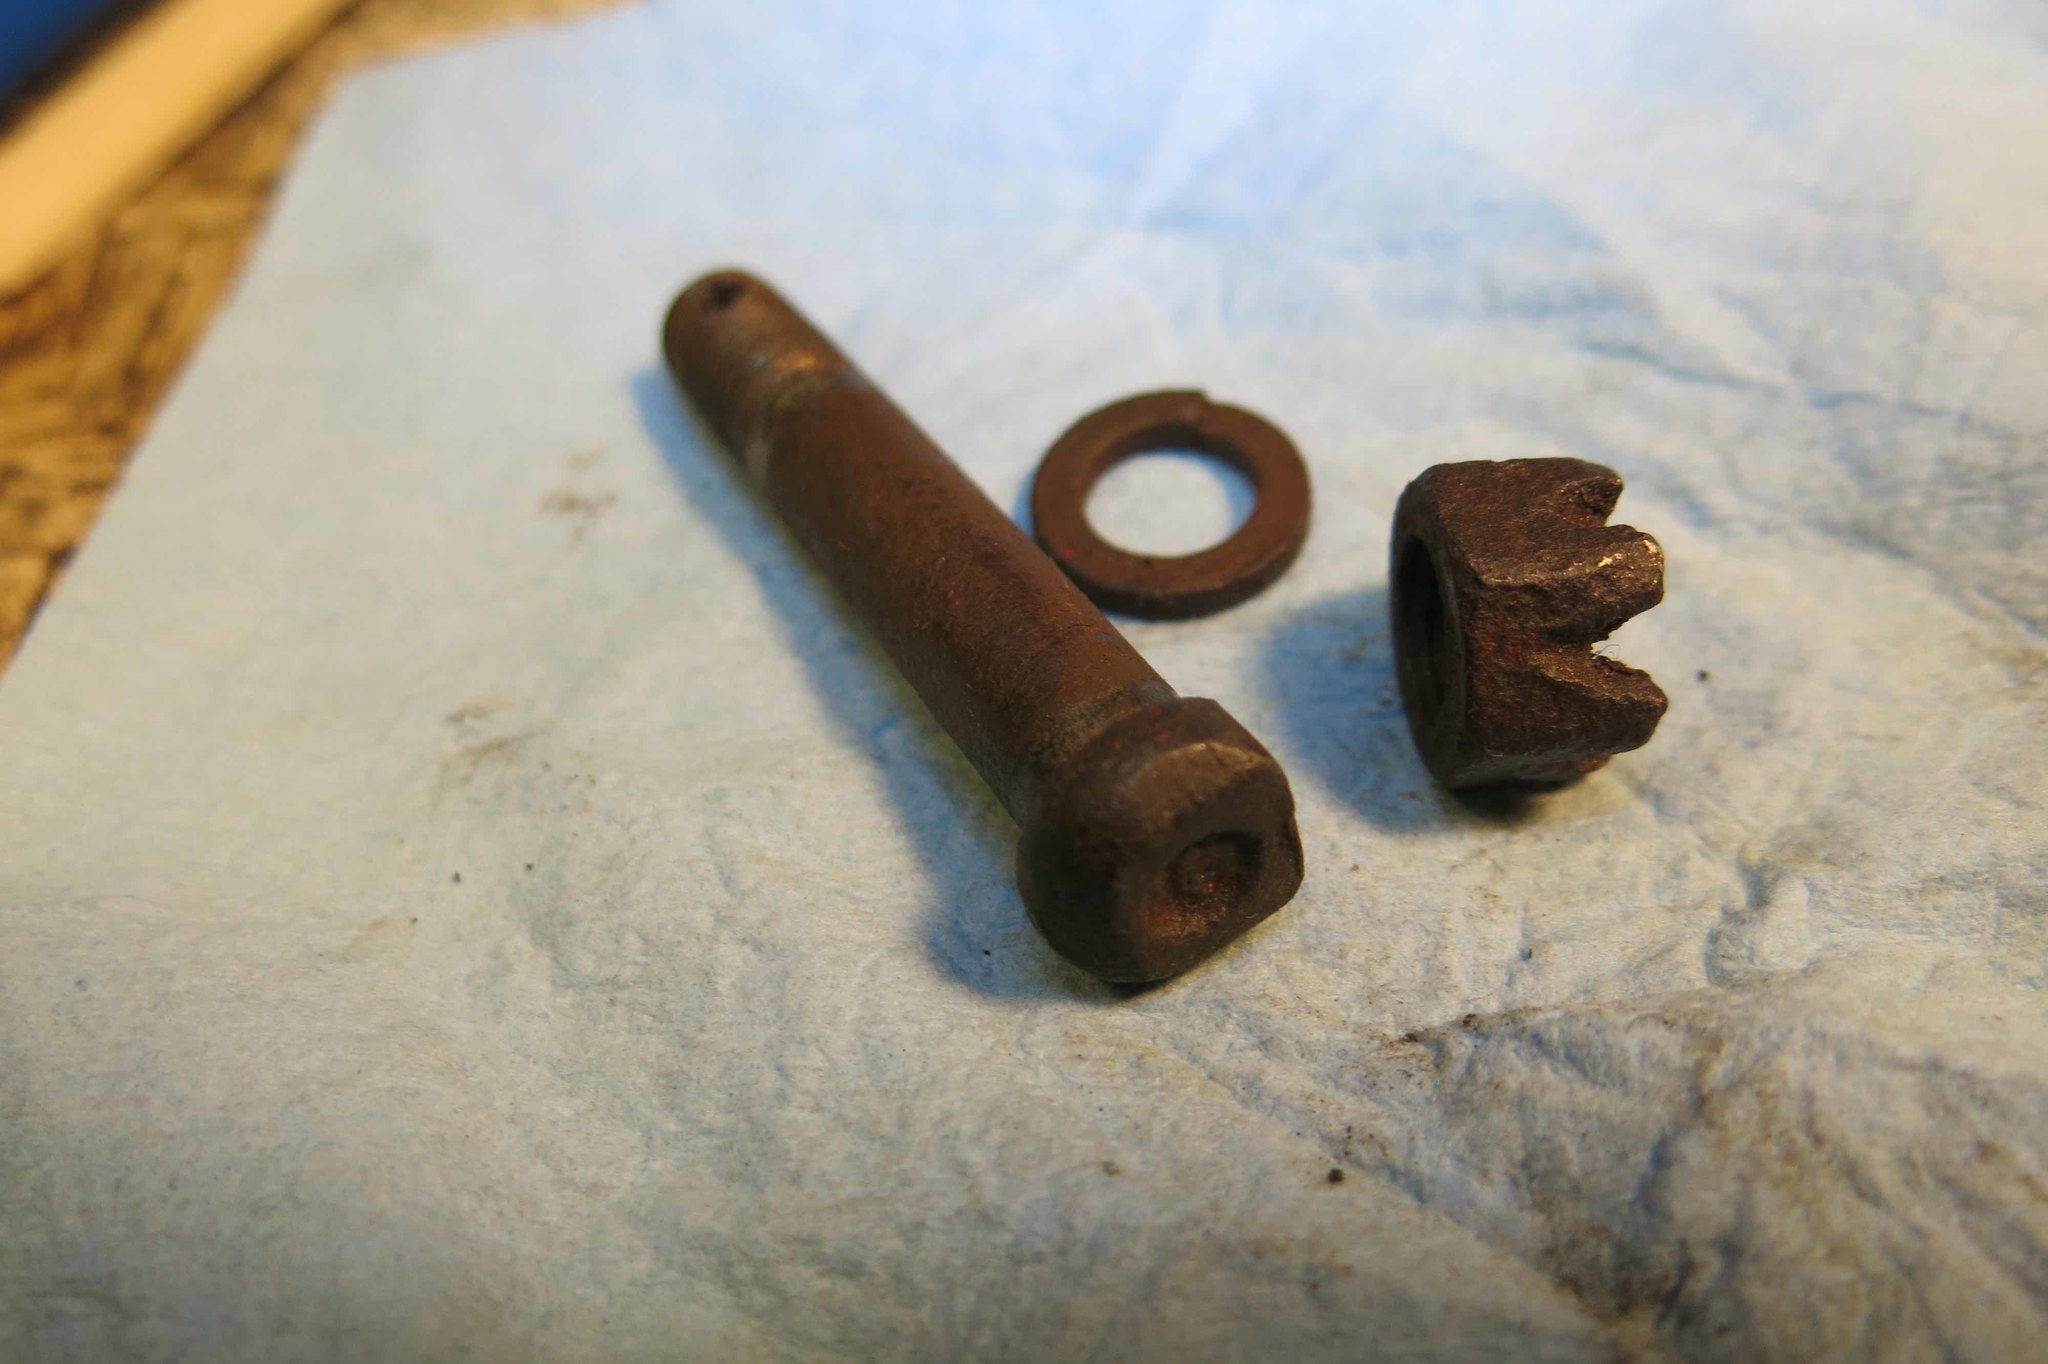
Mike, this is what was in there. I'm not certain if it's correct, and if so if it should be nickel or painted.... another detail to learn down the road!
Leave a comment:
-
Very nice looking seat and the reworking of the parts. On the front springy tongue portions of the seat mount what holds the pin in the frame bracket. Or is that a bolt. Can't see that detail.
Mike LoveLeave a comment:
-
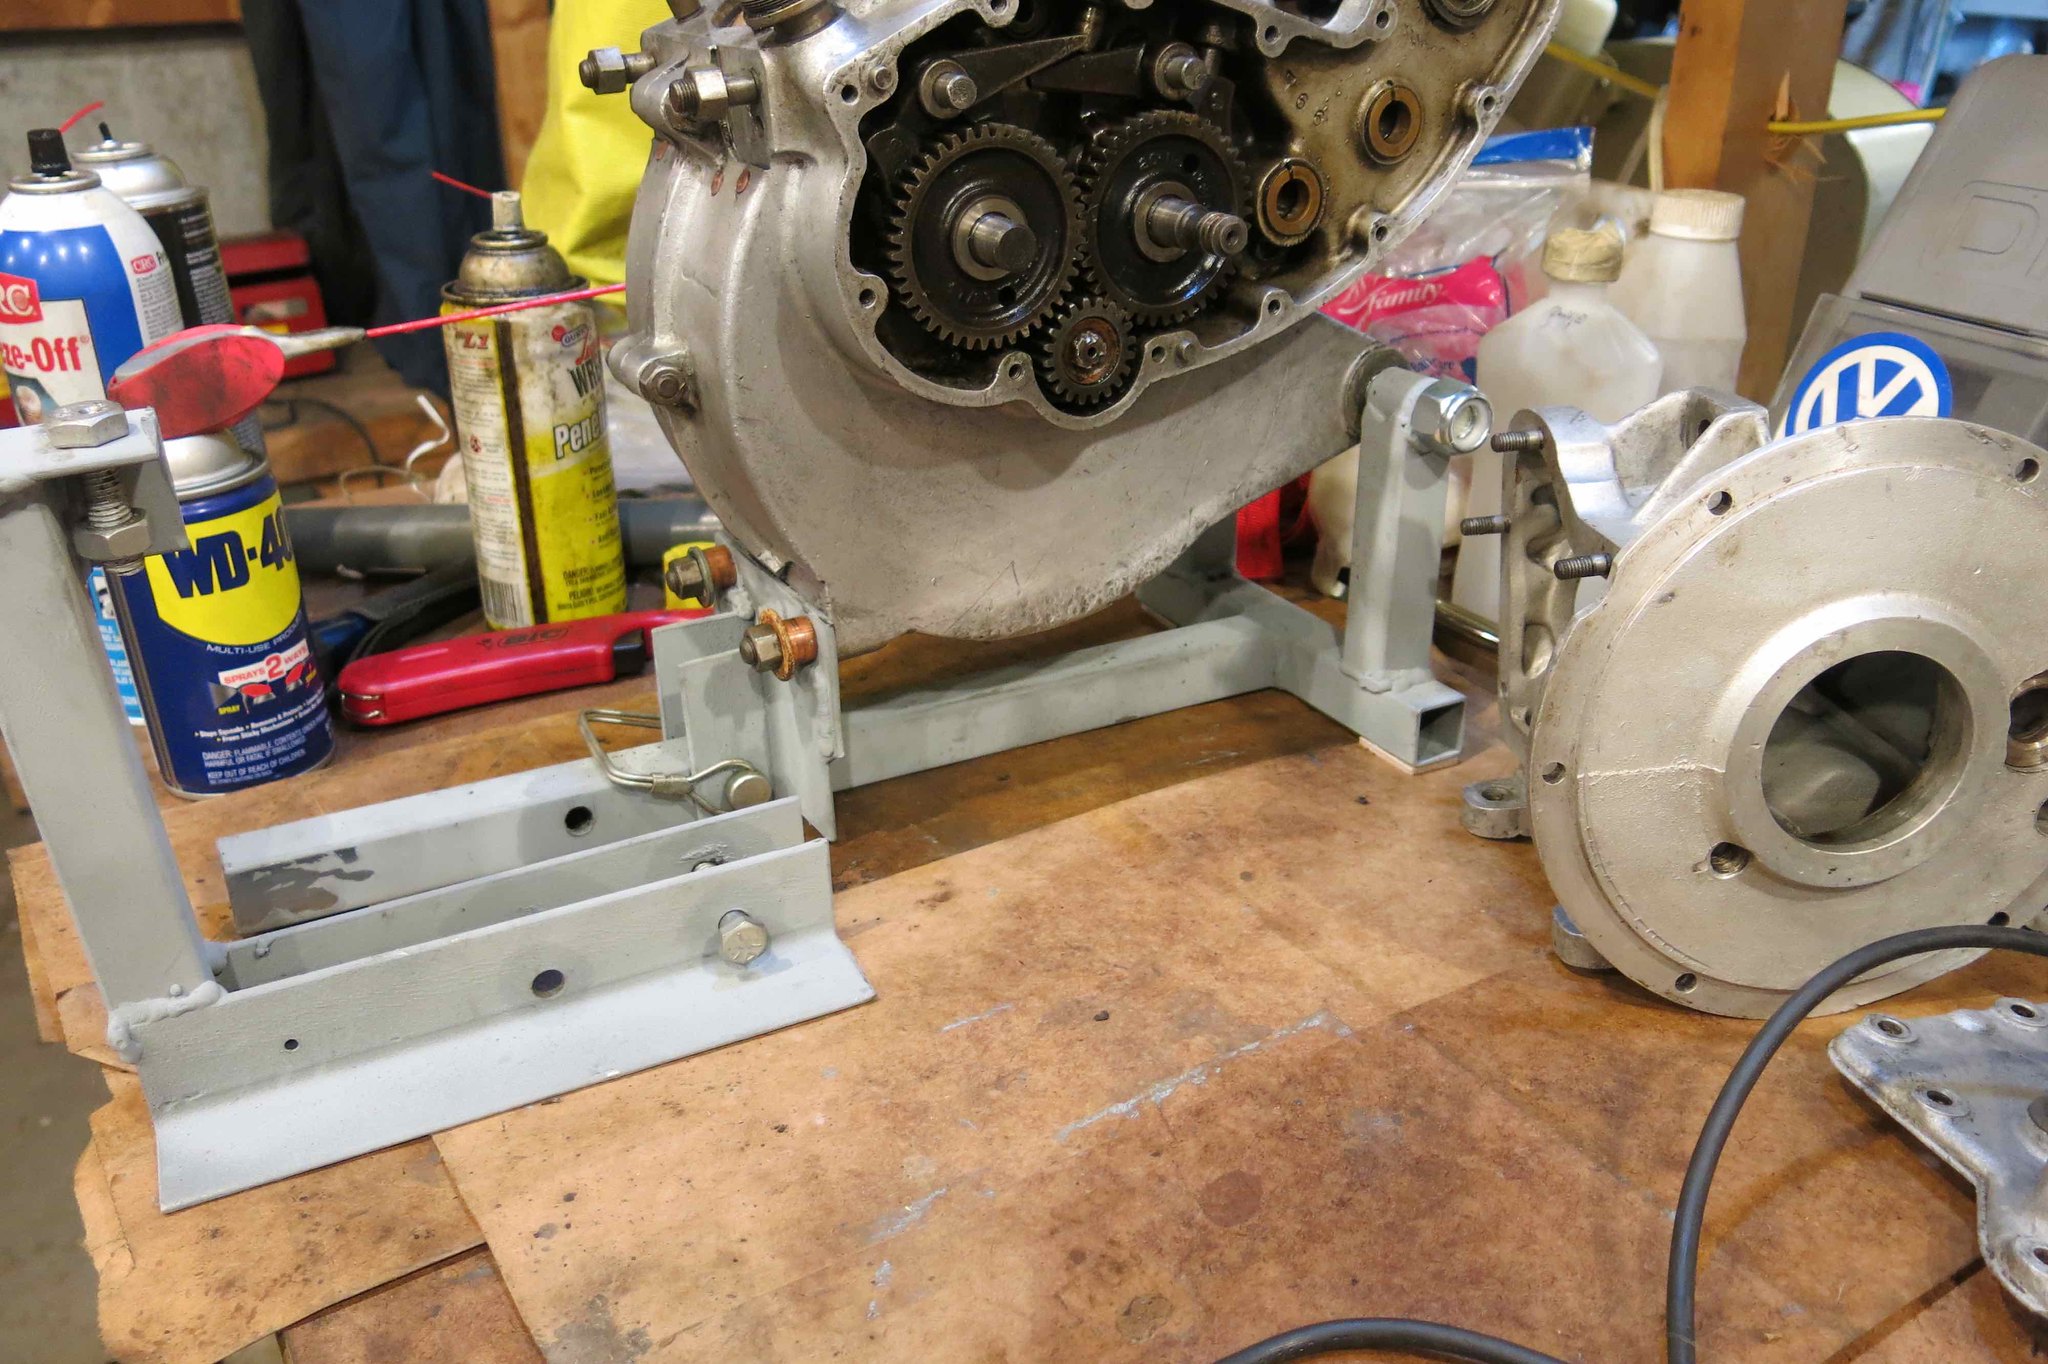
I also built an engine stand. I wanted a stand that can accommodate engine alone and also with the gearbox bolted up, so I made the base leg long and made two different vertical mounting brackets. To use the stand with the gearbox attached I'll remove the front mount for engine only and add the rear mount to hold the gearbox mounting point once they're bolted together.
Leave a comment:
-
The 101 came only with a front wheel and hub, well not exactly... the rear hub and wheel were Henderson so I traded that assembly for the correct Indian hub. I purchased a new drop center rim and proceeded to unlace the clincher from the front hub and drum. It actually went very well, I simply applied a few drops of Kroil to each nipple from the inside and was able to get them off without too much trouble. My plan, unless I get talked out of it, is to use the original spokes and nipples on the new rim... as long as there's enough thread on the spokes because the drop center nipple holes are a shorter distance to the hub than the original.
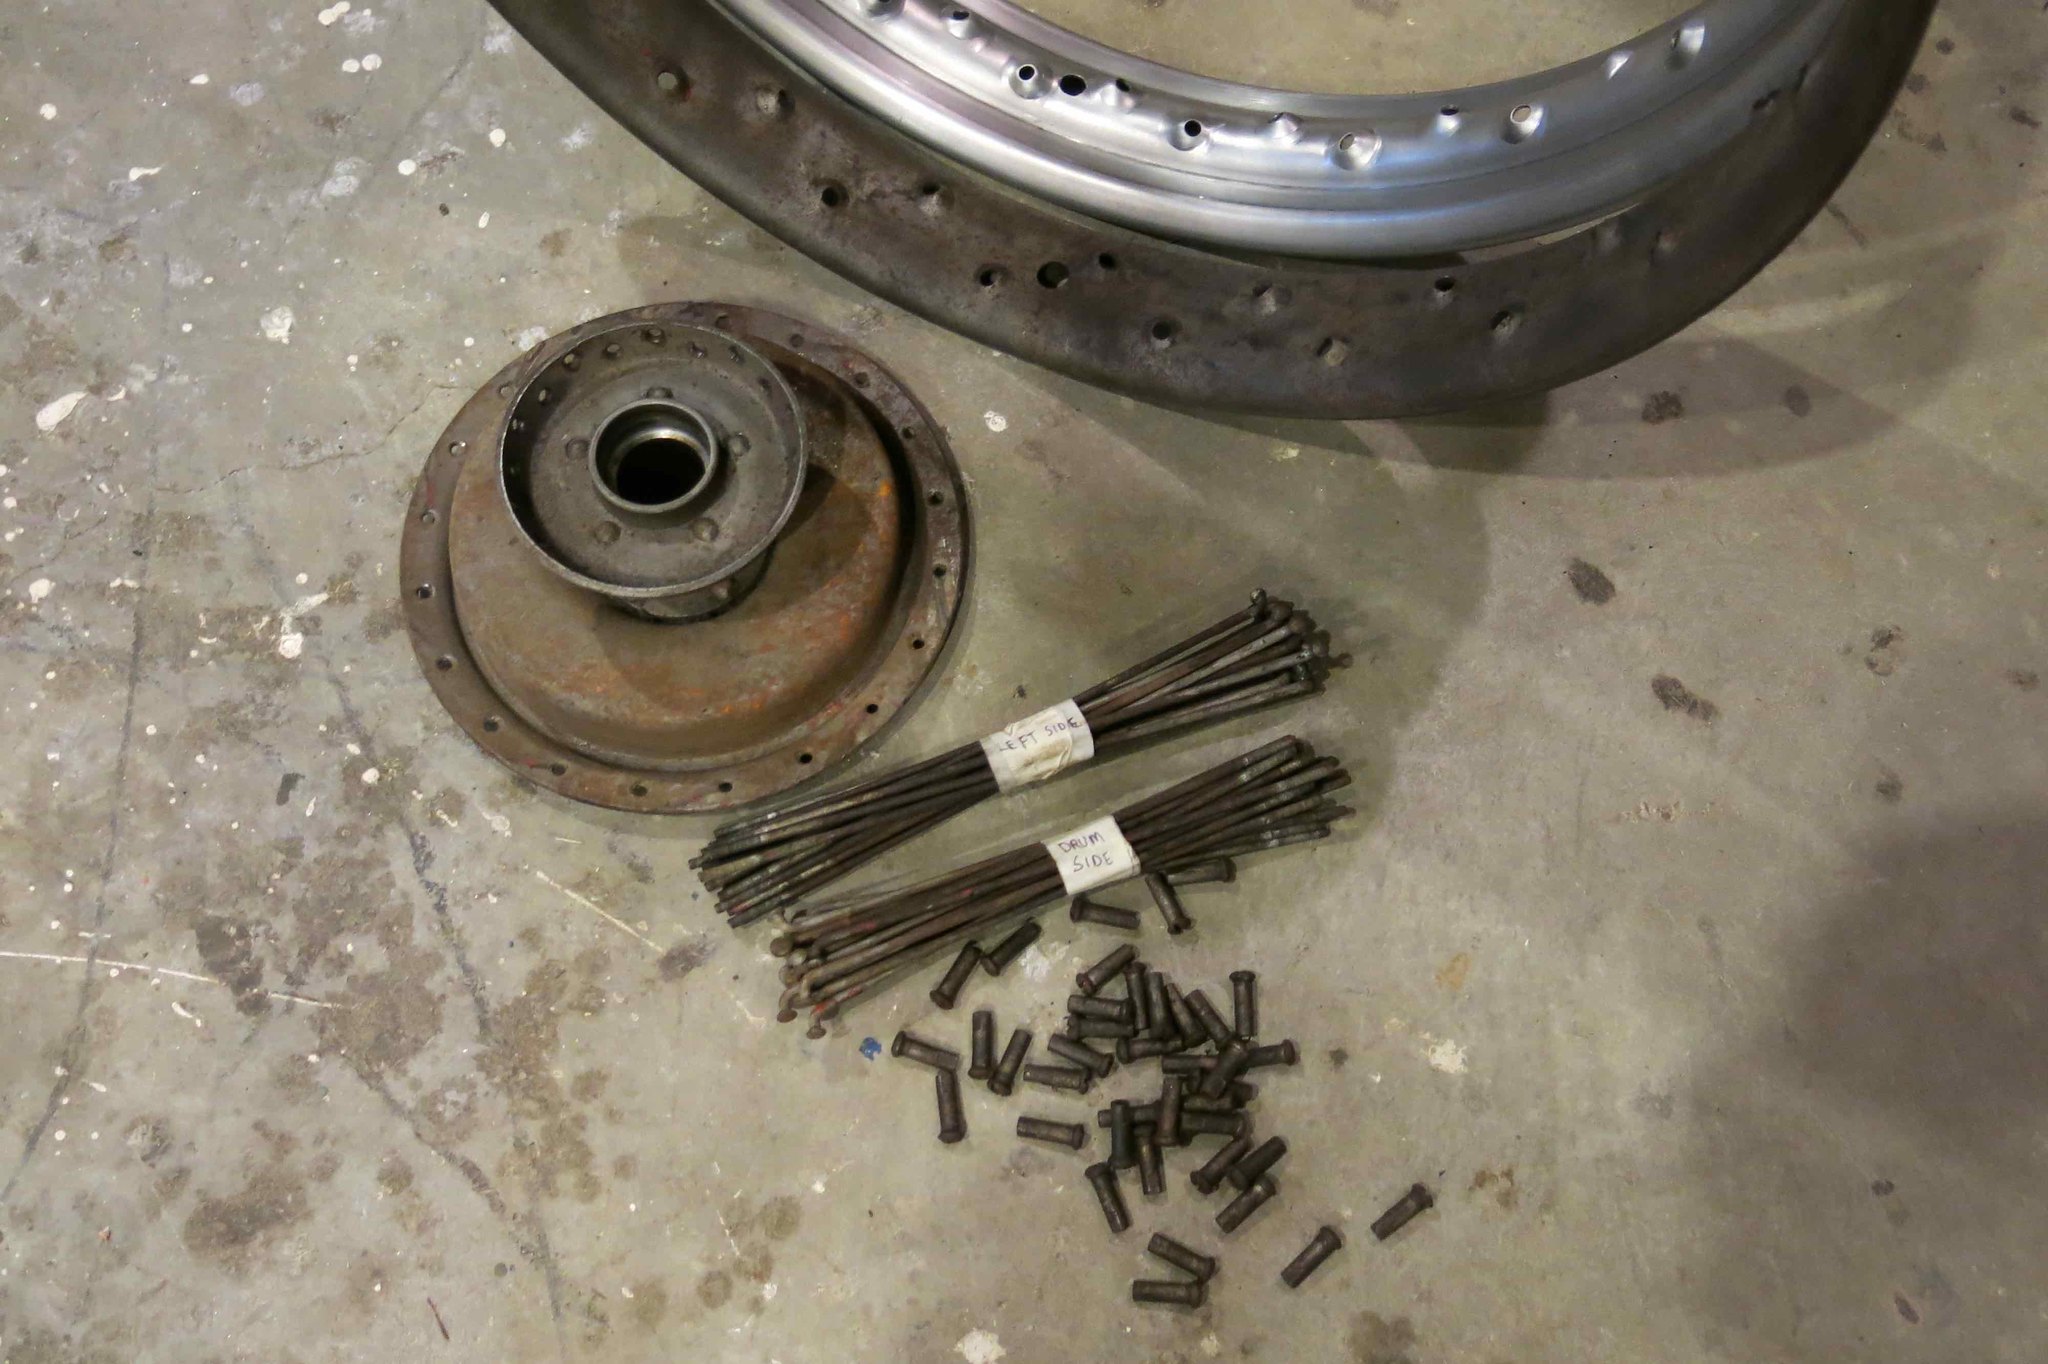
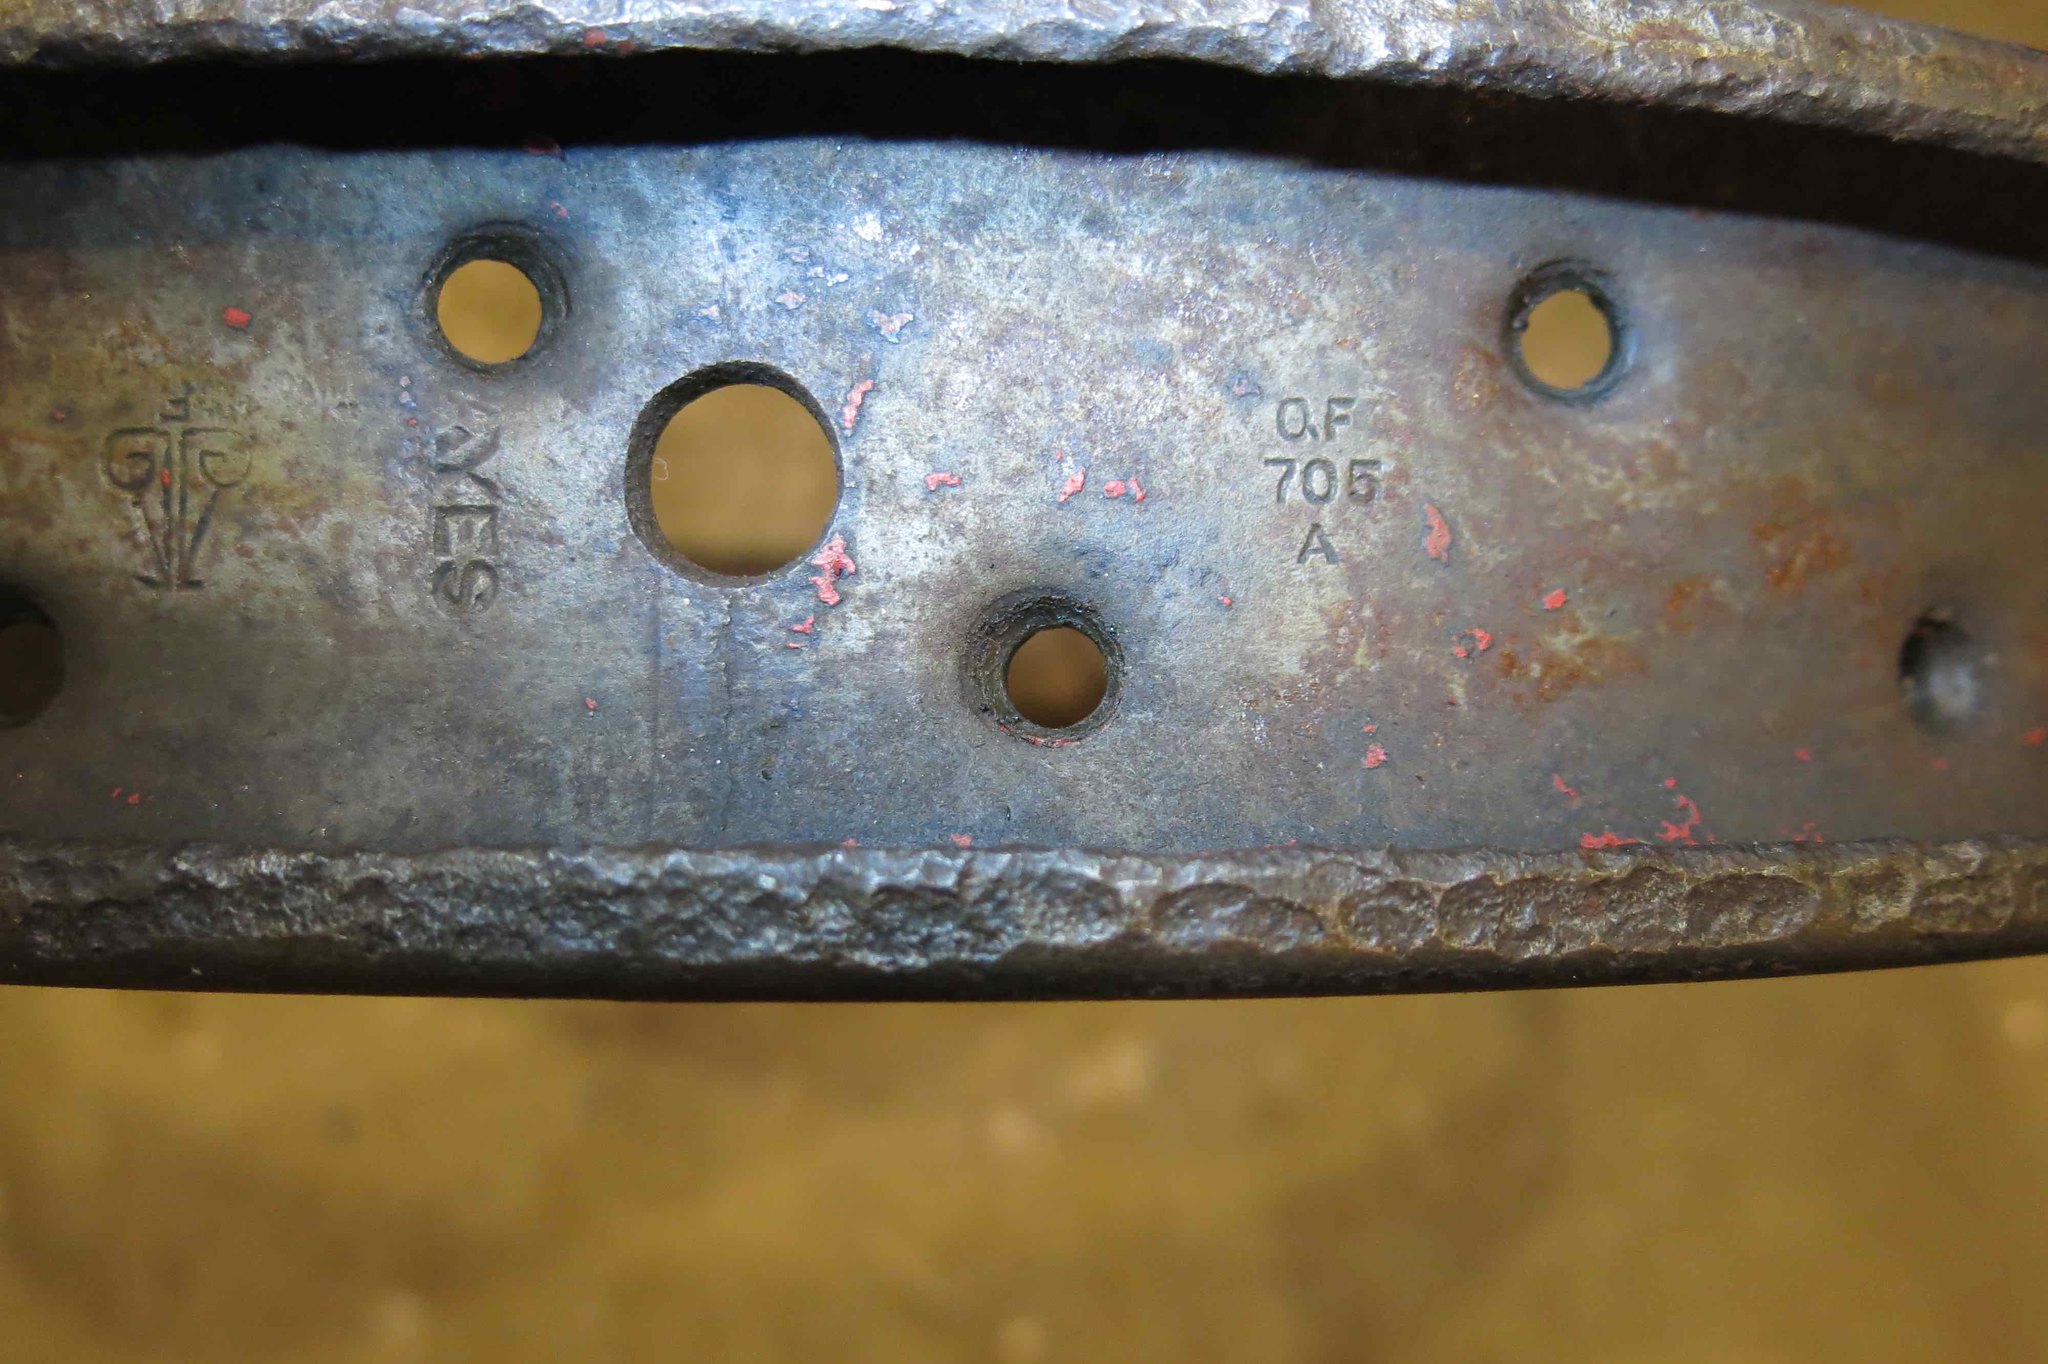
BTW, the original clincher has some markings inside (and I don't need this rim, hate to toss it so if you have a need for one then let me know!)
Leave a comment:
-
Hey Tom,I am curious why you would shorten the trans tower.I am not to familiar with 101's,more chiefs.
I ask because I have a tower similar to chief but shorter,which I thought was later scout but may be other.
TomLeave a comment:
-
Thanks for the pictures, and text, Harry. What you're doing is my favorite part of messing with old motorcycles. I hope you're having fun.Leave a comment:
-
Very cool, I just replaced the tubes in my handlebars. Just cut and shortend my trans tower 1 1/8th inch and I am going to have to make a new shaft like the one your showing, that the shiftter attaches too. Keep at it and keep the updates coming.Leave a comment:
-
Without looking it up I'd say it was right around $300. Don't tell my wife, please! We have an understanding....she doesn't ask and I don't tell (unless it shows up from Ebay and it was inexpensive!)Originally posted by banjomike View PostLeave a comment:
-
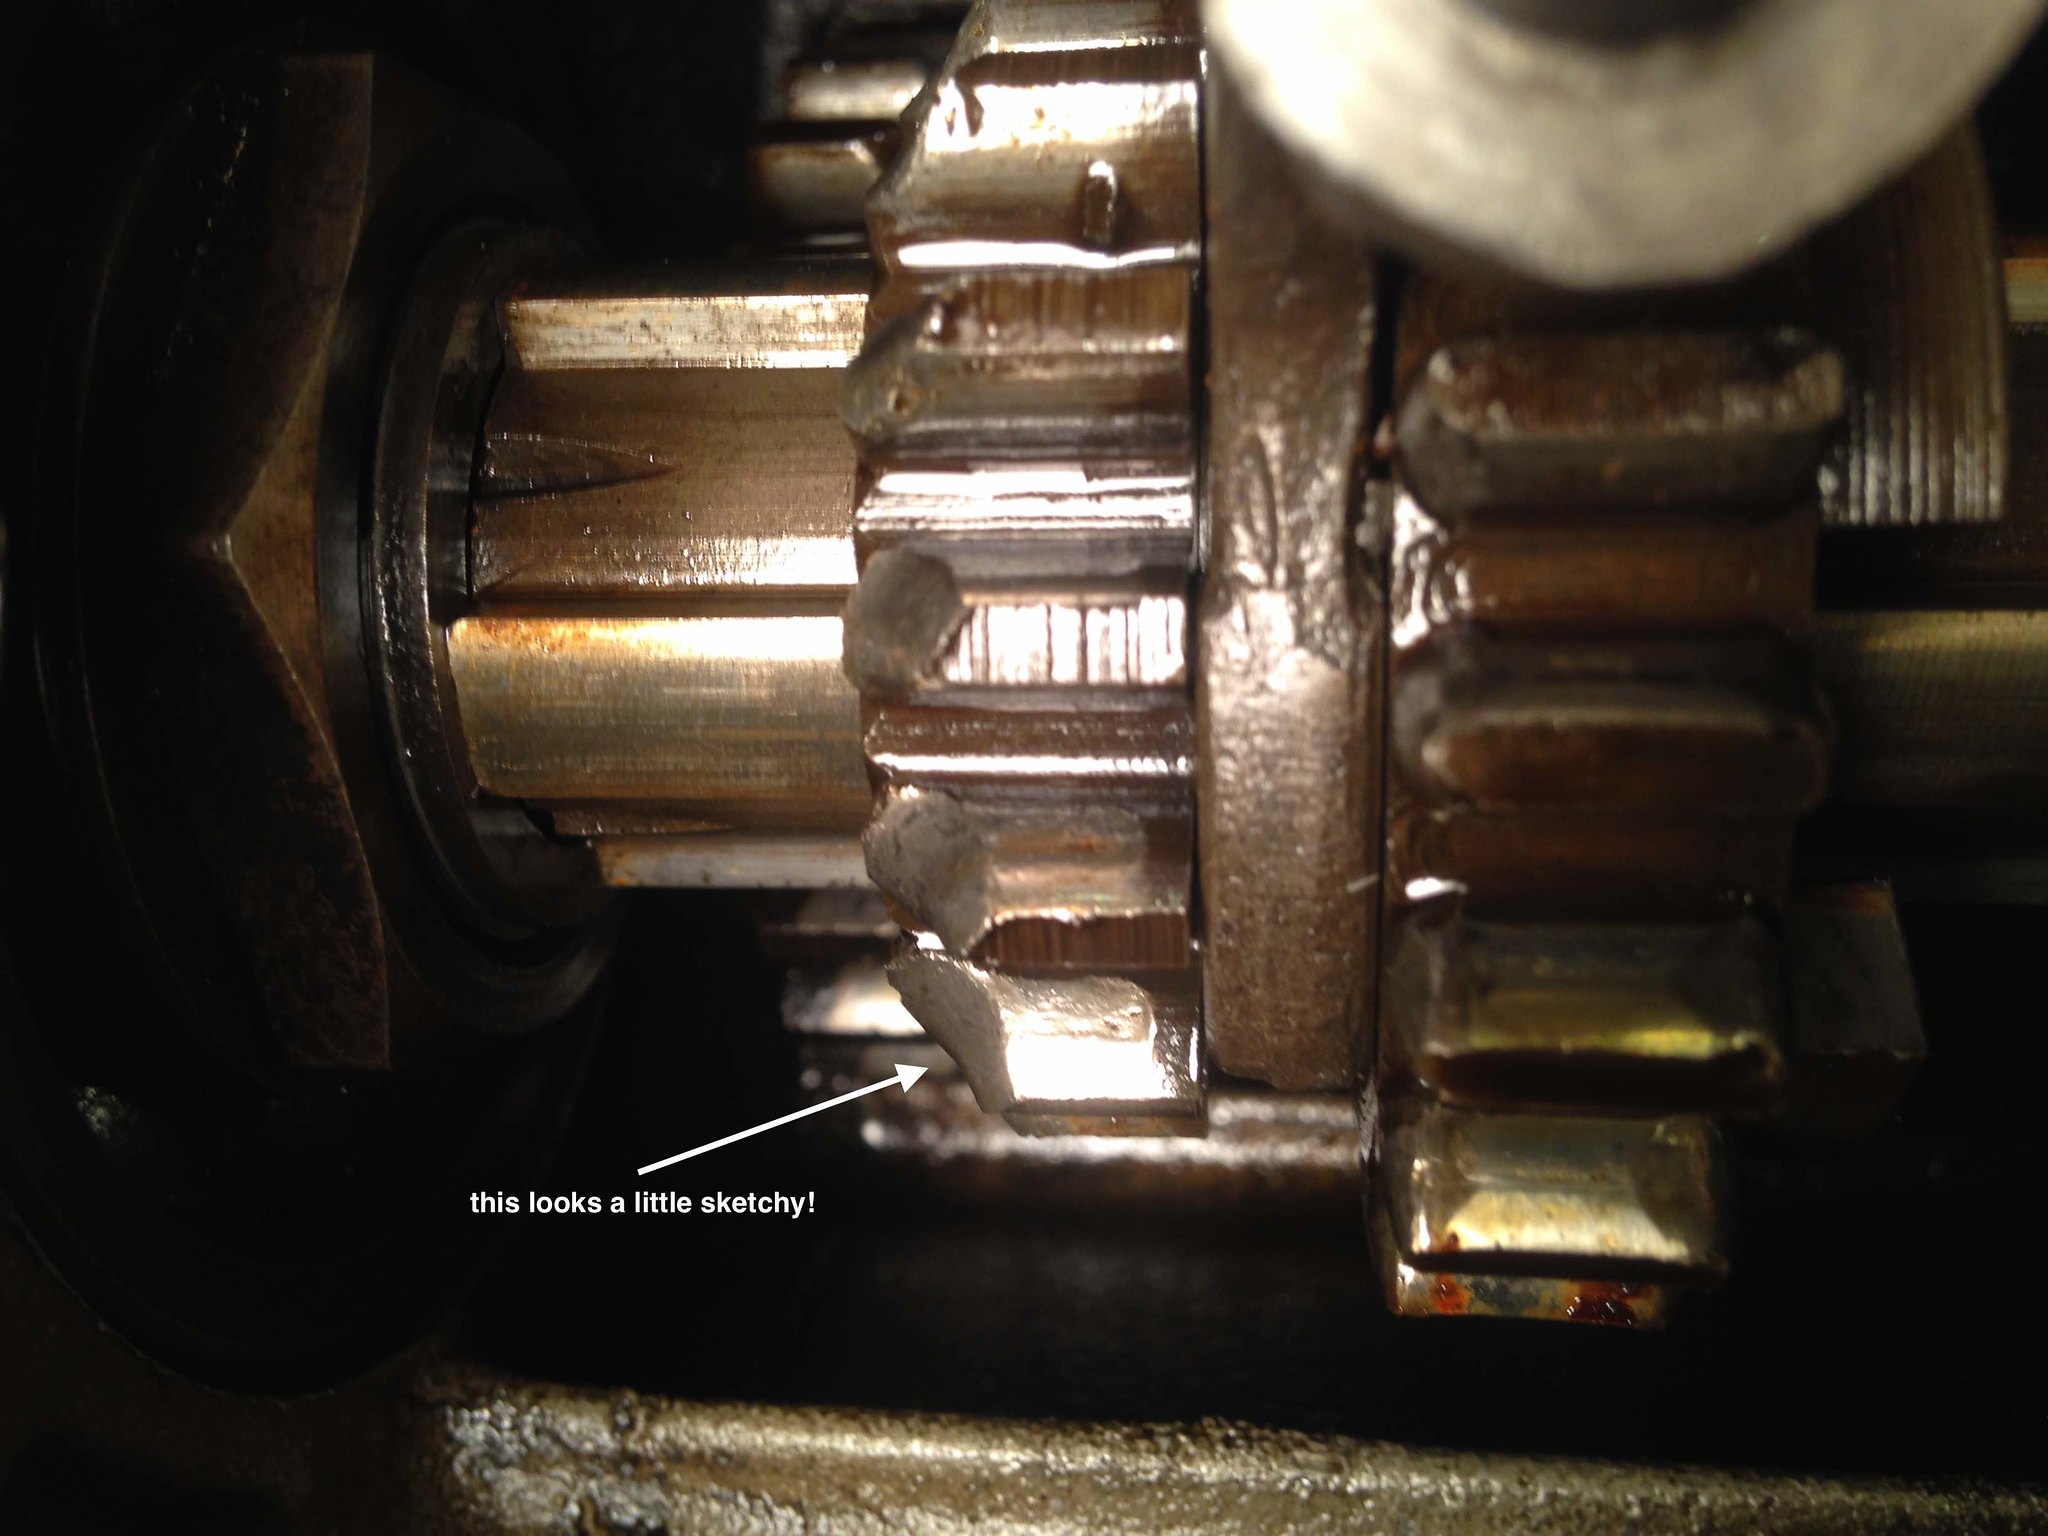
The gearbox was my next stop, I opened it up to find the slider gear pretty well past its prime
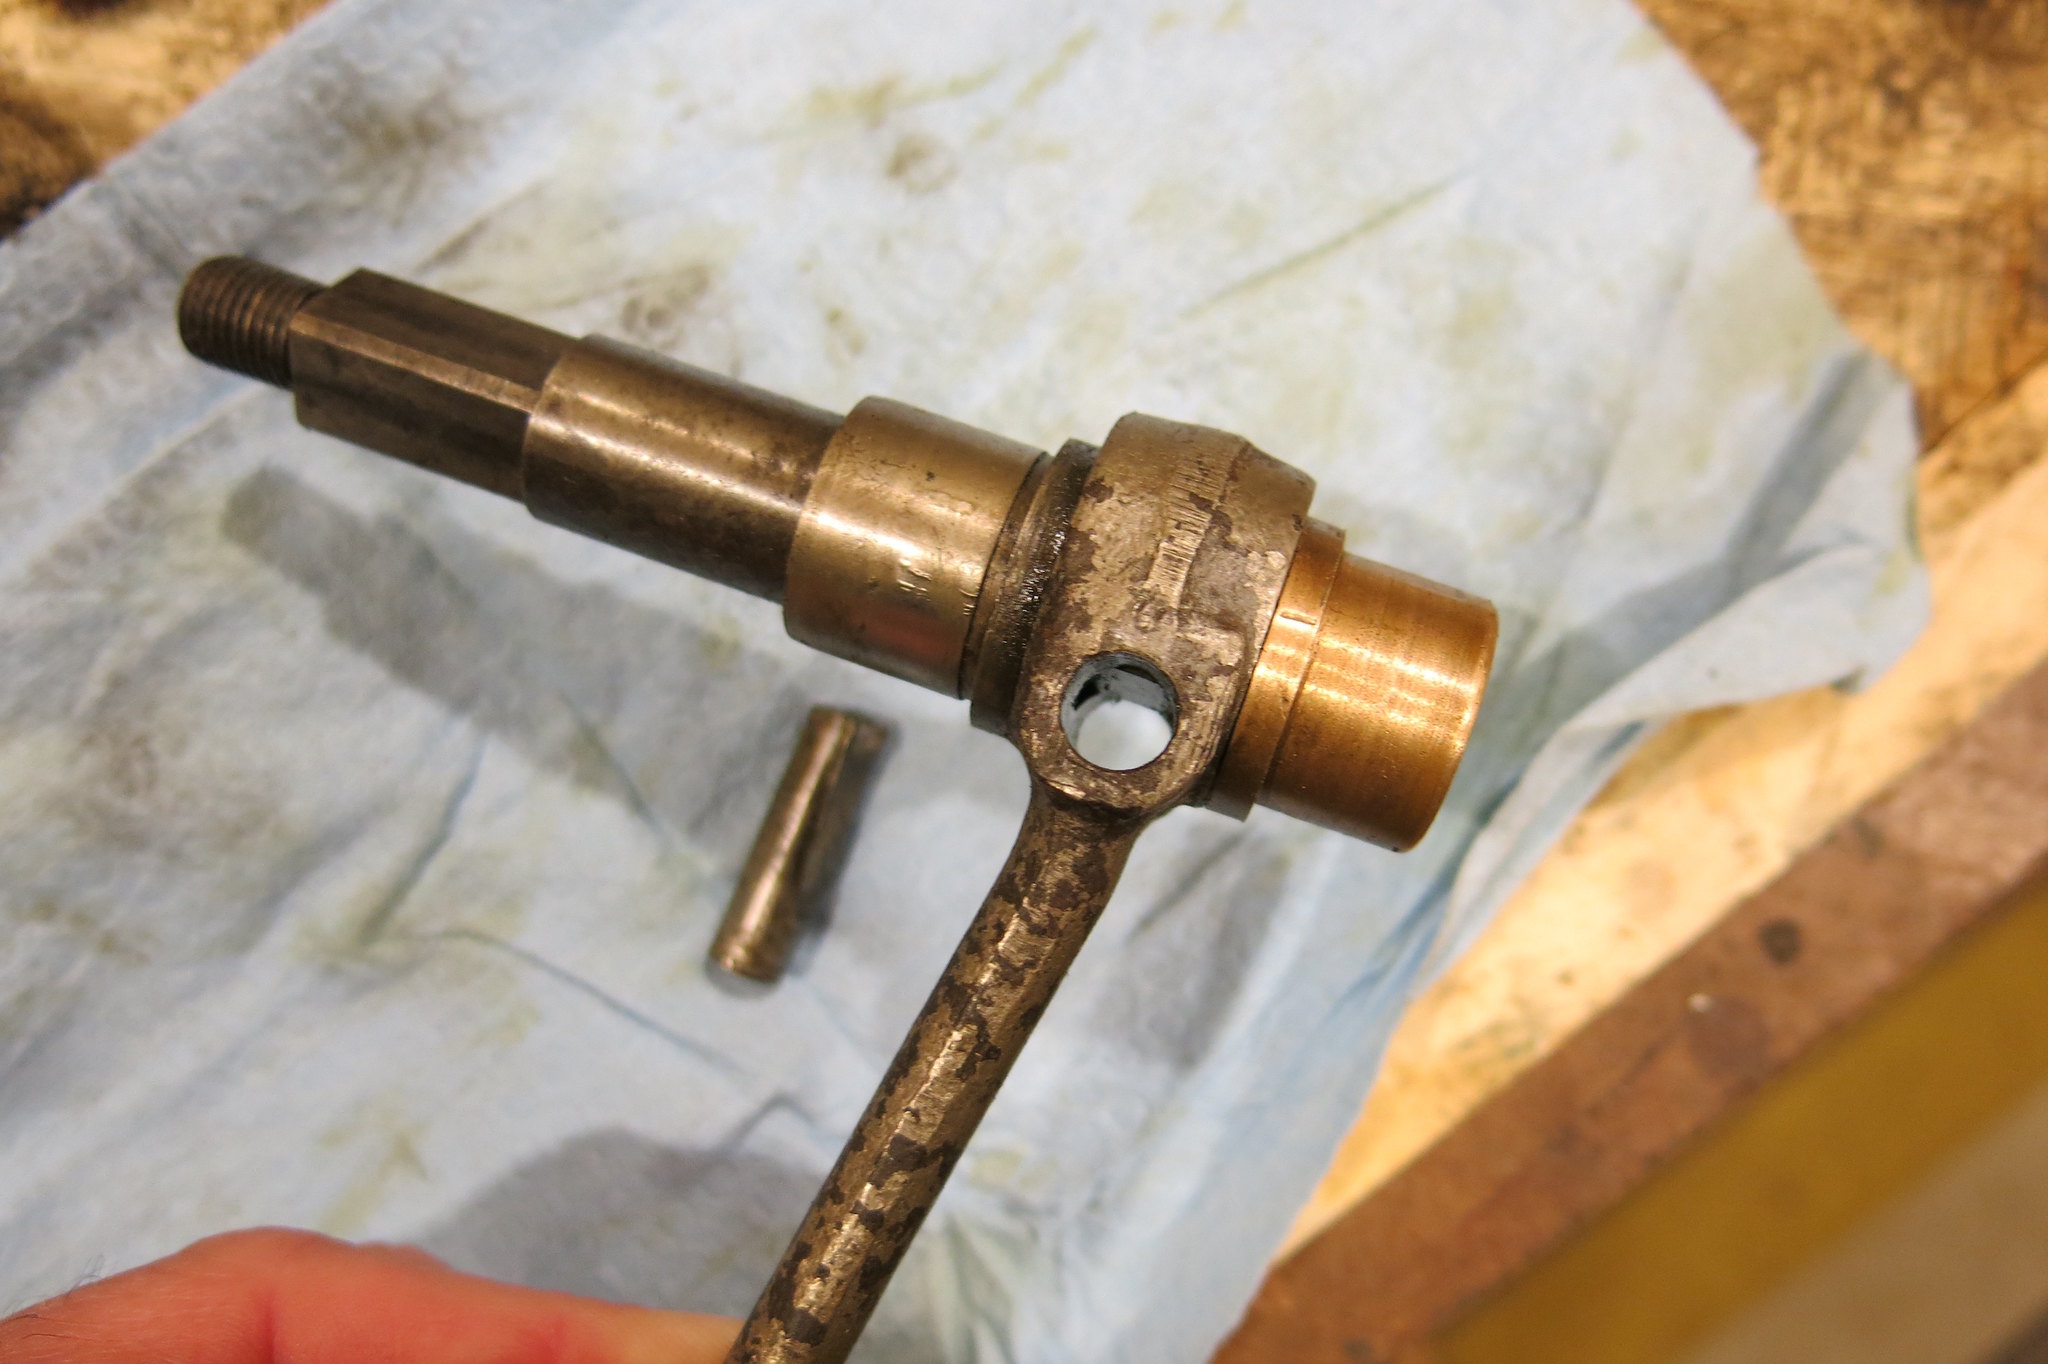
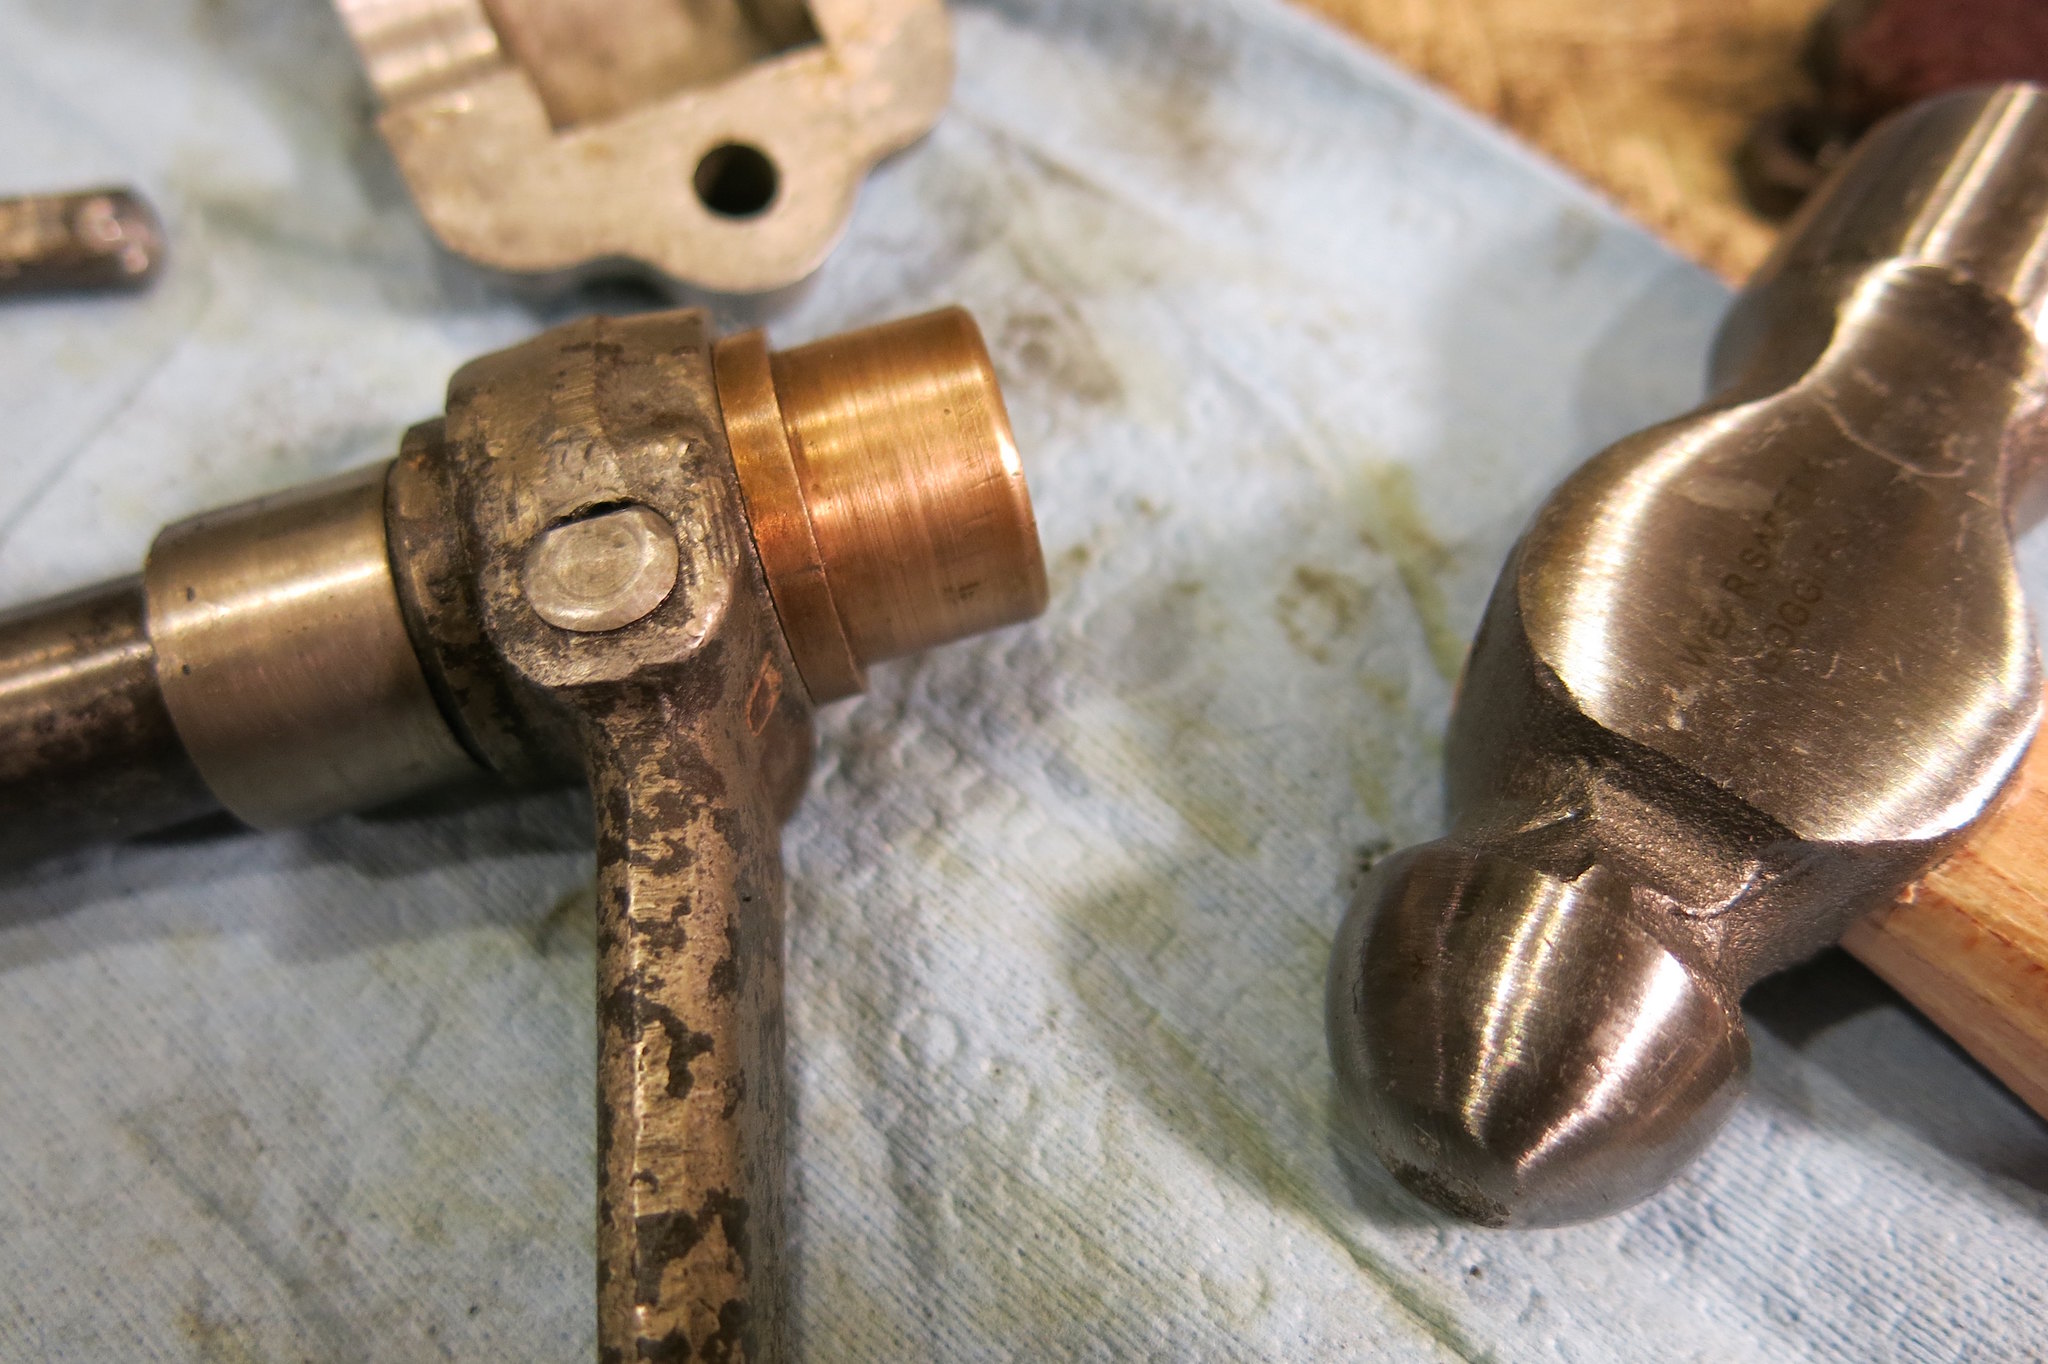
I tracked down a new gear and added that to my stash for when I rebuild it. Up top I had a left hand shifting tower, and I mistakenly thought all would have to do is reverse the tower and voila! But the actuating arm is offset so it's not that simple. The arm is riveted to the shaft that the shifter attaches to, so I carefully ground off the mushroomed end of the rivet and tapped it out. Greer's sells replacement rivets for later Scout gearboxes and they happen to be the same size...that was an easy find!
Leave a comment:
NOTICE: New member email requirements now in effect. Longtime member having trouble logging in? Please review the requirements here.
Only registered users may post new messages on this forum. You must be an AMCA member to register. Click the register link on the top right to proceed.
If this is your first visit, be sure to check out the FAQ by clicking the link above. To start viewing messages, select the forum that you want to visit from the selection below.
If you are NOT an AMCA Member and would like to join Click Here


Leave a comment: