 Tweet
Tweet
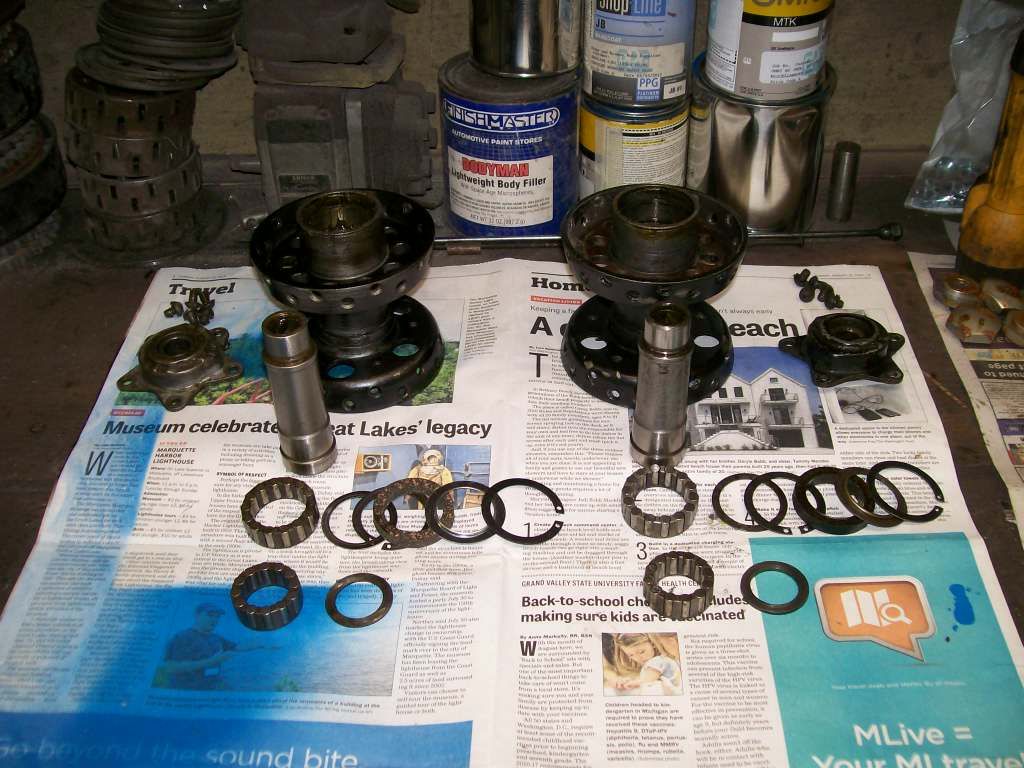
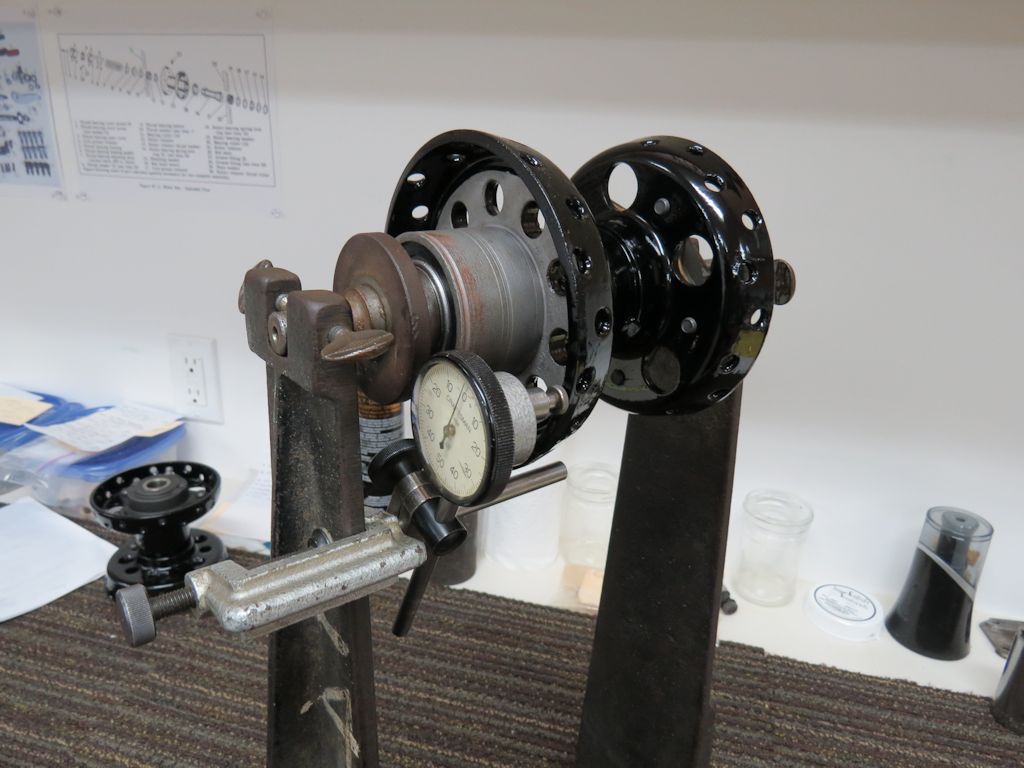
All shimming on star hub wheels is done dry and with the corks left out to get readings, then lubed and final assembly.
Your gearbox is mid 50s. Something before '56 when the top vent appeared but post '53 when all cases for several years bore the same date code of 3-3.
Your gearbox is mid 50s. Something before '56 when the top vent appeared but post '53 when all cases for several years bore the same date code of 3-3.


Comment