 Tweet
Tweet

-
-
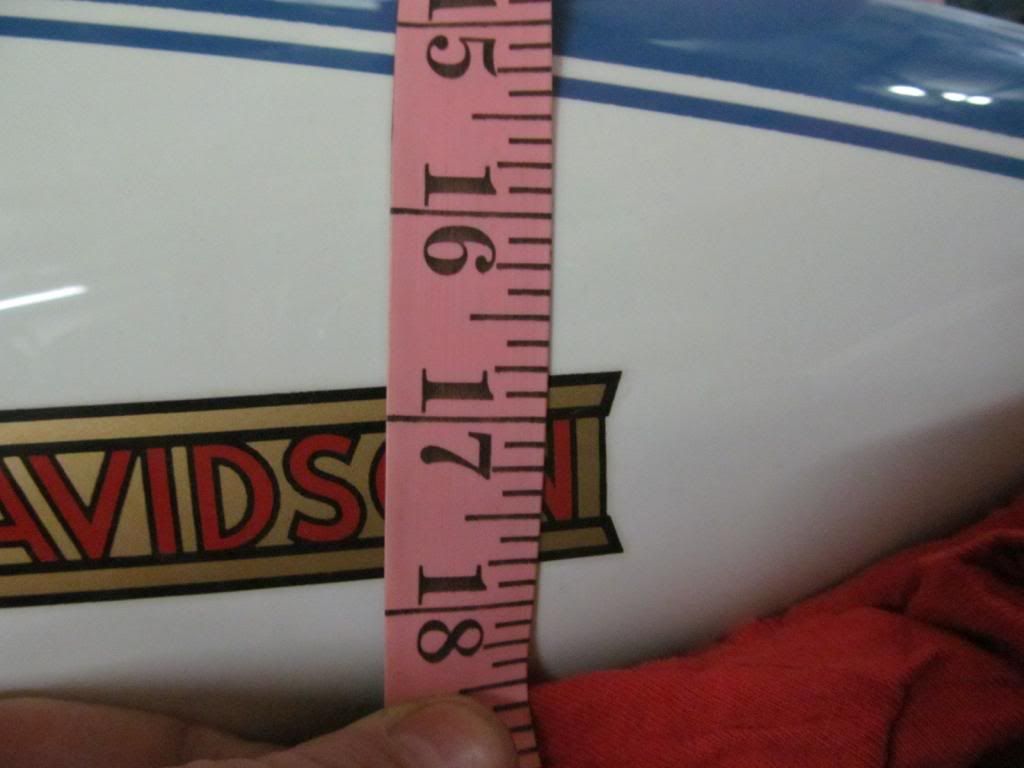
Len, one more thing is I kept the tape square to the flatside of the tank on all measurments.
The paint is a little dusty in the pics but is very beautiful in person. There were questions on the width of the stripes but John has some kinda documentation showing some slight varience in the width so we are going with this for now. If I have any problems as always John stands behind his work and will change if required.Comment
-
That paint is beautifully done. Did you apply it yourself? In my opinion the 39 paint scheme is the all time best for HD.Comment
-
Hello Cory,Originally posted by c.o. View Post
Glad you are watching!
Any help and advice welcome.
I picked up the BSA cheap and Austin has been looking at diffrent options as far as what to do with it. His heart is with Harleys but this is a nice break for him to see other brands.
By no means is it gonna be a stock bike but it is a bike so I'm cool with it. He will sell it when he completes to start a panhead project he has informed me.
He has also has been playing with powdercoating as you can see from the oven and booth in background of frame pic.
Busy kid.....
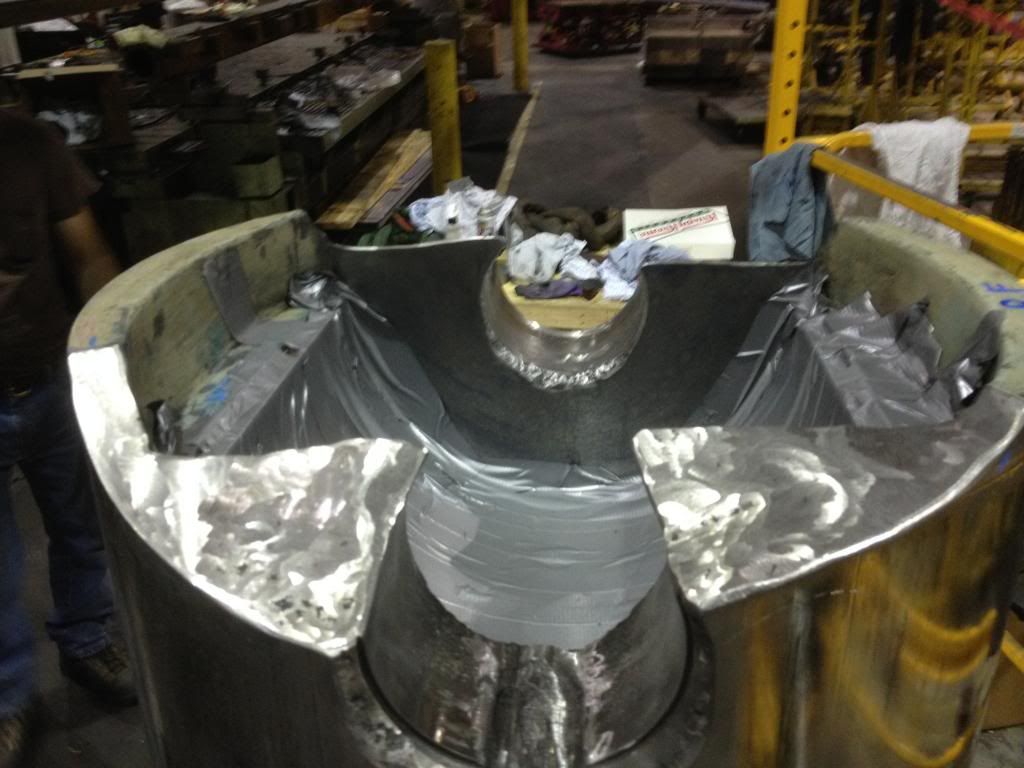
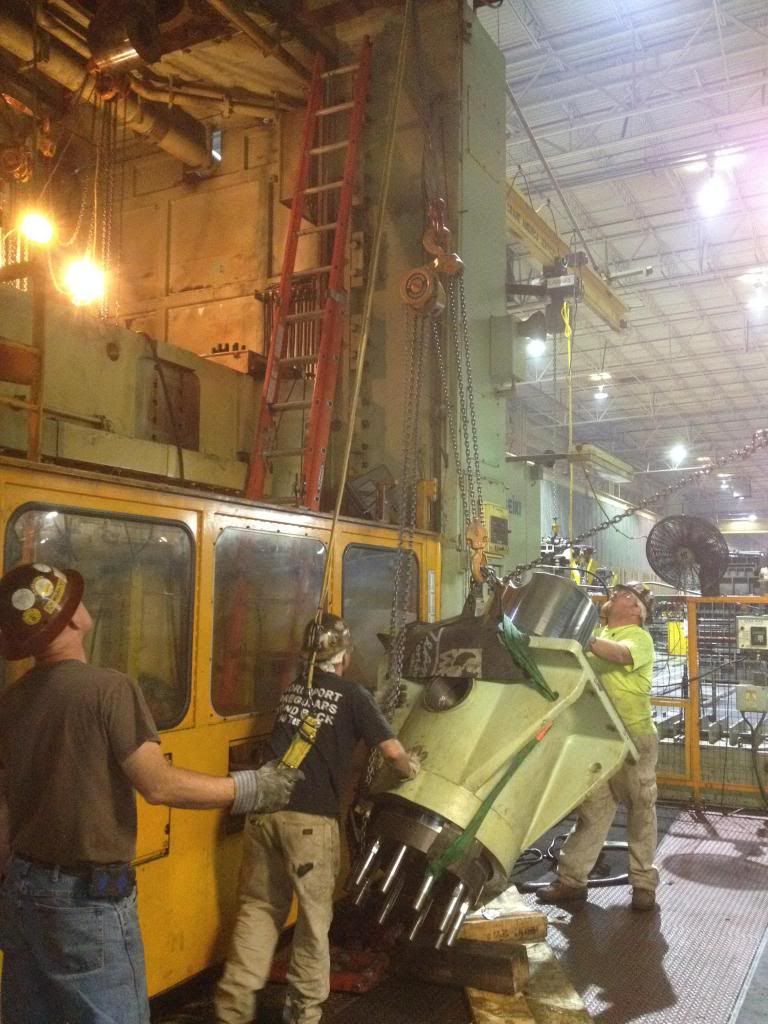
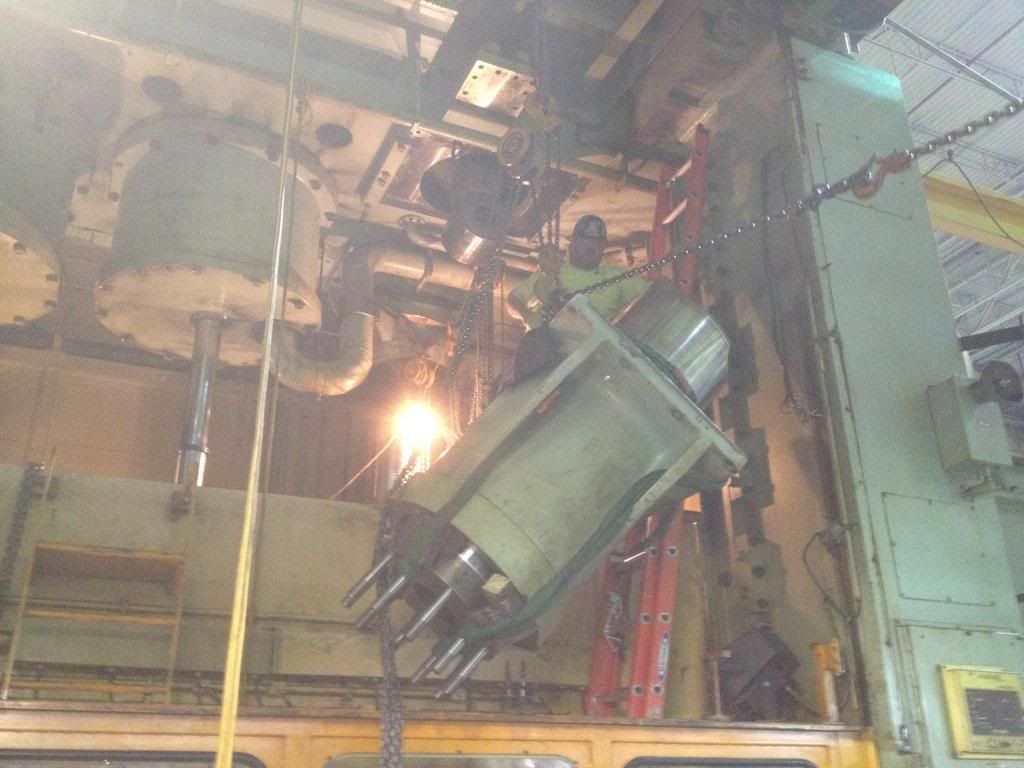
Here is a couple "Work" pics from the weekend any gear head should relate to. Most stamping presses are engines turned upside down with the ram being the pistons. This pic is on a 3000 ton press that ripped the 5.5 inch wrist pin clean out of the Plunger (same as piston). We are running it until we can get parts in 3 months.
 Last edited by knuckcrazy; 10-29-2013, 01:16 PM.
Comment
-
Hi Kozy,Originally posted by Kozy View Post
No the Painer is John Pierce, my painting skills are with my fingers and colored construction paper that my mother still hangs on the fridge.....Comment
-
OMG Bob, I am blown away about this. The Airway Blue with the white really looks extremely nice. Great choice on the color imo and John is the best there is.
Now if I can get these to print, I can take them to the painter and have it done right thanks to you. I also noticed the end of the paint on the tank filler bungs. Looks like it's right up to the top (sweet). I mentioned to the painter to bring it down an 1/8" from the top. I'll have to call him and correct it.
Great documentation with amazing pictures as I have never seen this before and I thank you very much. If you don't mind, I'll send a pm with my email if that's alright?
I owe you one big time. You need anything for the 39 and if I can help? It would be a pleasure!!!
Len.
P.s. It doesn't surprise me that John has documentation on the strips as we both know that he has been doing that for decades and yes, that is really Ballsy with the screw driver. I can't believe you did that. WOW!!
P.s. I know! it just came to me. I have some(what I believe) original patent decals. If you need one for your tool box let me know. I'll send you one plus some original STP stickers for you and Austin for the tool box. AMCA #765
Comment
-
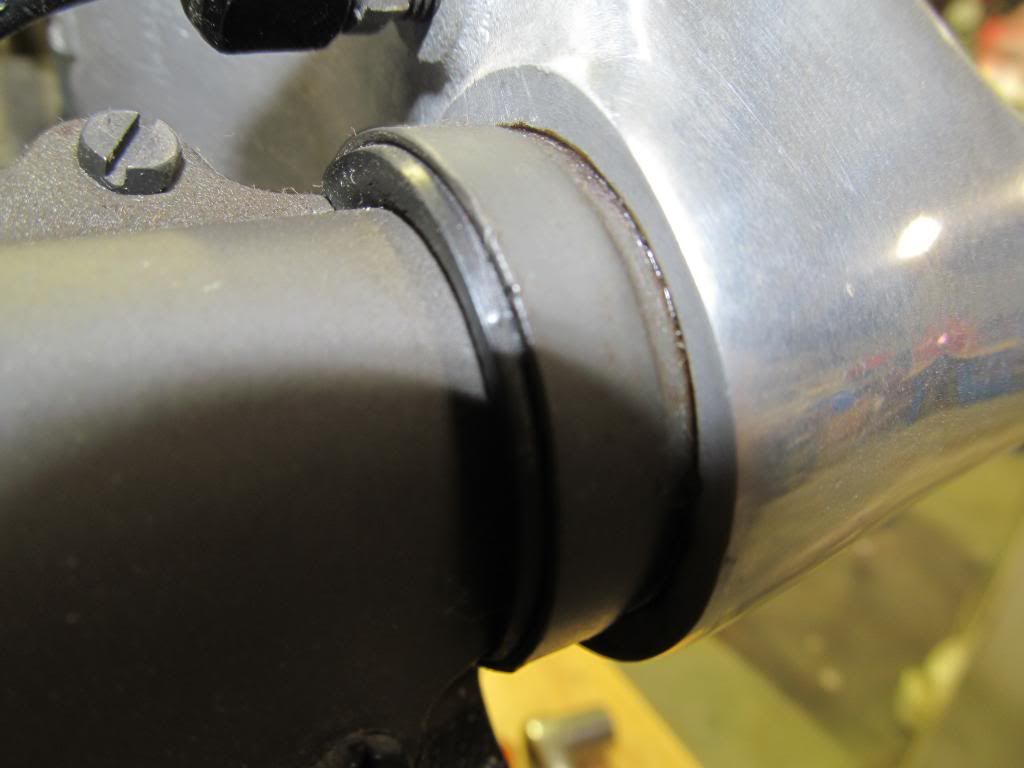
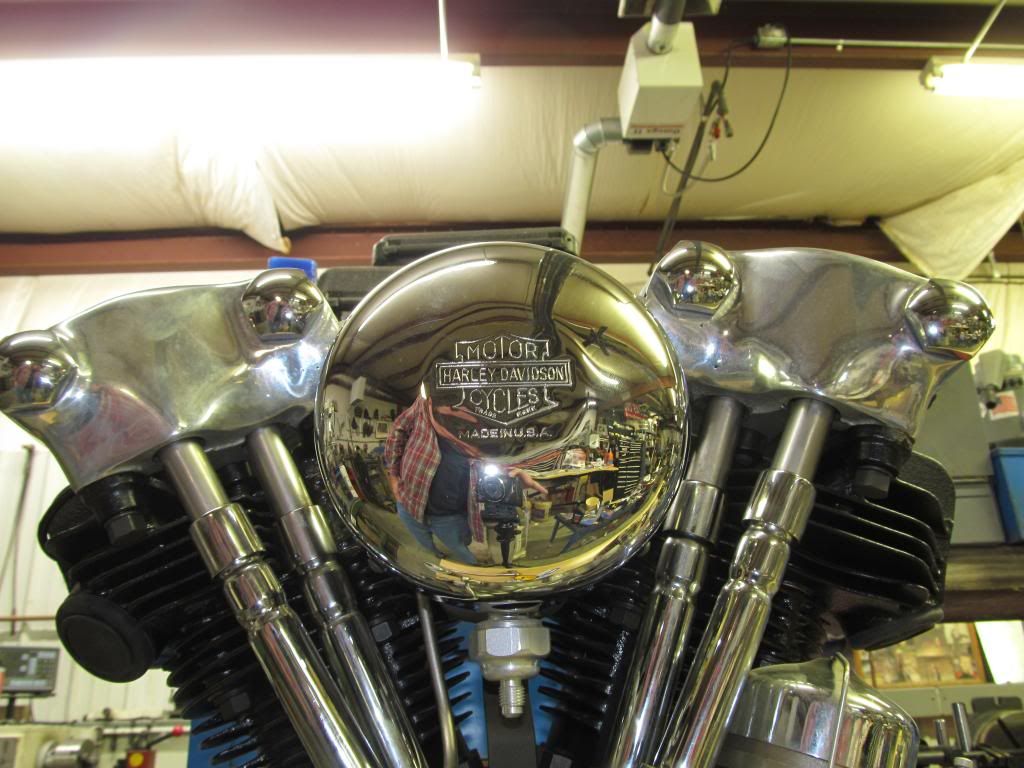
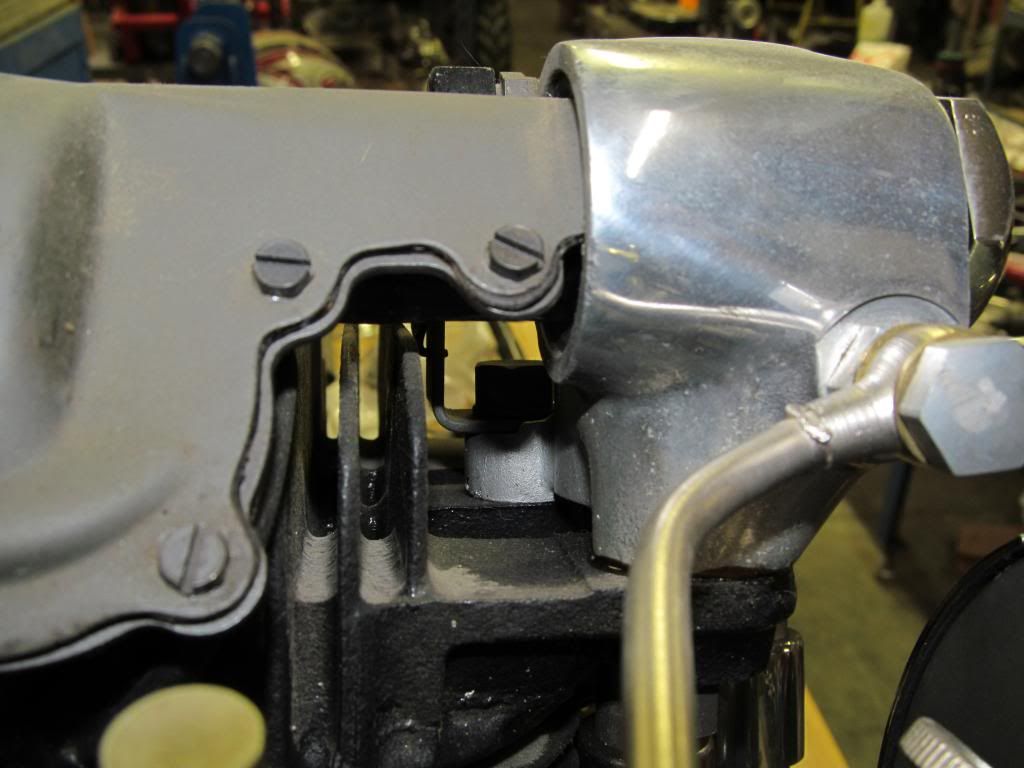
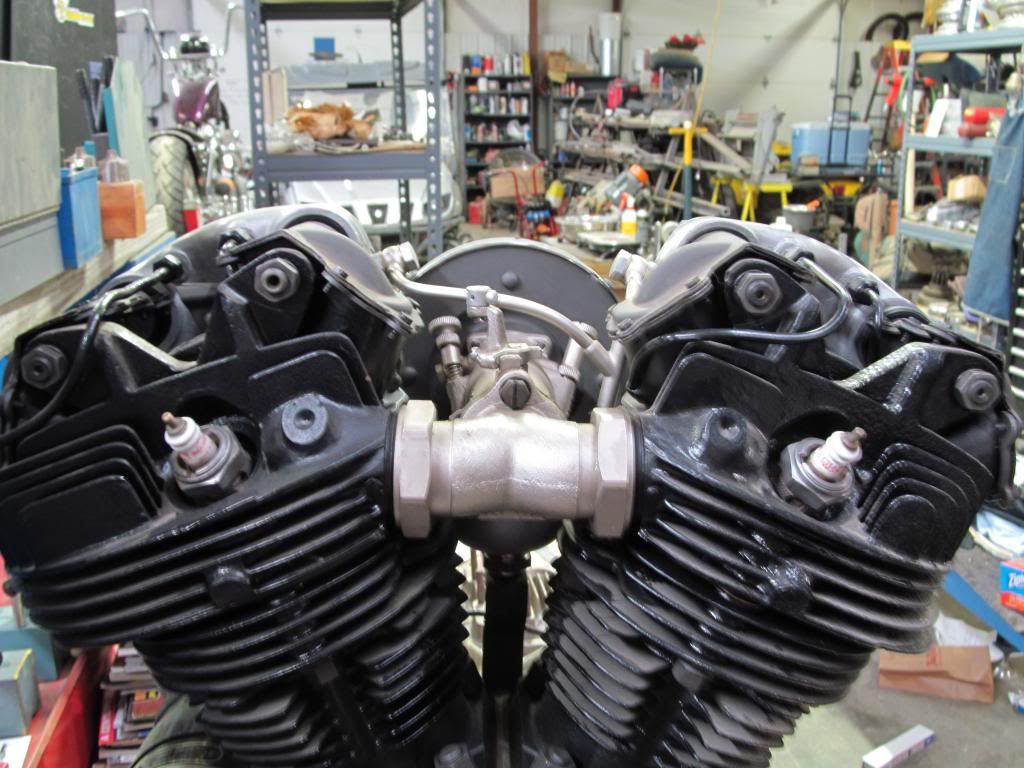
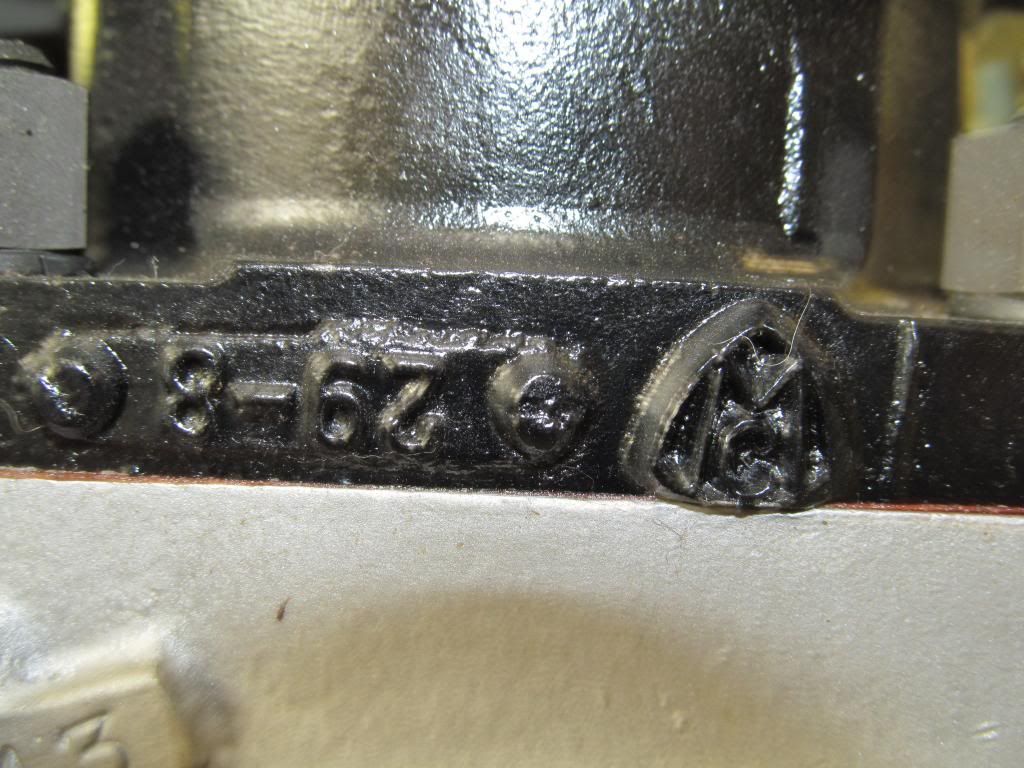
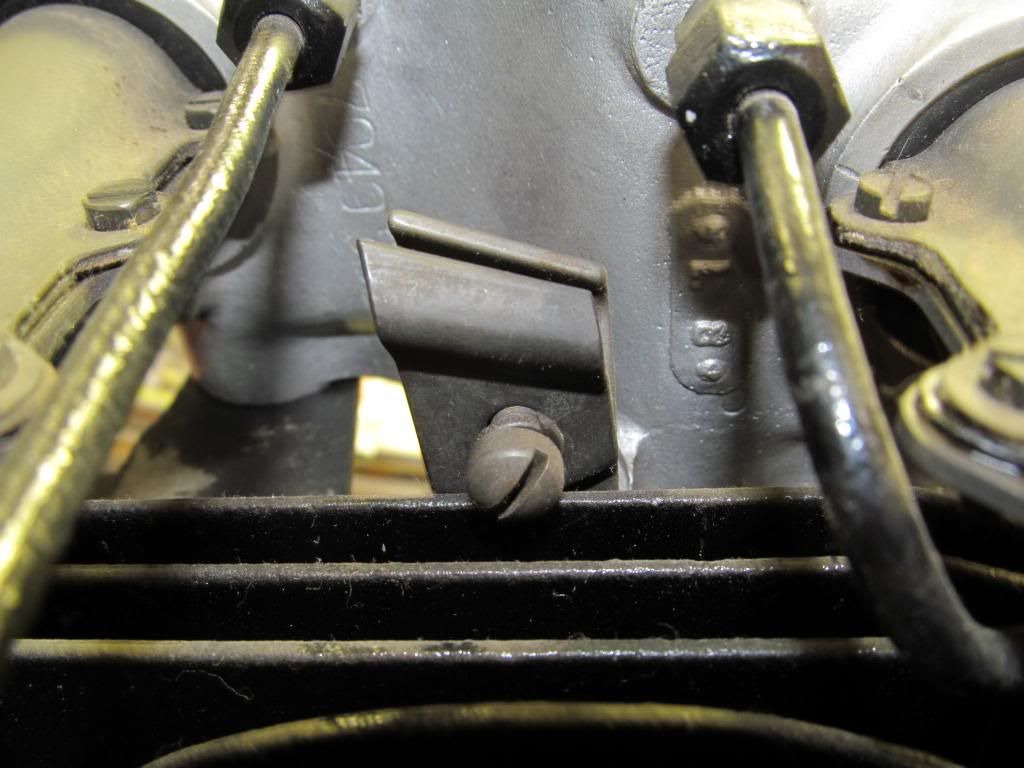
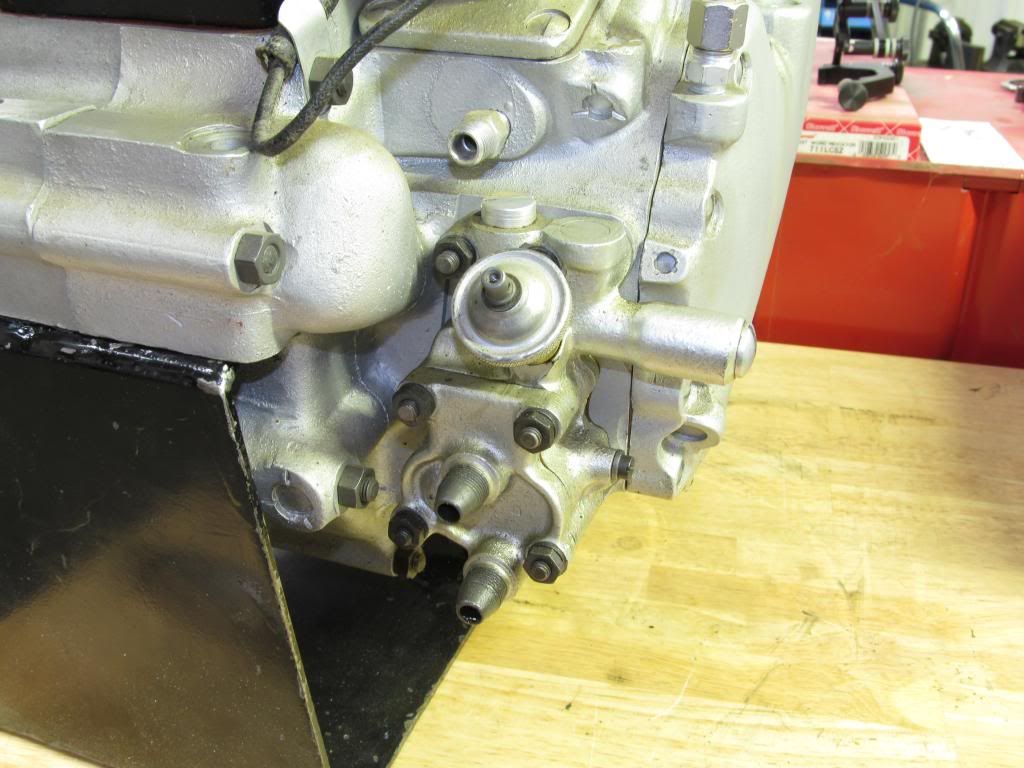
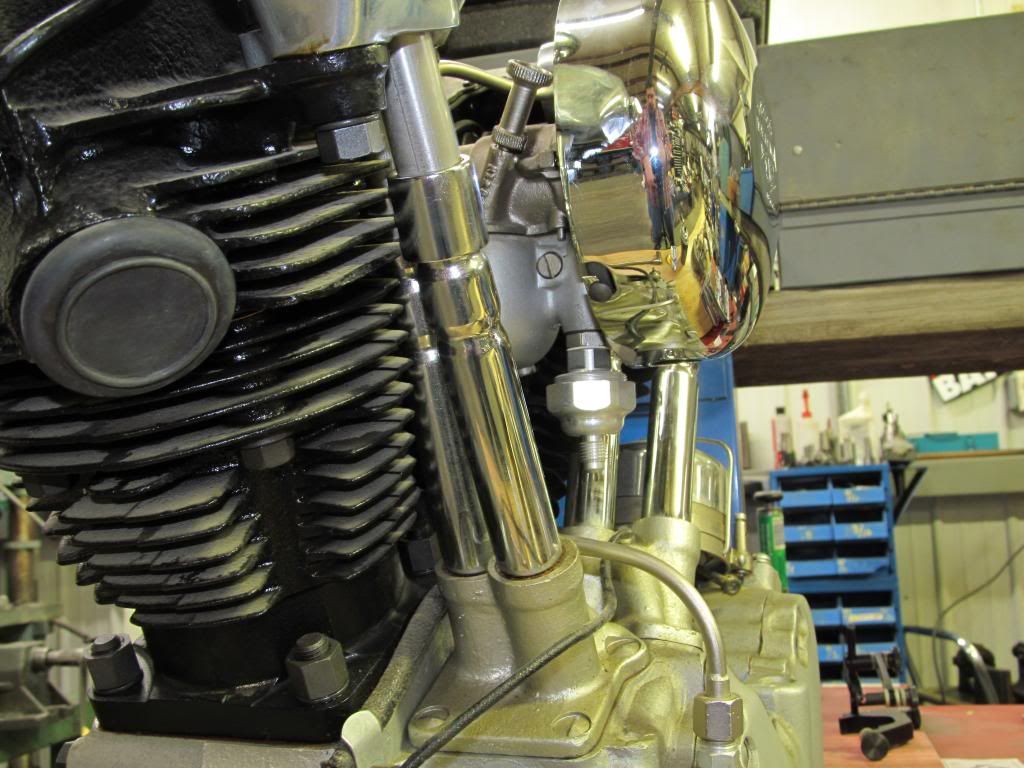
I am sorry for the Dust on the motor, try and picture it clean
I will get more of the bottom end tonight and the Transmission.
Cant wait til the weekend I have no other plans but working 12 hour days on the bike.
 Last edited by knuckcrazy; 10-31-2013, 11:32 AM.
Comment
-
Comment
-
Comment
-
Comment
-
Well, I planned a large weekend working on the 39. It was great hanging out in the shop as I have been busy the last few weeks with work and have not had any me time. I took tons of pictures on my high tech camera.....or so I thought. Well into my adventures I noticed a little screen flashing that said no storage device. I said to myself, "self do you need a storage device" well the answer after pushing the review button was YES, **** and some other words. I installed the card in the camera and pressed on.
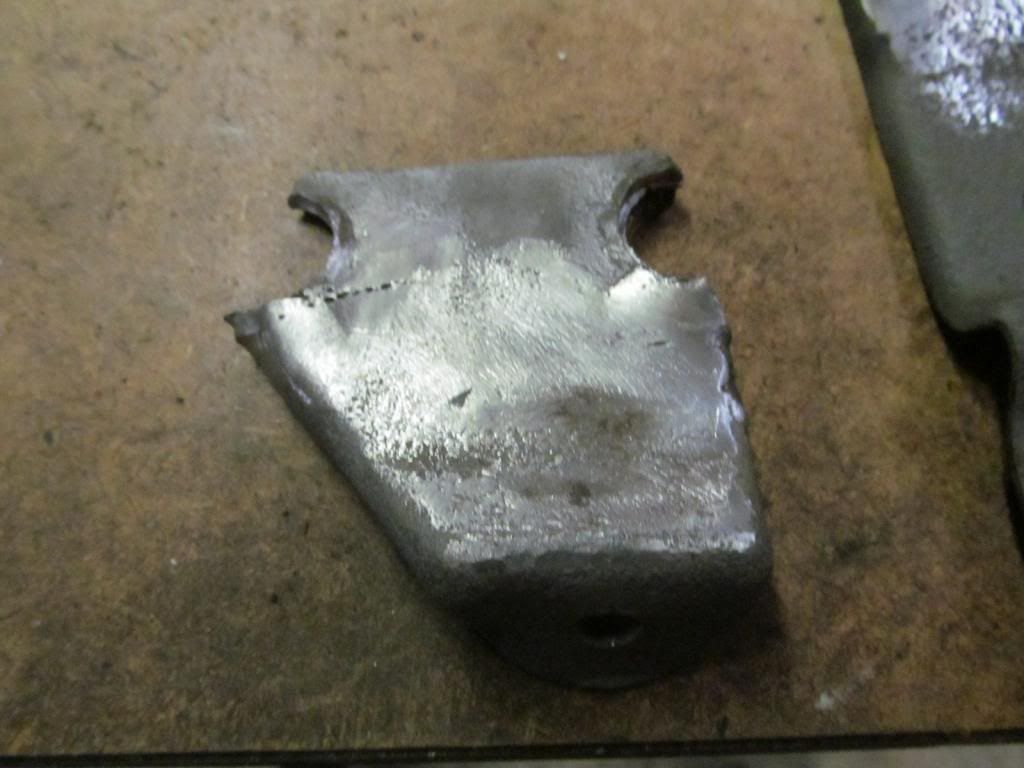
All work prior to camera mishap is lost as far as this forum but I decided to replace the lower fender mount and remove the tool box mount for repair or replacment. I am going to see what the tool box mount replacment looks like before I decide if I will spend the time trying to save this one.
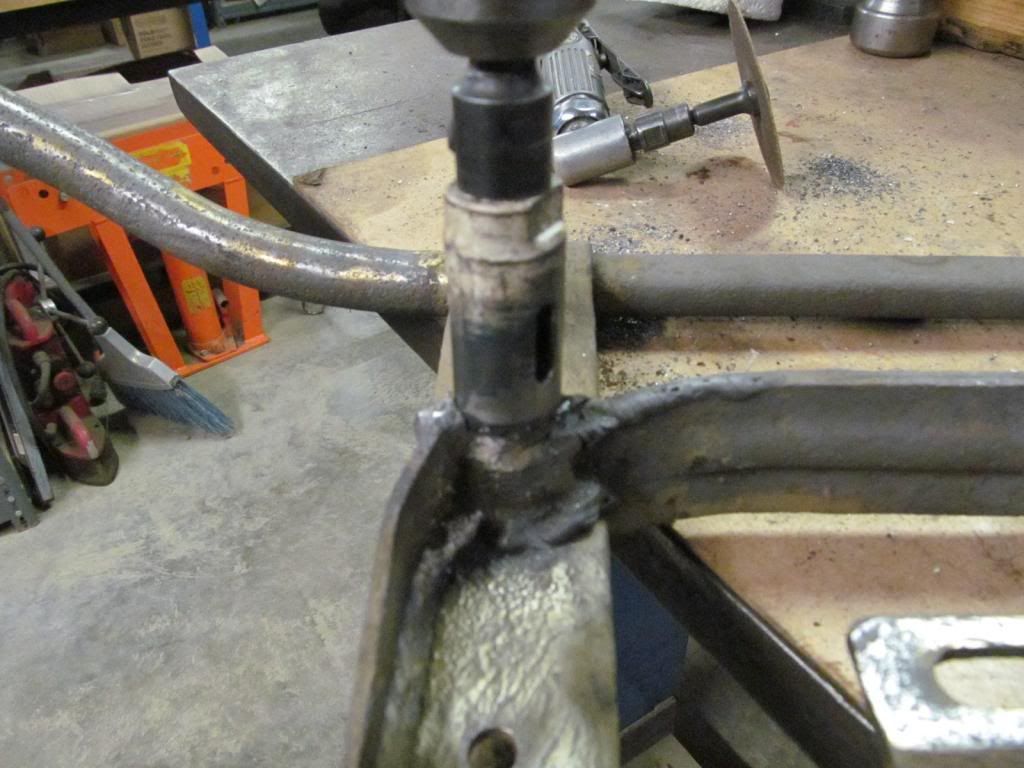
The hole saw fits over the mount snug prior to modification. I chucked it up in the lathe and ground out the teeth that face inboard so as not to damage the round mount. The saw uses the round stock mount as a pilot and the removes the material clean. It is a little neater than grinding the mount off with abrasives.
Comment
-
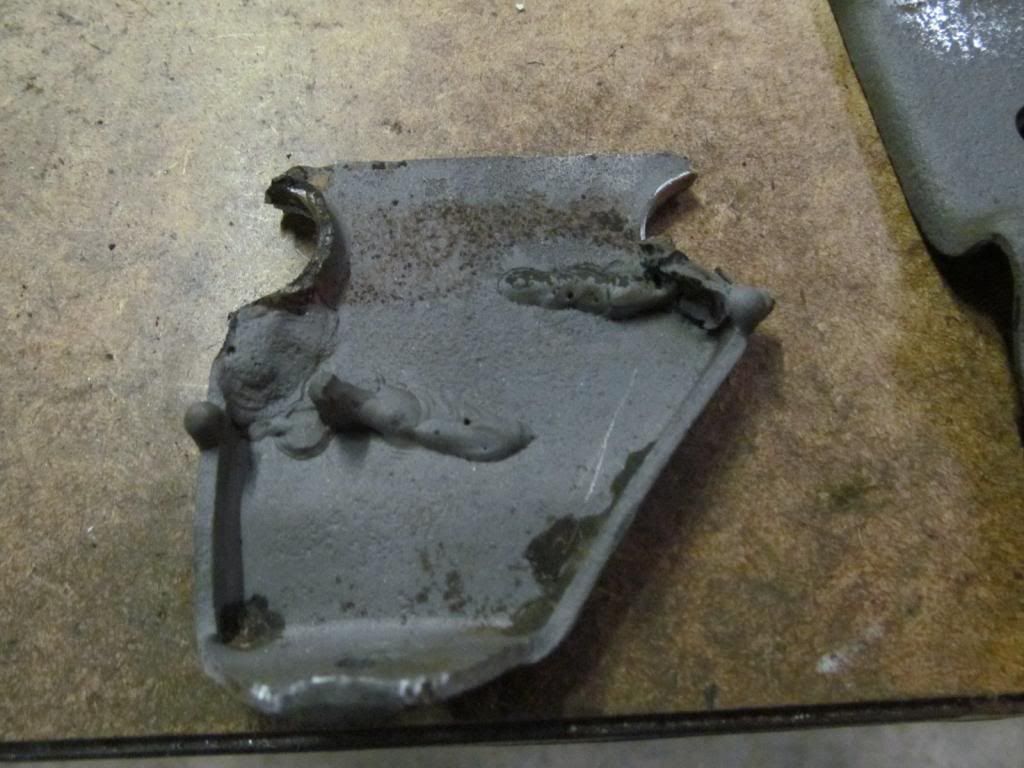
Next the Tool box mount. The pics dont show it but it has been repaired several times and each time the sides have been ground thinner and thinner.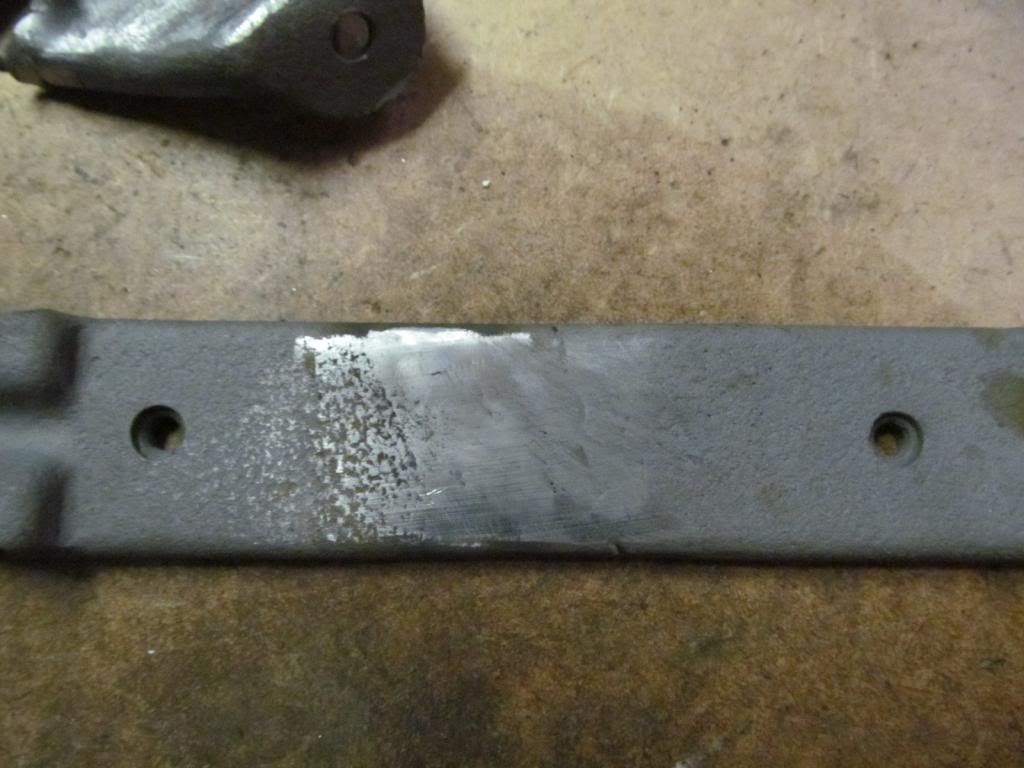

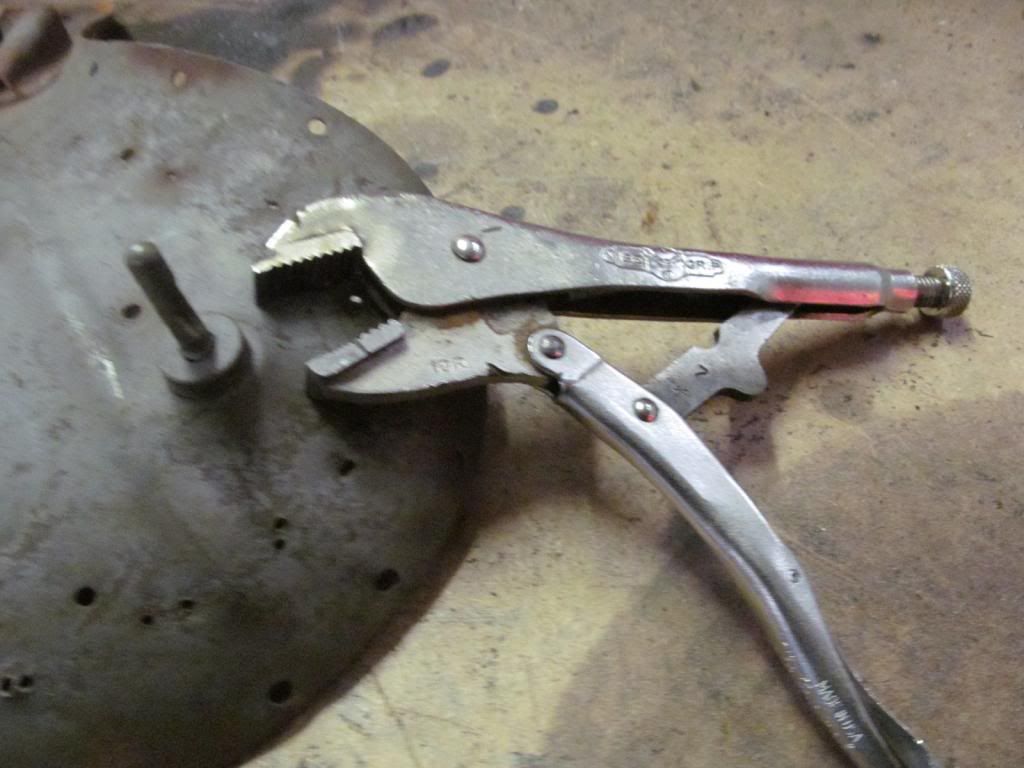
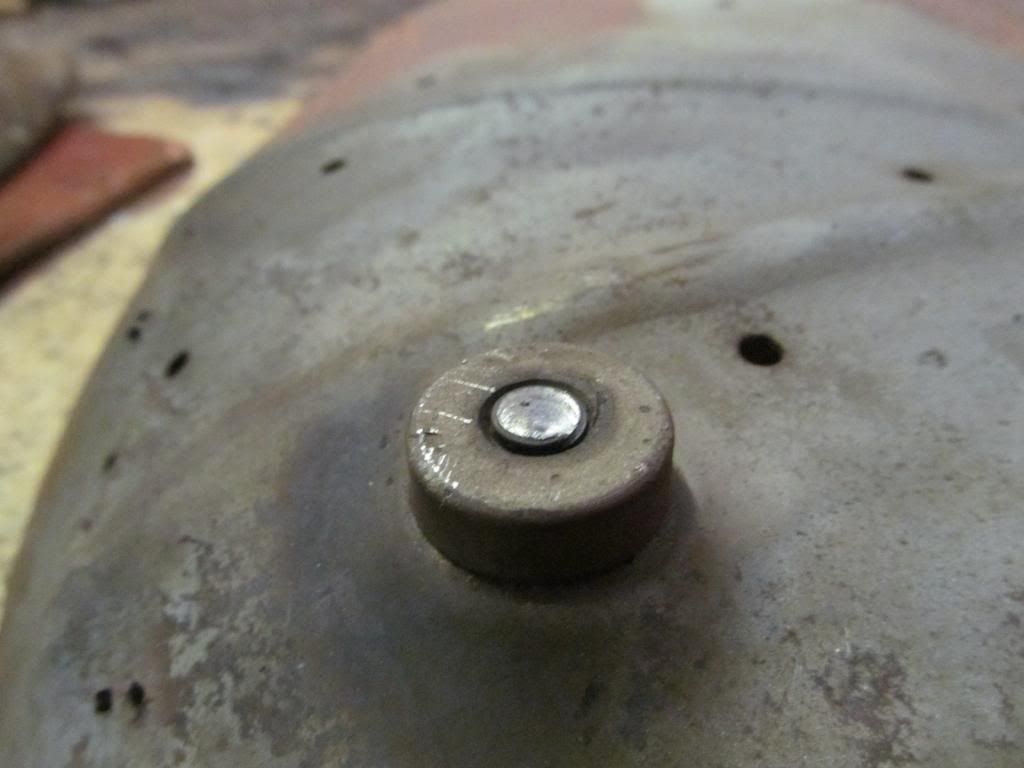
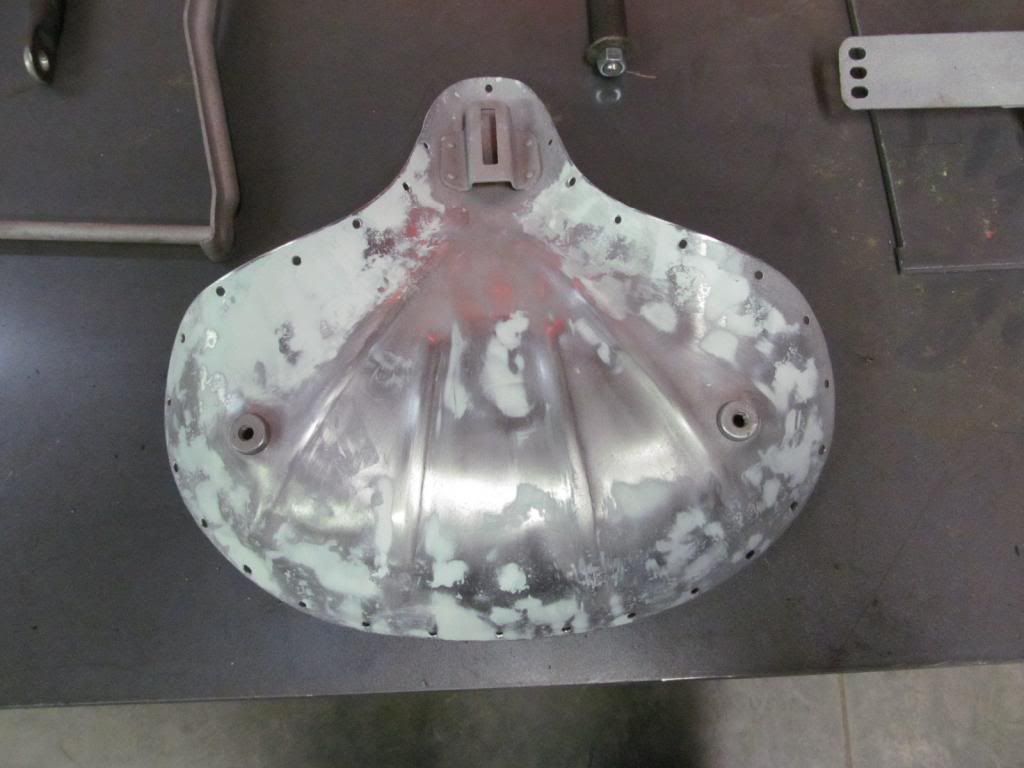
Yes I know I am jumping around right now working on the seat pan but I need to get it finished so I can send off tho the seat dude. It took me a long time to find a pan with all these holes, rust and stuck studs, I like a challenge.... I hate Vise grips more than people who don't work and get checks from the goverment but thats another subject. I HAD to try it knowing it would just shine up the stud, piss me off and require me to do what I should have done in the first place.
 Last edited by knuckcrazy; 11-04-2013, 09:50 AM.
Comment
-
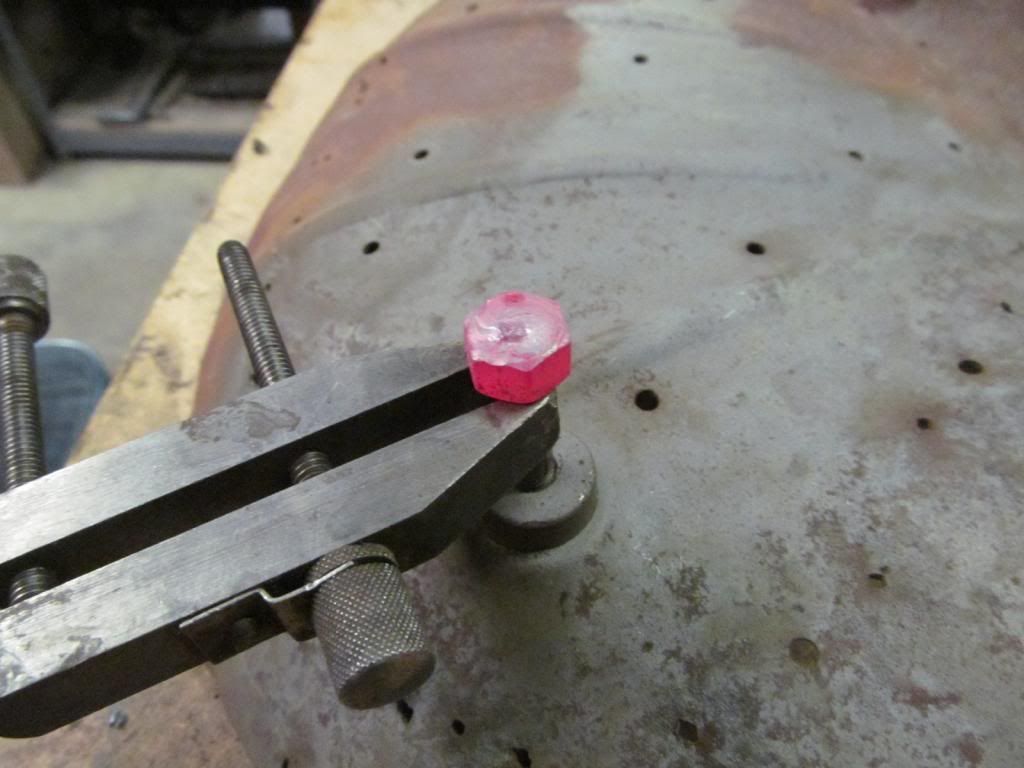
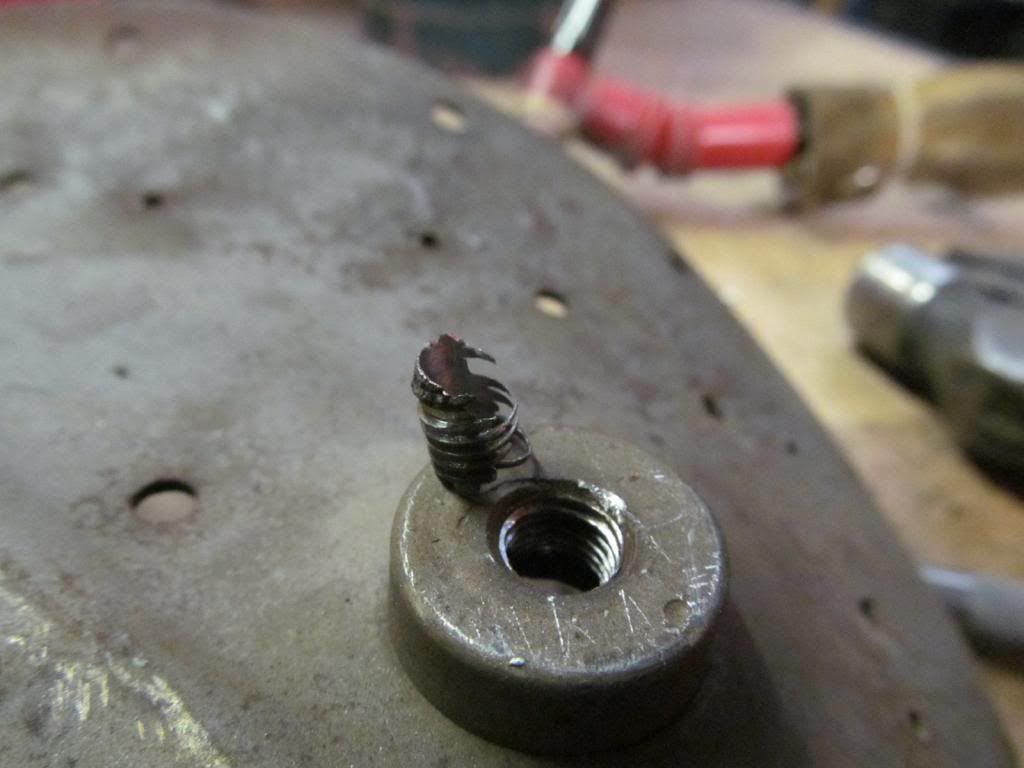
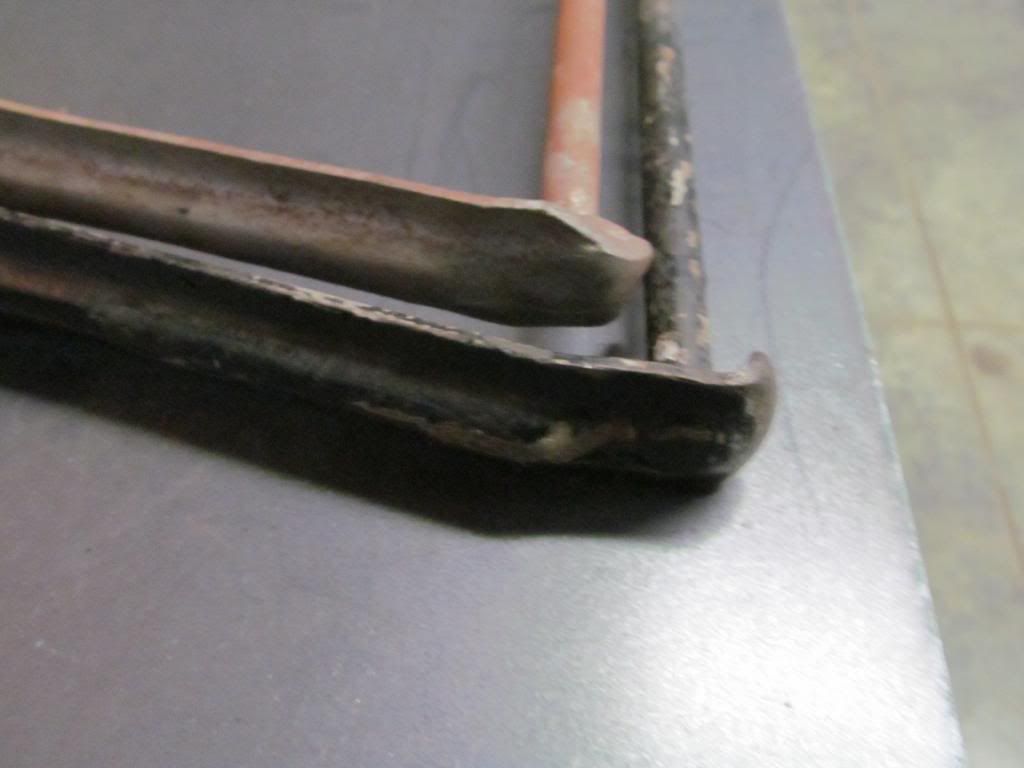
Welded a oversize nut on the stud for use with a larger wrench and it worked just like it should.
It snapped it off clean. Perfect , just as I planned.
Well you know the rest.
Comment
-
Ran out of rod for TIG so ran a bunch of wire feed wire out and chucked it up in cordless drill and vise and twisted up some filler rod. Austin loved this and continued to waste my wire while I worked on seat pan.
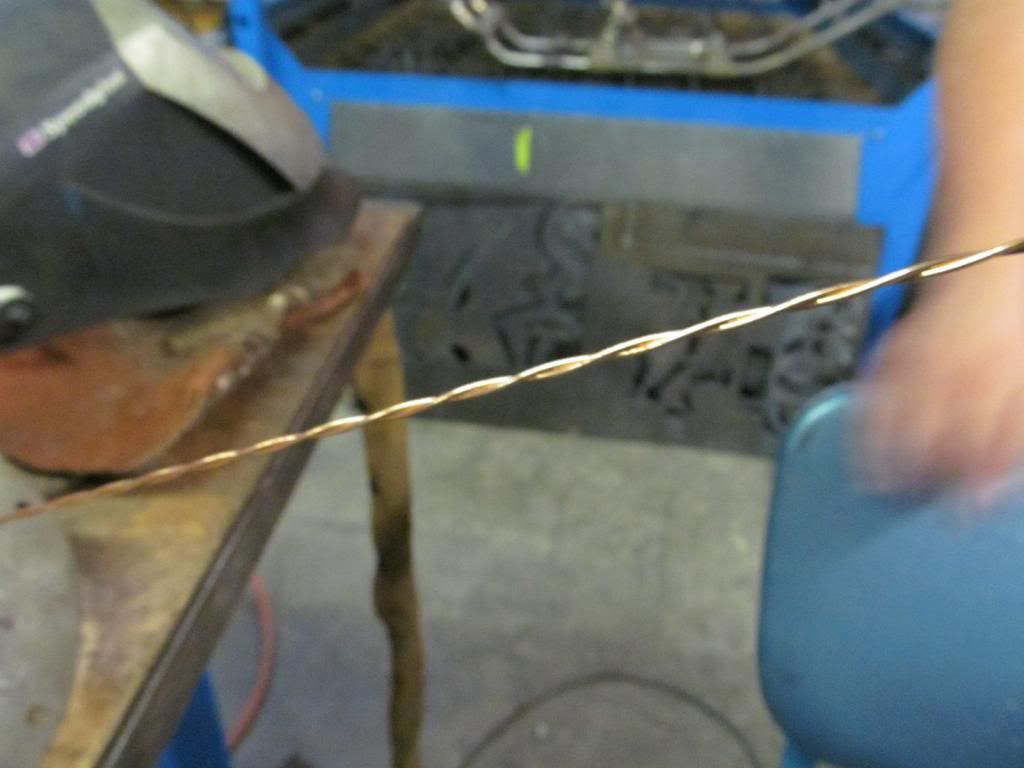
Should have had more interesting pics but the camera kicked my butt sorry bout that.
On a side note Austins imitation of Miley Cyrus (he will be pissed I posted that heh heh).

Have a great week and will bore you with more later.Last edited by knuckcrazy; 11-04-2013, 02:41 PM.Comment
-
Happy birthday to all my fellow marines...semper fi
Awsome weekend in the shop. Woke up around 4:45 am Saturday and said what the hell I'm going to the shop and beat on some Motorcycle parts. Fired up the new coffee maker wife got me so I would quit tracking shi+ in the house and setteled in for a long day. What I should have done was gone to the Bluegrass chapter meeting on Saturday but I have a short attention span and only saw seat pan. Sorry to Brian Groff and all Members. Hope you all had a good time and got a chance to get out and ride. Finished welding up the seat pan and smoothed all welds preparing for a little filler.
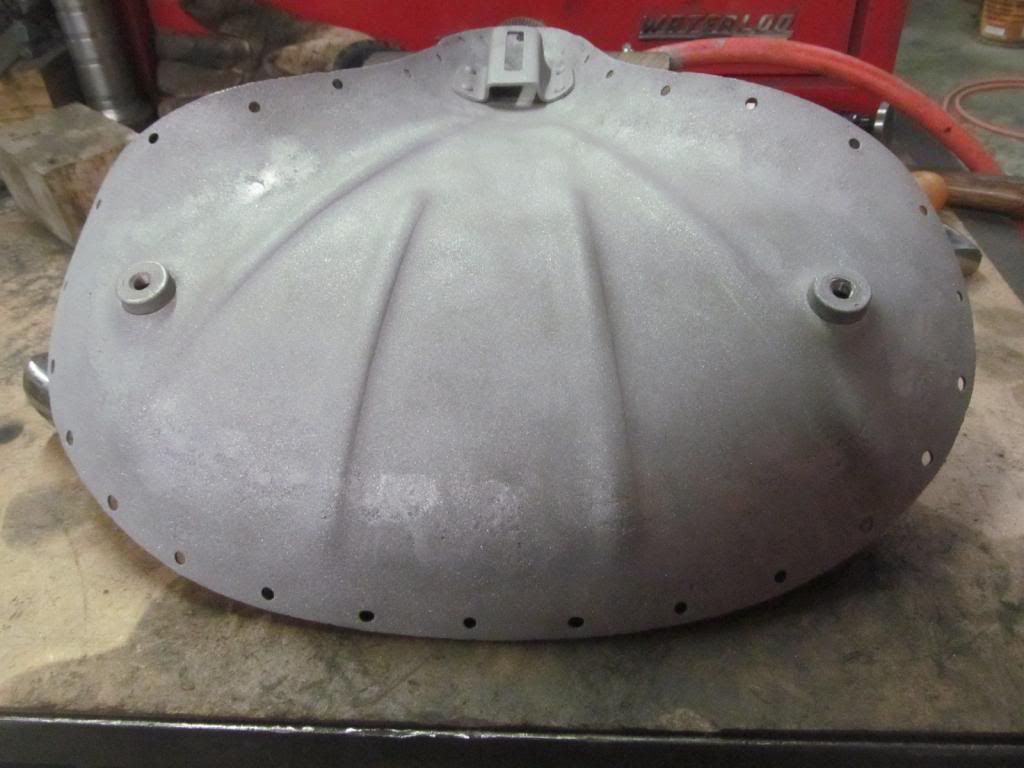
Put WAY too much filler on seat pan and sanded and sanded and sanded. Mental note, less coffee when mixing filler.
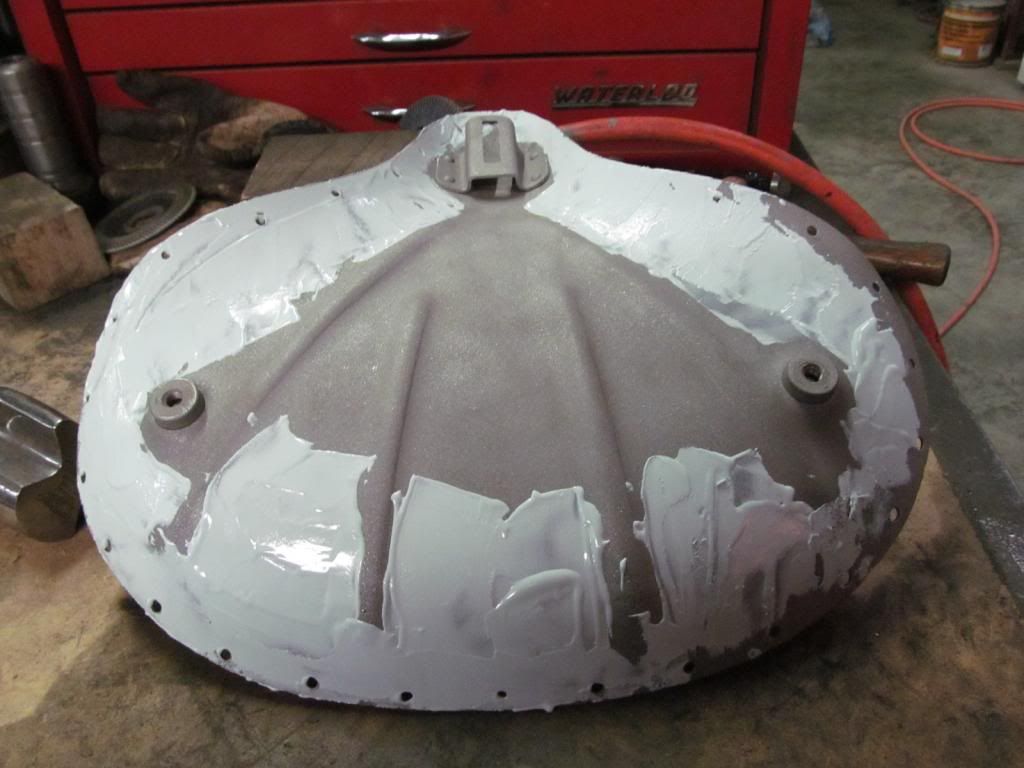
Sanded and filled for about 3 or 4 hours but it is fairly smooth and I think ok. I couldnt do body work for a living, it makes no sense to me to have more material laying in the floor as dust than is left on the part.
Picked out 2 rear stands and decided to go with the easy one. Call me lazy.
 Last edited by knuckcrazy; 11-11-2013, 11:20 AM.
Comment


Comment