Announcement

Collapse
No announcement yet.

Linkert M741-1 rebuild

Collapse
X
 
  • Filter
  • Time
  • Show
Clear All
new posts

  • pisten-bully
    replied
    Originally posted by T. Cotten View Post
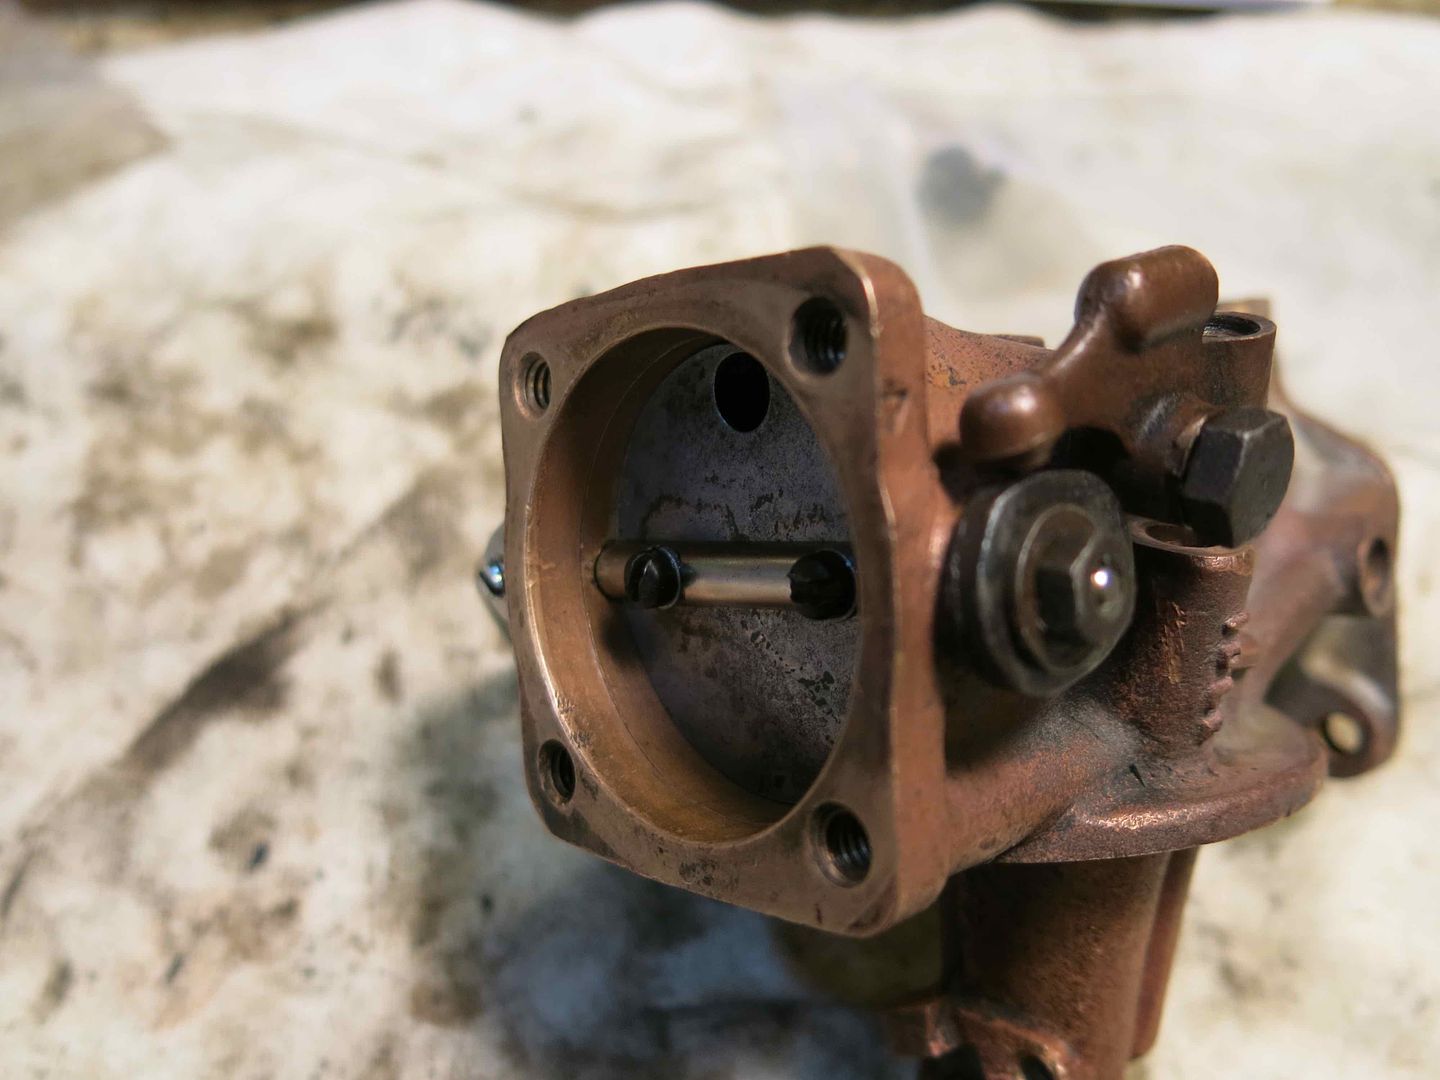
    The detente cam ('choke shaft stop') might be off 180°?
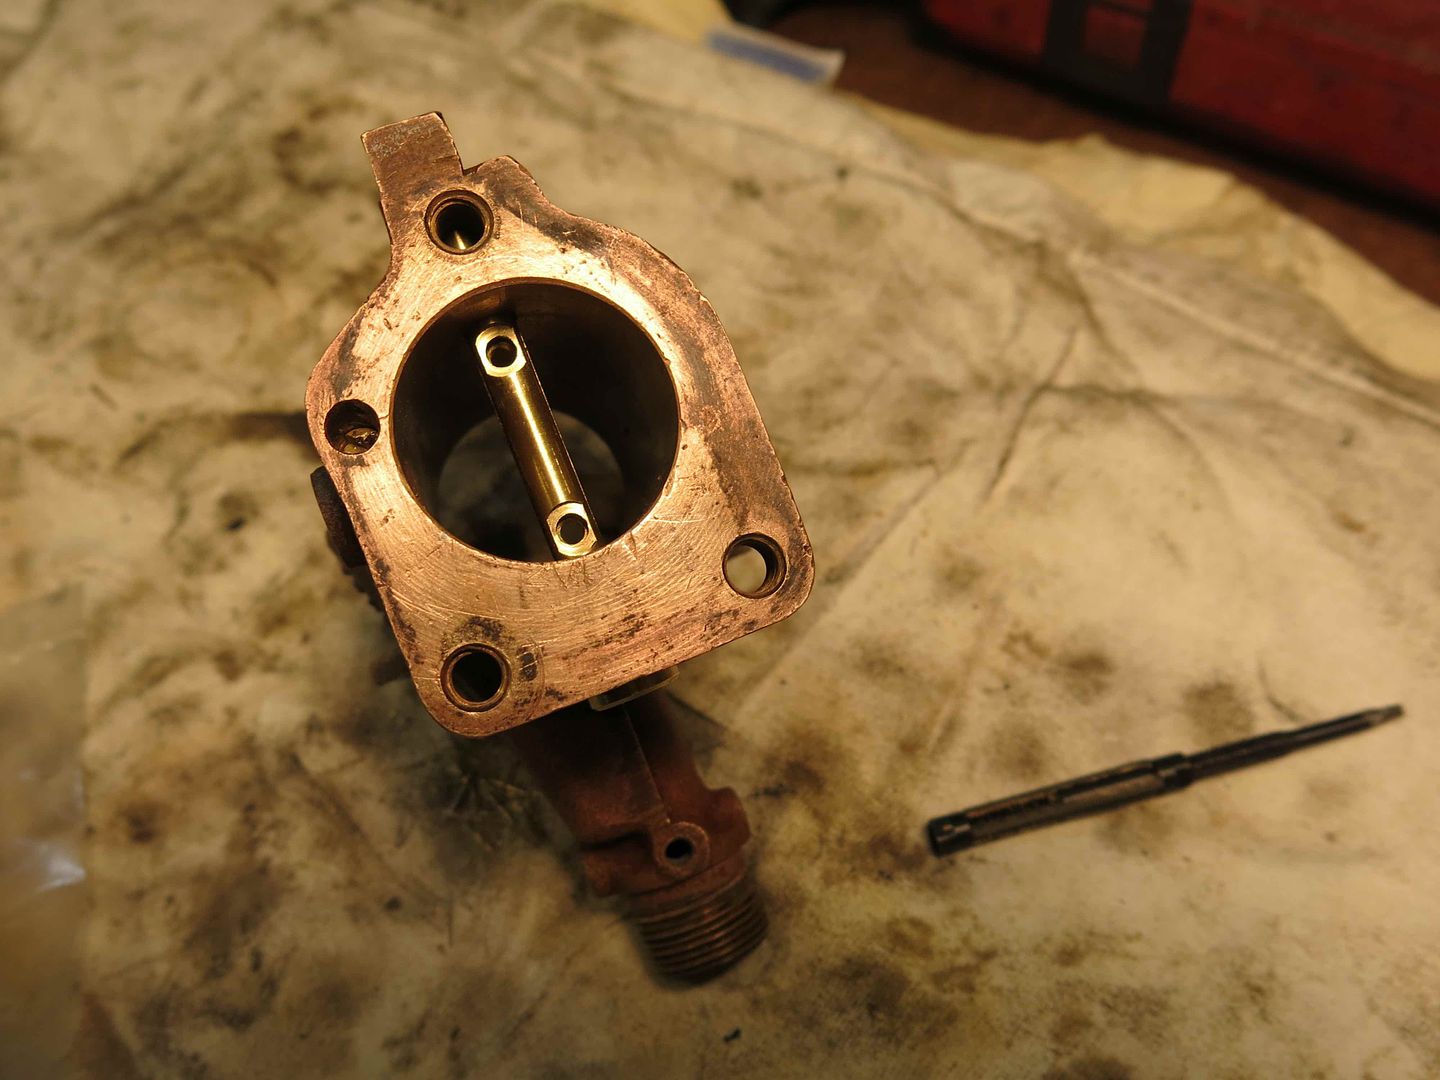
    Ahhh....thanks Cotten! I'm easily confused, when the cam lifts the arm the needle goes down... up is down! Oh well, so it seems I can't use this choke shaft and still have the choke action match the intake cover. I tried every which way to assemble this, and with the choke lever pointing out to the front of the carburetor the cam operates opposite of what it should be. I'll live with it... choke lever goes to the rear and where the cover says Prime all i have to remember is that it's not closed, it's fully open!

    Leave a comment:


  • T. Cotten
    replied
    "Aluminum lacquer" is what I see on contemporary blueprints, Harry!

    I use an isocyanate urethane ('secret sauce').

    A bare body is the signature of an amateur, so I couldn't do that.

    (But I "patinated" a couple on purpose. Cost extra.)

    ...Cotten
    PS: Don't forget it's a Schebler intake cover, Harry! Their levers extended opposite, outward, instead of inward to clear an air cleaner.
    PPS: It looks real hard to get at the choke disc screws (Even when the chokedisc "1" is at the top, visible if cleaned.) The detente cam ('choke shaft stop') might be off 180°?
    Last edited by T. Cotten; 05-02-2020, 03:49 PM.

    Leave a comment:


  • pisten-bully
    replied
    Originally posted by T. Cotten View Post
    You aught to paint the body "aluminum lacquer"
    Cotten I only ask because I don't know, lacquer for aesthetics only?

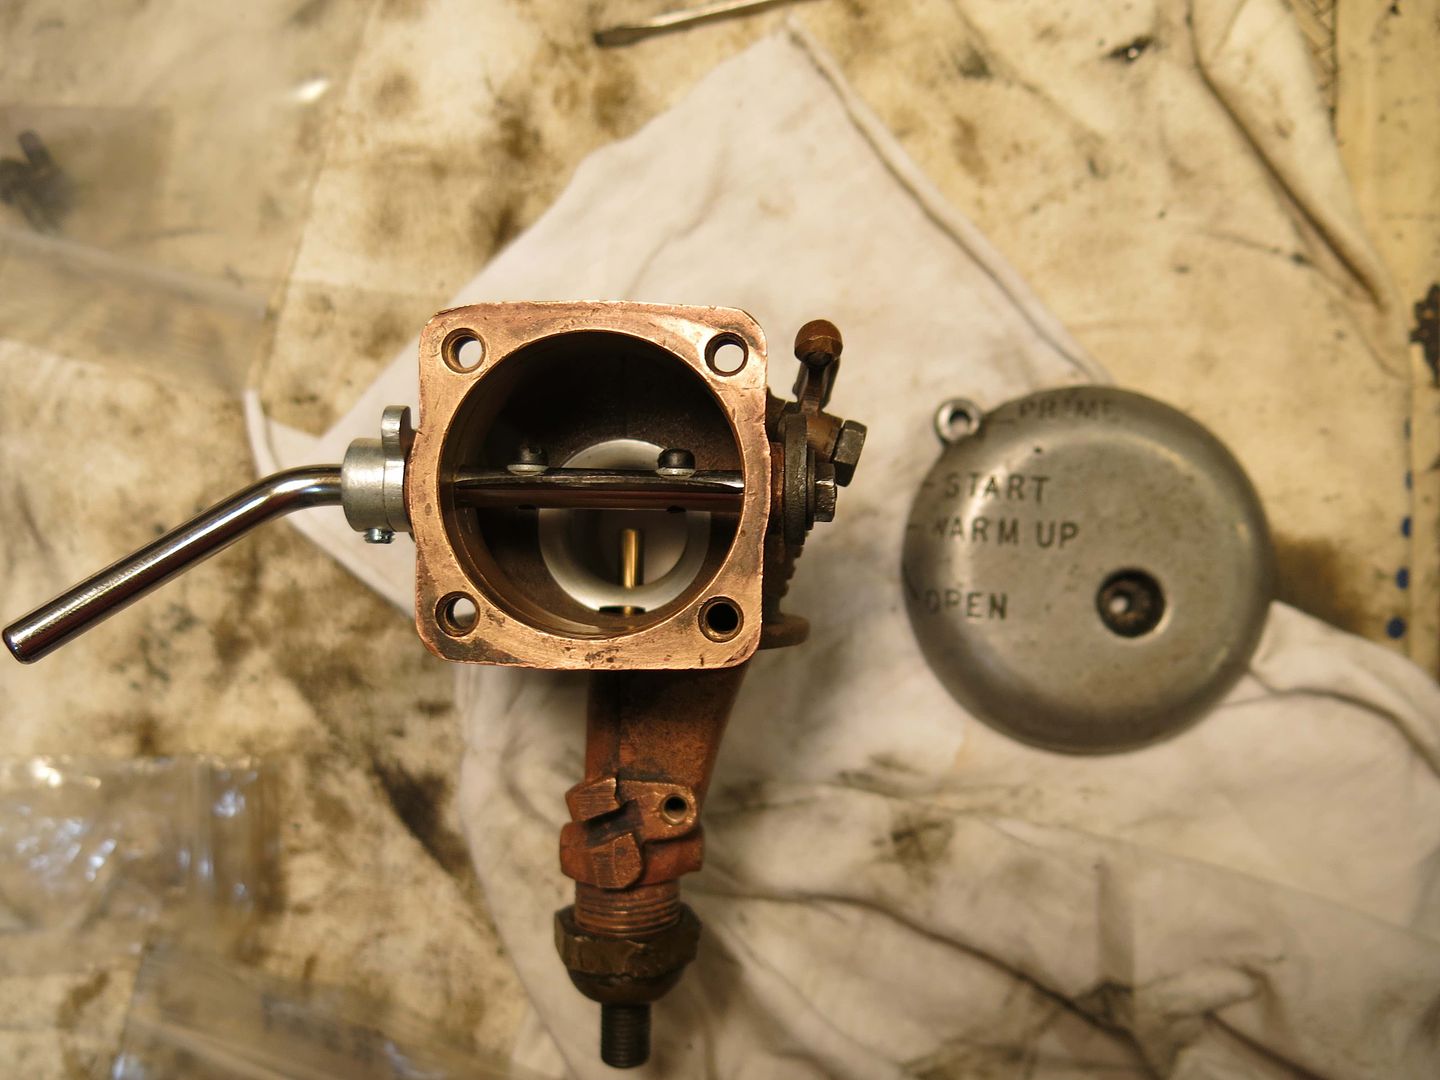
    And I've run into something that confounds me, which is easy to do. The choke lever action doesn't match up with the carburetor air cover unless I install it reverse of what I think is correct. The air cover is stamped with the "Prime", or choke closed, at the top and "Open" at the bottom. But if I install the lever with the handle towards the rear of the carburetor then that action is reversed.... and the screw heads for the disc will show on the outside.

    With the handle towards the outside of the motor the lever action matches the air cover, choke open:


    choke closed:


    It doesn't seem correct to me (except for the matching of cover to lever action) having the screw heads inside and the lever handle facing out, and it doesn't match my M344 either. Scratching my head here!

    Leave a comment:


  • T. Cotten
    replied
    Before you begin final assembly, Harry,...

    You aught to paint the body "aluminum lacquer".

    ....Cotten
    PS: Its also prudent to brush out all galleries and threads, and then clean the idle bleed carefully.
    Last edited by T. Cotten; 05-02-2020, 08:58 AM.

    Leave a comment:


  • pisten-bully
    replied
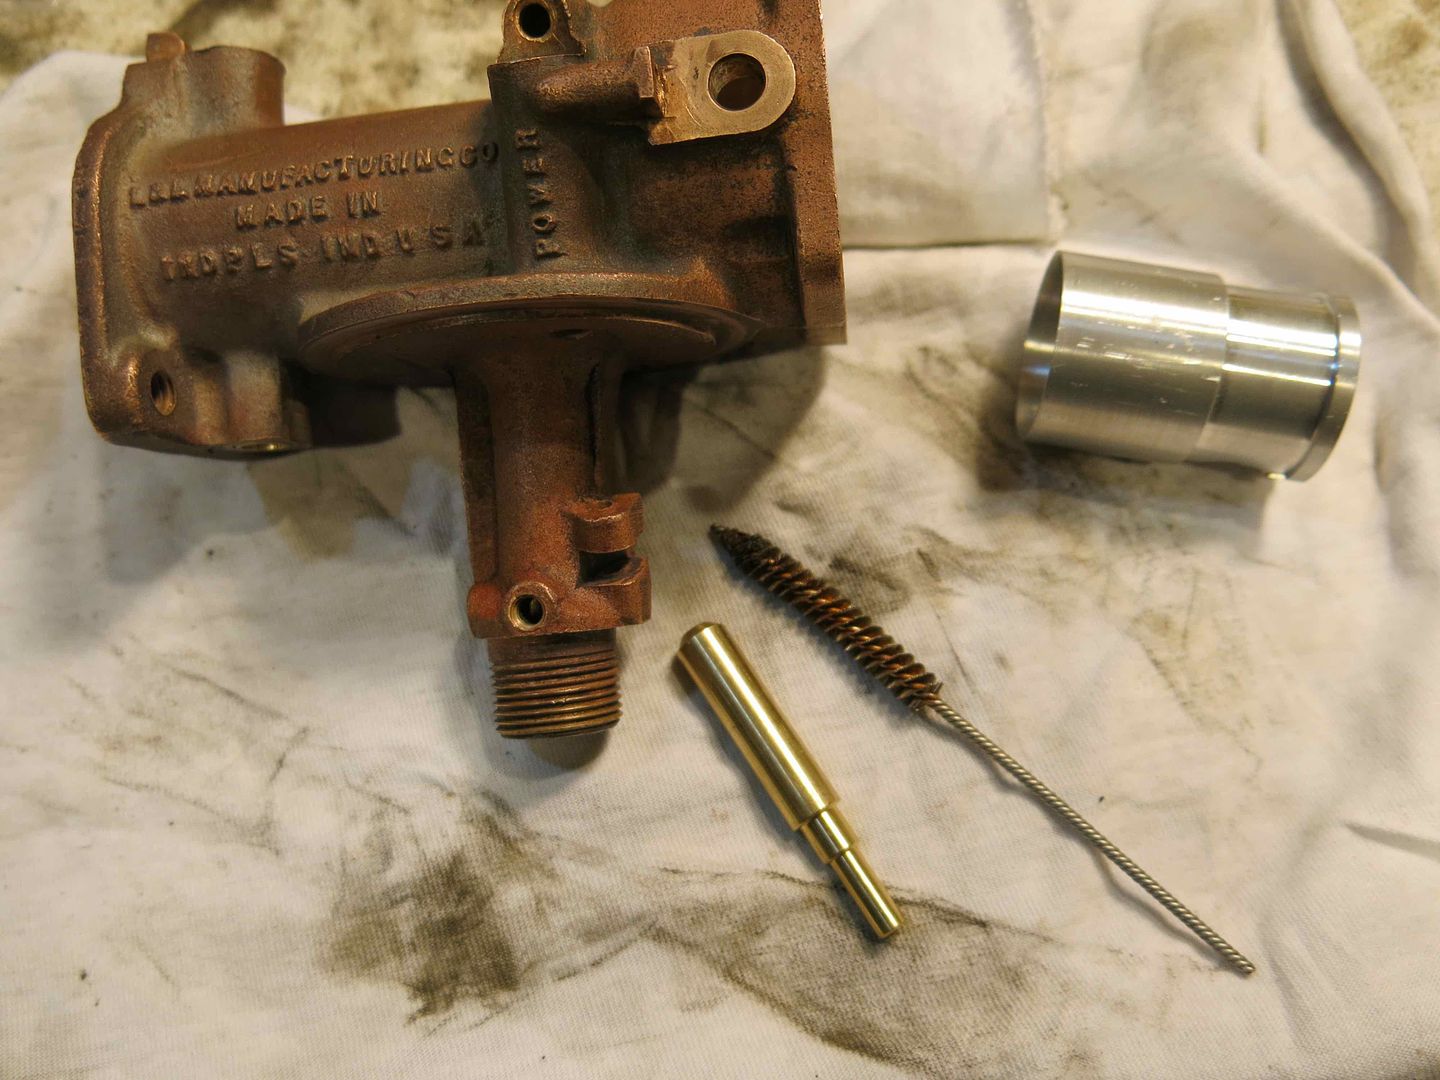
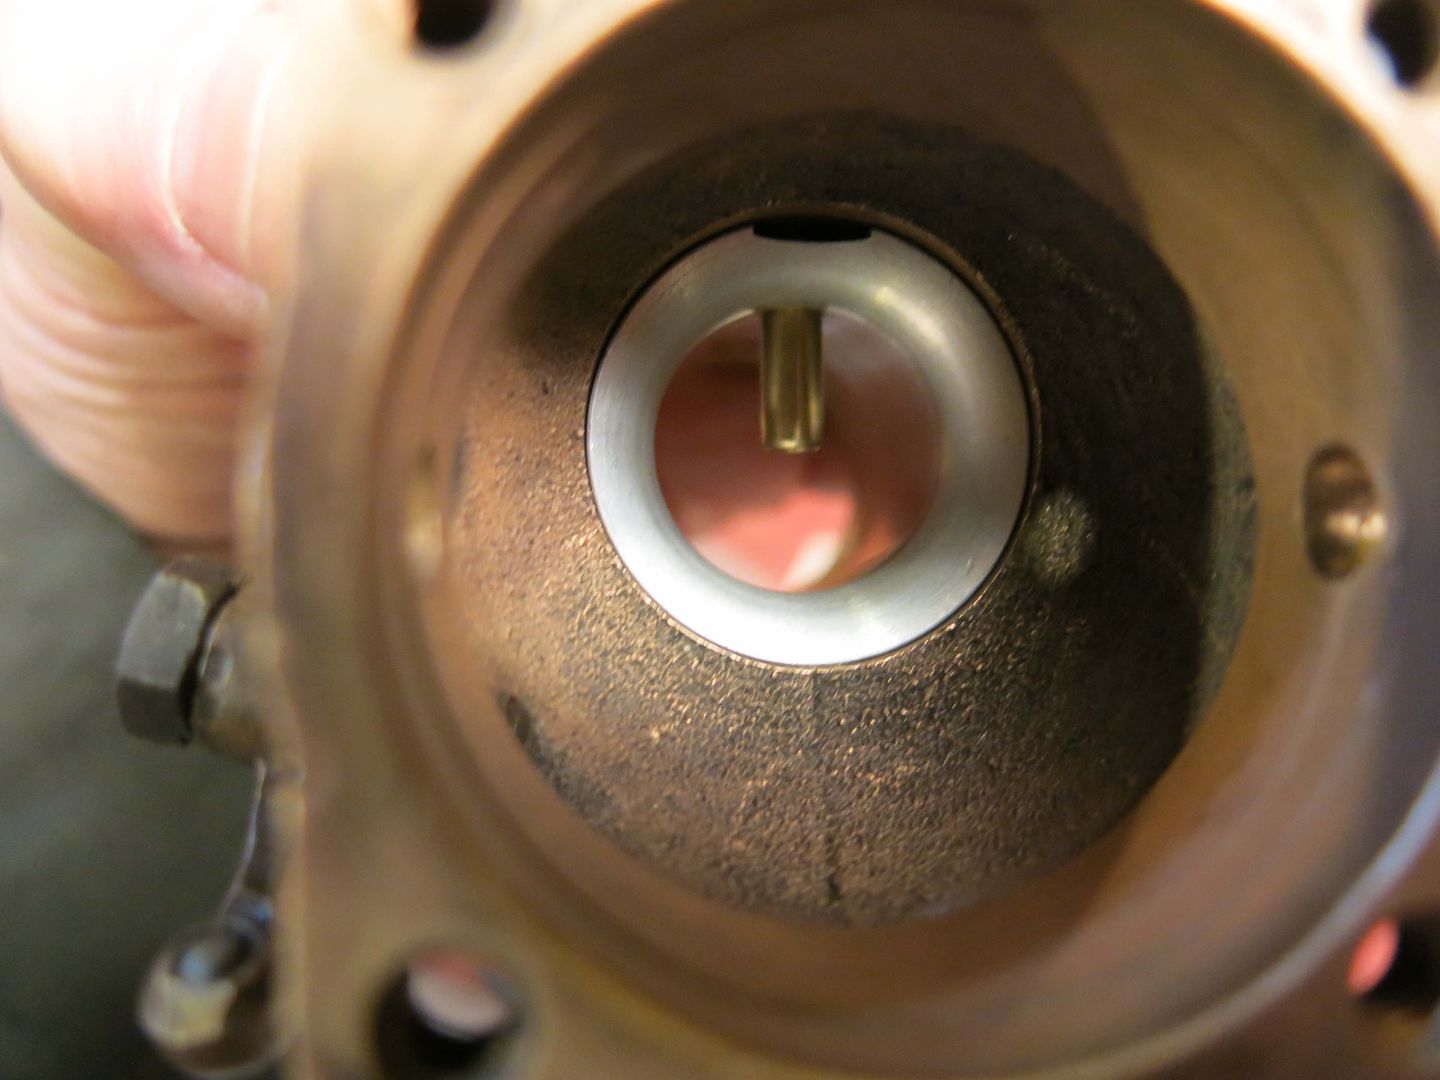
    Decided my next step would be installing the nozzle and venturi. The new nozzle didn't slide in freely so I did some passes with a small wire brush until I could get the nozzle in without forcing. Then I blew out all passages again:


    The venturi slides in easily enough and once in it won't fall out. Lined up the hole for the nozzle and put the nozzle in place. Unfortunately for me I did not have the spring that retains the nozzle in my parts order (my fault...sheesh) so I'll just park the carburetor for a while upside down until I can get the spring:

    Leave a comment:


  • T. Cotten
    replied
    Whatever works, Harry!

    The shafts are never perfectly straight (often bowed by the slotting and drilling), and the bushings are rarely if ever perfectly in line.

    (Some are skewed from 'laying down', but most are from over-torquing the flange bolts. One more reason why I push them in on a rod to try to align them..)

    Brushing out the top bolt hole threads is easier while the bushing is out; You can leave that gallery plug in place until after you grind the flange flat, I guess.

    ....Cotten
    PS: Late edit.. Most modern bushings are already fatter than the shafts, and if installed gently, need little dressing at all.
    I used plug gauges to sort large batches, and undersized bores are precious indeed!
    Last edited by T. Cotten; 04-29-2020, 04:20 PM.

    Leave a comment:


  • pisten-bully
    replied
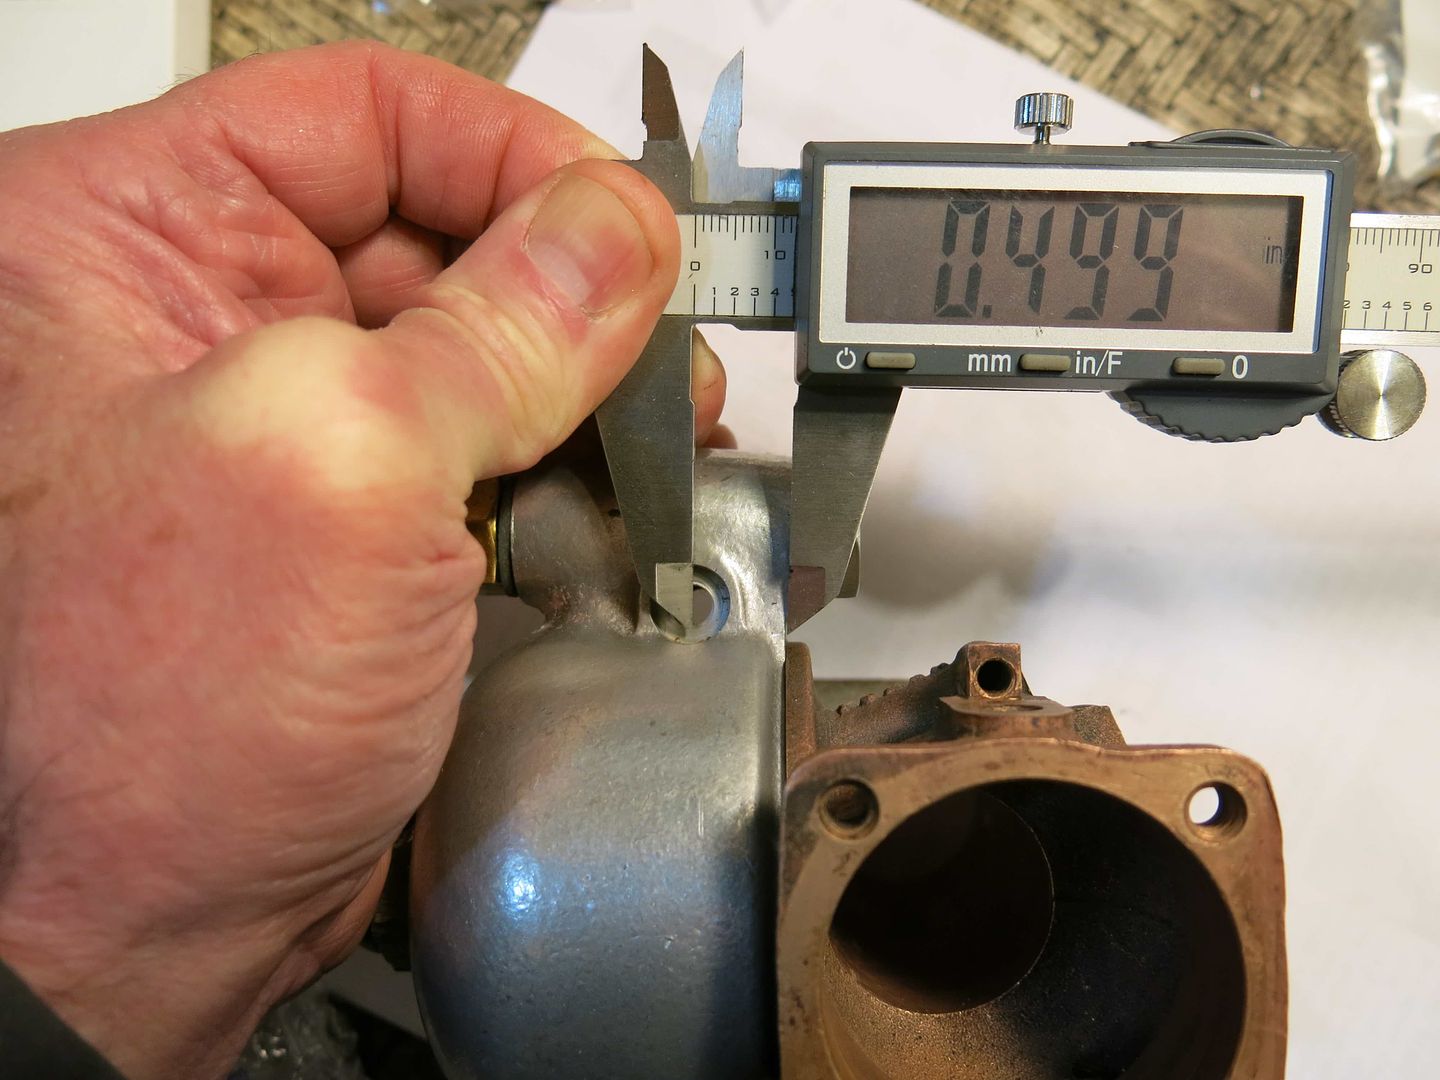
    One-time use (maybe), made in India adjustable hand reamer on the throttle shaft bushings:


    The shaft rotates freely but requires slight pressure with my thumb to get it in place, the shaft was .250 and I set the reamer at .251... but as I'm sure you've experienced with this type of reamer it's not always an exact science!

    Leave a comment:


  • T. Cotten
    replied
    Its a helluva lot easier, and cheaper, Folks,...

    To just upload to the forum directly.

    Many of the photos that I post are ones I posted previously, and conveniently stored.

    ...Cotten
    PS: Including this one!
    Attached Files
    Last edited by T. Cotten; 04-27-2020, 09:57 AM.

    Leave a comment:


  • pisten-bully
    replied
    Originally posted by exeric View Post
    What picture host are you using?
    Eric, I stuck with Photobucket, was kinda pissed when they took everyone hostage but I paid the subscription fee and it still works. Mostly I don’t have the time or patience to change, plus the way things go I figured if I switched then any new hosting site would eventually change their rules, too. It’s the “new economy”!

    Leave a comment:


  • T. Cotten
    replied
    If you think the top of the bowl is too skewed to relieve 'by eyeball', Harry,..

    Then a simple mandrel will allow you to lathe-cut the top more true to the bottom (attached).

    The rest we used to relieve with a Buck Knife. Use'to...

    ....Cotten
    PS: How do I post "sequential"?
    (It came natural before the last forum update.)
    Attached Files
    Last edited by T. Cotten; 04-26-2020, 05:24 PM.

    Leave a comment:


  • exeric
    replied
    I think you take the best sequential, and pertinent pictures on any forum, Harry. I know how much work it is to document your progress, so thank you so much for that extra effort. What picture host are you using?

    Leave a comment:


  • T. Cotten
    replied
    Your HS detente 'can go wrong', Harry, ...

    Will be a test of patience to re-stake, as it lost so much meat around it.
    (Although I re-stake choke detentes as well, there is military literature somewhere that forgives that on the M741,)

    I have had limited luck with over-size metric balls.

    (There's a DLX 112 on my bench right now with a huge 3/16" ball stuck in it.
    They are too risky to stake, so may be forced to get creative.)

    ...Cotten
    PS: Thanks Dale!
    Those are more of a challenge.
    Last edited by T. Cotten; 04-26-2020, 03:32 PM.

    Leave a comment:


  • painterdale
    replied
    Originally posted by pisten-bully View Post

    And with Cotten following... what can go wrong... I really appreciate his help!
    Tom did my Powerplus carb. I could not be happier with it!

    Dale

    Leave a comment:


  • pisten-bully
    replied
    Dale, with my abysmal batting average on carburetor rebuilds (I almost burned down my '55 Dodge Power Wagon once!) I'm glad to have any input that comes my way... so it's sort of a self-serving thing to document this ;-)

    And with Cotten following... what can go wrong... I really appreciate his help!

    Leave a comment:


  • painterdale
    replied
    I'm enjoying this. Thanks for taking the time to document it, Harry!

    Dale

    Leave a comment:

Working...
X