Hey Dale,
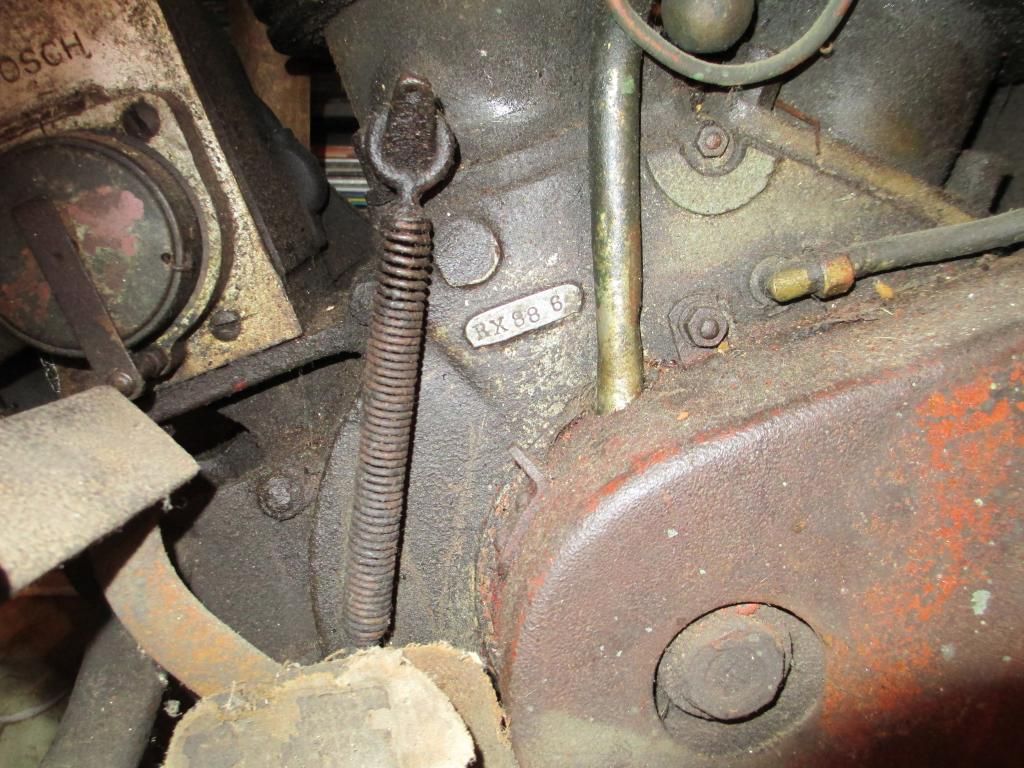
It's just my opinion, but that center tank bolt with the hook on it doesn't look original to me. It looks like SAE course threads, and also I don't think Indian used those square nuts, and I don't think they used split lock washers that far back. I suspect the bolt was replaced long ago, so it seems like the little hook may have been added at that time, possibly to support a spark plug lead or something. Again, I don't have any positive basis for saying that, just a guess. There's probably someone out there who knows. Also, you could check the parts book.
Thanks for posting the pictures. Very interesting.
Kevin
-
Hi Dale,
I thought I replied to your question a few days ago but I don't see the reply posted on the thread. So I'll try again. I recently removed the left hand tank. My lower tank hardware is not correct. It consists of relatively modern nuts and bolts with the spacer between the two tanks made from copper tubing. Sorry I couldn't help.
Anyway I've checked into your suggestion on the photo posting so perhaps I'll be able to post some pictures sometime next weekLeave a comment:
-
Steve, do you have that little hook under the center tank mount bolt like I showed above? DaleLeave a comment:
-
Harry, Gary, glad you are enjoying this! Good to have you following along.
Steve, I would love to see pictures of others. I learned how to post pictures from a "lesson" by Harry Roberts. He was schooling us in a thread by Steve Little. Check it out. It is very easy to understand and you get to admire some of Steve's amazing handiwork.
http://www.antiquemotorcycle.org/bbo...be-restoration
DaleLeave a comment:
-
Hi,
Steve Slaminko here. I posted an earlier thread on timing a 1917 PowerPlus. I by no means have much knowledge on these bikes but I believe (and have been told by people who claim to know what they're talking about) that my example is pretty correct. It's not original paint and has a few confirmed incorrect parts but I'd be willing to post pictures of any area you're interested in once I can figure out how to do it. I have some family issues going on so I may not respond quickly but I will respond.Leave a comment:
-
Ahhh Dale! Like being a forensic detective....it's pretty cool to see the details from a century back (almost) come to light! Thanks for posting!Leave a comment:
-
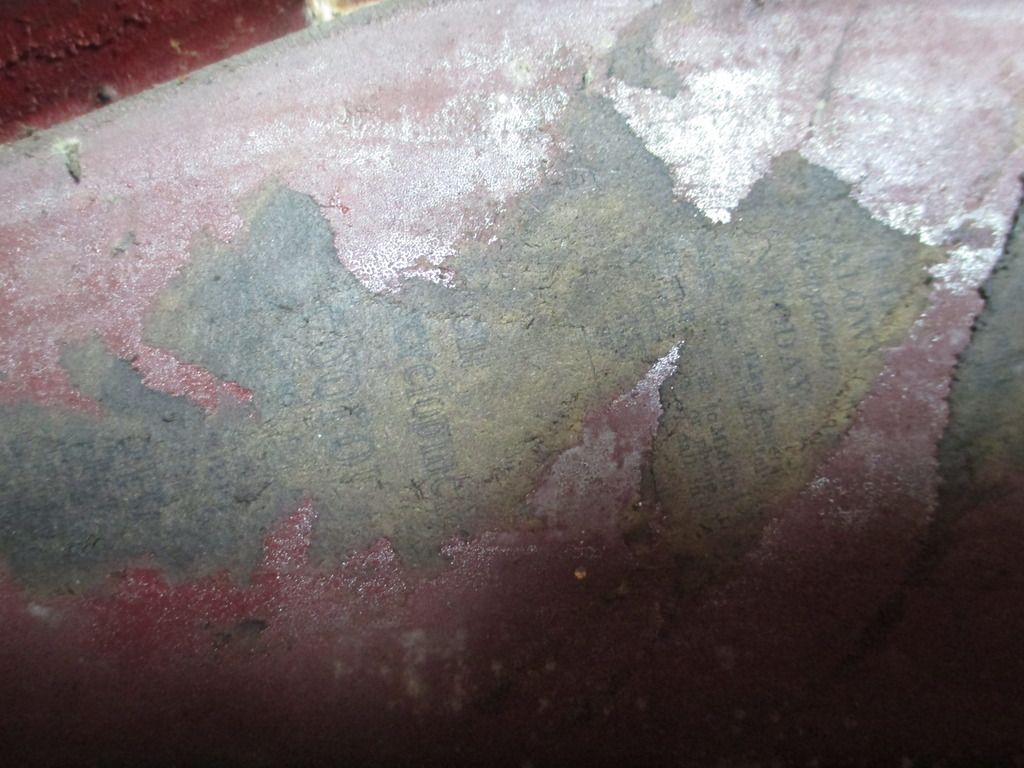
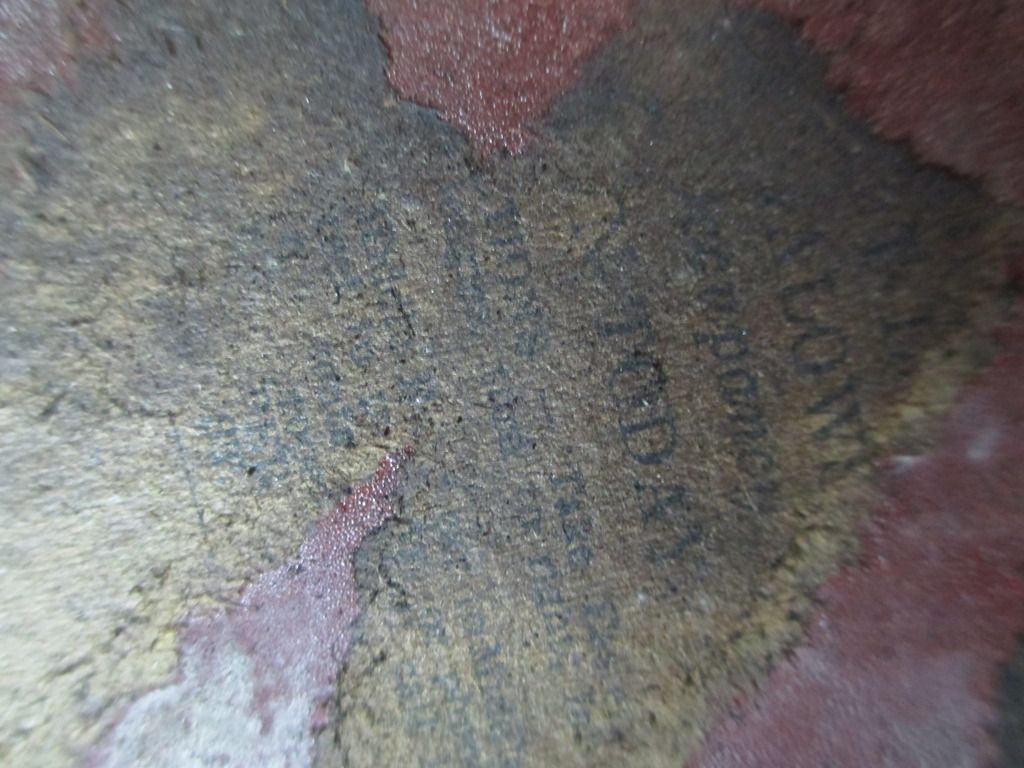
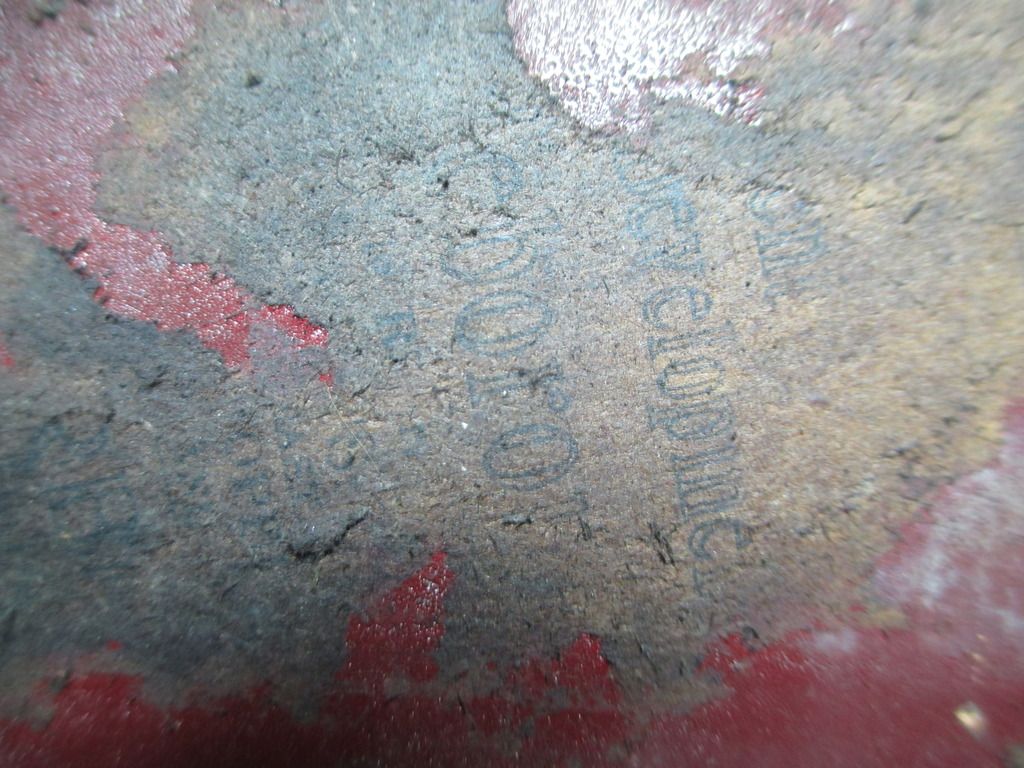
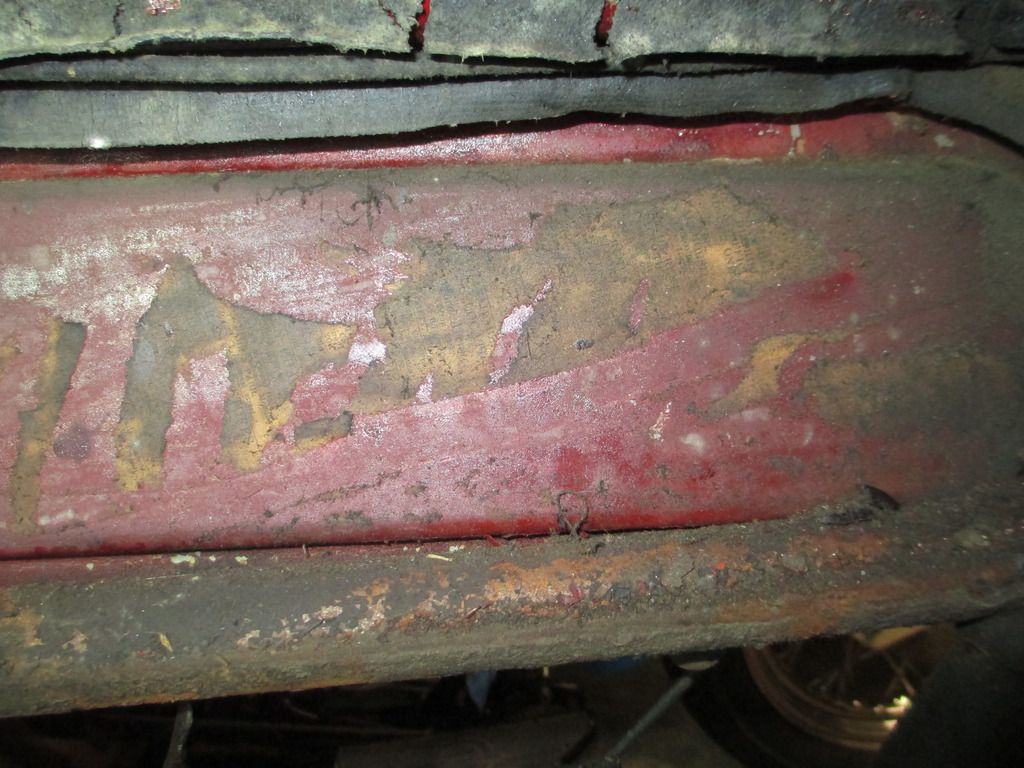
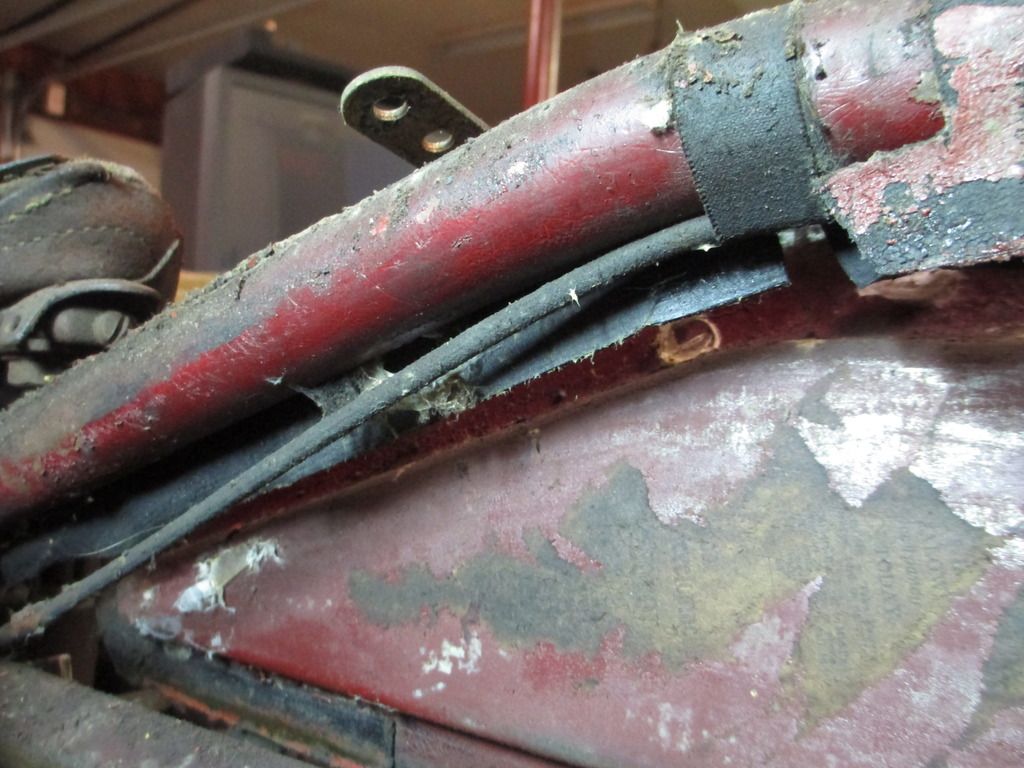
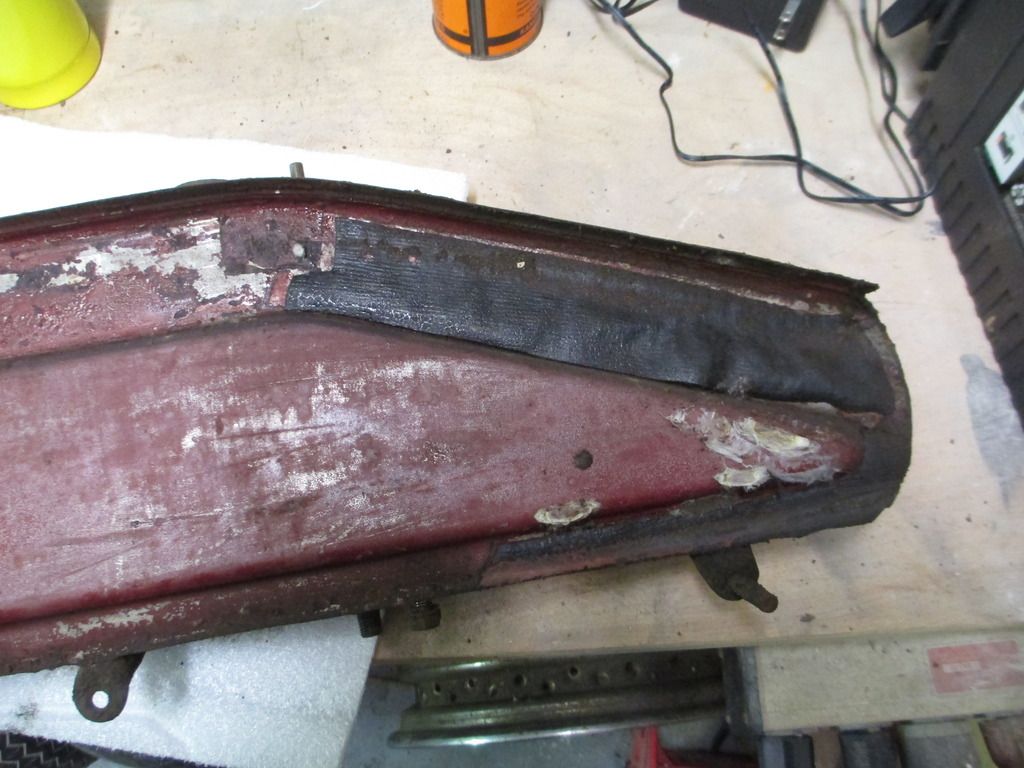
On the backside of the left tank there is some kind of printed material stuck to it. I can't make out too much. Just a few words here and there. Interesting.
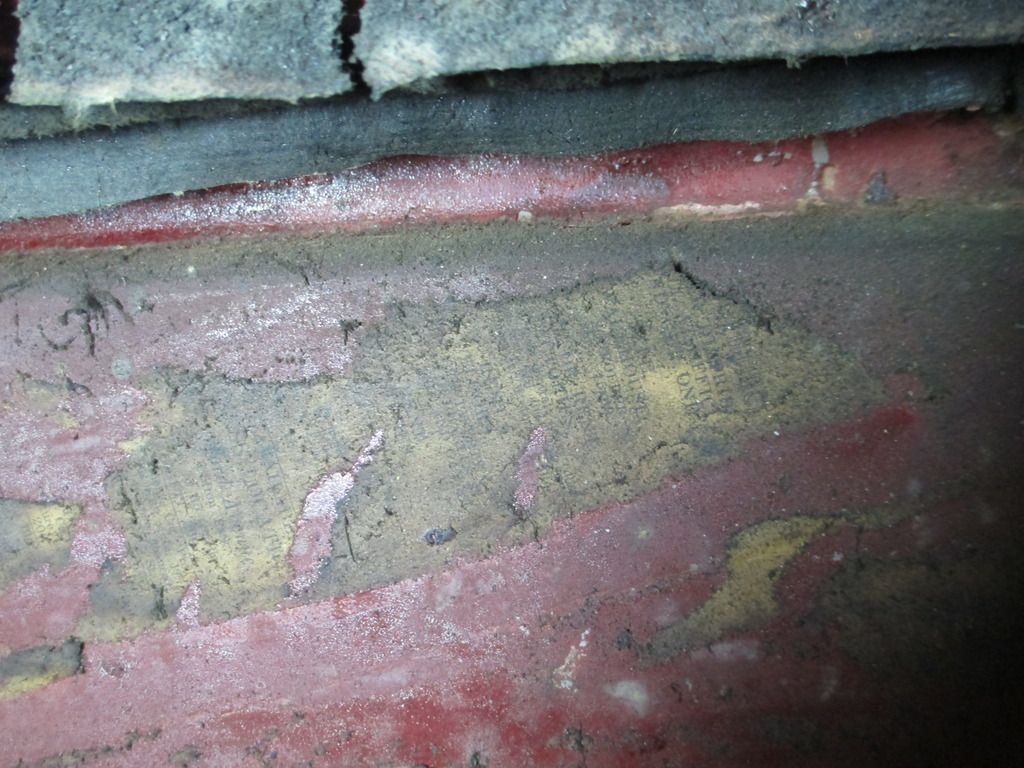

On the center mount on the underside of the tank is a small wire "hook". Is this supposed to be there, and if so, what is it for?
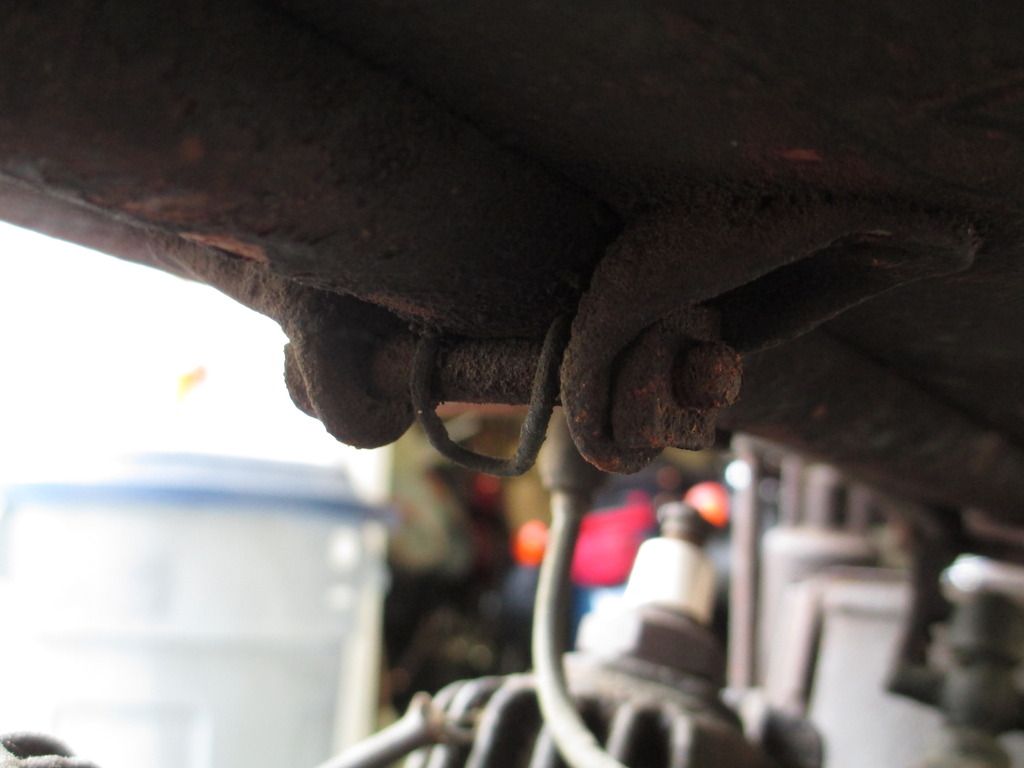

Thanks for following along. DaleLeave a comment:
-
I had a little time to play with the Powerplus today. I took Dave's suggestion and removed the chamfer from a socket to fit the valve caps.
Decided I needed to remove the tank to get room to get the socket on the caps. Being as careful as I could, I got the right side off. I left the left side on because the fuel line fitting didn't feel like it wanted to break loose too easily. Everything else came right off. The backside of the tanks looked great.
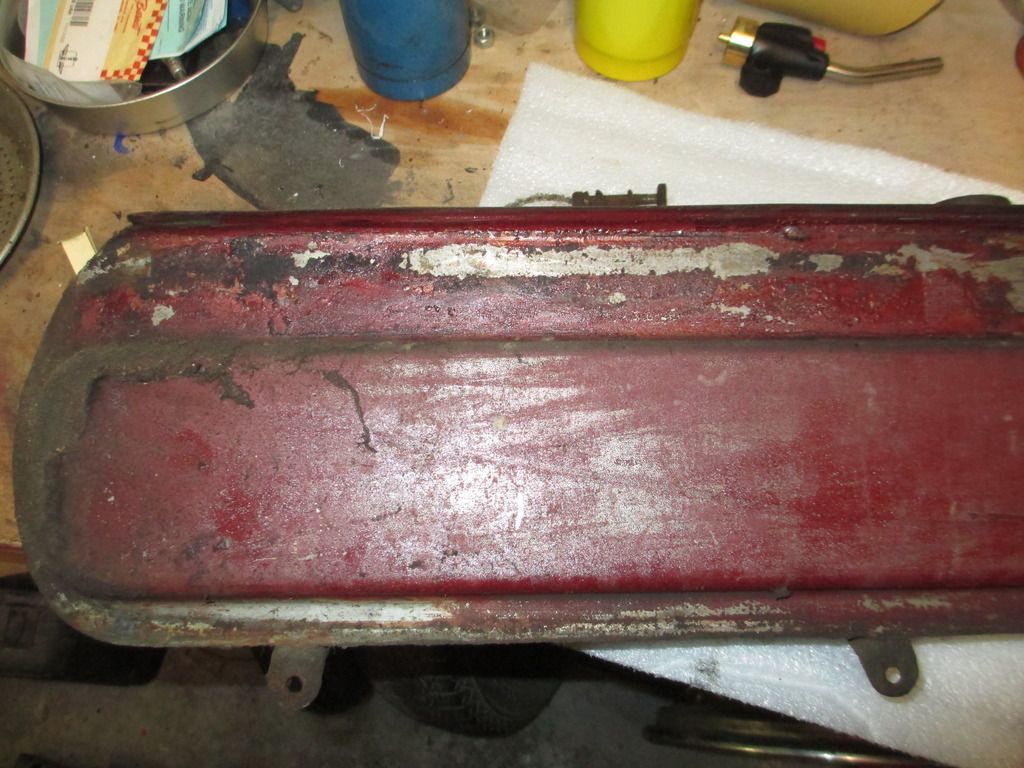
All of the strips of rubber to isolate the tanks seemed to be there intact.
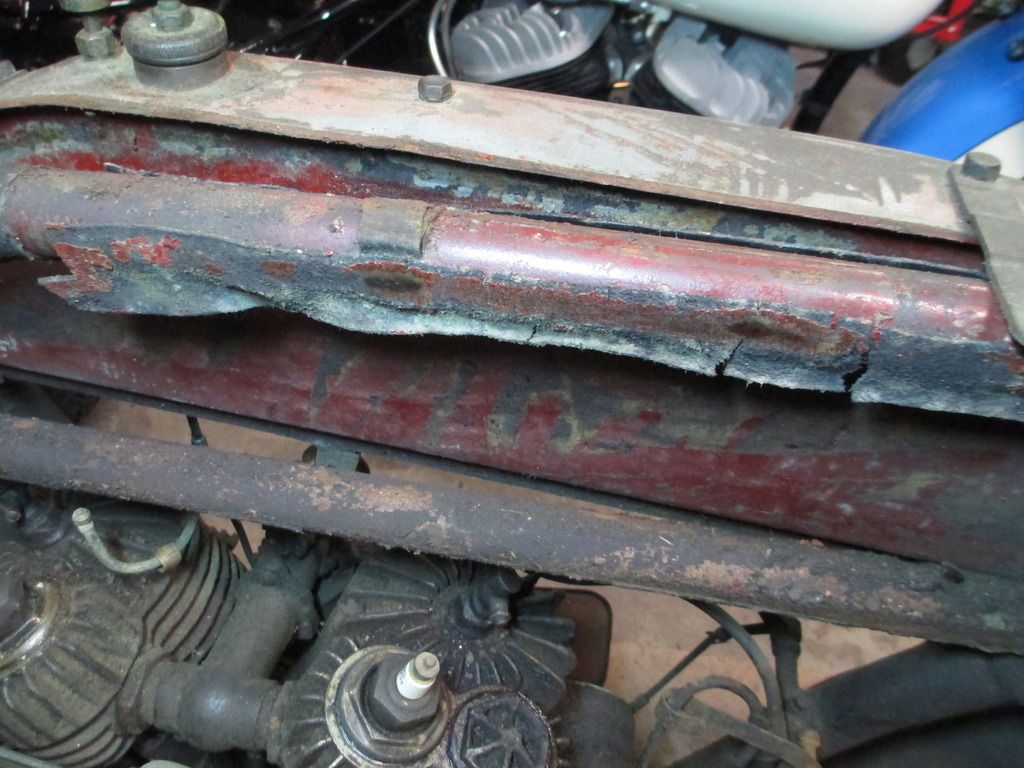
DaleLeave a comment:
-
Hi, Knotthed! Yours is the best, well.....only, explanation we've gotten so far, so we'll go with that!
Thanks for the kind words! DaleLeave a comment:
-
No worries Dale. Happy to be of some assistance.
I reckon you've got the right idea here with your project, just going carefully a little bit at a time.
Yes, back in the day, they did sell a lot of Powerplus here.
Cheers,
Dave.Leave a comment:
-
Dave! Thank you for the response. Wonderful information. There really is a wealth of knowledge on this forum and I can't tell you how much I appreciate people taking the time to share it. It looks like my next move is to get ahold of a good socket. The tool was kind of a "first step". The wrenches were cheap and easy to acquire. I tried a 1 9/16 box wrench but the tolerances were not tight, so on to the socket idea. I have sprayed the plugs down with Kroil a few times over the last few weeks. No hurry here, just wanted to see what is going on inside and how sound things are. Again, thanks for the info! There must be a lot of these in Australia. DaleLeave a comment:
-
Dale, those Brass Cyl. Plugs were used on the 1916 Powerplus.
They are not "aftermarket", they are genuine Indian Powerplus; but used only on 1916.
That doesn't mean to say that also maybe some of the very early production 1917 Powerplus bikes built didn't also have brass Cyl. Plugs fitted from new, until all the old 1916 stock ran out. But 1917 Powerplus should have all cast iron Cyl. Plugs.
That brass one on your 1917 Powerplus has probably been installed in there, sometime early in the bikes life, for whatever reason.
The brass cylinder plugs used on the 1916 don't have the tall cooling fins ontop of the Exhaust Plug that the 1917 & later use.
1916 brass plugs also use an 18mm sparkplug, whereas the 1917 & later cast iron plugs use a 7/8" sparkplug.
Both iron & brass cyl. plugs will otherwise fit & interchange in all the Small Valve Powerplus cylinders.
Why did Powerplus only use the brass cyl. plugs in 1916 only? Who really knows for sure; but brass isn't considered to be good for cylinder plugs in hot running air cooled motors, as it expands too much when hot; & maybe this expansion was found to have caused cracking of the cylinder in the area where the cyl plugs screw in? The cast iron plugs would only expand at the same rate of the cylinder; when hot. Certainly there aren't that many pre 1925 fixed head air cooled motorcycle cylinders that I can think of that that didn't originally use iron/steel for their valve plugs. Lots of people who restore these early bike engines today make replacement cyl. plugs out of brass probably because it's easier & cheaper than making patterns & then trying to get a foundry to do a small run of castings in iron; & then have to machine those castings. But most of these early sidevalve motorcycle engines DID originally have iron cyl. plugs. For me, I would prefer to put iron plugs back into a cylinder that did originally have them.
Brass Cyl. Plugs do have the advantage of not being as likely to seize/corrode/rust into the cylinder, as iron plugs would; so they'd at least be more likely to undo easier.
The change to iron cyl. plugs in Indian might also have something to do with the War, as the USA entered the War in 1917, so maybe that made it more desirable to use iron where possible, & save the brass for more "essential" war effort items like shell cases, etc(?). But as I say; who really knows for sure; but it's interesting to speculate.
The Cyl. Plug threads in the cylinders DO vary a lot in the diameters in each hole; & so too the diameter of each Cyl. Plug thread. They would have all been made to a standard size originally, but over the years have suffered wear & tear & stress; causing them to measure up differently today.
I've found a lot of size variation in all the cylinders & cyl. plugs I've measured over the years, & I have measured quite a lot of them just for interest, they do vary a bit in diameter; even when they are both come from the same cylinder barrel.
This diameter variation is because these threads are worn; & some threads more than others; due to having been done/undone so many times over the years; & also due to many of them having been done up really, really tight; so some threads have been pretty stressed. Also, in the old days it was normal to expect to have to grind valves & decarbonize the cylinder maybe every 1,000 miles or so; so these cylinder plugs were in & out a lot; adding upto a bit of wear & tear.
In your case Dale, you really need to keep that "original paint" look, so leave those plugs in there. But for anyone making new cylinder plugs for an engine they are restoring; you definitely need to screw cut each individual cyl. plug to suit each individual cylinder thread; so as to maximise the full depth of the available cyl. thread. And do not mix the newly screwcut plug up with any hole again. The same advice goes for the fixed head Scout & Chief.
With regards to getting those cyl. plugs out Dale; & despite that effort making up your tool; I personally reckon that you are better off with something else to do that job.
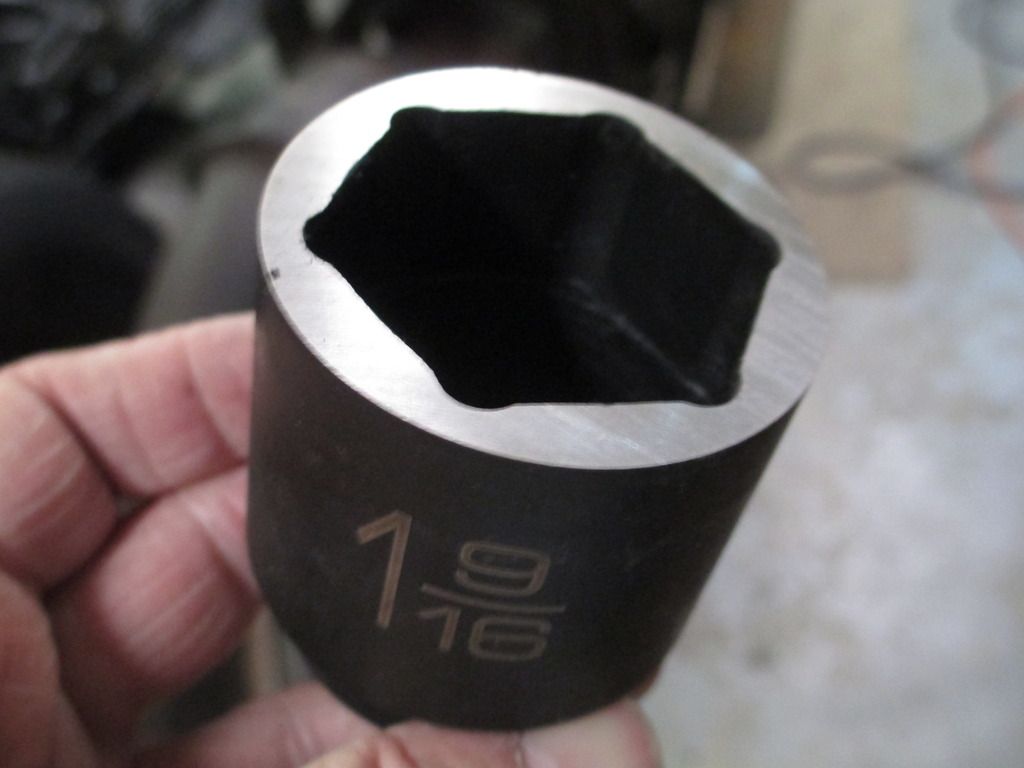
The tool I use to to undo Powerplus valve plugs (see the picture) is a single 6 point hex 1-9/16" socket .
The single hex of the socket does grip the hex & flats all around the plug as much as possible, & reduces the likelihood of slipping, or further rounding of the plug hex.
I have machined my socket down, to get rid of the of the chamfer on the inside of the socket; so as the socket will get as much grip as possible on the cyl. plug hex.
It's also better to soak those plugs with penetrant as long as possible before you try to remove them, & also do it with the cylinders on the motor; & motor in the frame.
Anyway, enough from me.
Cheers,
Dave.
DCP_0608.JPGLeave a comment:
-
Hi, Eric. I don't have any immediate plans to tear into it. Right now I don't really have the proper amount of time to devote to it. I certainly don't want to disassemble anything until I can give it the attention it deserves. I wouldn't want to get into anything just to have something happen to me and the bike end up in pieces on E-bay or something. Then there is another formerly complete bike lost to attrition. In the mean time, I can't leave well enough alone so I will tinker with it. I'm also having a great time learning as much as I can about it! Dale
Rob, does that mean that the bronze plugs are aftermarket? If they are, they would have to be pretty early as I can account for the last 55-60 years of it's history and nothing has been touched in that time. Were all the plugs cast iron from the factory? Thanks for the input! DaleLeave a comment:
Leave a comment: