It has been my opinion for a long time that the legs started out as the diameter of the very upper part - about 1" thick walled tubing. Somehow they would swedge from the inside and slowly work the diameter up to the biggest part and end with a piece that looked like an old time lamp post. Then this 'lamp post' was put into a punch press and given its' ovalness and the upper offset.
Then this leg was assembled into a unit with the main cross brace and furnace brazed together.
In the mid 70's there was an abandoned 30's vintage brass lamp factory next to the repair shop I run in a small Wisconsin town and some of the equipment for making the brass lamp posts was still in the place. I talked to the old timer that owned the building and he had worked at the factory until it closed in the early 50's after it went bankrupt. According to him they used the exact procedure for their lamps that I just described above.
Tonite I just re-enforced that thought of mine from the first paragraph. I was just going to finish mocking up yet another springer that I was welding the lower legs back on when I noticed something curious. Looking down the lower leg with a flashlight I could see tool mark shadows. This springer leg is a post war WL.
Hopefully it shows up as good in the pictures as it did with a light. I cannot really fell these marks with my finger but then again it is a bit rusty.
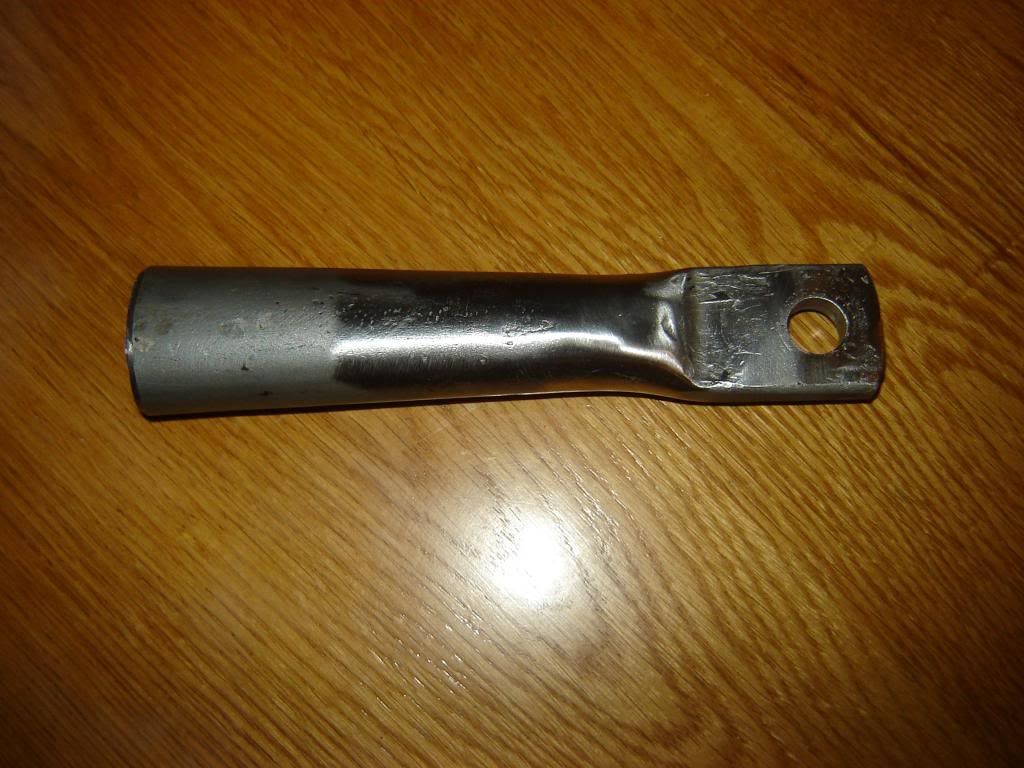
Here is the section of leg in question.
These next pictures show the tool marks that I described.
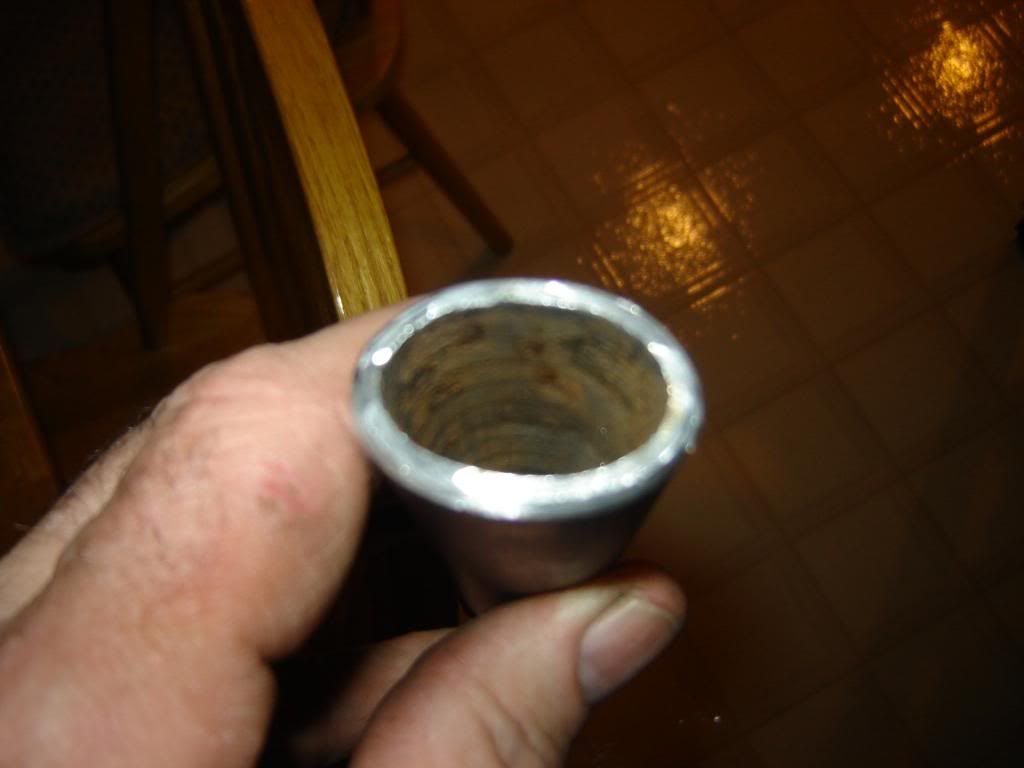
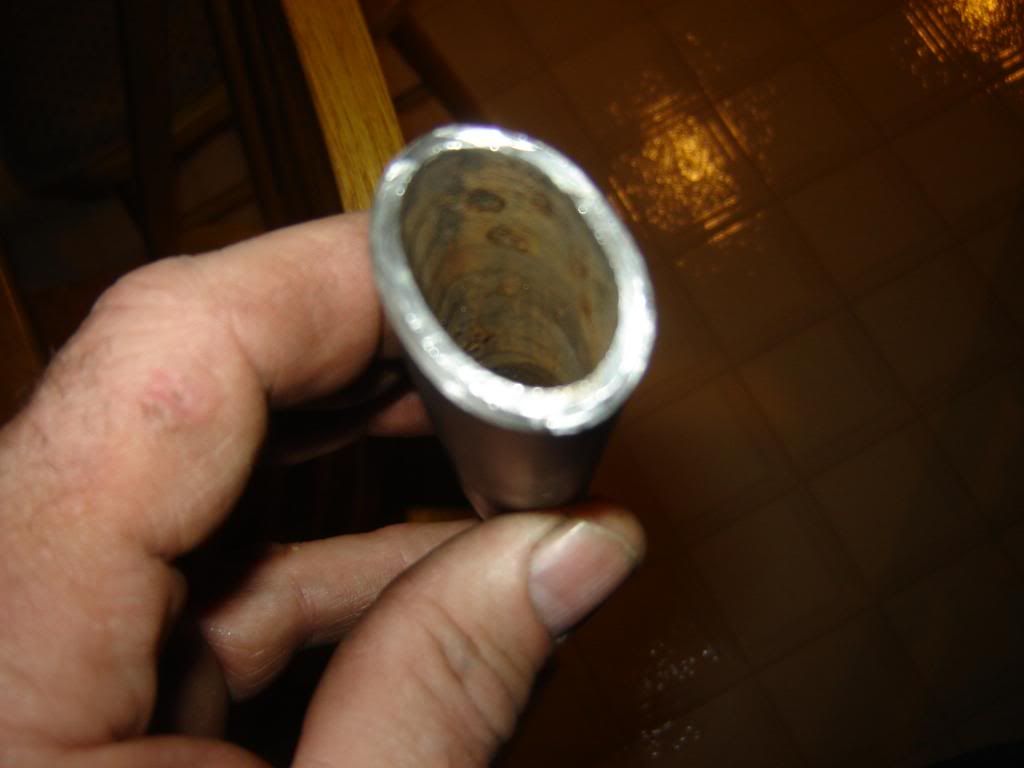
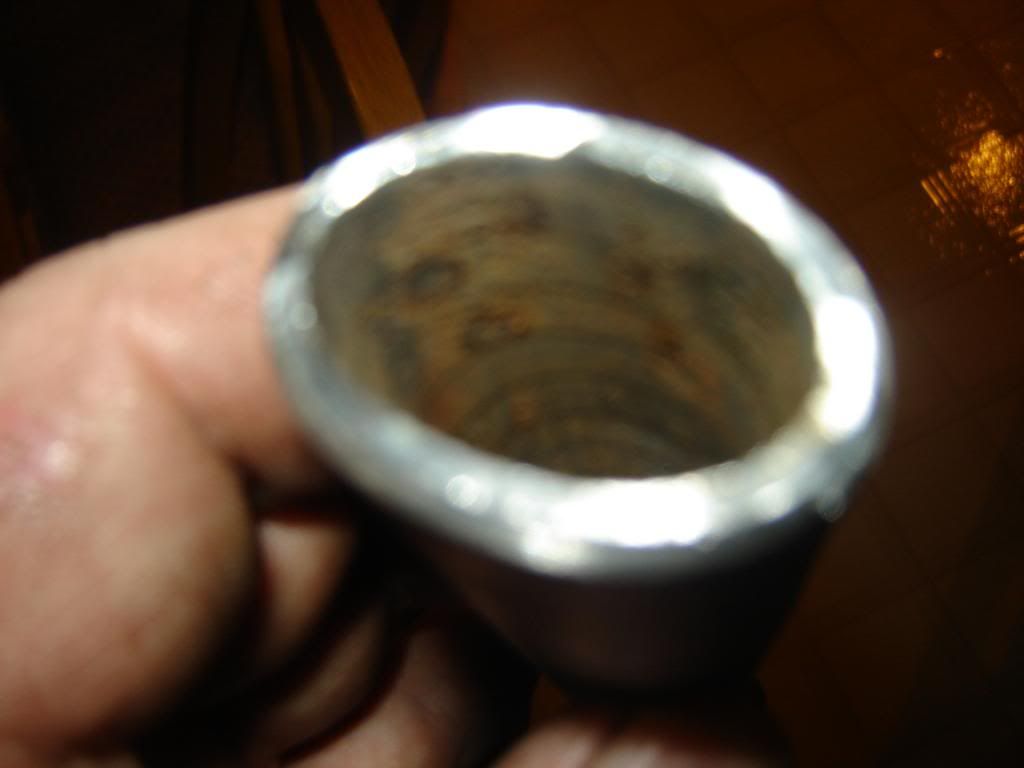
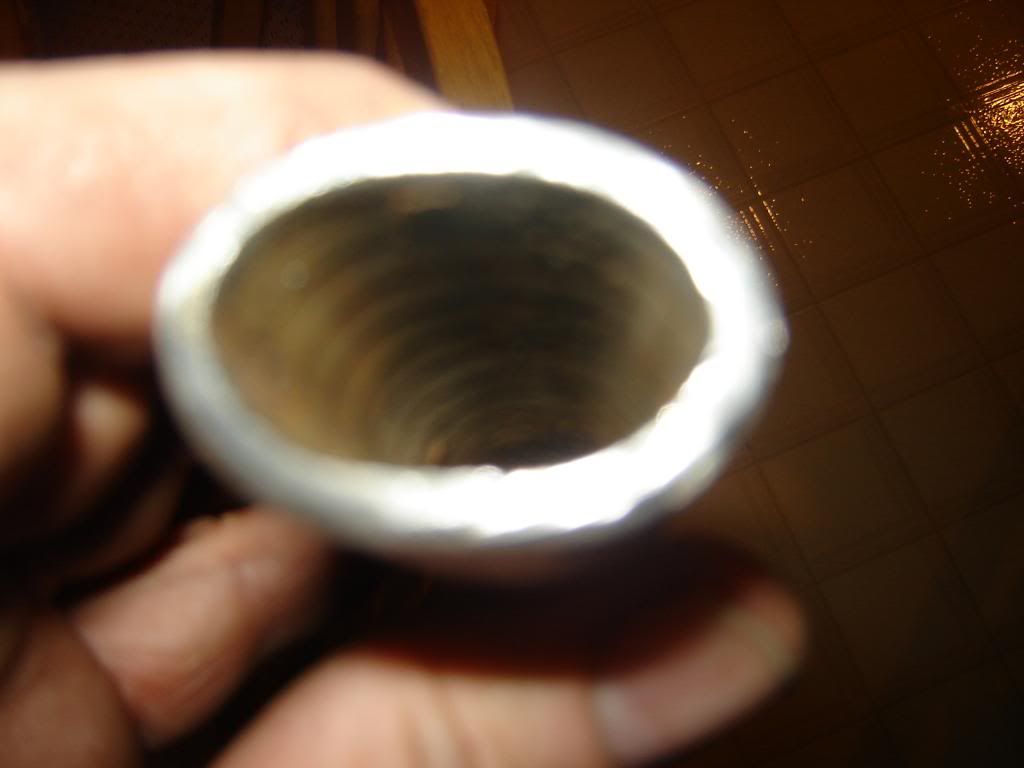
I know some people are of the idea that the tubing started out at the big diameter and was worked to the small but these pictures tell me different. I also believe that HD did it by the method I described for another reason. All old blacksmiths and metal workers were very familiar with what happens to a lot of metals when they have been worked or hammered. They become not only denser but also stronger - more tensile strength. I think that this was one of their ideas behind the design of the rear legs in the first place.
Jerry
Then this leg was assembled into a unit with the main cross brace and furnace brazed together.
In the mid 70's there was an abandoned 30's vintage brass lamp factory next to the repair shop I run in a small Wisconsin town and some of the equipment for making the brass lamp posts was still in the place. I talked to the old timer that owned the building and he had worked at the factory until it closed in the early 50's after it went bankrupt. According to him they used the exact procedure for their lamps that I just described above.
Tonite I just re-enforced that thought of mine from the first paragraph. I was just going to finish mocking up yet another springer that I was welding the lower legs back on when I noticed something curious. Looking down the lower leg with a flashlight I could see tool mark shadows. This springer leg is a post war WL.
Hopefully it shows up as good in the pictures as it did with a light. I cannot really fell these marks with my finger but then again it is a bit rusty.
Here is the section of leg in question.

These next pictures show the tool marks that I described.


I know some people are of the idea that the tubing started out at the big diameter and was worked to the small but these pictures tell me different. I also believe that HD did it by the method I described for another reason. All old blacksmiths and metal workers were very familiar with what happens to a lot of metals when they have been worked or hammered. They become not only denser but also stronger - more tensile strength. I think that this was one of their ideas behind the design of the rear legs in the first place.
Jerry
Comment