Announcement

Collapse
No announcement yet.

Ryan's A.M.C.A. Giveaway bike build!

Collapse
X
 
  • Filter
  • Time
  • Show
Clear All
new posts

  • Matthew N. Olse
    replied
    I just did that with a set of '48-'50 OHV tanks. You can really get at the dents and hardly any filler was used to finish them off. I don't have a tig outfit so I did what H-D must have done. I gas welded them with steel filler rod. I was slow and clumbsy at first but once you get the hang of it you can really sail along and almost "hear" when it's right. Still, I have to wonder how H-D did that in volume considering the number of years that tank was produced. I guess after many years of welding gas tanks; a guy would get quite proficient at it.

    Eric,
    I have a friend that worked for HD in the 50s, and he said that the guys that welded the tanks together were the neatest thing to see. He told me that the torches that they used to gas weld them together had a 6 to 8 inch skinny flame, and the welders held the tip of the flame 4 or 5 inches from the seam that they were welding. Sounds pretty wild, I wish that I could have seen it.
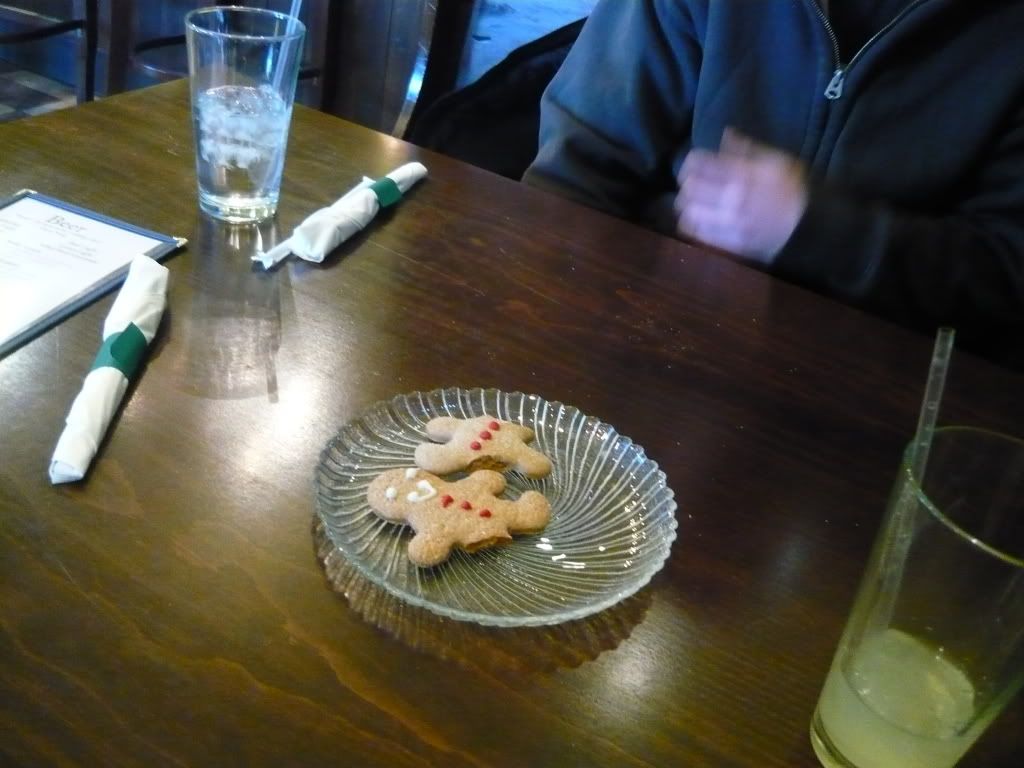


    We went to the Palm Garden for lunch. I am friends with the owner Carlisle, he gave us two fresh ginger bread men. They were really good.
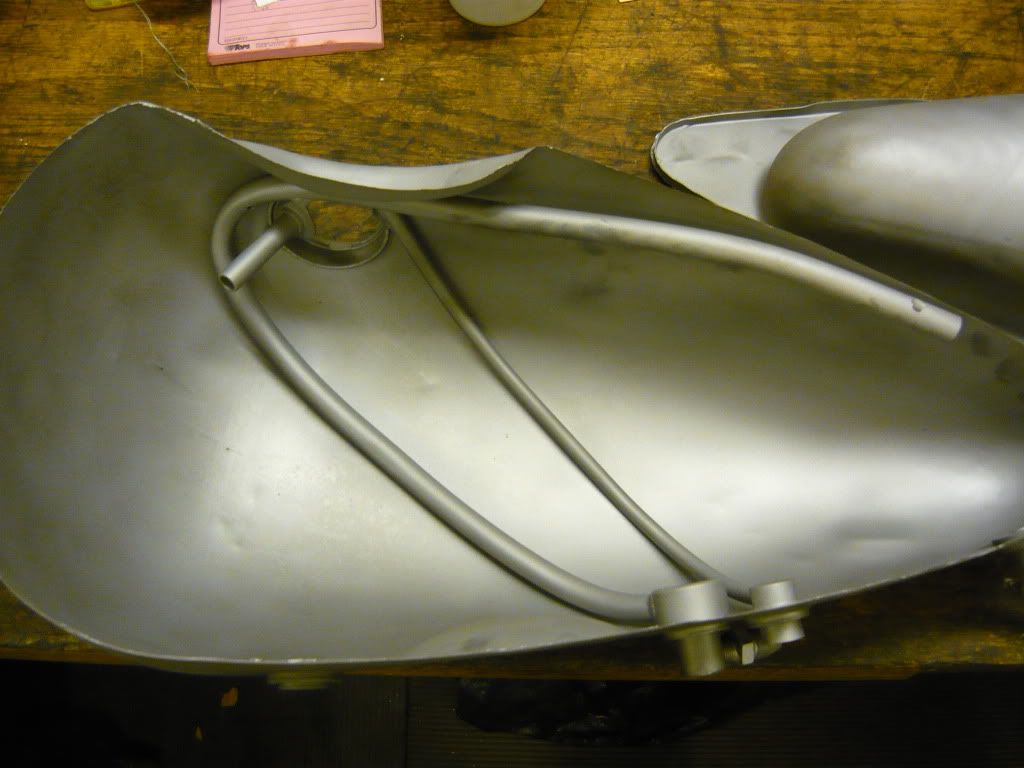


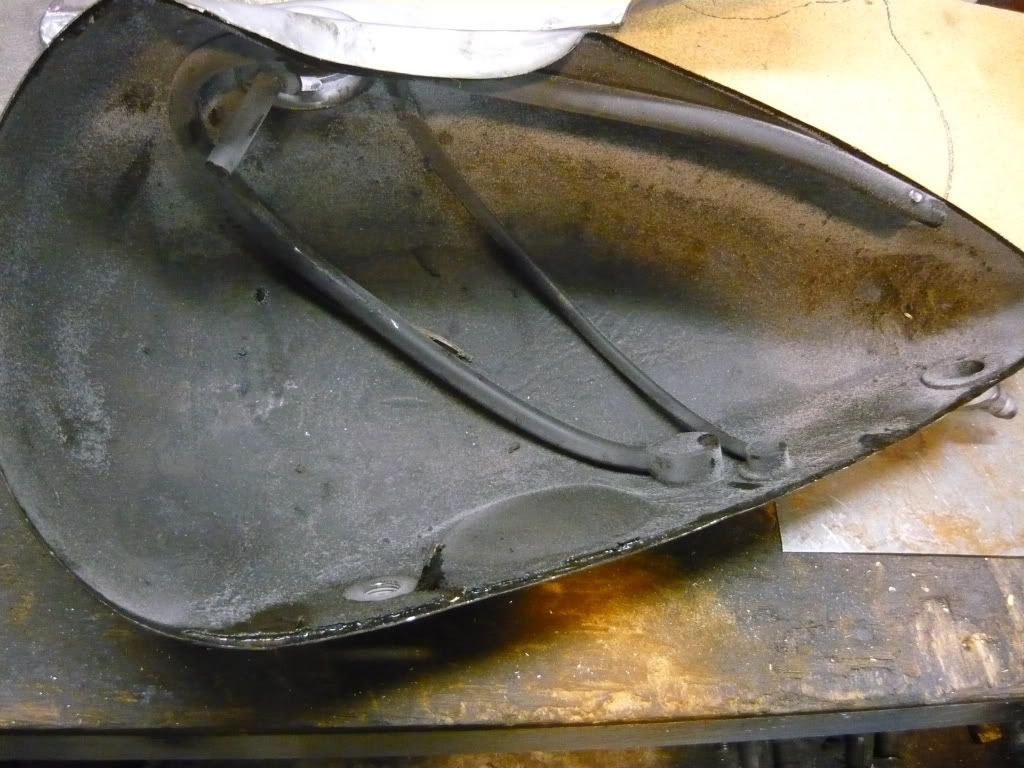
    Here is what the inside of the tank looks like after it was bead blasted.
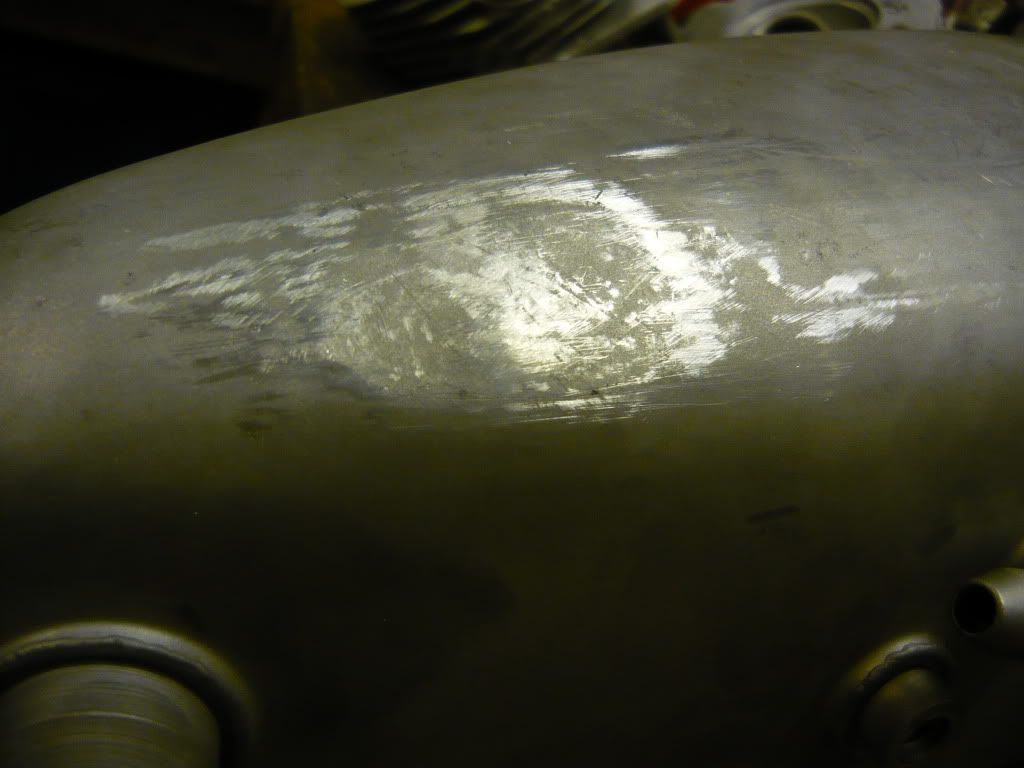

    Here is the worst dent after a little bit of pounding. We filed the tank to see the low spots.
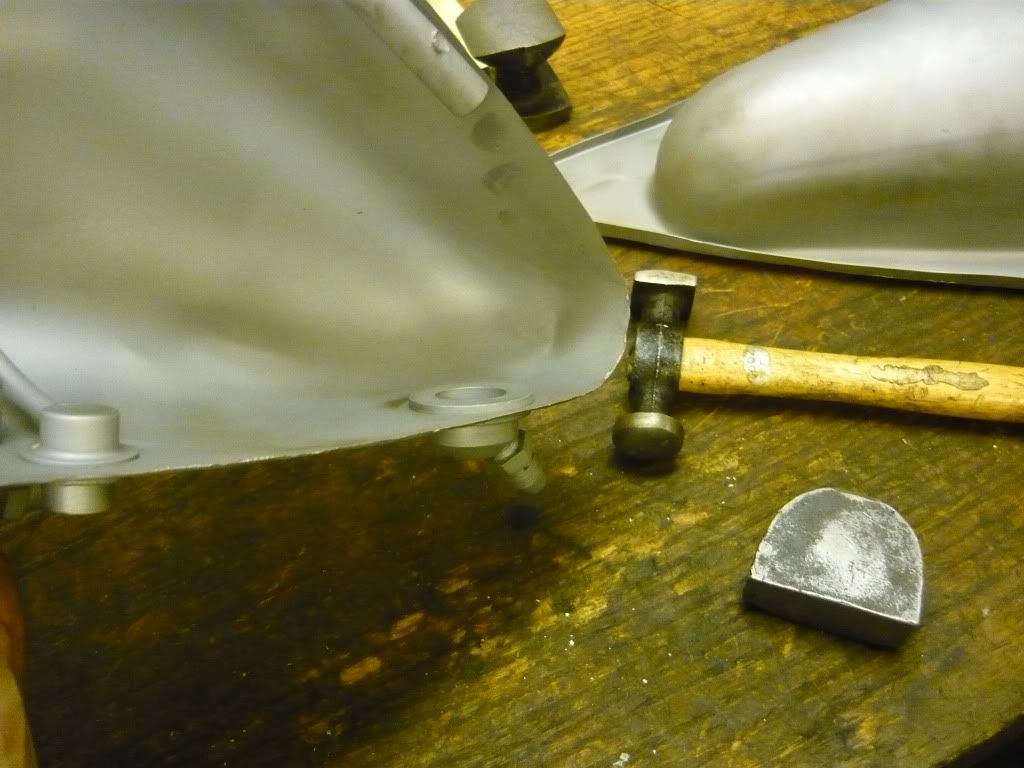


    We took this opportunity to beat out a couple of the dents. I usually use a brick, but I wanted to impress Ryan, so I dug out some actual body shop tools...
    Leave a comment:


  • exeric
    replied
    I just did that with a set of '48-'50 OHV tanks. You can really get at the dents and hardly any filler was used to finish them off. I don't have a tig outfit so I did what H-D must have done. I gas welded them with steel filler rod. I was slow and clumbsy at first but once you get the hang of it you can really sail along and almost "hear" when it's right. Still, I have to wonder how H-D did that in volume considering the number of years that tank was produced. I guess after many years of welding gas tanks; a guy would get quite proficient at it.

    Leave a comment:


  • Matthew N. Olse
    replied

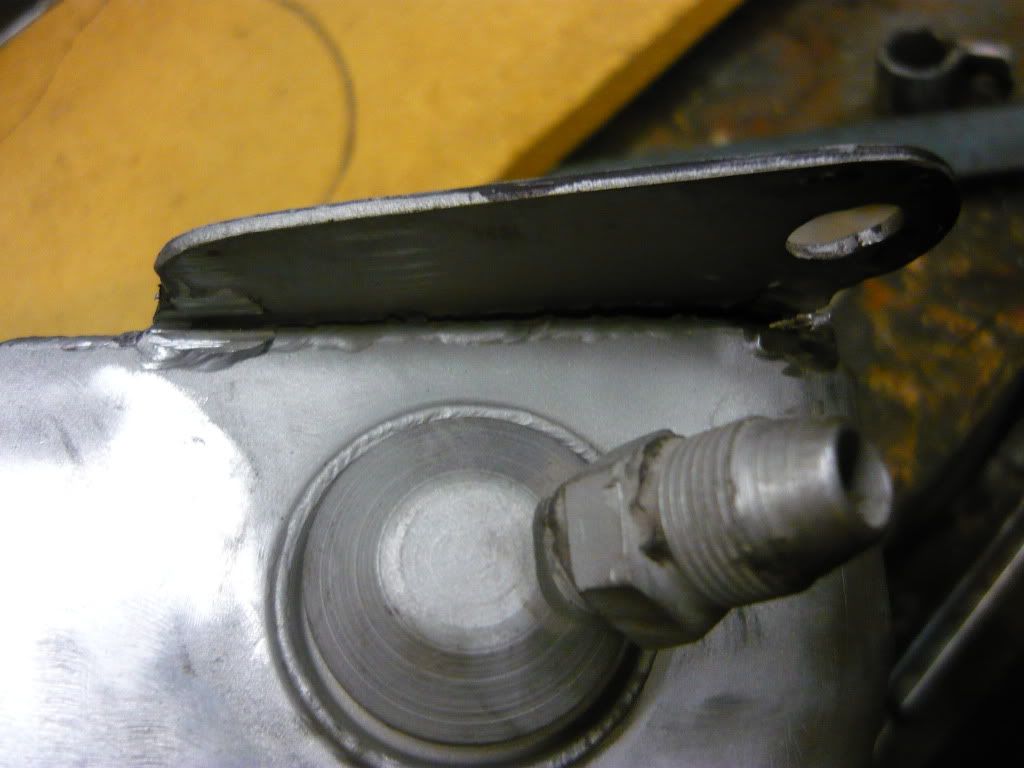
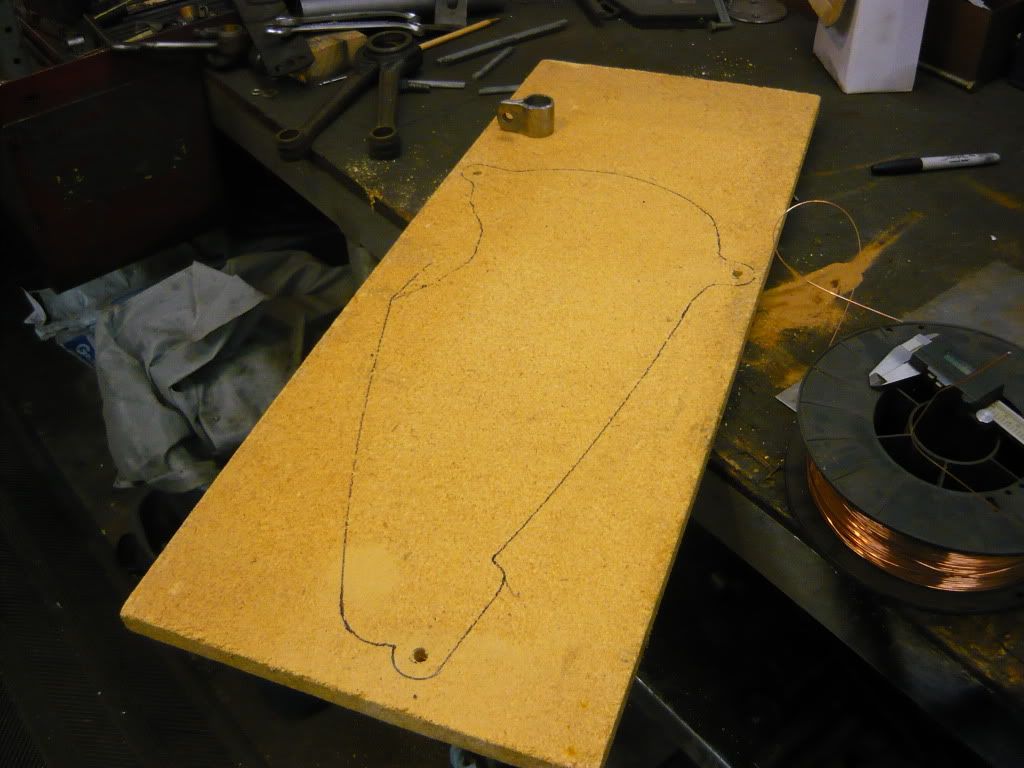
    We are waiting on the .875 tubing for Ryan's frame, so we decided to clean the oil tank. One of my friends in England told me that he always cuts his 45 oil tanks apart to clean them out. The way a 45 tank is designed, there isn't really a good way to get to the bottom of the tank to clean it so this idea makes sense. In this pic Ryan traced the outline of the mounting tabs and the tank.


    This is what it looks like, he also drilled some holes for the mounting bolts!


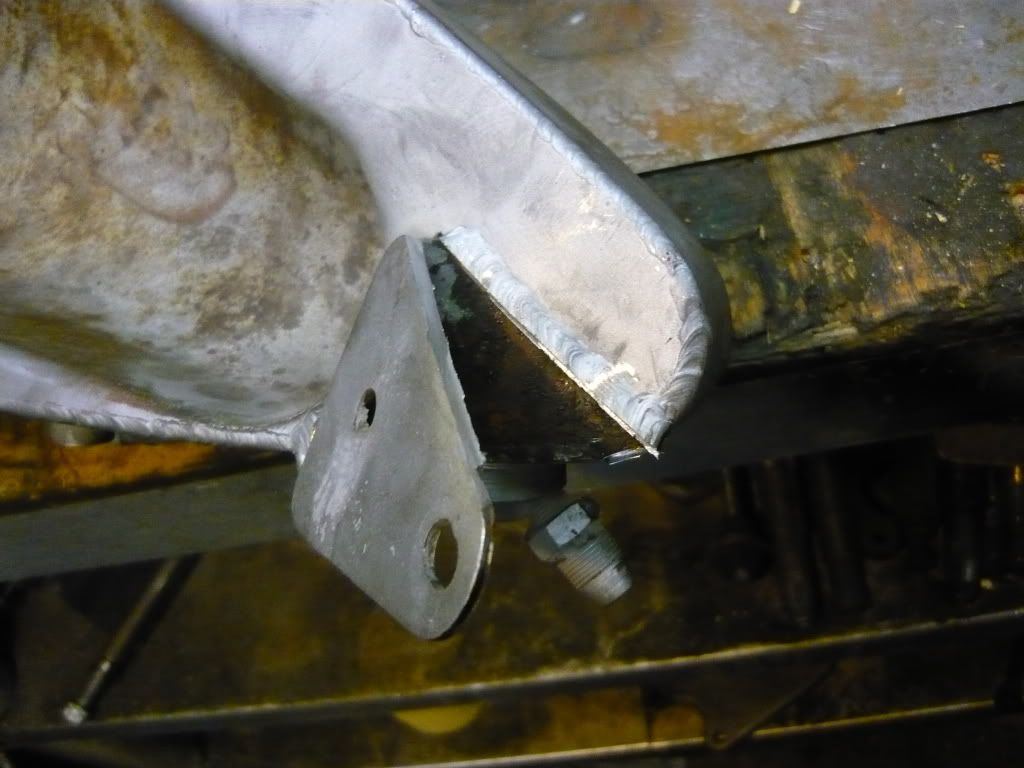
    I cut these welds off with the cut off wheel.


    Then Ryan cut inside of the welds on the mounting brackets. This is a touchy operation but it turned out well.


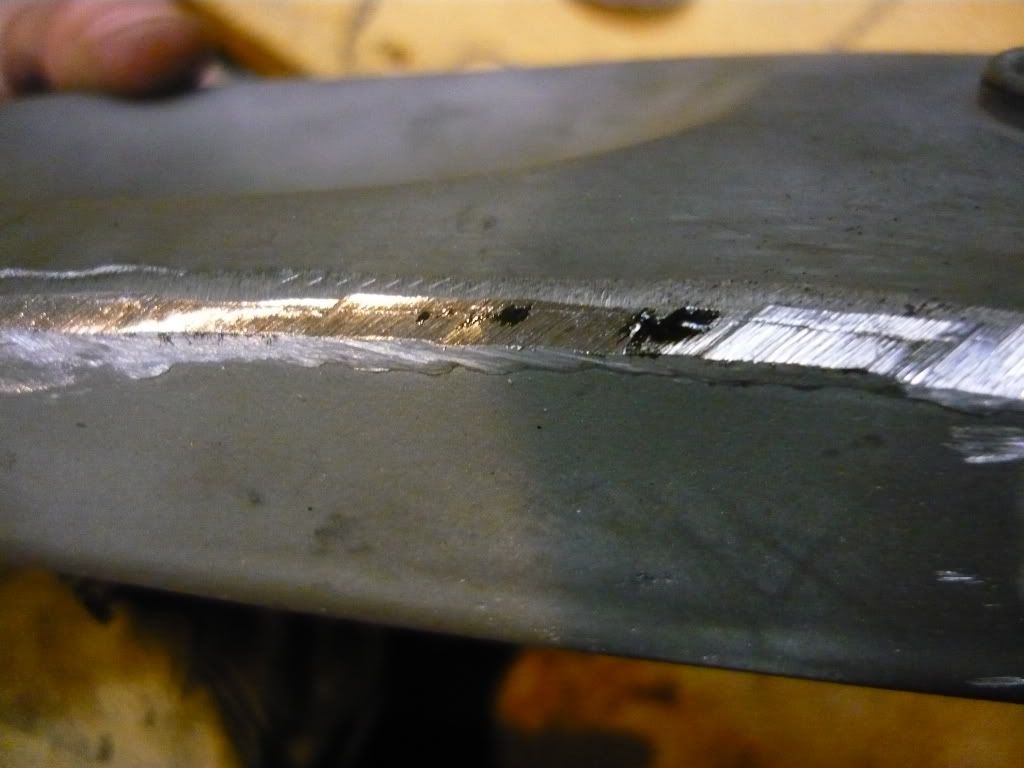
    Then Ryan ground the weld off of the seam all the way around the tank. Check out the oil bubbling out of the seam.


    This is what the inside of an oil tank looks like. This tank slips onto the inside piece which has a lip around the whole thing. Then they are welded together.


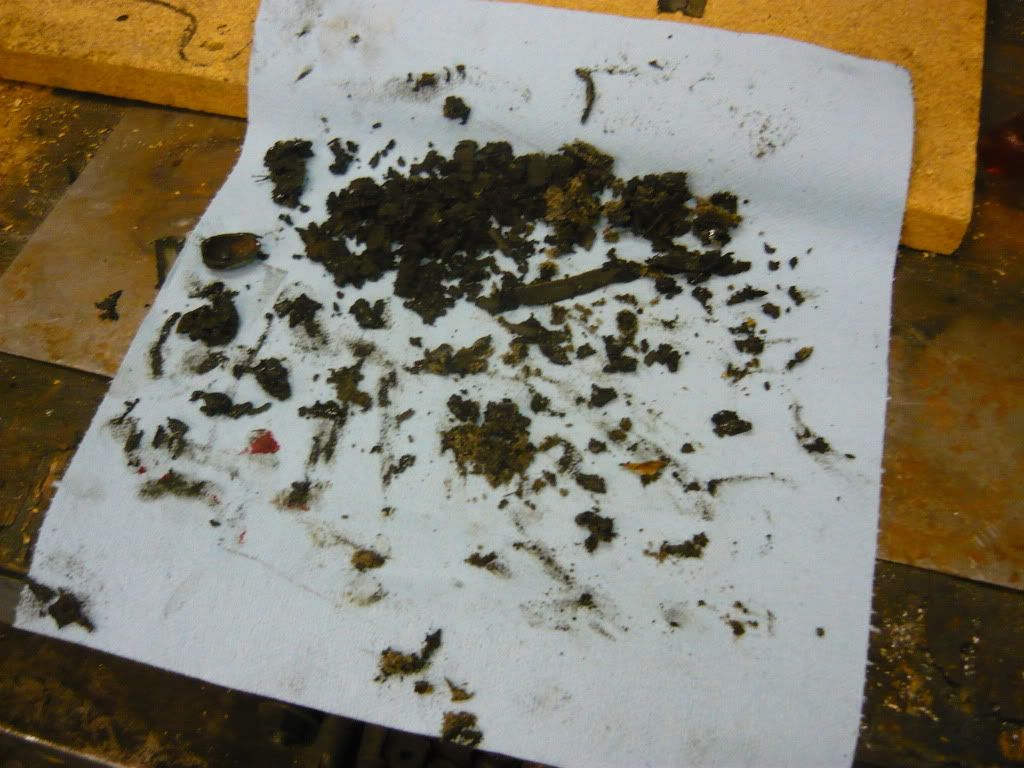
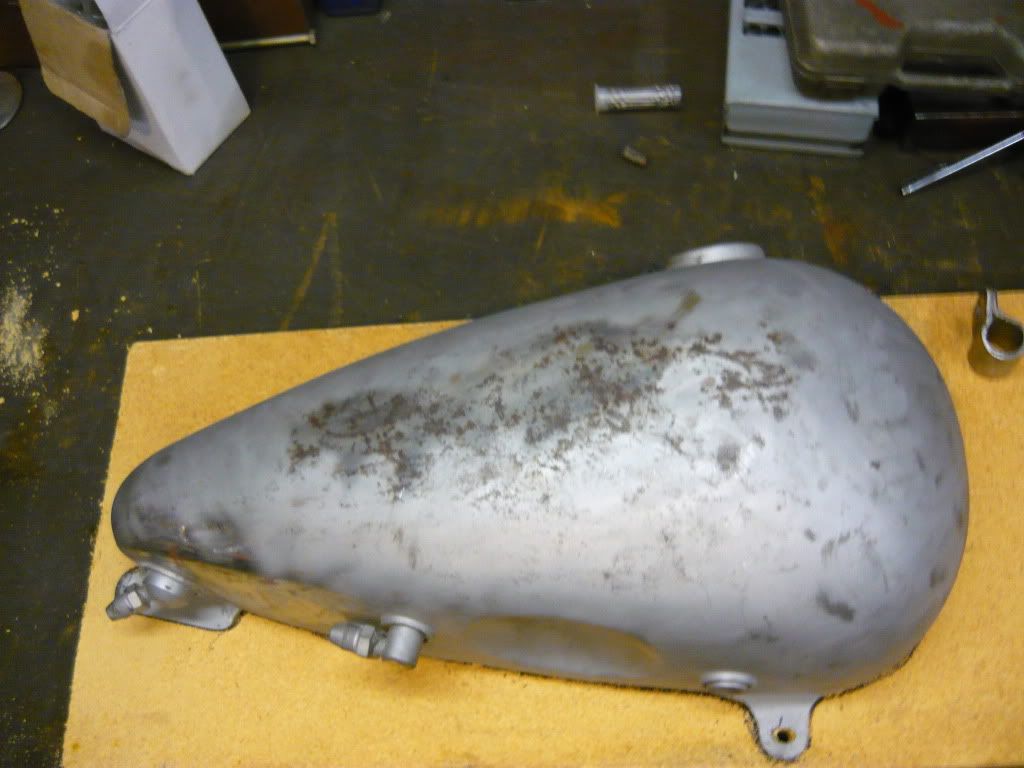
    This is all of the big stuff that was stuck inside of the tank. Ryan is cleaning the tank out, then we will beat out the dents, and I will weld it all back together. Have a nice day!

    Leave a comment:


  • Ohio-Rider
    replied
    Amazing how far an end mill will bend before snapping. Oh... The good old days of earning a cool $2.25 an hour. While destroying tooling at a rate of $3.00 per hour.
    Last edited by Ohio-Rider; 12-16-2009, 06:24 AM.

    Leave a comment:


  • Chuck#1848
    replied
    Originally posted by Paps View Post
    Sharp looking fresh piece there ! I bet Ryan is proud of his new craftmanship. All that tough grinding and fitting really pays off. Ryan is getting a good base knowledge on the use of an endmill cutter to boot. Feeds and speeds are tricky to learn by first hand trial an error. I remember my first go at an endmill cutter, without consulting the machinists bible, broke that endmill cutter rather quickly. LOL ! Paps

    Heck, my second attempt didn't last that much longer

    Leave a comment:


  • Ohio-Rider
    replied
    This is the best thread I've seen since joining. Between Slojo's project and Ryan's, this winter should fly by.

    Hey Ryan, Hang in there. Matt will give you one of the better jobs soon. And feel free to chime in once in a while around here.

    Leave a comment:


  • Eric MATHIEU
    replied
    Great topic. Ryan forget the old guy, watch out for the kid!
    Eric

    Leave a comment:


  • Slojo
    replied
    Ryan, remember watch those valuable fingures. Stay focused power tools can bite back.
    Joe

    Leave a comment:


  • Paps
    replied
    Sharp looking fresh piece there ! I bet Ryan is proud of his new craftmanship. All that tough grinding and fitting really pays off. Ryan is getting a good base knowledge on the use of an endmill cutter to boot. Feeds and speeds are tricky to learn by first hand trial an error. I remember my first go at an endmill cutter, without consulting the machinists bible, broke that endmill cutter rather quickly. LOL ! Paps

    Leave a comment:


  • Matthew N. Olse
    replied

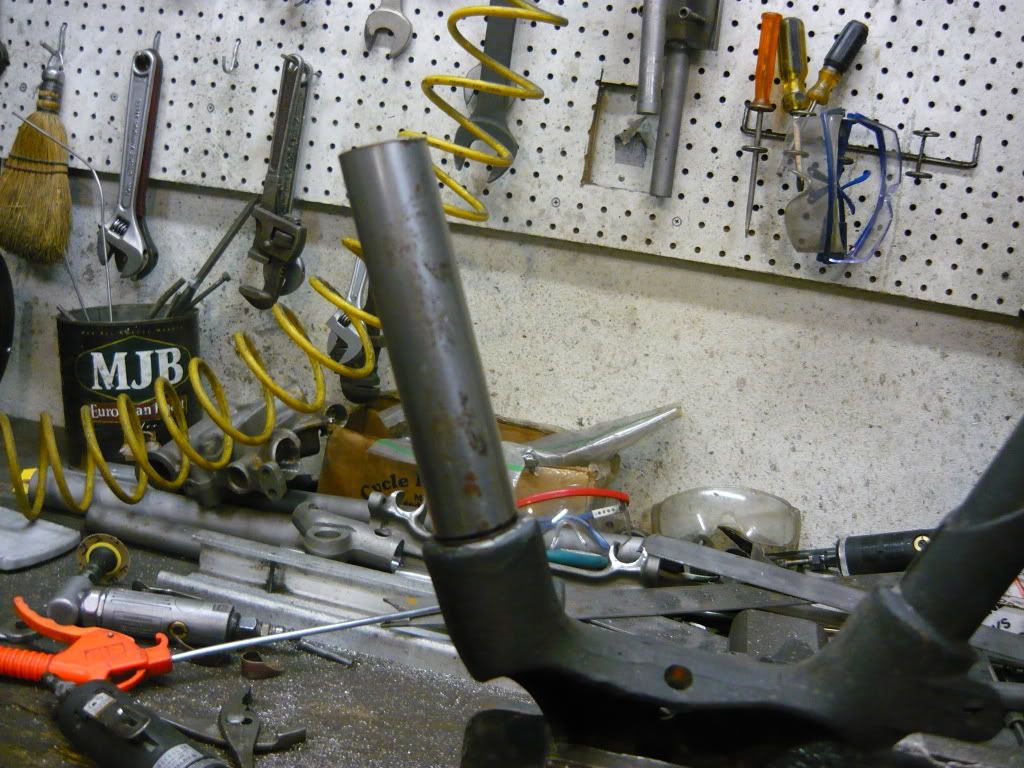
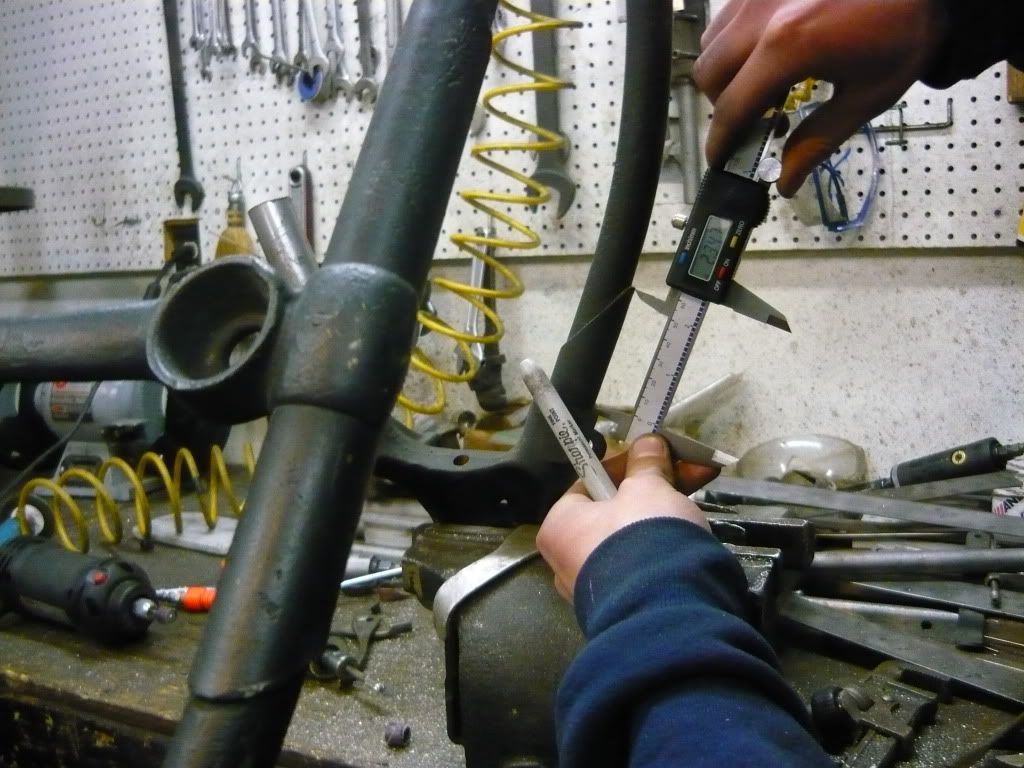
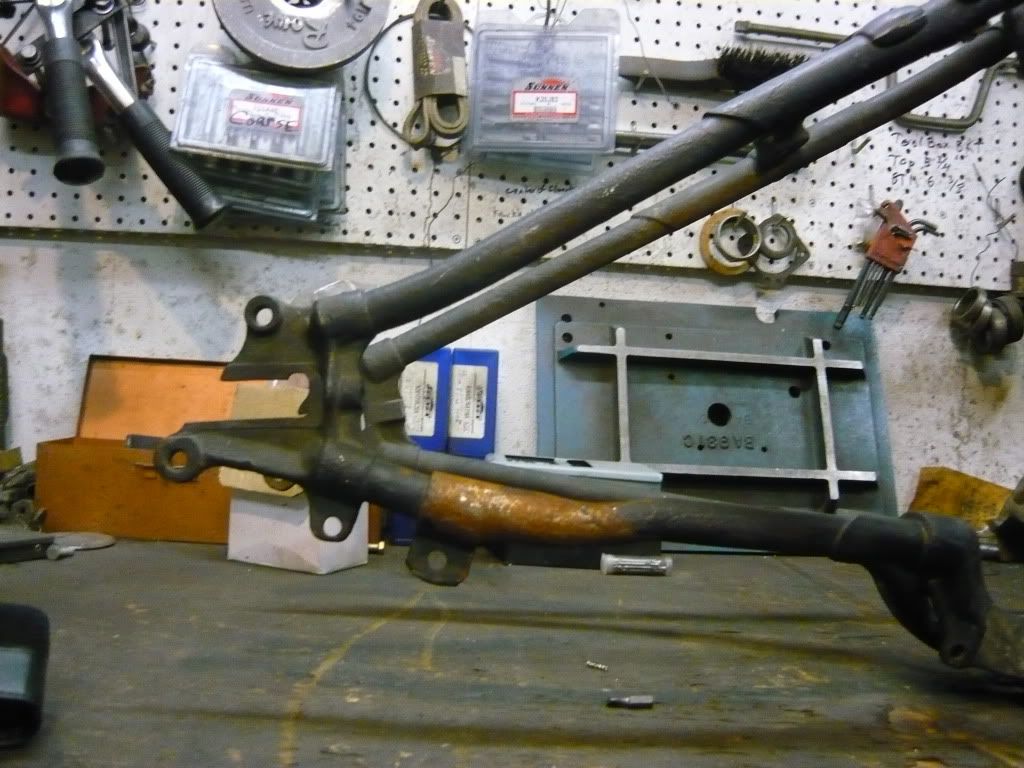
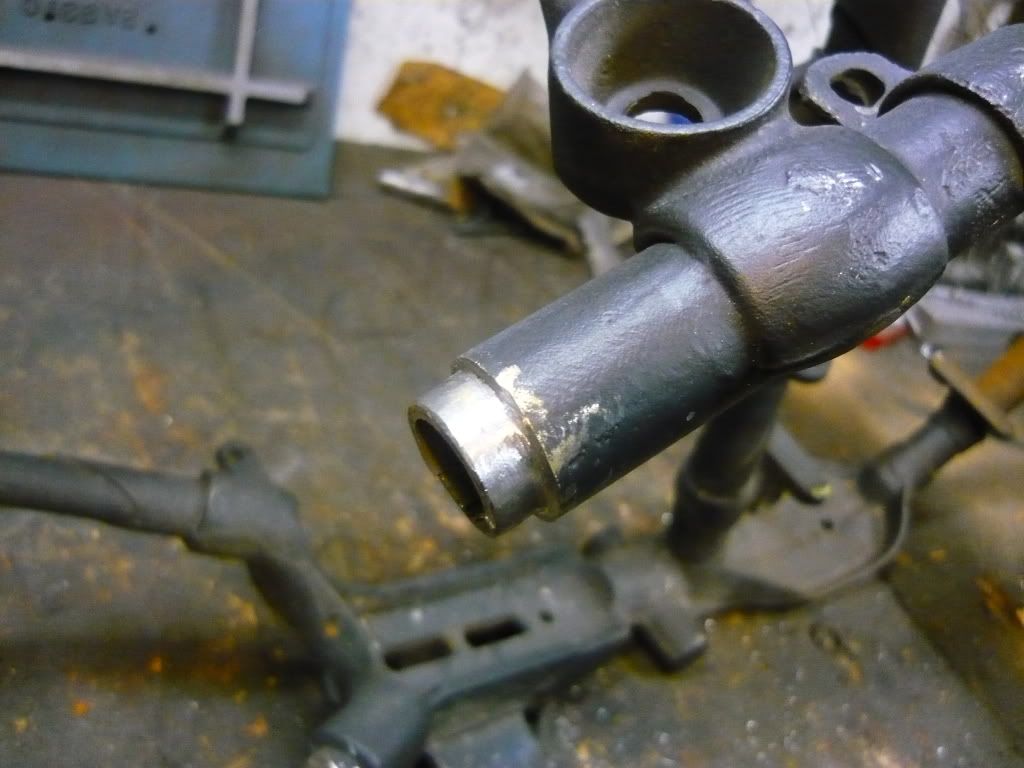
    Ryan spent the rest of the day grinding the old tubes out of the castings. In this pic you can see that the 1 inch tubing fits in the casting. This is miserable grunt work, and I am glad that Ryan did it rather than me.


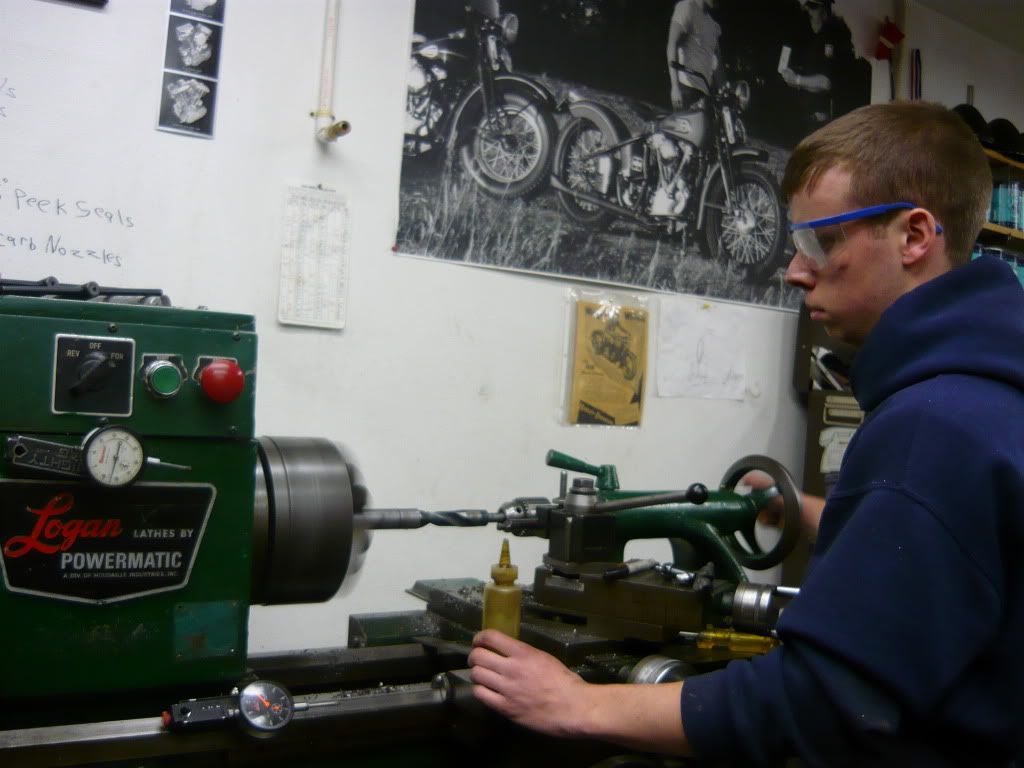
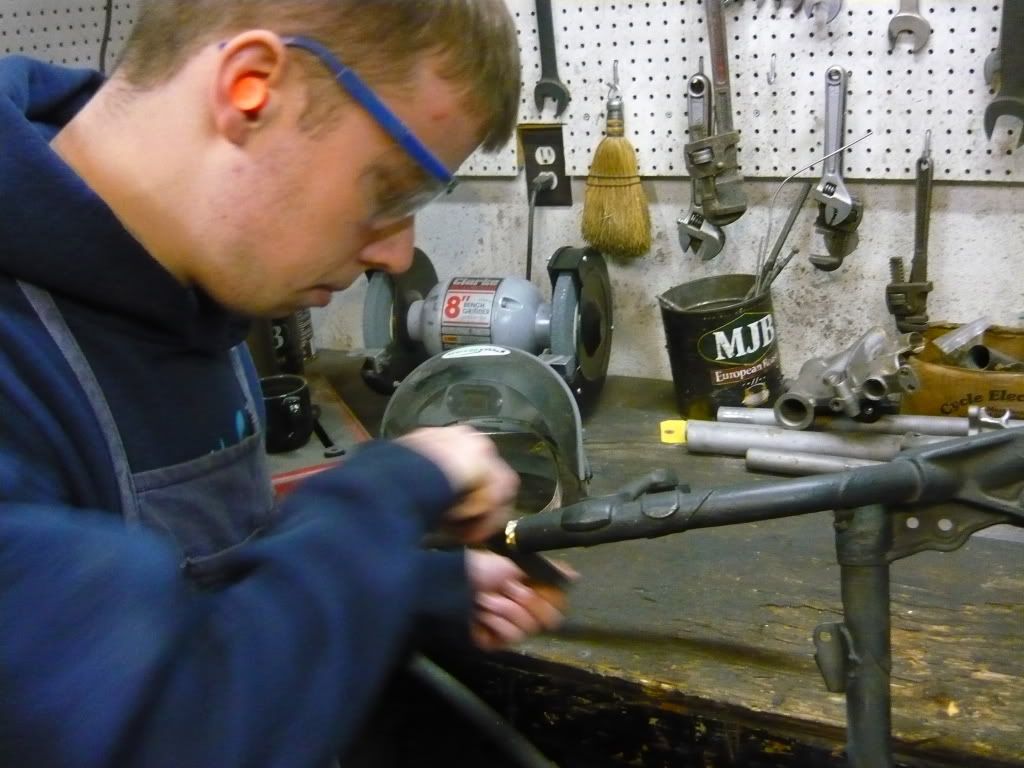
    I found some 1 inch d.o.m. tubing out back, Ryan had to drill out the i.d. Check out the glasses.


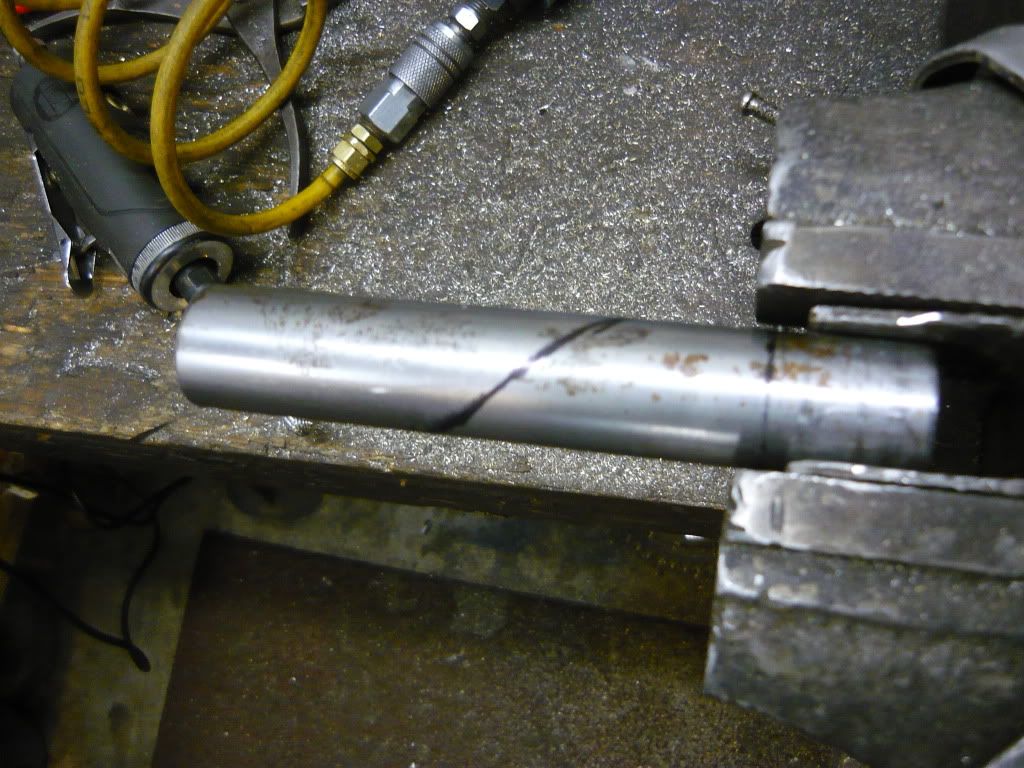
    In this pic Ryan is laying out the 60 degree slash cut for the sleeve. Our chop saw doesn't bend at 60 degrees, so we roughed it out and sanded it accordingly.


    Here is the rough line.


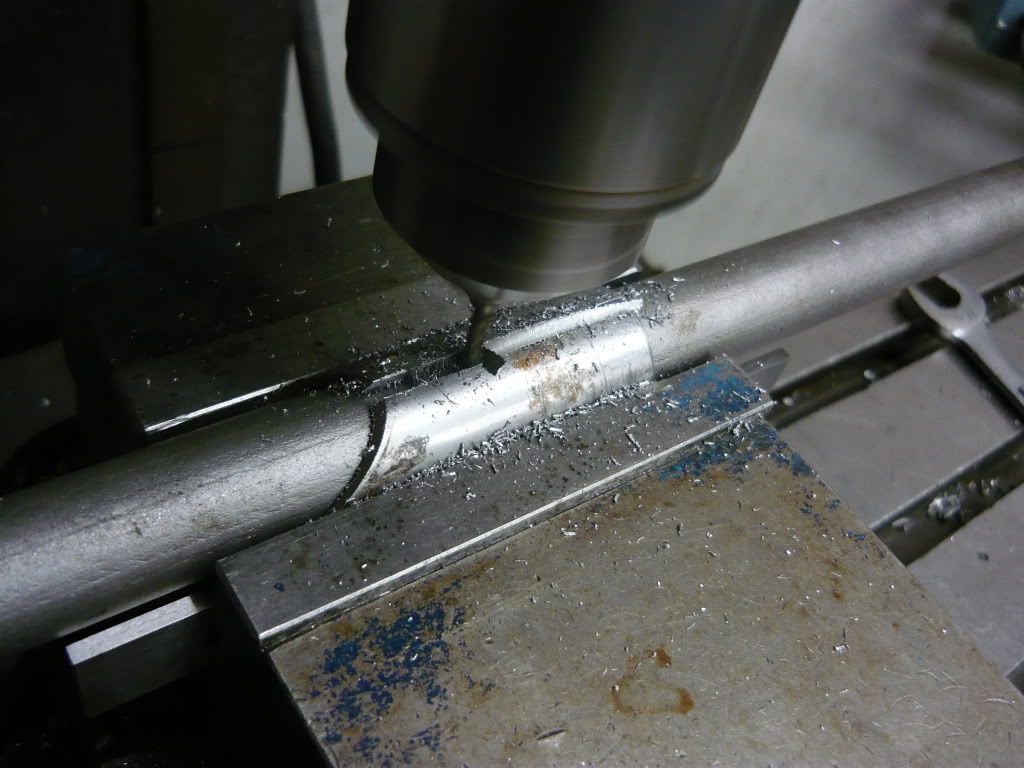
    In this pic we are milling a slot in the tube to make it look like original.


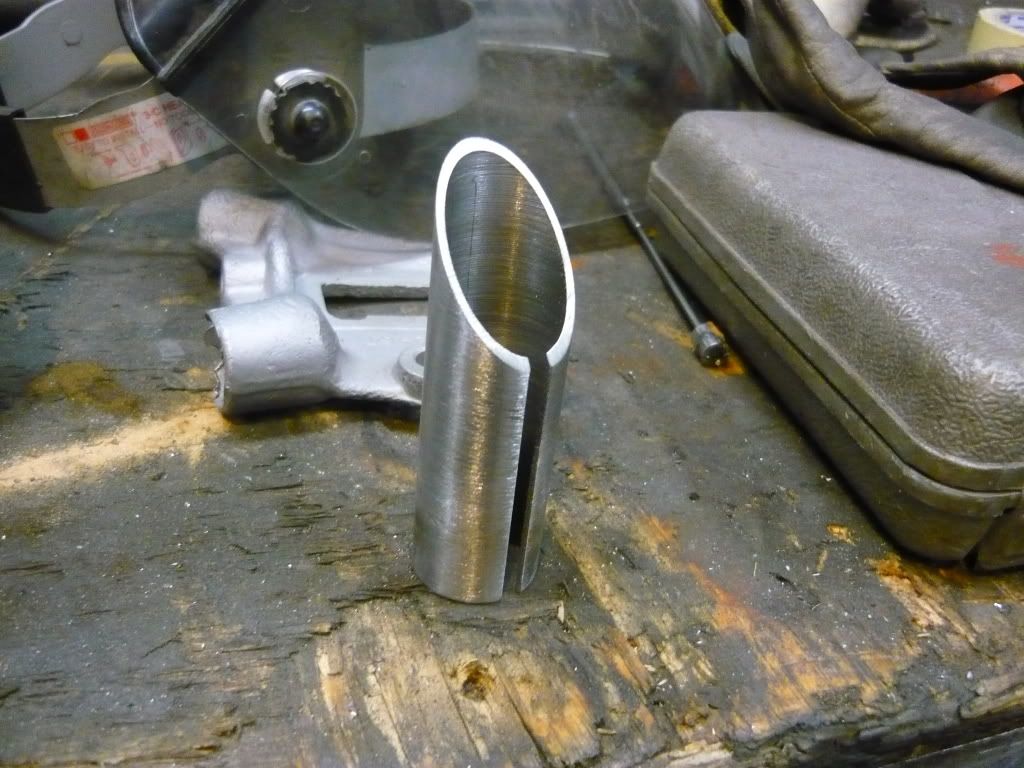
    The finished piece. We are going back out to the shop to make the top sleeve, it is basically the same deal, but the slot is twice as wide. We will keep you posted!

    Leave a comment:


  • Matthew N. Olse
    replied
    Guys,
    I am glad that this whole project became a reality. I rounded up most of the parts for the bike through the AMCA, so it makes sense that Ryan and I share the whole experience with the people that made the whole contest possible.
    best,
    Matt Olsen

    Leave a comment:


  • c.o.
    replied
    I'm with these fellas! If this is the beginning of a new trend for this forum I'm all for it. Thank-you Matt for including the rest of us in this build!

    Leave a comment:


  • Chuck#1848
    replied
    Best of both worlds!!

    It get's better each time I sign on, now I ask where can you go and learn about the early iron with Slojoe and the work required to complete his Cannon ball bike

    Then also get to learn the in's and outs of the 40's flatties with Matt

    Leave a comment:


  • Paps
    replied
    Looks like the frame repair work will be strong and true. This topic will be one of the best ever. Keep up the great work and reports Matt. Paps

    Leave a comment:


  • Matthew N. Olse
    replied
    Update!


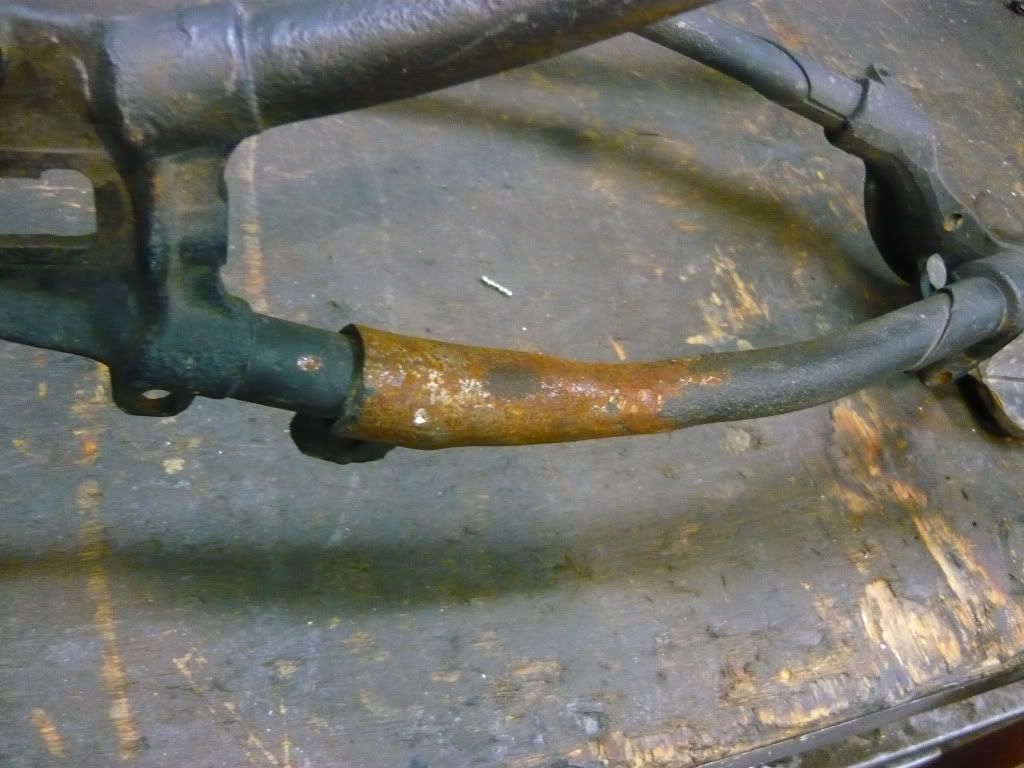
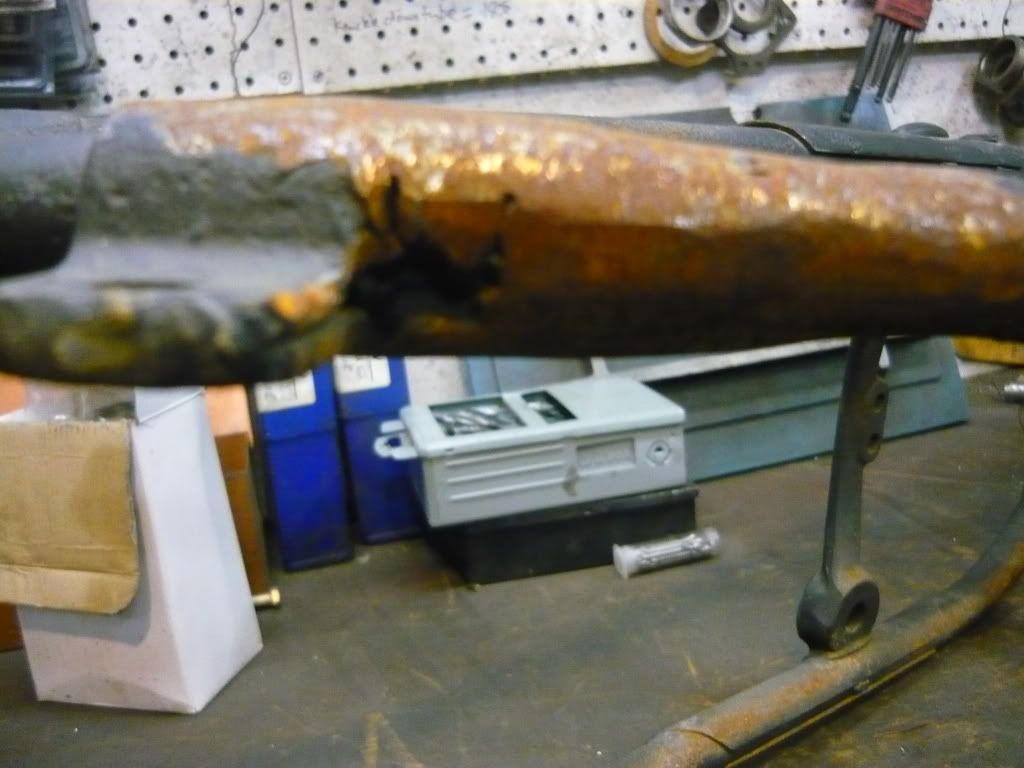
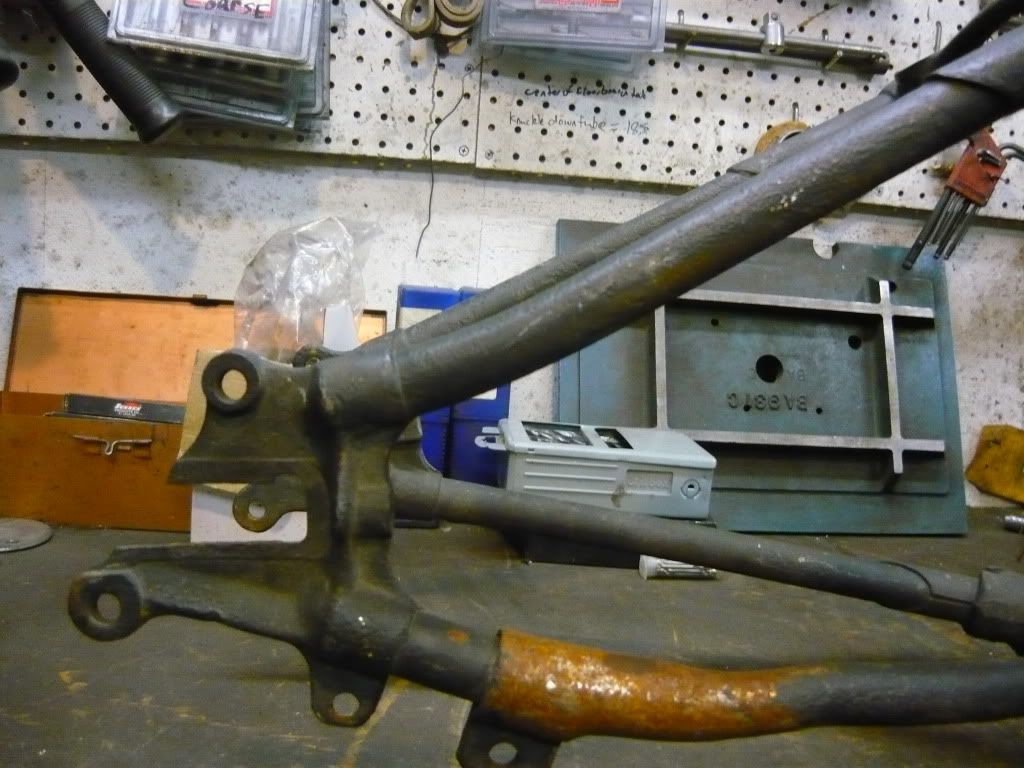
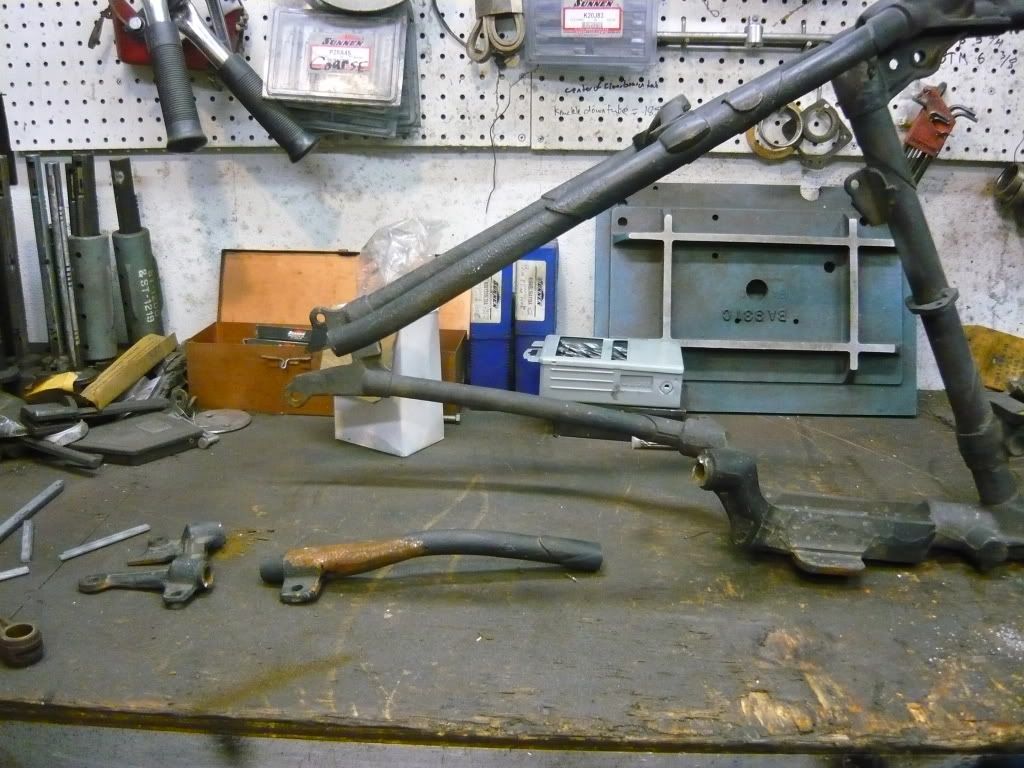
    Ryan and I noticed a big problem with his frame yesterday, the bottom tube of his right axle casting appears to have been broken and repaired at some point in its life. The top tube going into the axle casting also has some issues and is really bent.


    It doesn't look too bad from this angle.


    This is the view that kind of scared me. You can see inside the tube in this picture. We are replacing the entire bottom tube from casting to casting.


    Sight in the top tube with the straight one behind it. This is messed up. We will replace a lot of this tube too. We found some d.o.m. tubing at a supply house in the next county and shoul have the material for the repair tomorrow.


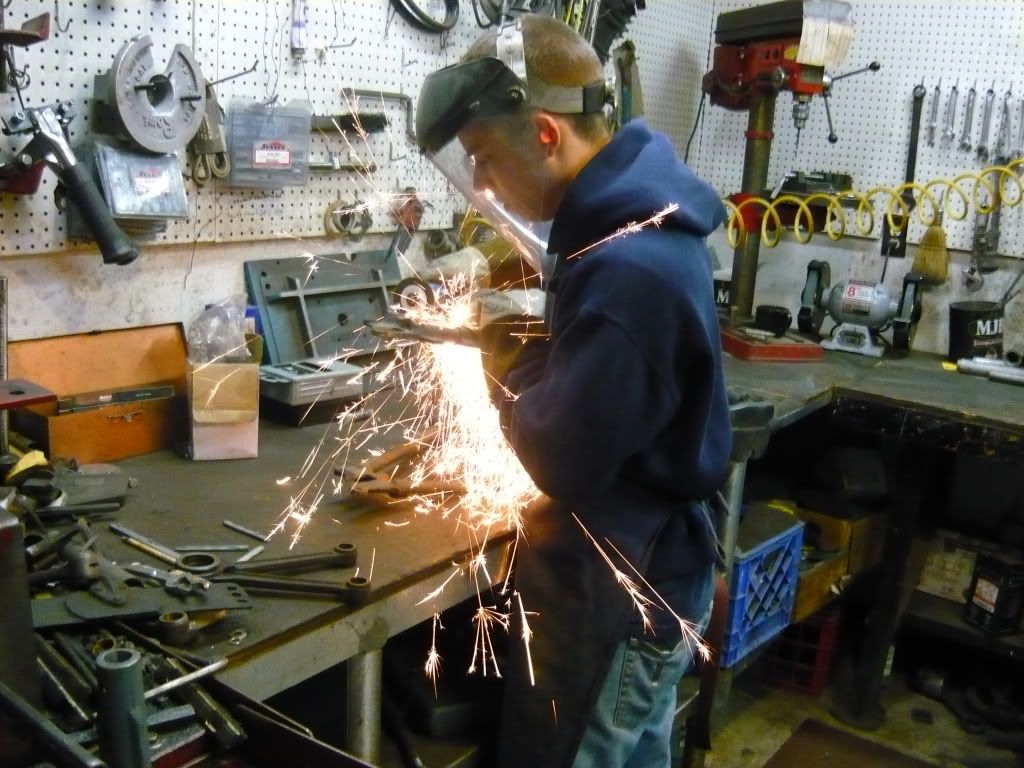
    Check out the face shield and ear plugs. Safety first


    There is no turning back now!


    Check out those stylin safety glasses. Safety is no joke in Aberdeen.


    This is where we cut the top tube. This will be a really neat and strong repair when we are done. I will keep you guys posted. Thanks for your support and Enthusiasm!

    Leave a comment:

Working...
X