 Tweet
Tweet
When I'm done using it, I've already made provisions for a 3/4" I-bolt that gets screwed in the center of the table. I then just pull over the chain fall, lift it off and on to two dolly's on the floor and under the work table it goes for safe keeping. Bob
-
I go with Rob.
If you ever cut one open you will find it's a series of laminations.
A cobber of mine has one cut open. I'll see if he will take a photo of it so I can put it up for all to seePeter Thomson, a.k.a. Tommo
A.M.C.A. # 2777
Palmerston North, New Zealand.Comment
-
It's cool that the neck thing came up because when I was working on the frame you could see a clear as day seam running up the back of the neck casting. Seams like a lot of work for the motor company to go through but then again just look at the way they made the handlebars. BobComment
-
i was told they got stamped like a butterfly then the 2 halves folded together.rob ronky #10507
www.diamondhorsevalley.comComment
-
I've been working on my 1916 frame today, and I noticed the same thing about the frame head. It is obviously not a forging and being laminated makes sense. I've said it before, and I'll say it again; I think the J series of Harley-Davidsons are by far the most interesting of all H-Ds. I think H-D was at a point in their development that they were able, and had the will to make components far better than they needed to be. I also think Indian had the same culture of quality under Hedstrom.Eric Smith
AMCA #886Comment
-
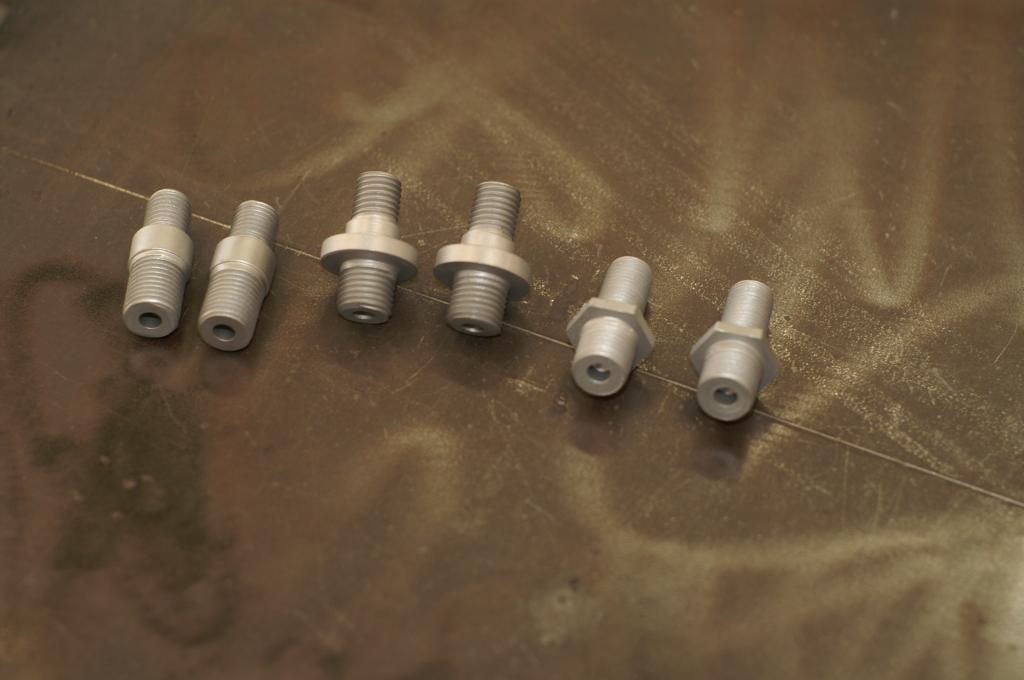
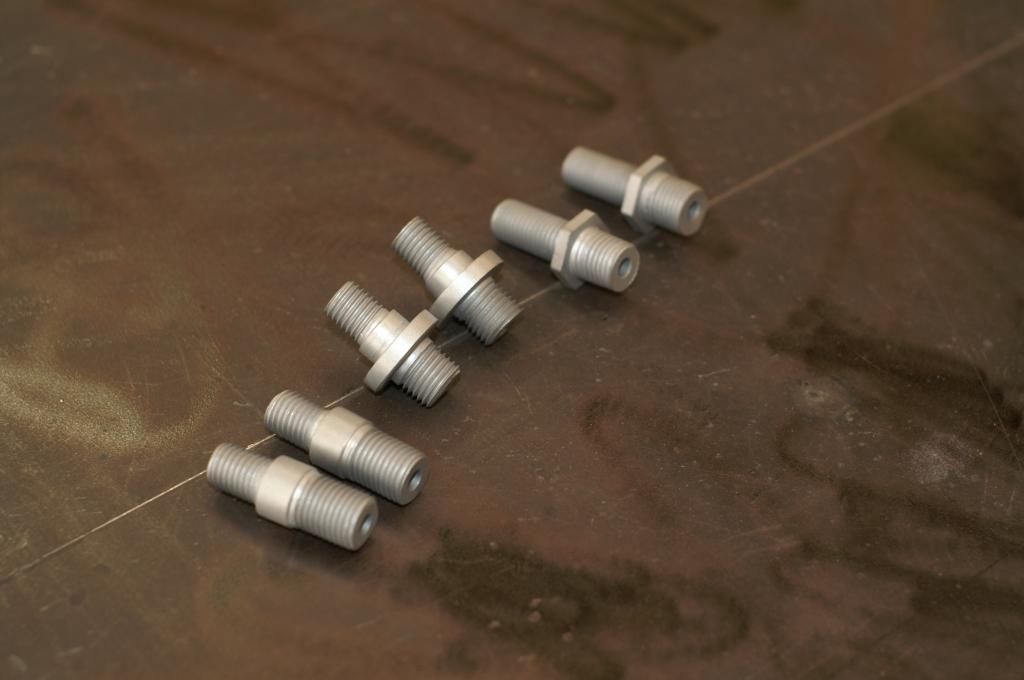
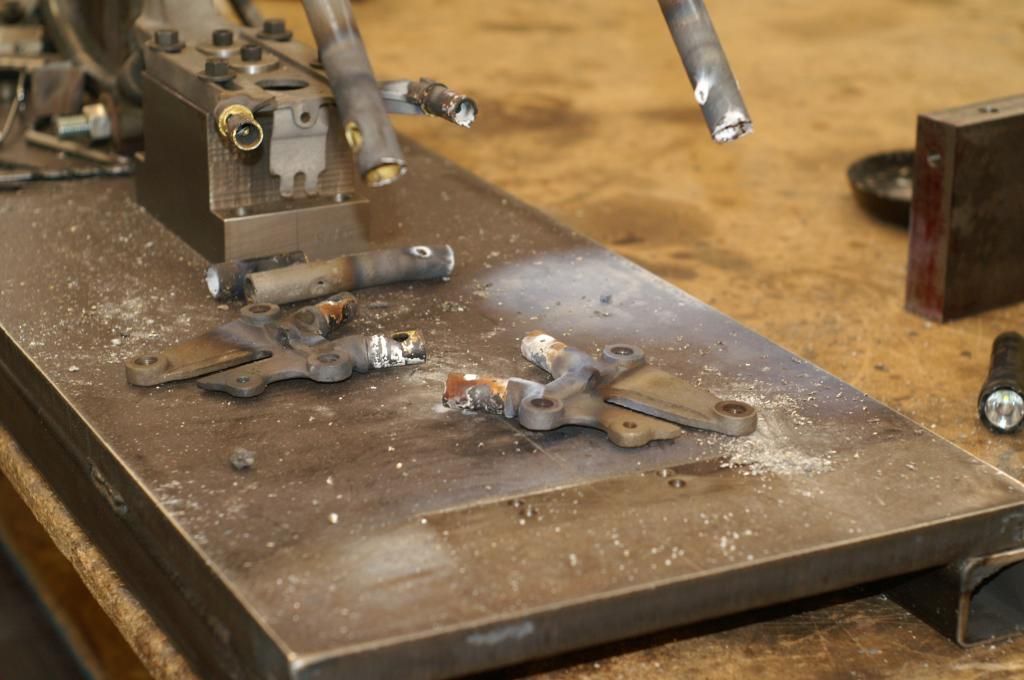
Well folks I wasn’t going to keep ya waiting like the Walking Dead . The first step is to make the studs for the axle carrier plates but the standard threads were way to loose in the plates, so the next plan was to remove the axle plates and fit them to the studs while they were still in the lathe. (For the readers here that are not familiar with making threads in a lathe once I start a thread if I remove the stud you’re screwed. I will never be able to time the cutting tool to pick up the thread were I left off to do another pass. It has to stay put where it is until it’s done. There are some tricks around this but I was in no mood to throw work in the scrap can). So with every pass I would screw the axle carrier on until I got them where I wanted them. The originals were riveted in the rear with an orbital riveter using what I call a spur spreader. I faked it. I tig welded them very lightly and then kissed them with a �” mill end, giving them the original look. You can see this in the picture with the axle carriers locked back in the jig. I also tiged up the axle adjuster screw holes, drilled and retapped.
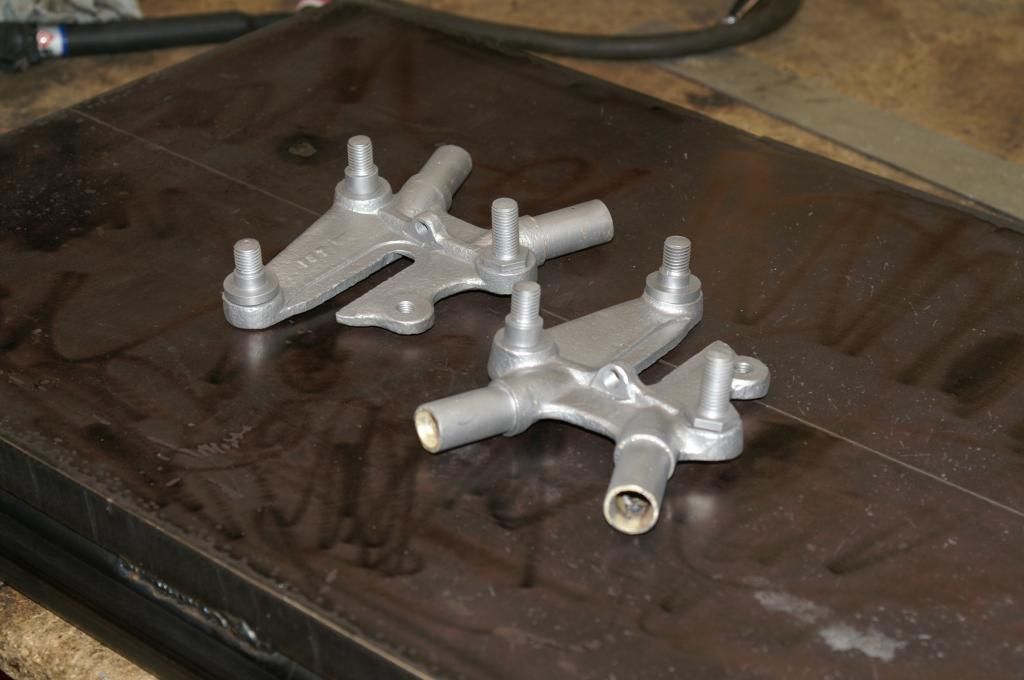
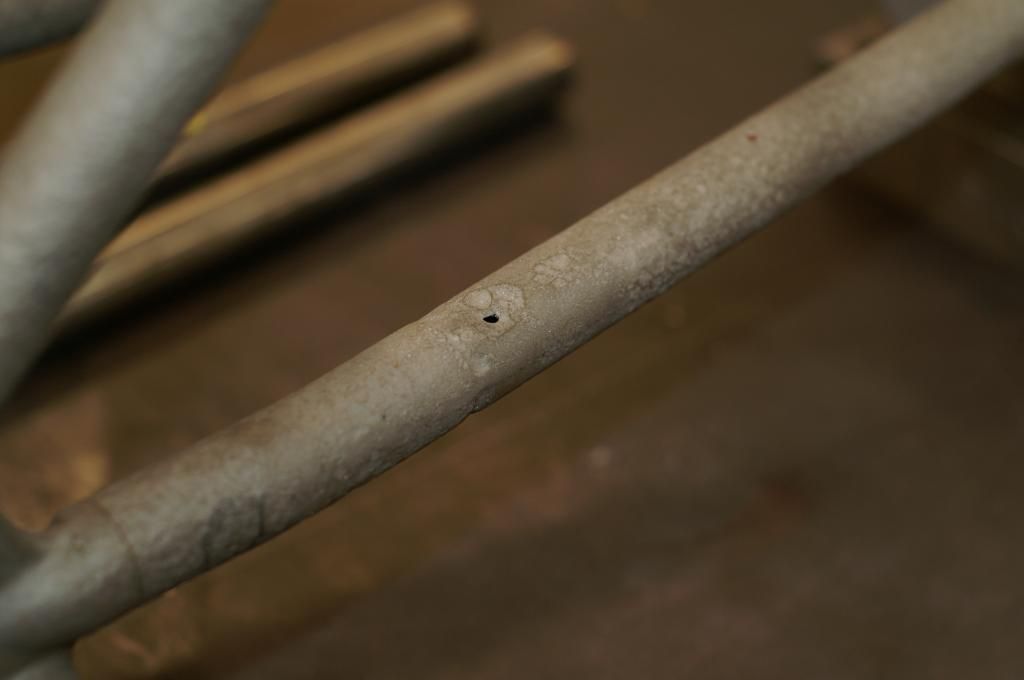
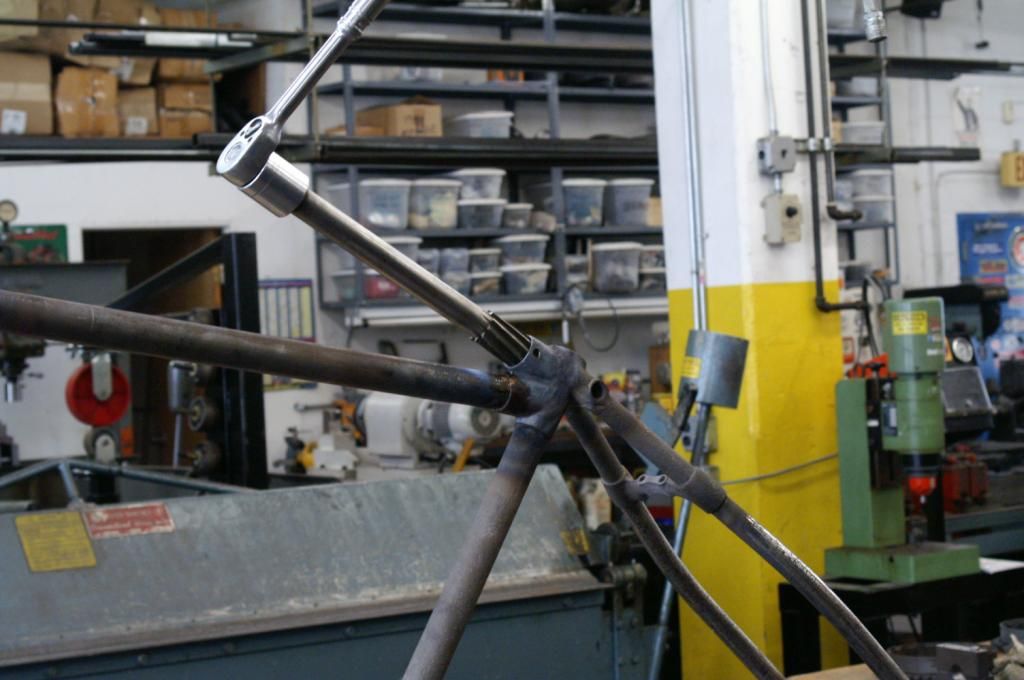
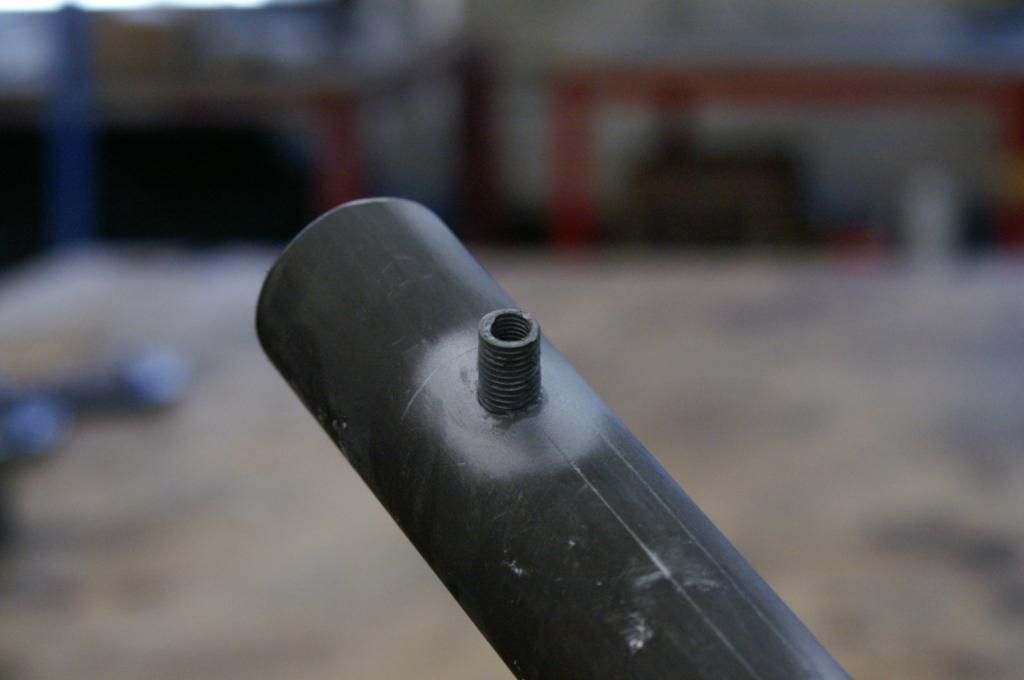
The lower rear tubes were toast. I chose tubing that was much thicker than original, now all I got to do is bend them. I have four tubing benders in my facility, one of them CNC. No matter what I did with the tooling I had on hand I could not get that little kink like the original. Pissed off, I went to wash my hands and head for the office. Just as I turned around I spotted the Holy Grail, a rack of EMT benders. Down and dirty I had the job done in ten minutes. I mean perfect! Now the mistake, in all my glory with the bender I forgot to put the tubes in the lathe and bore them out to fit the frame castings. So it was back to the lathe to make an indexing plug for the mill. As in the picture I just put the tubes in the mill vice and adjusted the head until the indexer plug slides in and out freely and then put in a drill/mill bit and bore them out. This machining thing never ends with this frame as you will see as this goes on. I lost count of the man hours I put in making jigs for this albatross. After getting the tubes on and the axle carriers in (they just don’t fit in, It took a whack or two with a 4X4 to convince them where I wanted them to go). I used the holes that were drilled to get the original assembly pins out to plug weld everything in place and then brazed them up. A little note about the factory assembly pins. These were drilled and inserted any way the frame man wanted. I mean at all angles, Not one was like the last. Next week I’ll tackle the muffler brackets. Bob L
 Last edited by Robert Luland; 12-07-2014, 03:07 PM.
Comment
-
-
-
Nice work Bob.I really enjoy these in depth build threads of early bikes.INSPIRING!Thanx for posting,
RogerComment
-
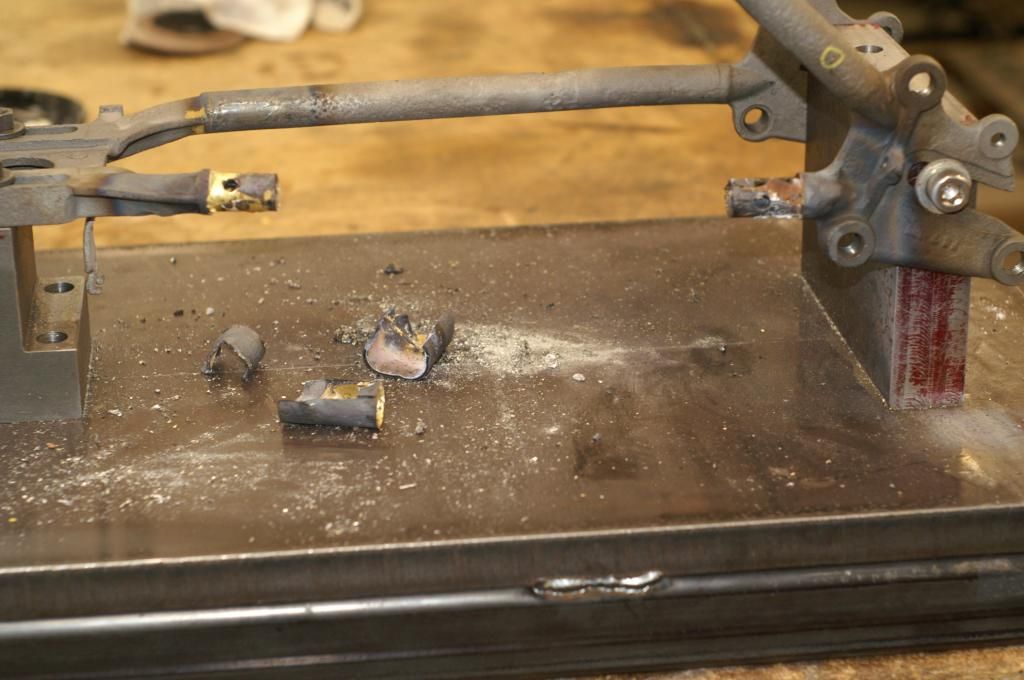
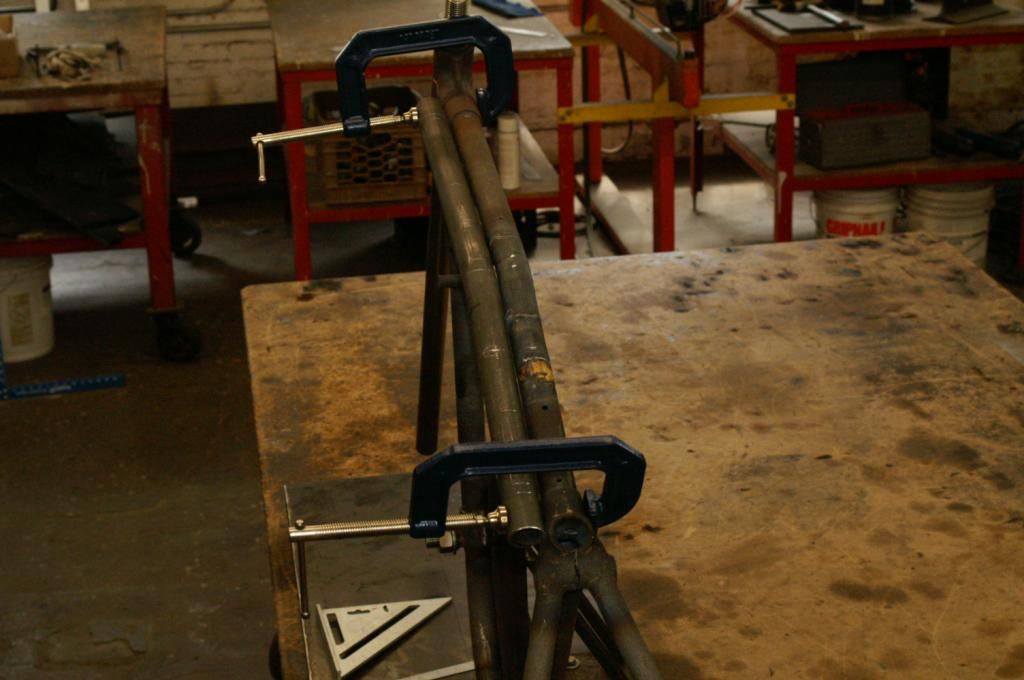
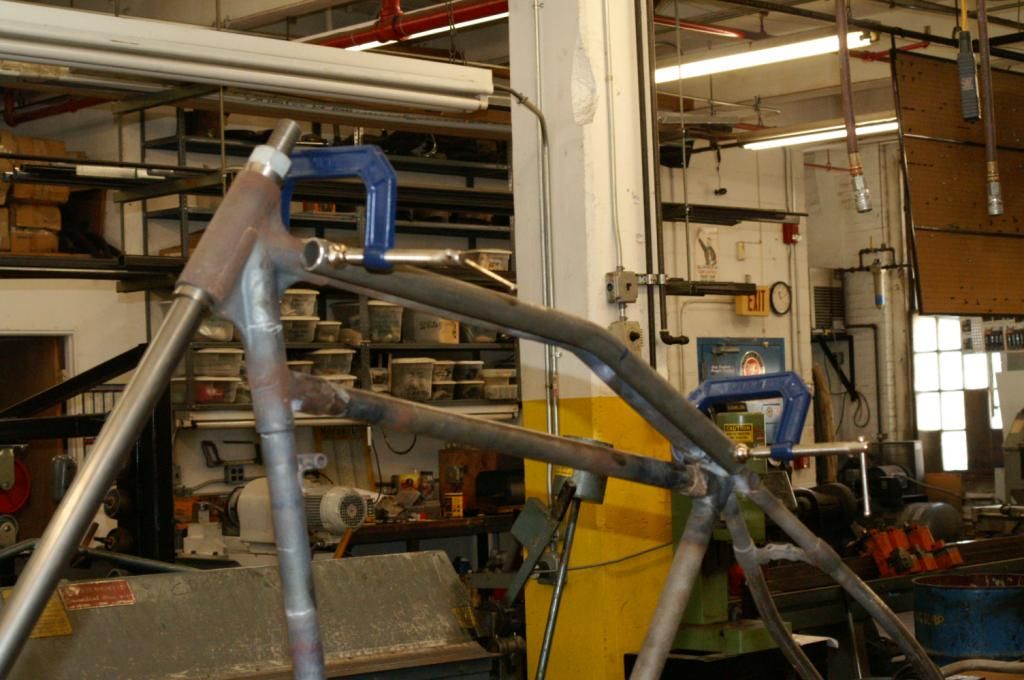
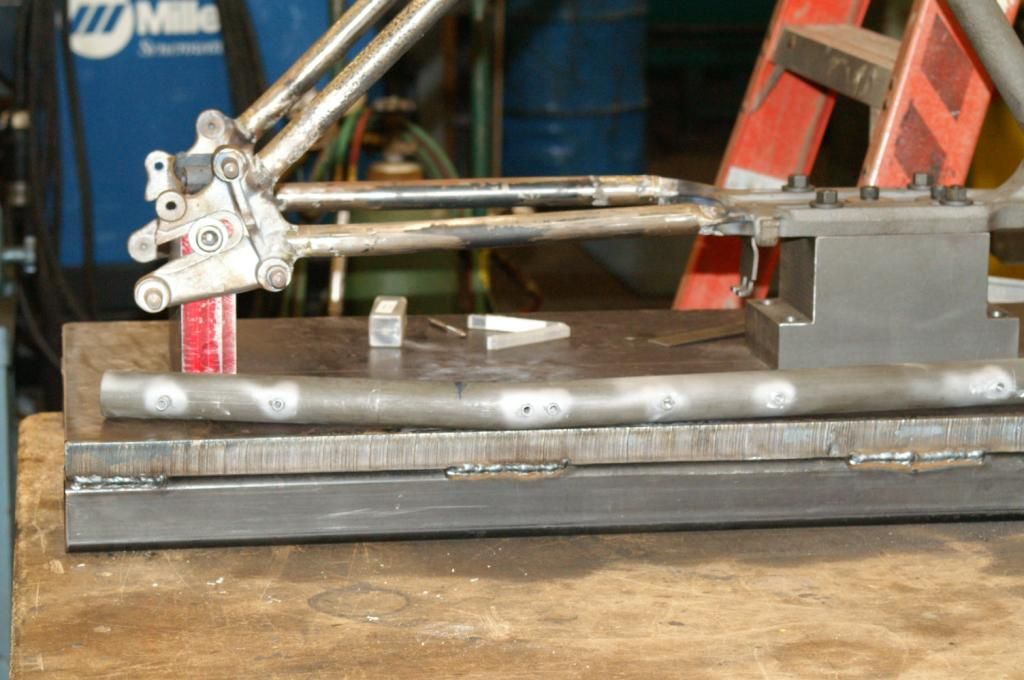
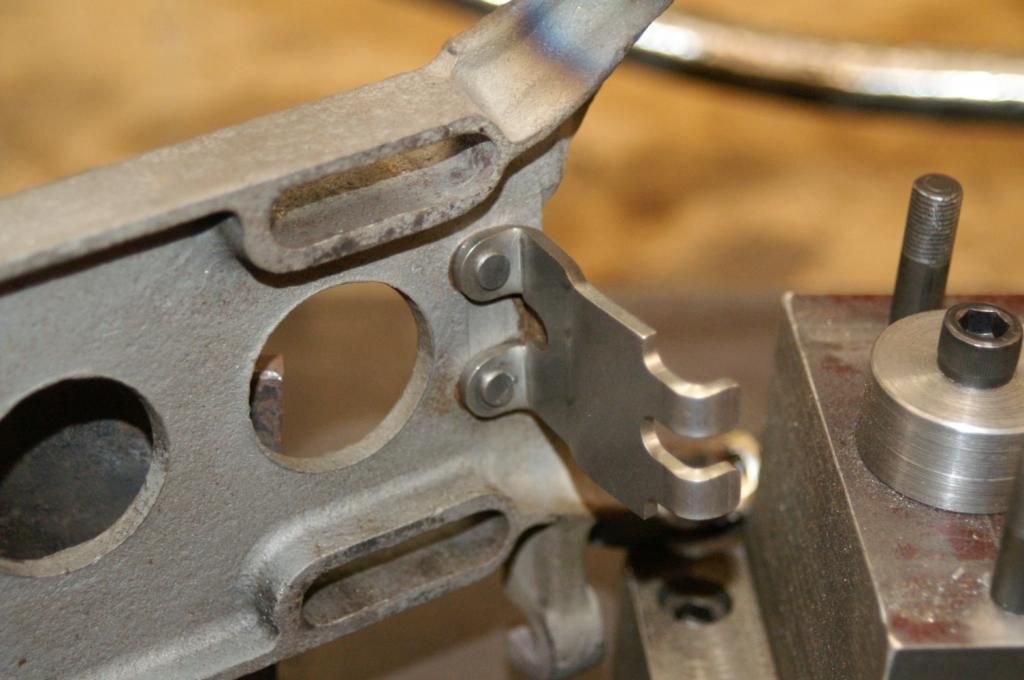
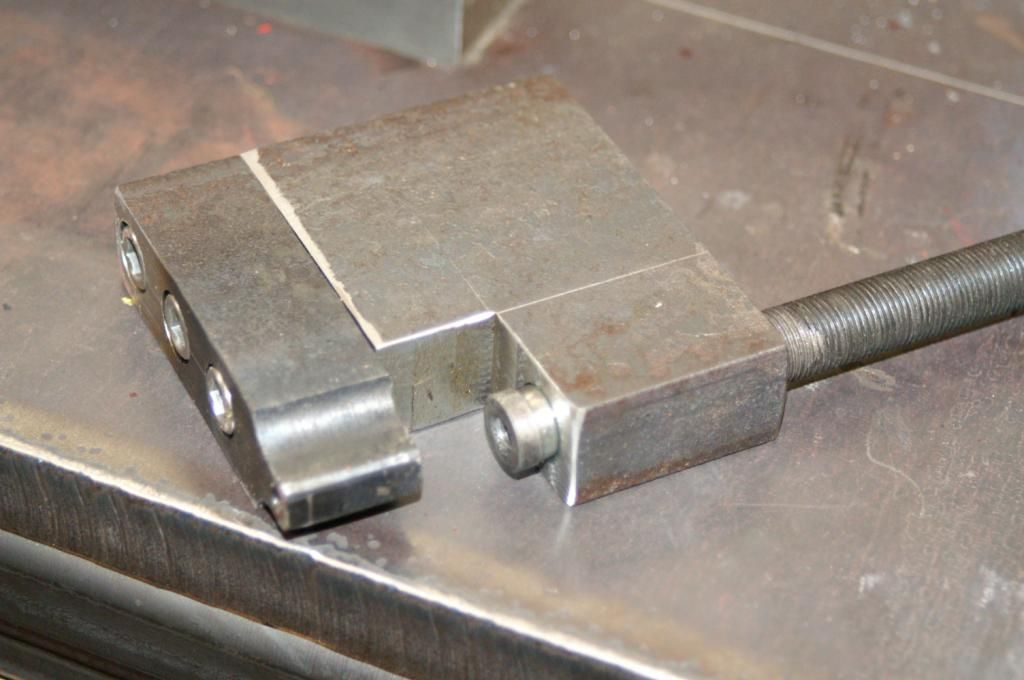
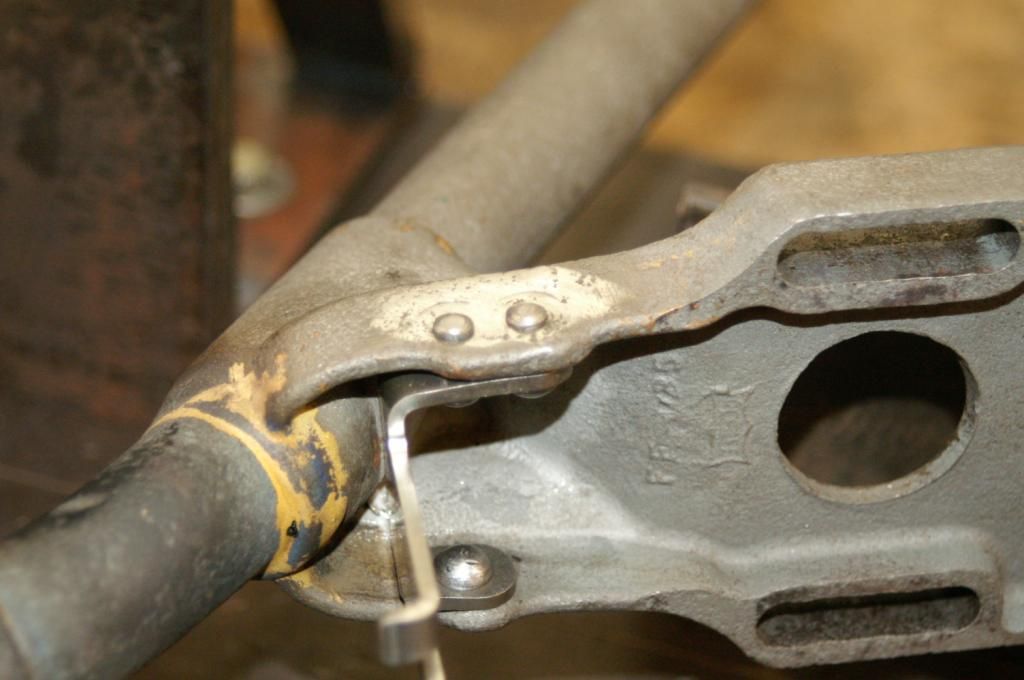
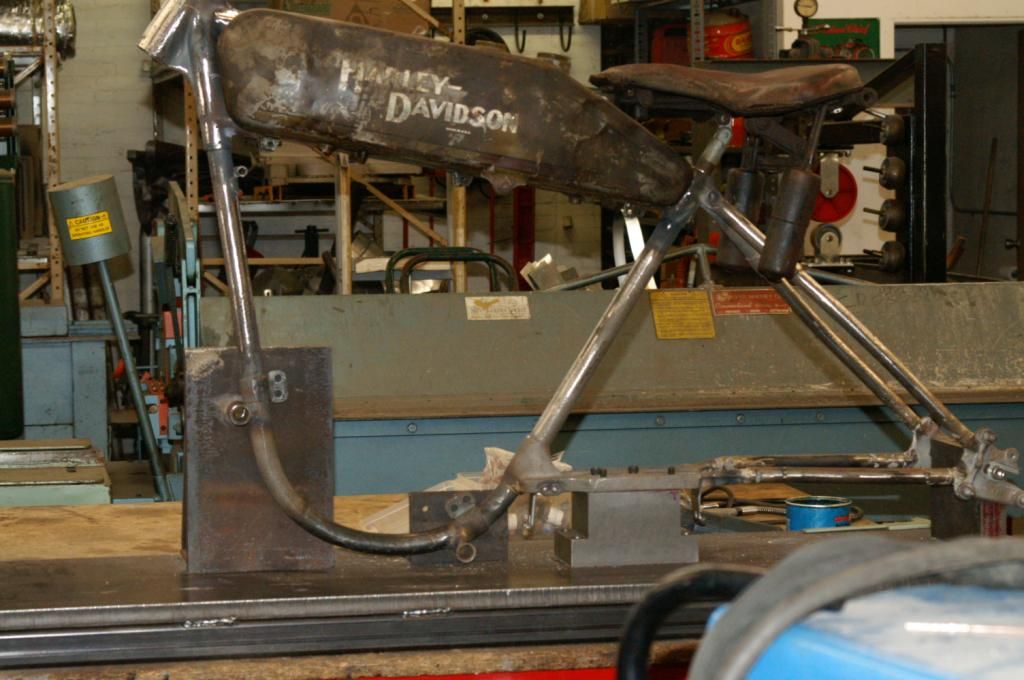
Good rainy afternoon Lads, Sitting here bored out of my mind watching Georgie Girl on the tube and knew immediately that I had to find something else to do. The film was a loser 50 years ago and nothing changed so it’s time for my next installment of the little motorcycle that could. We left off in the last post with our hero finishing the rear axle carriers. Today we tackle the backbone and muffler hanger brackets. A lot of thought has gone into this frame and a lot of change if I found anything that would work better than the factory did. My only hope is that someone here can benefit from these posts. The backbone was slightly bent and I couldn’t straighten it after a multitude of tries. So if I got to replace it I might as well fix everything the factory didn’t. The first thing was to solve the gas tank striped thread thing. I machined screw in bushings and brazed them in. I figured that I need to make new bolts anyway so I tapped them #12-24 instead of the Harley bastard thread. I included a picture of my socket reamer that I talked about in an earlier post. Like I said, I could have made it shorter by about 10 inches but in the end it worked. I installed the backbone the same way as the motor mount tube, trapdoor style. I got tired of screwing with the tubes and moved onto the muffler hangers. The rear one is easy pick’ens but the front was going to be a pain in the ass. I couldn’t get a bucking bar into the tight space on the back of the tranny plate so it was off to the mill to make more jigs and tools. I cheated here and borrowed the screw from one of my OTC gear pullers. In the end folks I developed the JD super rivet squisher. I included a picture of me playing mock up. Till the next time, Bob L
 952.photobucket.com/albums/ae1/RobertLuland/Gastankscrewbushing1_zps9da06f05.jpg[/IMG]
 Last edited by Robert Luland; 01-18-2015, 03:22 PM.
Comment
-
"Overkill" is awesome!!! As always Bob... nice work!!!Cory Othen
Membership#10953Comment


Comment