Carl's Cycle Supply accessory sticker
and the next sticker available from Carl's Cycle Supply should say something like "Come Out & Play....Ride a WLA"
But he better ask Todd first about using that picture
oh, I forgot to mention that the girl on the WL has your muffler, you should ask her where she got it.....
-
Cool(?) looking muffler
Ryan, if that muffler was really cool it would be on one of Carl's bikes, believe me. It belongs on a hard-tail Triumph chopper with "Z" bars and a coffin shaped gas tank, not on a WLA Bobber.Originally posted by Ryan Mackey View Post
I agree with Rick, throw it back in Carl's junk pile and find something round that matches the rest of your bike.
jmho
mikeLeave a comment:
-
Ryan, you asked for opinions on the muffler. To me, a square or diamond shaped muffler would work if you had square wheels. I mean, it's like a square headlight. (square ) Why use it ? Just to be different ? Traditional bobber should be traditional. (IMO) It's your call but that's just my opinion.
Great job so far. ...RickLeave a comment:
-
No he hasn't yet. I will have to ask him tomorrow.Originally posted by jwl View Post
Well it was a long day and we got a lot accomplished. First I am going to need your opinions. We started on the exhaust today and I found this really cool looking muffler in Carl's stash that I want to use. My question to you guys is should I run a square muffler?...
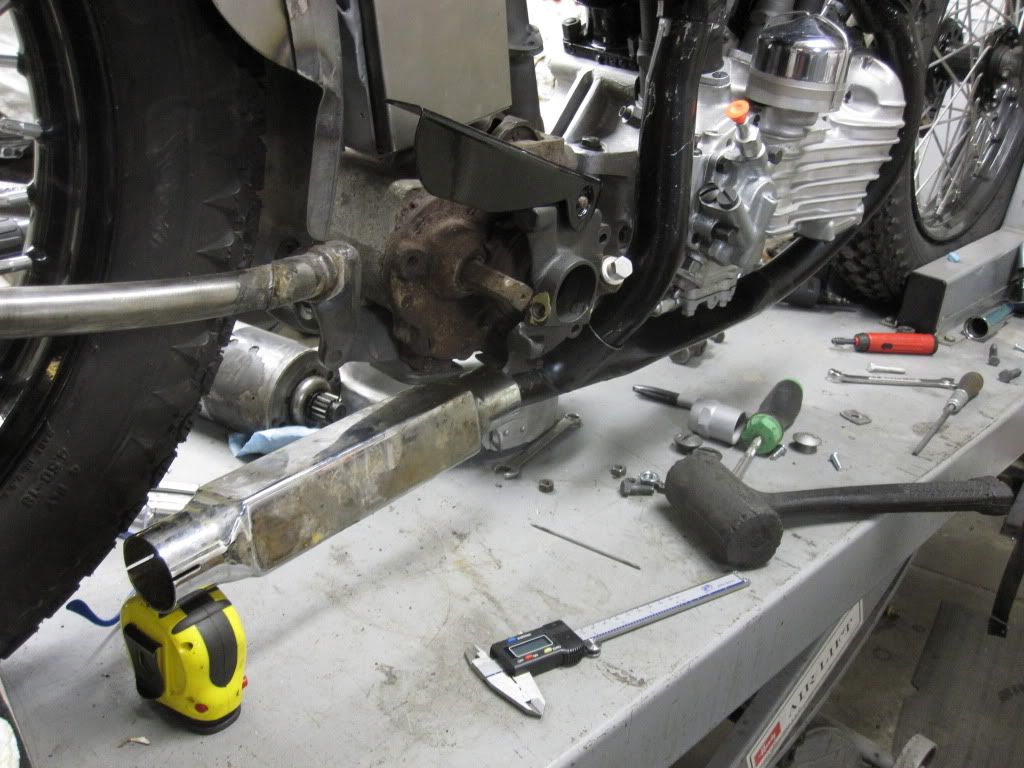
Or a diamond muffler?
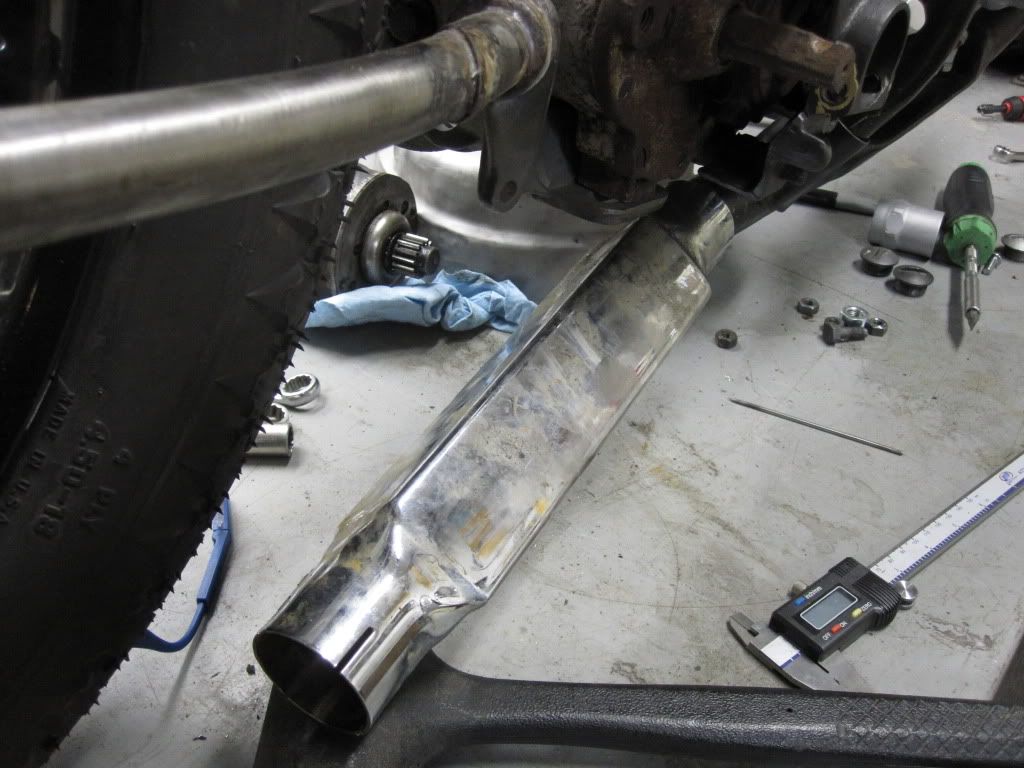
All opinions would be greatly appreciated. I would hate to pick the wrong one and totally ruin the whole look of the bike.
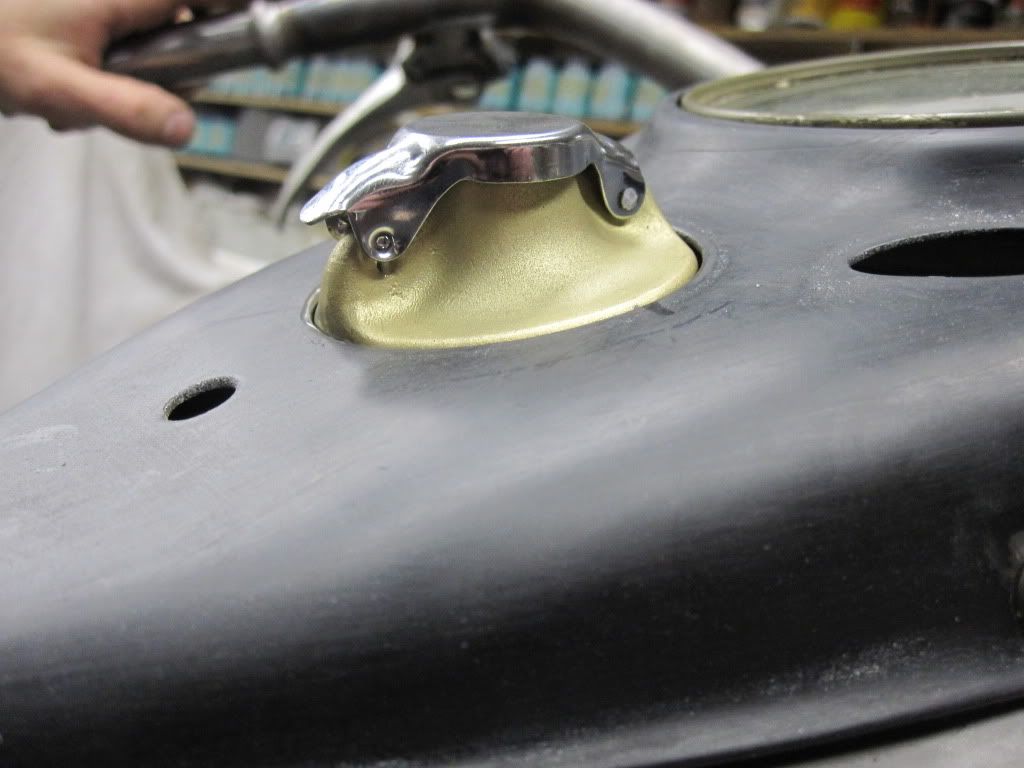
After I spent a lot of time thinking about that I worked on the switch. It sat to high on the dash and was also not parallel with it.
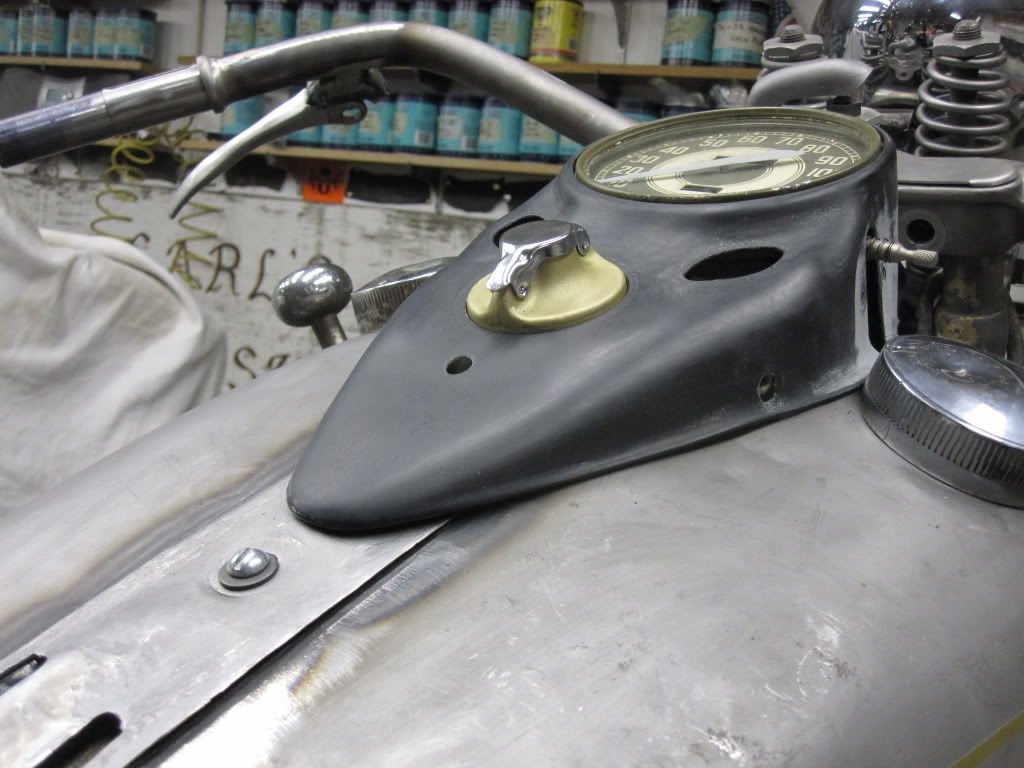
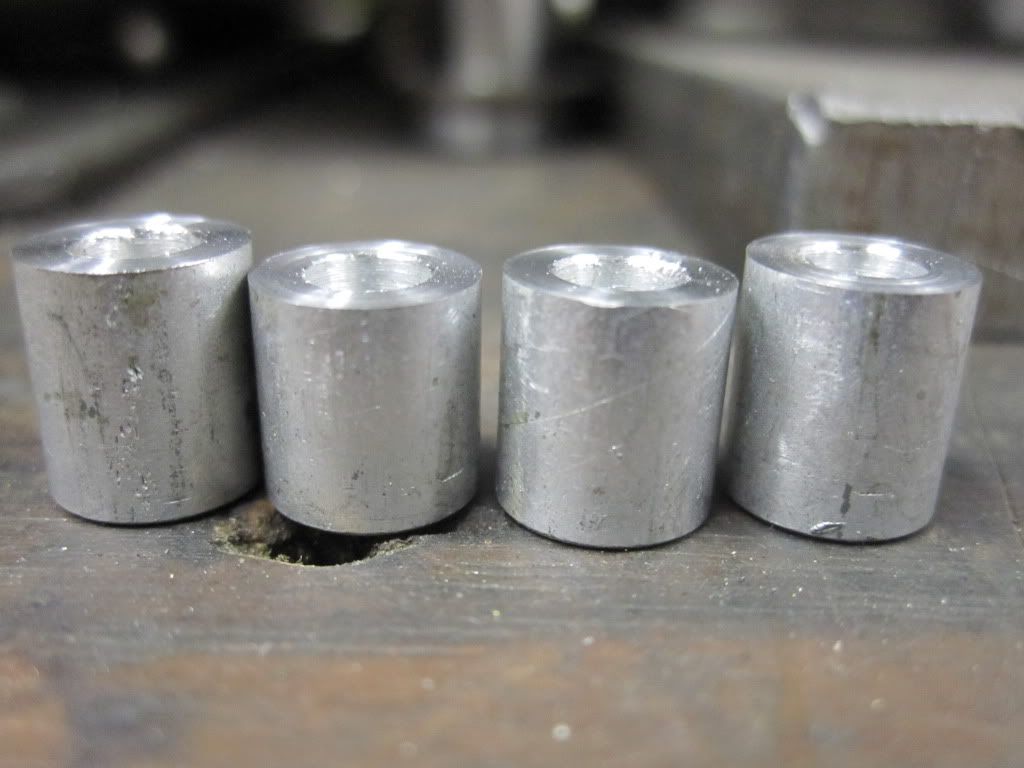
So I chucked the spacers up in the lathe and faced them so that it would fit flush with the dash all the way around. Here were the spacers after they were done on the lathe.
And here is how it sits now.
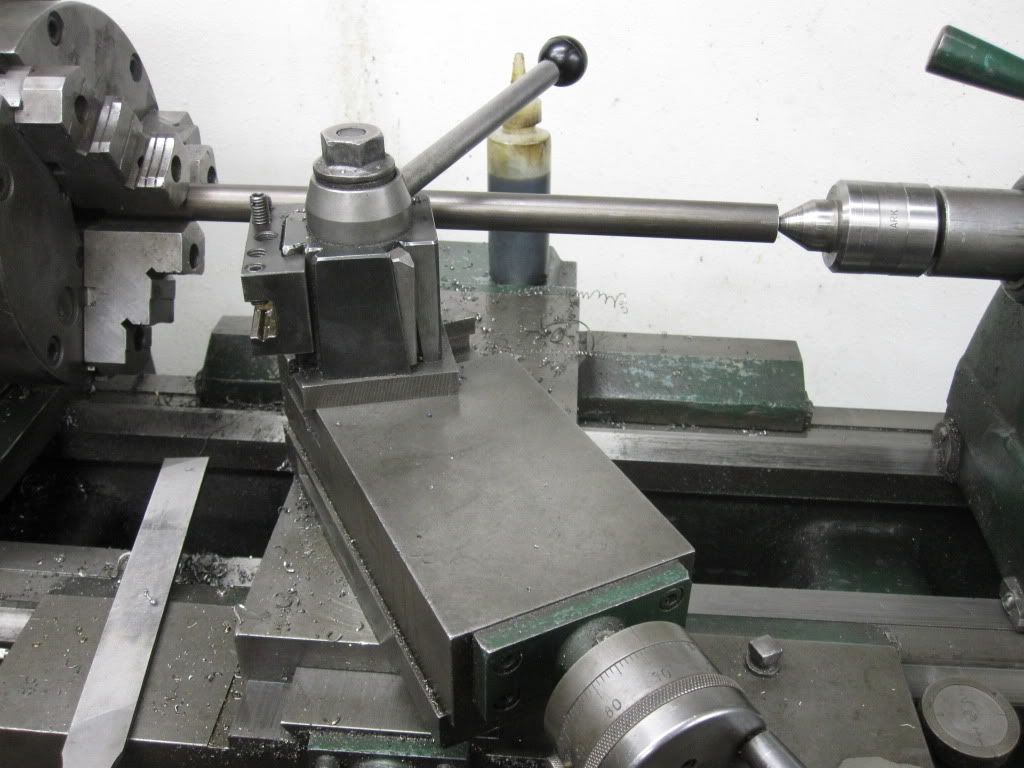
Tonight was really productive. I worked on making the crossover shaft that the foot pegs and brake will mount on. The left side will be the same as stock but the right will have to be modified. Here is the round stock that I started with in the lathe ready to be made into something.
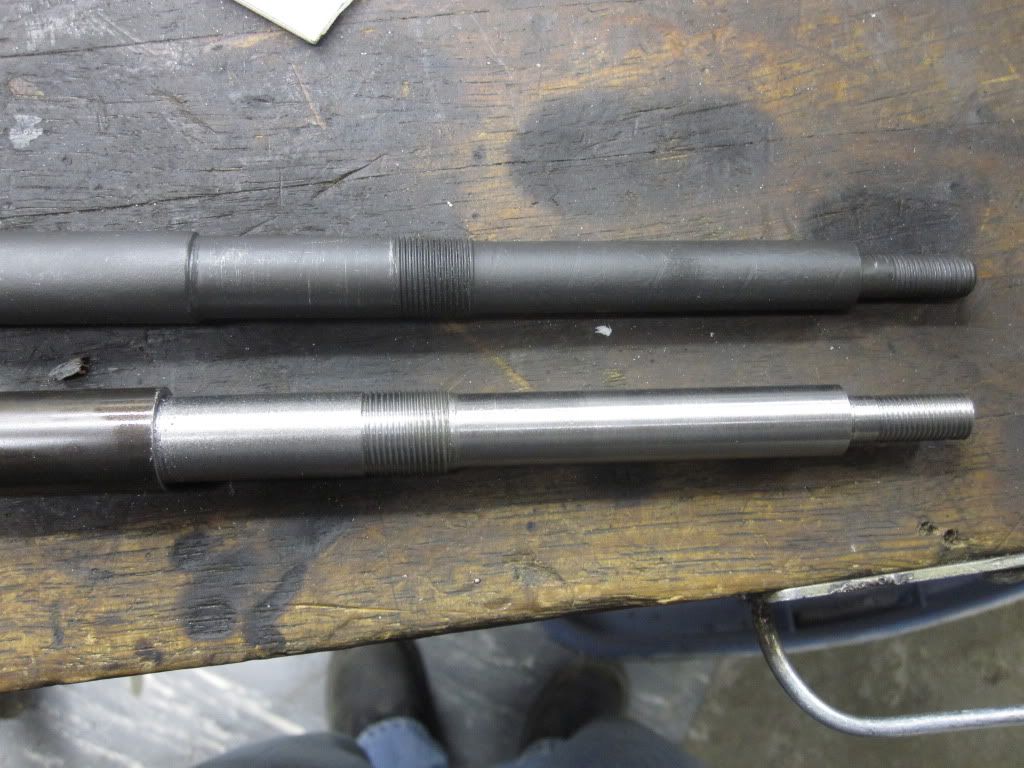
And here it is after I turned it down and put some threads on it. The stock one is on top.
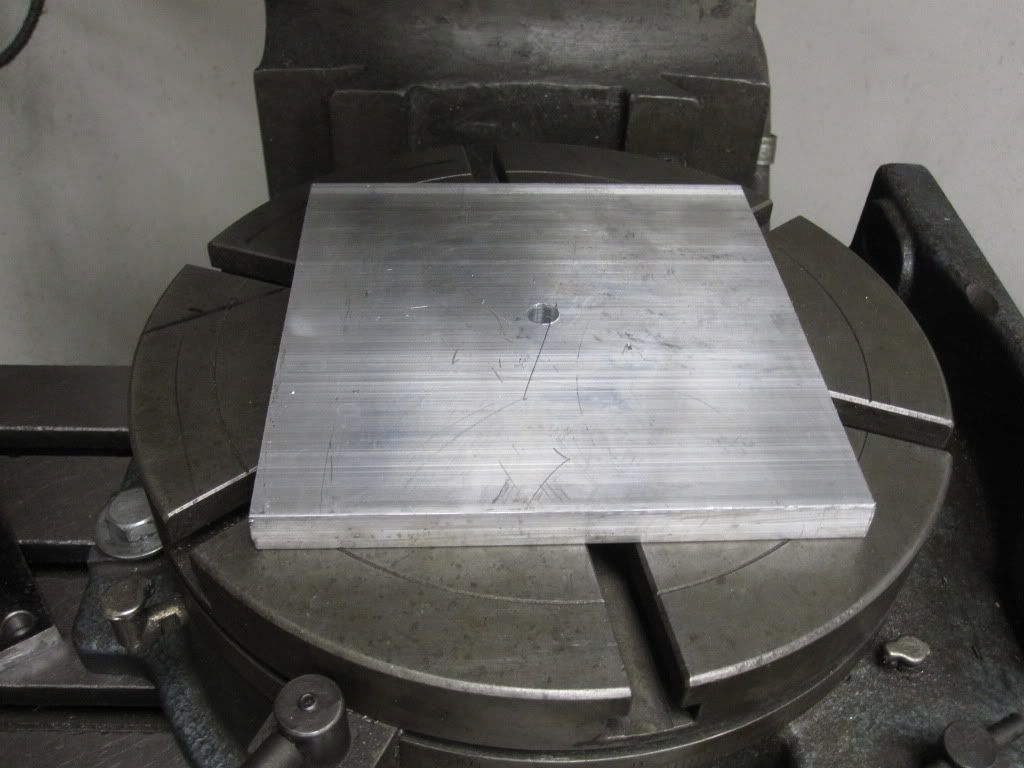
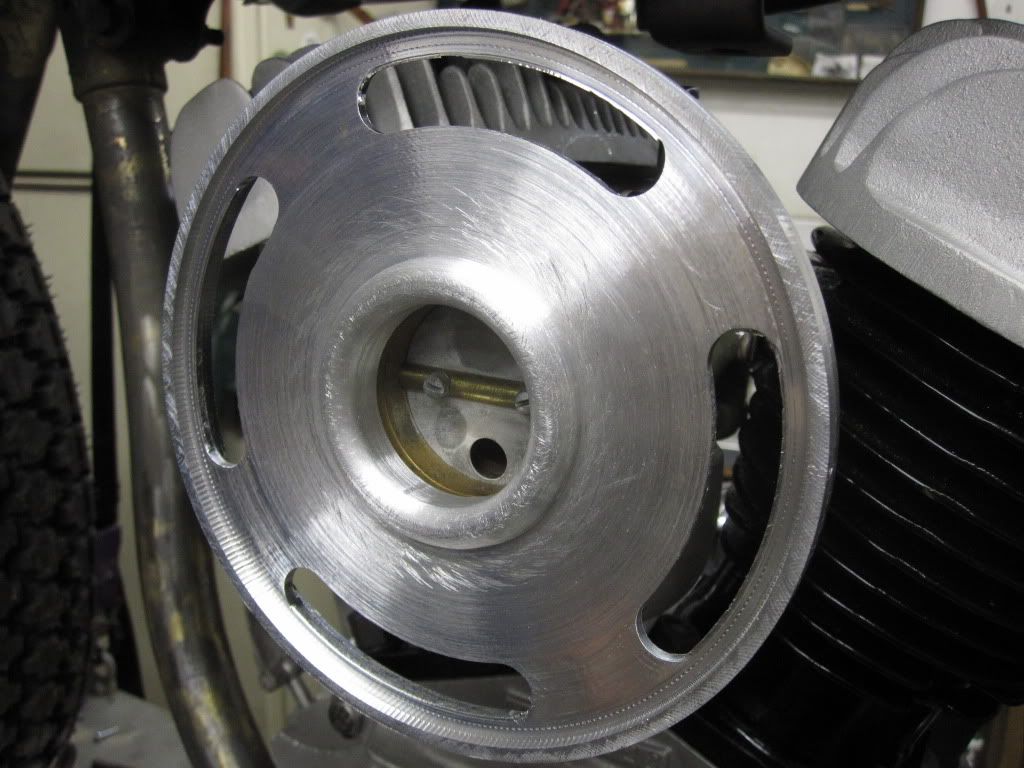
While I was doing that Carl was working on machining the backing plate for the air cleaner. This is the piece of aluminum that he started with.
After a bit of machining, here is what he came up with. Check out that power cone!!
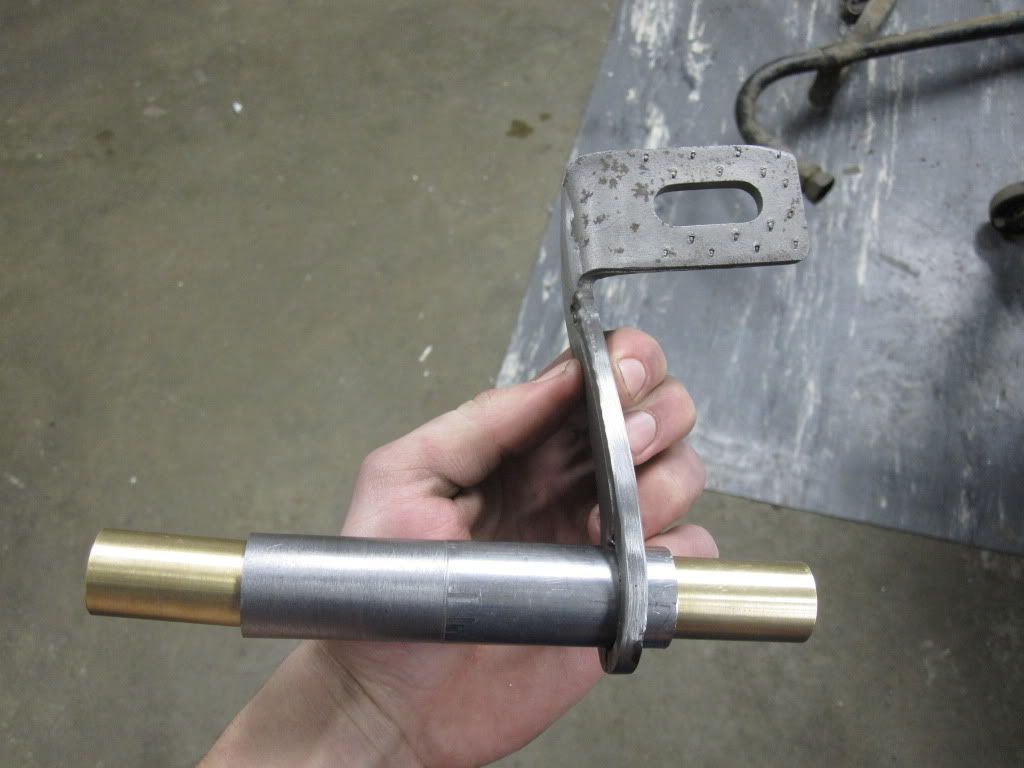
While Carl and I were using the machines, Matt was working on my brake pedal. He shortened it and then cut a hole to fit a tube that I machined to fit bushings in that will fit over the crossover shaft. It should be a really clean deal.
I can't believe that tomorrow is my last full day out here in South Dakota. We still have a lot of work to do so it will be another long day but hopefully we will be able to finish everything up.Leave a comment:
-
Hey Ryan, Has Matt tried to talk you into using a few parkerized spoke nipples?? If not, it's just a matter of time. Ask him about mine.Leave a comment:
-
Wheel lacing
Matt, pay attention when you start lacing your wheels. The 16" Kelsey-Hayes for the front wheel has a different angle on the nipple holes for lacing the brake drum into it with the 20 short spokes, and the direction of the outside row of spokes is different than the star hub wheel used on the back.
Good luck, we're expecting pictures of the results as usual.
mikeLeave a comment:
-
I have thought about your idea but since we had to cut the bracket on the frame because it normally would stick through the slots, it would just seem more finished to me with the slots filled. If I ever decide to switch back, I can just either cut the slots in or find another one to switch out.Originally posted by Slojo View Post
Thanks man, we will definately have to meet up sometime and go for a ride.Originally posted by bobdo View Post
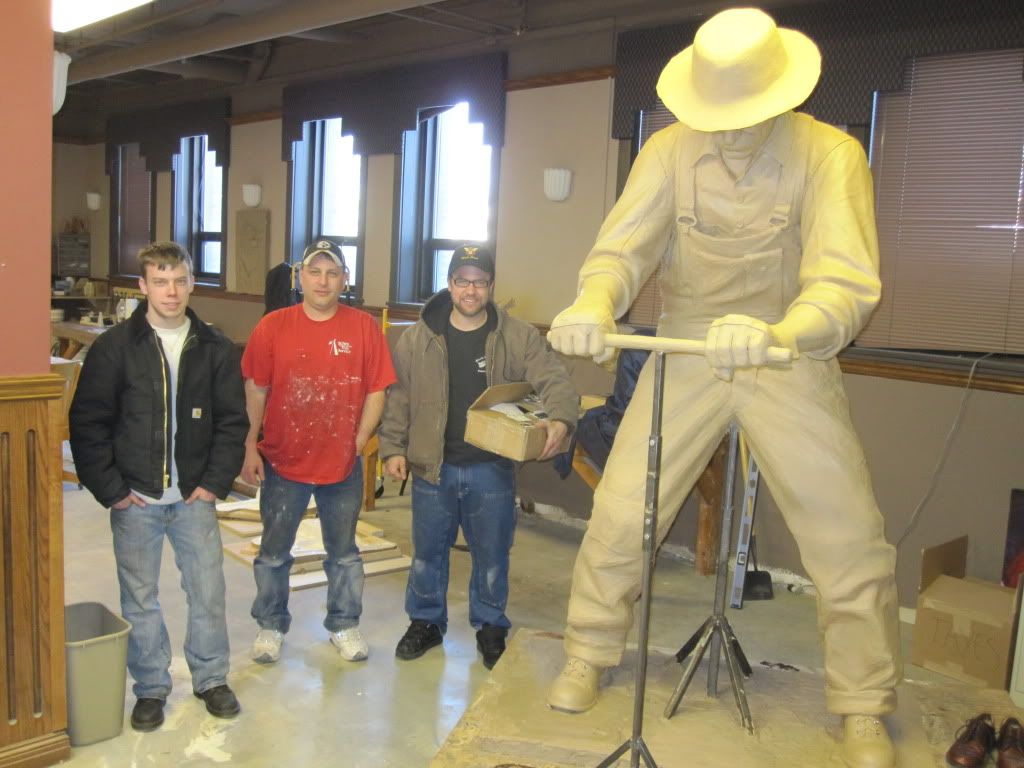
Yesterday Matt and I took a little break from the bike and went to his friend Ben Victor's place. Ben is a sculpture and the guy that does his wax molding, Dan Ochs, was in town doing some work for him. Since Matt needed some molds made for his Sears, it was the perfect time for him to take me to check some of this stuff out. It was really cool to see the process of how the molds are made before they are sent to the foundry. Here are Matt, Dan, and I next to one of Ben's sculptures that he is working on.
After we got back Carl and I got to work on the dash. The right side was way off when we first put it on. The first thing I did was egg shape the mounting holes on the oil tank to help move it up some. That helped a lot to take up some of the gap. The rest was taken care of by bending the dash around a little bit. It turned out really good.
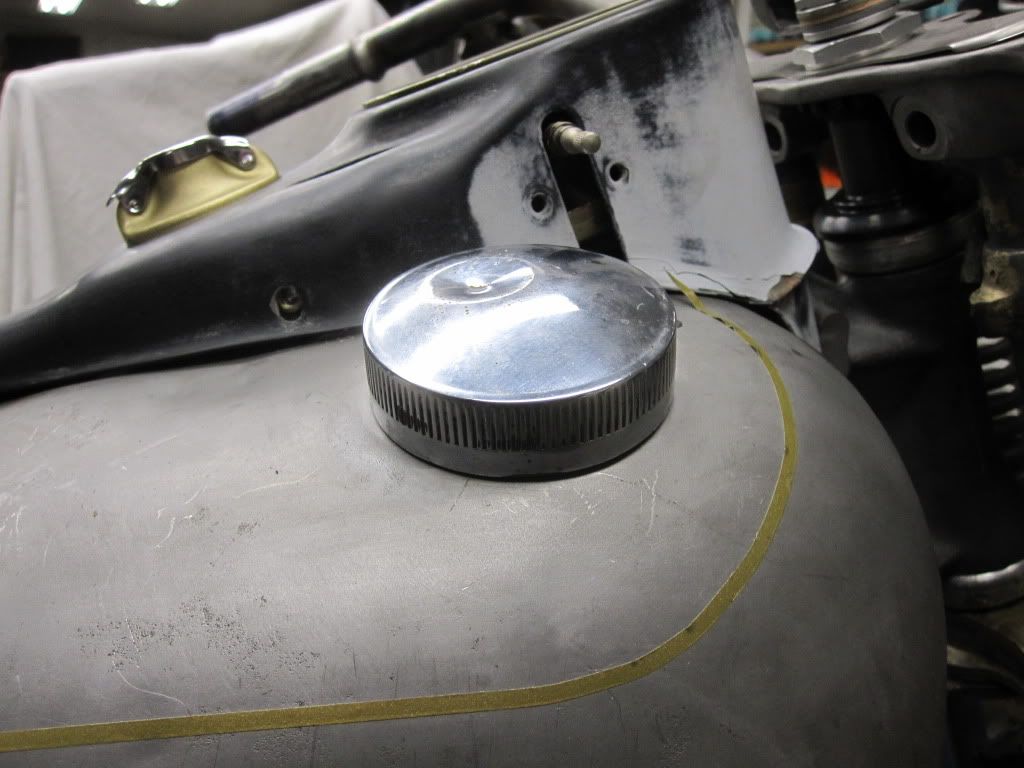
The switch still needs a little bit of work so that it mounts flush but it shouldn't be too difficult.
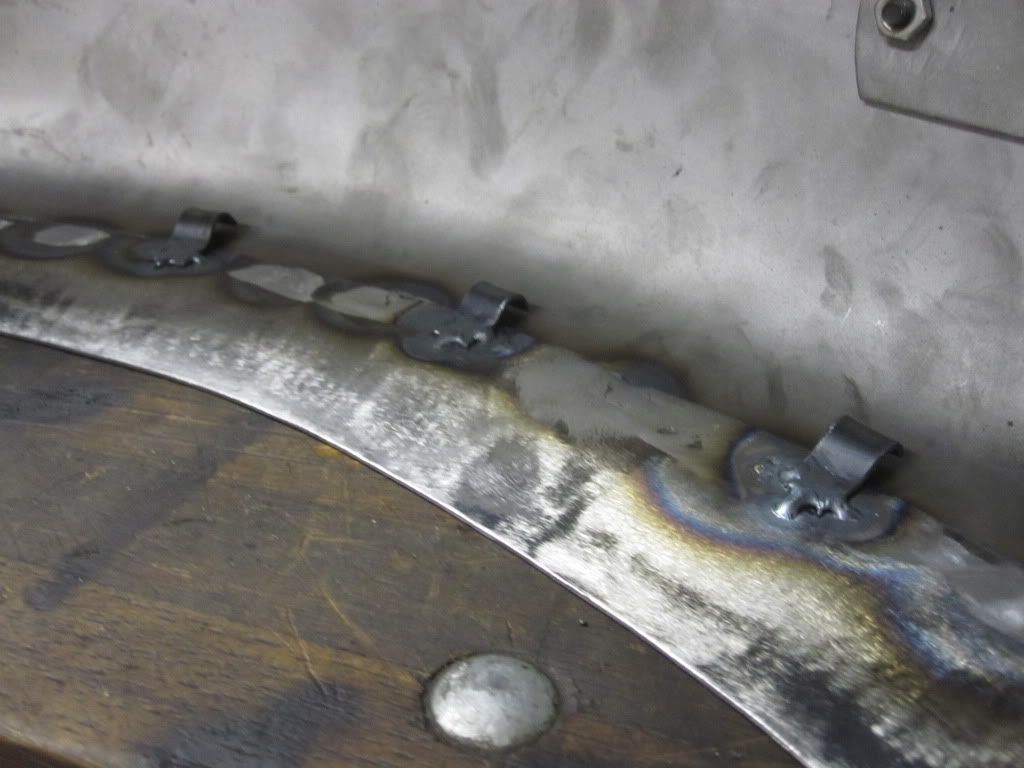
We also got the fender all done! Matt and I welded in the clips to hold the wiring to the tail light in on the underside.
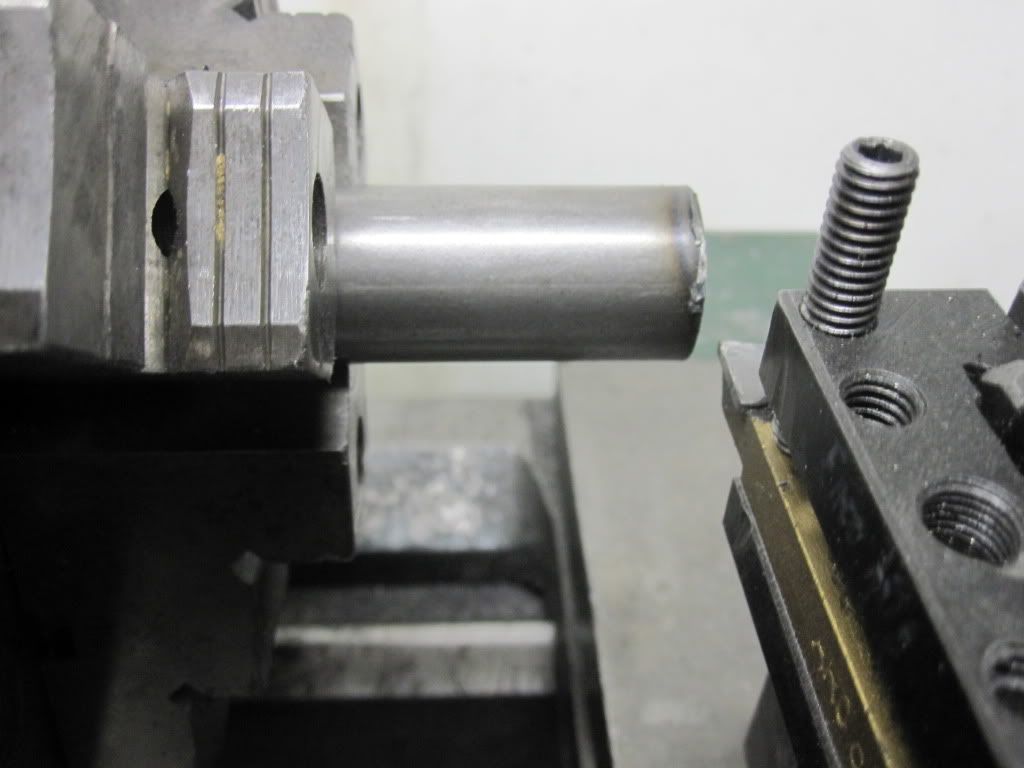
Last night I made up some mounts to mount the spring to the seat. I started with some 1" round stock.
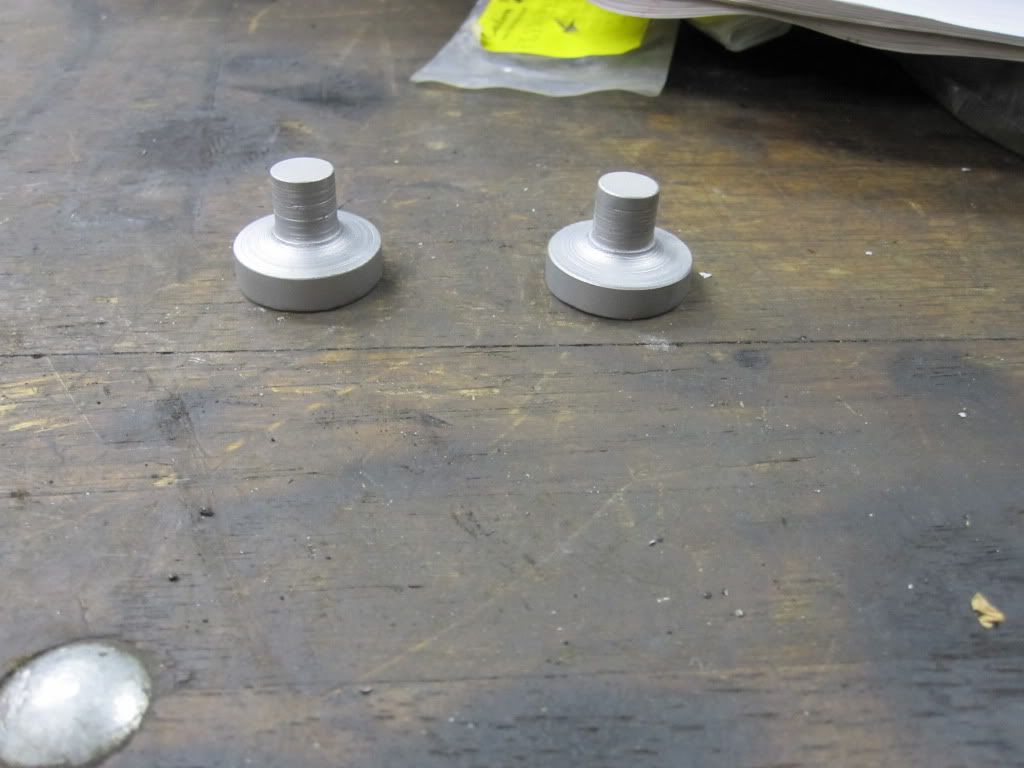
And with a little bit of time on the lathe, here is what I came up with. It will get welded on the bottom of the seat pan and is a snug fit into the top of the springs.
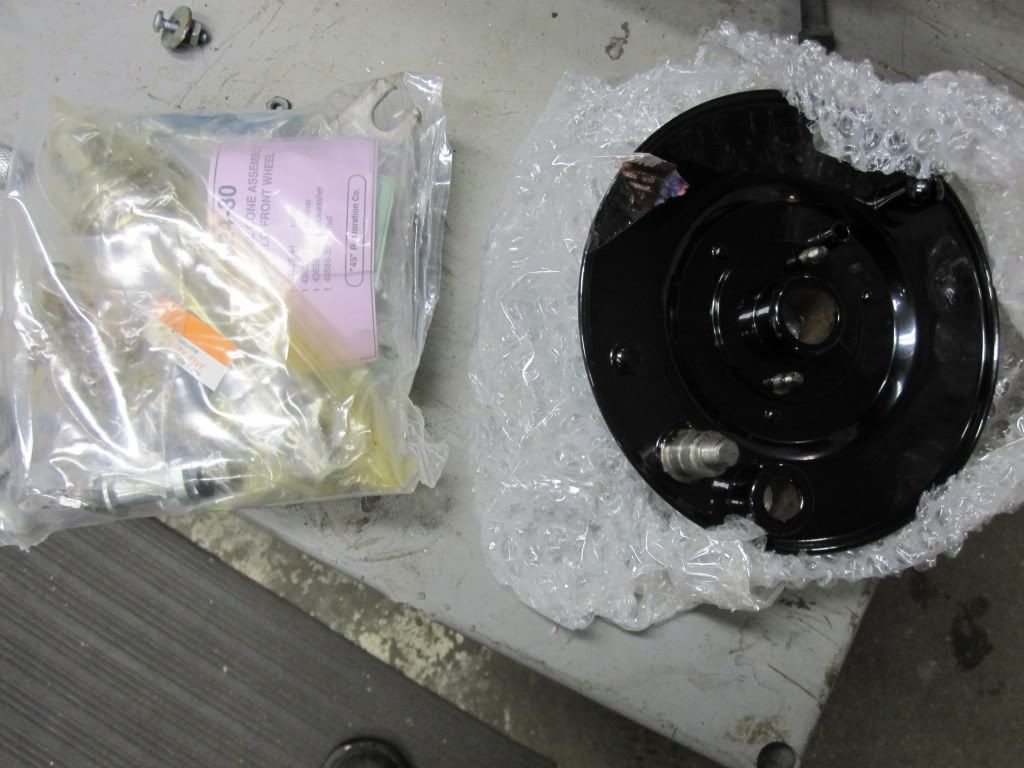
This morning I got the front brake parts in the mail. We are supposed to get the rims and hubs back from powdercoating today as well so hopefully I will be able to lace up the wheels and put everything together.
Leave a comment:
-
Ryan,
Your bike is looking fantastic. Maybe I'll get to meet you someday in Chagrin Falls, close to home for you. I work there now. I think the entire club owes a great "thanks" to Carl & Matt for this effort. It shows what this club is made of. Also, thanks for the daily update, it sure is entertaining. This winter is already too long. -BobLeave a comment:
-
Ryan
Leave the slots in the trim, you may find that down the road a proper seat mount will give a better ride than the short pivot arraignment you are currently setting up. Beside on a proper bobber these things are acceptable and won’t affect the style one ounce. The battery box looks like new good job fabricating.
JoeLeave a comment:
-
Yeah I'm still not quite sure how I am going to manage being away from it for so long. I guess its better though than having to try and study for school with it in the garage begging to get ridden. We all know how that would end...
Unfortunately I don't see that happening but if it is a yearly thing, I'll be sure to mark it on the calender for next year!Originally posted by LouieMCman View Post
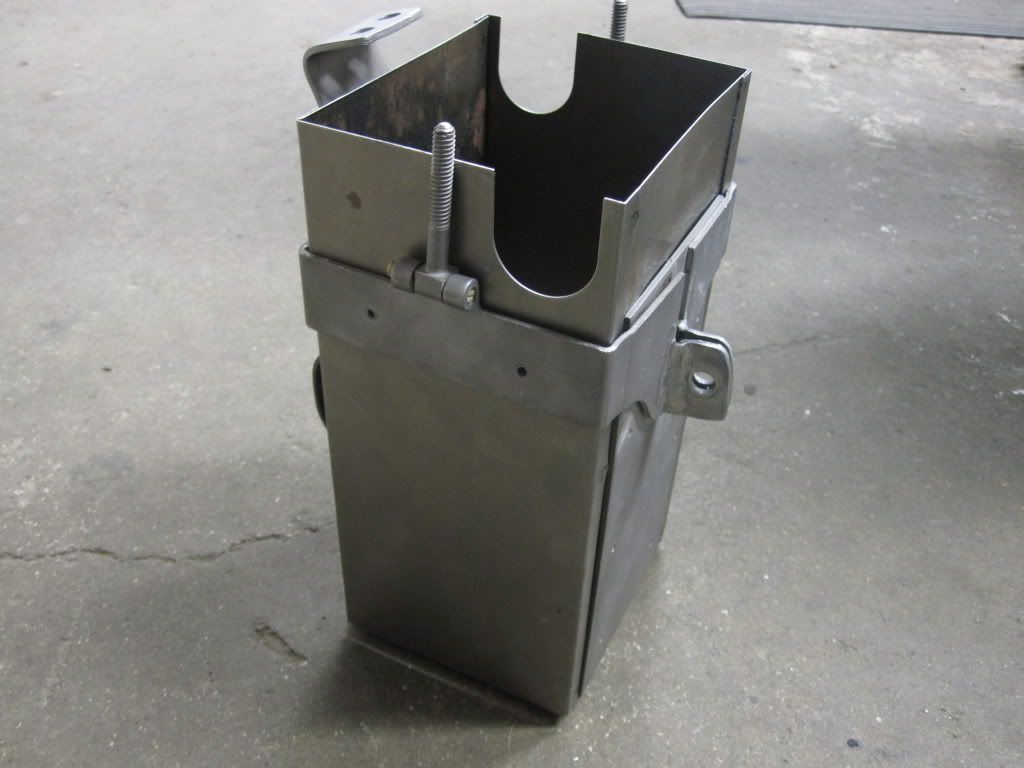
We got the tin for the battery box in the mail today. All it needs are some spot welds and it will be done!
I started working on the dash strip that covers the gap between the 2 tanks this afternoon. It has a relief shaped into it where the seat pan would normally mount to the frame but since I am not running a stock seat pan, it needs to get reshaped.
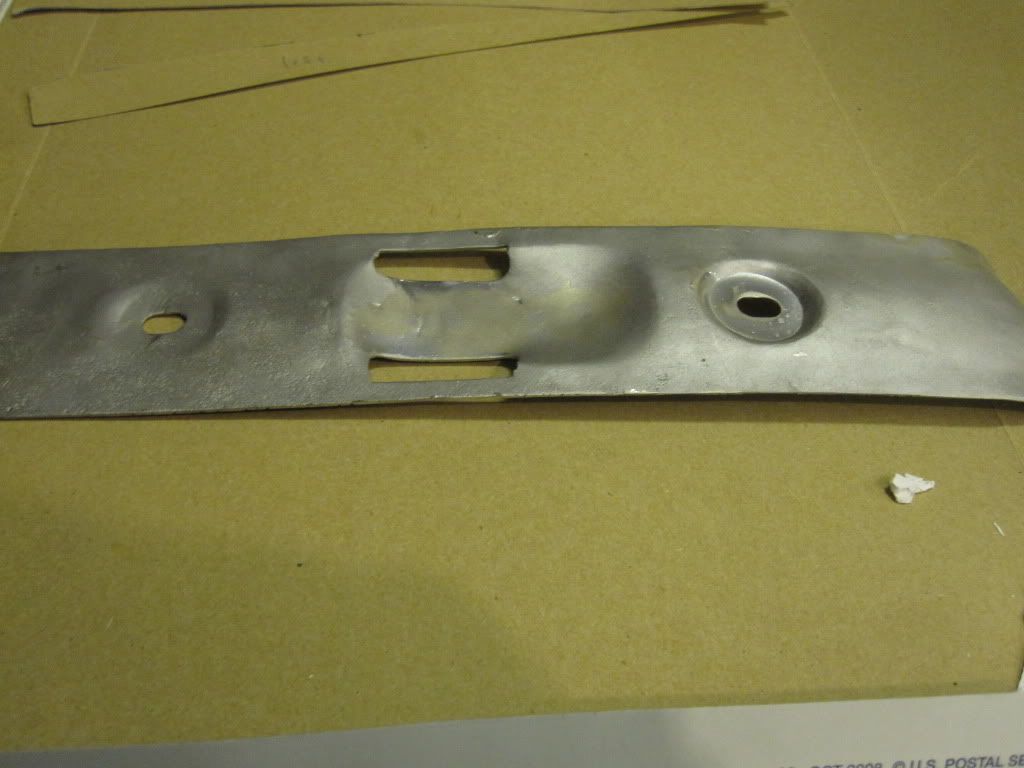
And here it is after I did some hammer and dolly work.
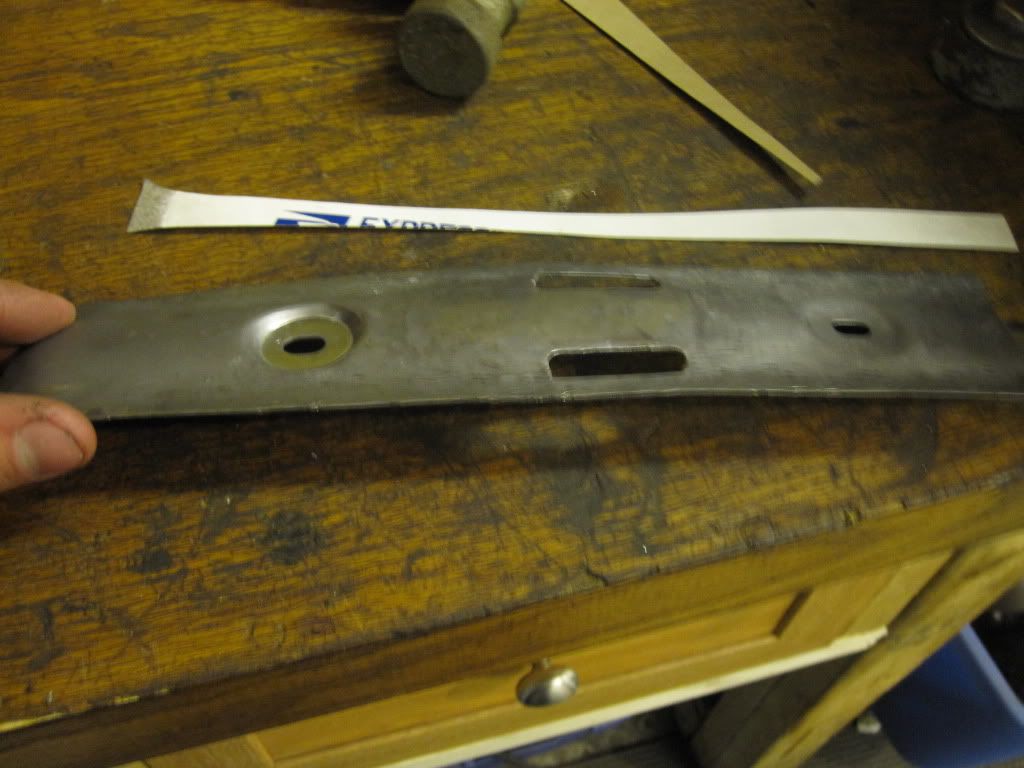
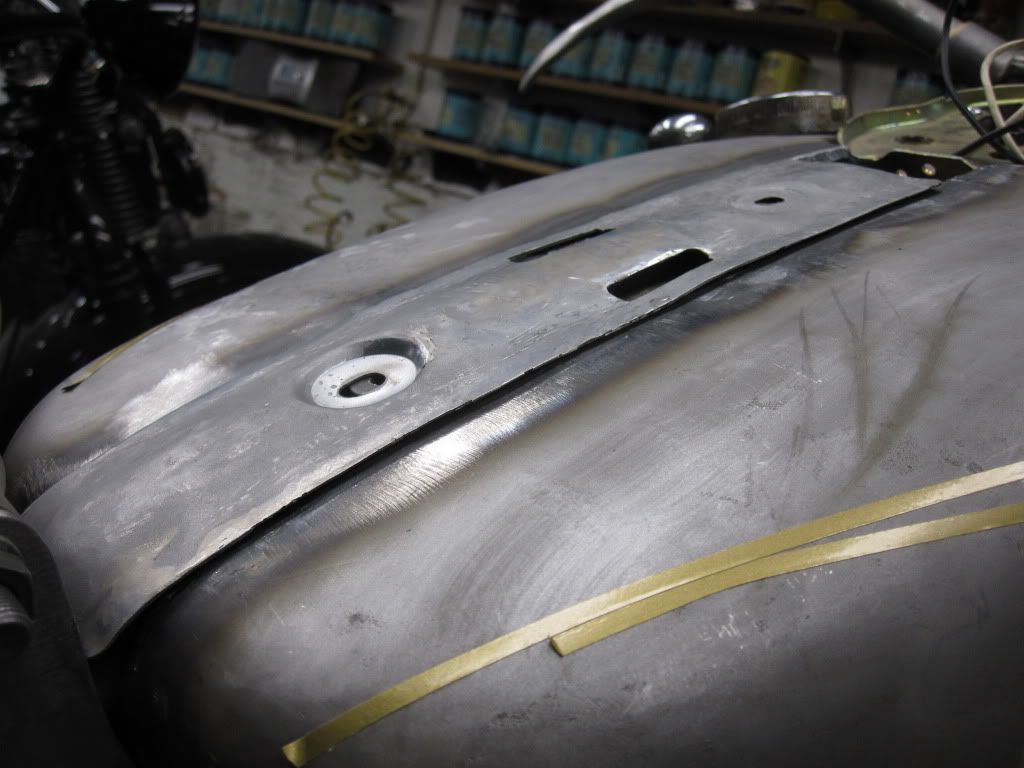
It still needs some more work but here it is on the bike. I will also need to make a couple filler strips to fill in the slots.
Leave a comment:
-
Ryan, good job on the build, it must be killing you not to finish it up! If you decide you can't stand it and decide to finish it earlier we would love to have it at our Southern Meet in Denton, NC in May. We are planning a youth rider/builder award to support the youth program, just display your bike on Sunday to be eligible.Leave a comment:
-
Ryan you did some class job on that thing. Ya got a life time of memories to go on that bike. It’s a total bitch ya got to wait to ride it. Man it sure looks cold there! Bob LLeave a comment:
-
Ryan, the bike looks badass. i cant wait til summer to meet up with you and go riding. two big thumbs up from me.Leave a comment:
-
 Guest repliedWhat an inspiring positive story for the Club ! This is the direction the club should follow. Best of luck to you Ryan and congratulations.
Leave a comment:
-
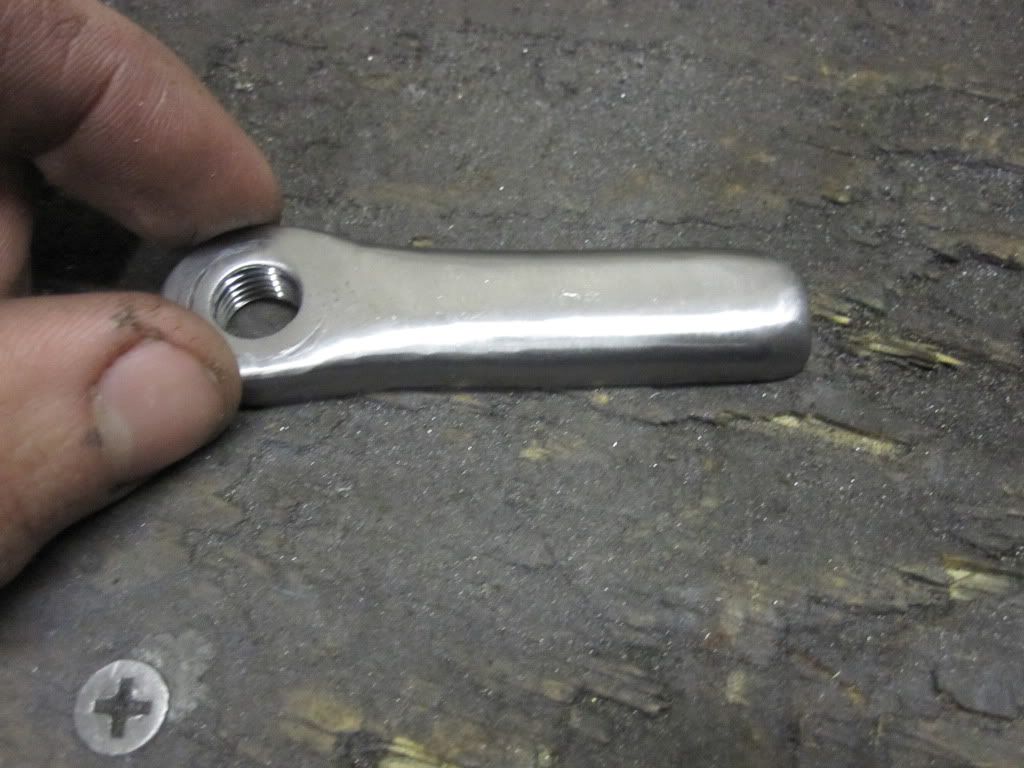
We basically finished up the fender today! I made some brackets to mount the back brace on this morning. Here they are after I drilled and tapped the holes and layed out how I wanted them.
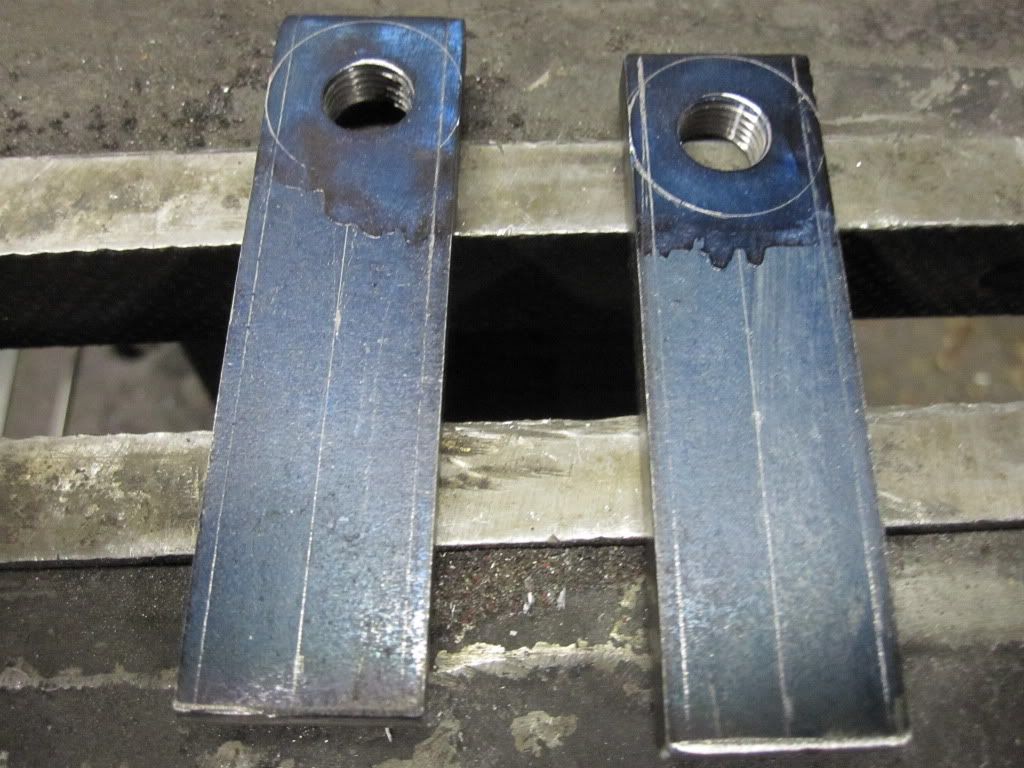
And here they are after some cutting and shaping. They are going to be mounted on the inside of the frame instead of the outside like stock so that the brace does not have to bend out as far. I also decided to get them nickel plated before we rivet them on.
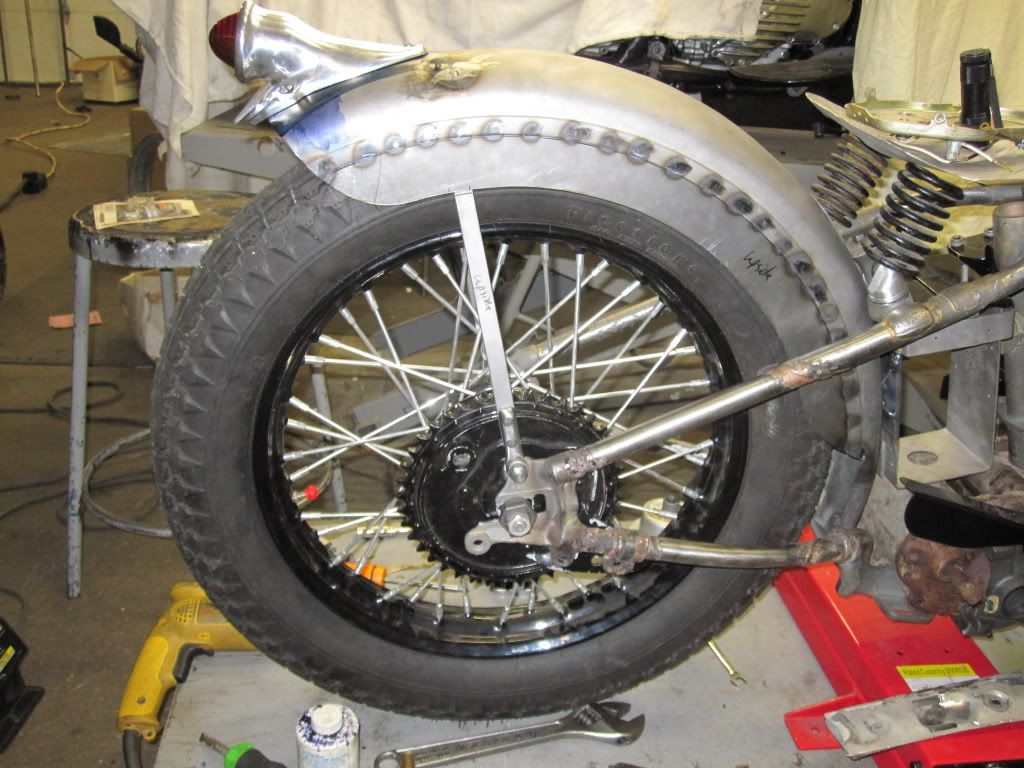
Here is the fender with the brace and the tail light mounted!
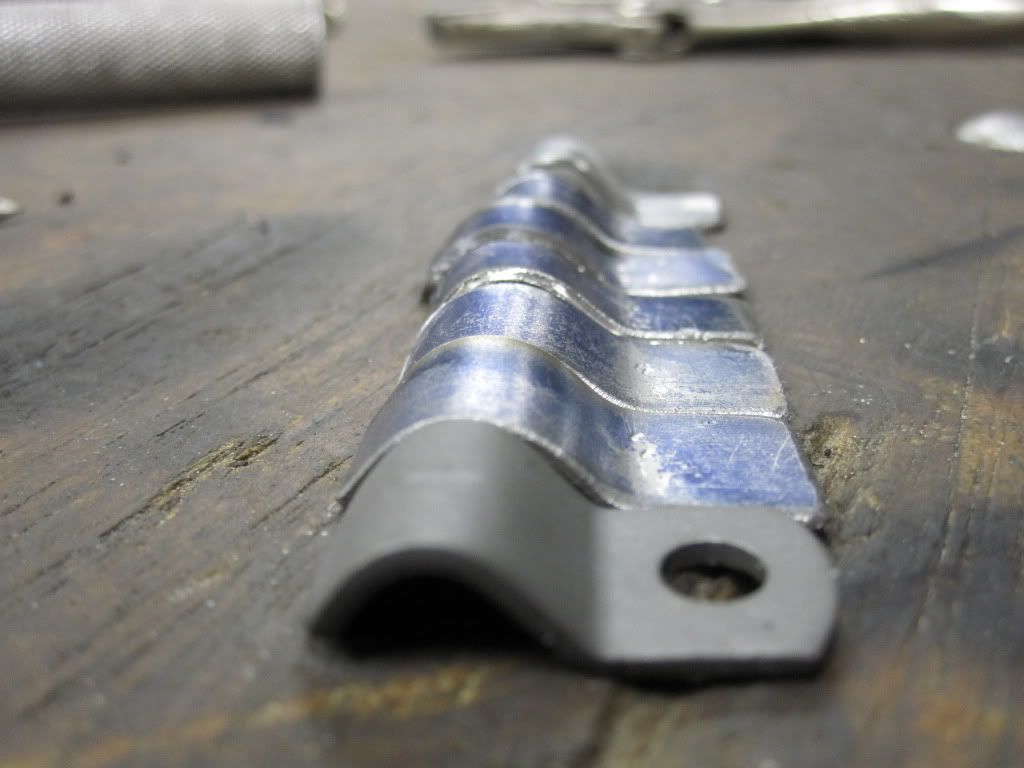
The only thing left to do is weld in some clips that I made to hold the wiring under the fender. Matt had a sample for me to copy.
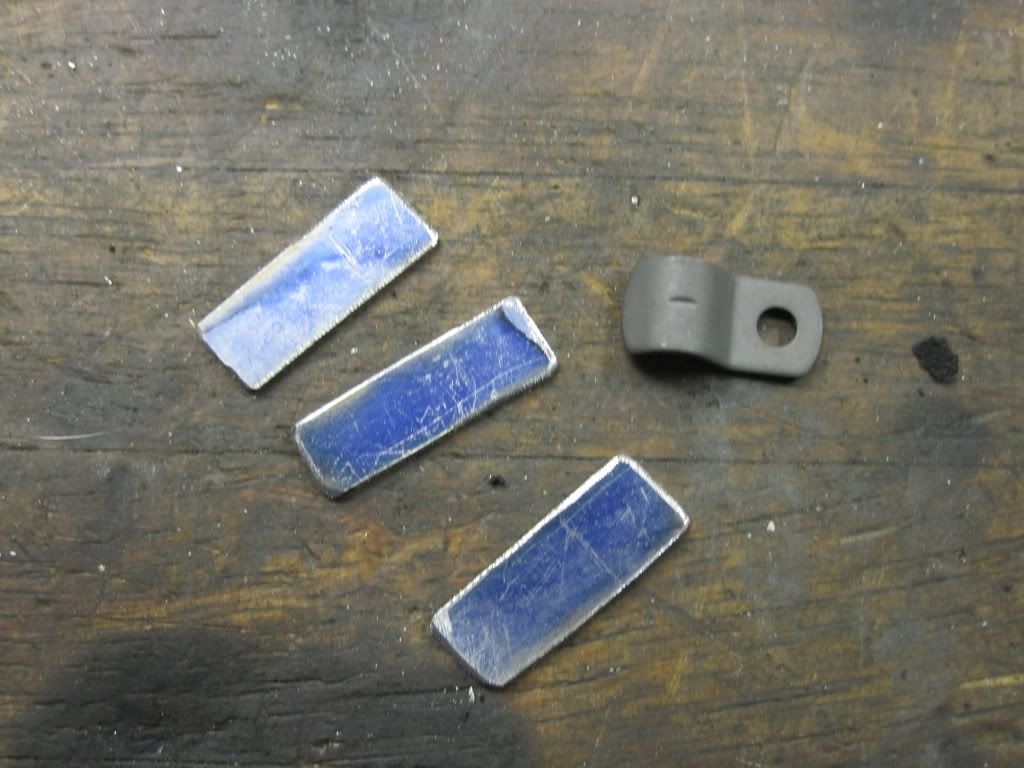
Here they are after I bent them up.
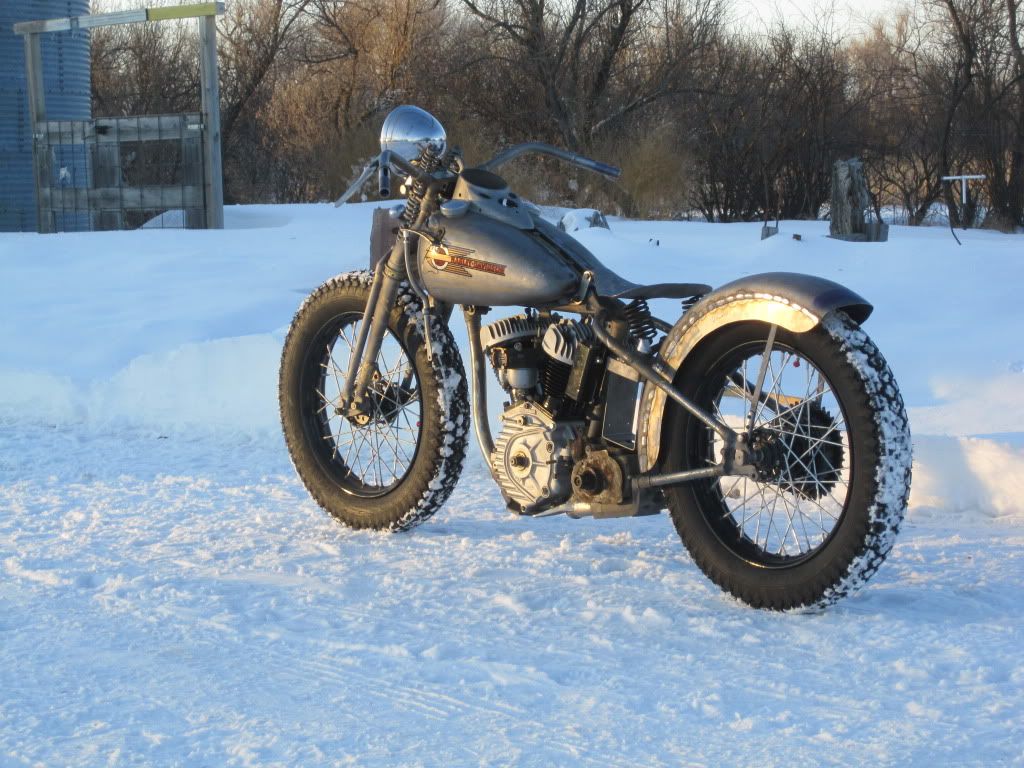
It was really nice outside here for a change so we decided to take the bike out and take her for a test ride.....well ok not so much a test ride but I can dream can't I?
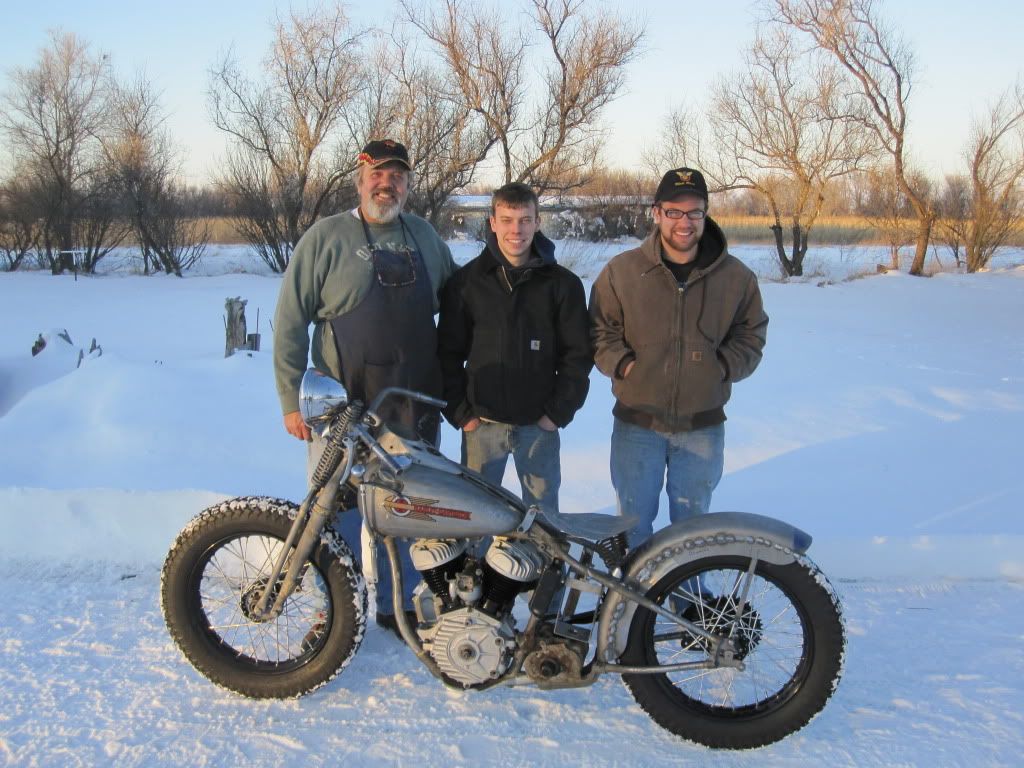
Here I am with my new baby and the guys that I owe all this too!
The plan tomorrow is to finish up the fender and then start fitting the dash. I only have 4 more days to work before I have to fly home!Leave a comment:
Leave a comment: