 Tweet
Tweet
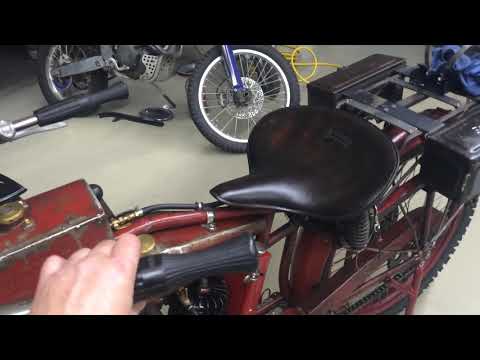
Hi Kevin, the bike is looking great with, aparantly, not too much left to do? You mentioned that the timing case is now all buttoned up so I assume that the improved geometry parts are installed? I will be very interested to hear your reports on how they perform.
The start of your big ride is not too far away so I assume that the next step is some test miles?
What is your departure date for Portland?
John
The start of your big ride is not too far away so I assume that the next step is some test miles?
What is your departure date for Portland?
John


Comment