-
I'm very much enjoying this project. Great work! I have a question, though. I can't forsee all you will be doing with that frame table, but so far it appears you could have used a Bridgeport mill's table (with the ram pushed back and the table extended to provide the necessary vertical clearance) as a "frame table" to make all the measurements. Of course, this would be at the cost of losing use of the mill whenever the frame is attached. Am I right about this? But, even if a mill would have worked for what you have done so far, do you plan to do more types of work with your frame where your table, rather than a commandeered one from a mill, will be essential? I have more than a passing interest in this topic so look forward to knowing more. -
Thanks for posting Robert, I got a really pitted up frame and as well and really like seeing your progress.Leave a comment:
-
This is quite an ambitious project Robert. I'm enjoying your write-up very much. I wish I had your welding skills!
Kevin
.Leave a comment:
-
Very nice Bob. That is one helluva' frame table and sure takes the guess work out of establishing datum's, and centerlines. How many frames are going to have to fix to pay for the table
Leave a comment:
-
Good day Gentleman, Here’s the next installment of the little motorcycle that could. After getting the upper motor mount cross tube installed it was time to really start fabricating right angle plates and a center post for the neck before I went any further with anymore repairs. It was just a case of locking the frame where ever I could to measure off the center line. At this point the frame itself checks good. The neck casting is a different story. You can also see in the pictures that I finished tigging up all the rot on the lower tube. Next post, I’ll really start digging into the repairs. This is the part were I finally felt like I was getting some where. Bob LLeave a comment:
-
Bob, very interesting! Can't wait to see more! Love the frame bench, too. DaleLeave a comment:
-
Well Ladies and Gentlemen, It’s time to start posting again about the little motorcycle that could. So much has been accomplished since the last time I posted almost a year to date. I just haven’t had the time but I have been busy making parts and that’s a good thing. Anytime someone adds a quality part to the 1929 and down pool. It’s a great thing, for me it’s an anti-depressant. Who needs pills? I got beer and the AMCA! I’m going to do this in mini-time capsules since they only allow me five pictures per post. To pick up where we left off. The next thing in line was replacing the cross tube. We are going to take the trap door approach (Thank you very much Marty) Basically I found the casting pins at both ends and drilled them out. Heated up the casting and got what was left of the tube out. I then took a chucking reamer I modified to ream out any bronze that was left in the sockets (Could I have made the tool any shorter? Yes but I figured that out after I was done. Dumb! You will see this contraption in a following post). The whole idea here is to cut a trap door in the casting, insert you new tube and tig the trap door shut. Plug weld and braze for effect. Does it work? Damm right it does! Beats taking the whole frame apart. Bob LLast edited by Robert Luland; 11-16-2014, 12:45 PM.Leave a comment:
-
Very nice Bob. I think I like seeing the fixtures you, and Jerry come up with, more than the parts you're going to fix.Leave a comment:
-
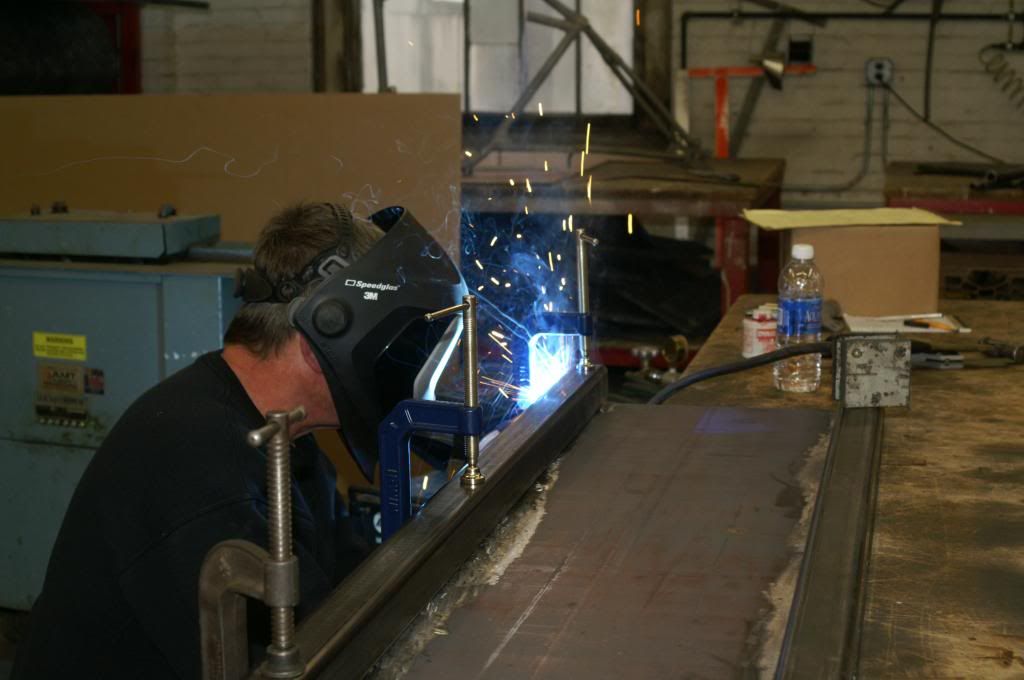
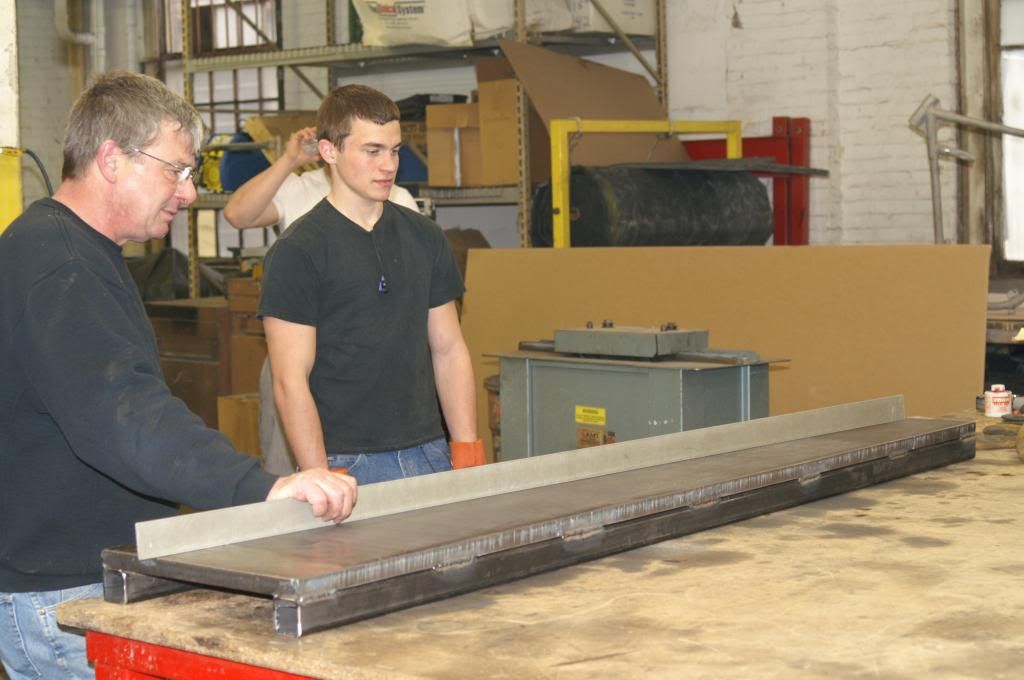
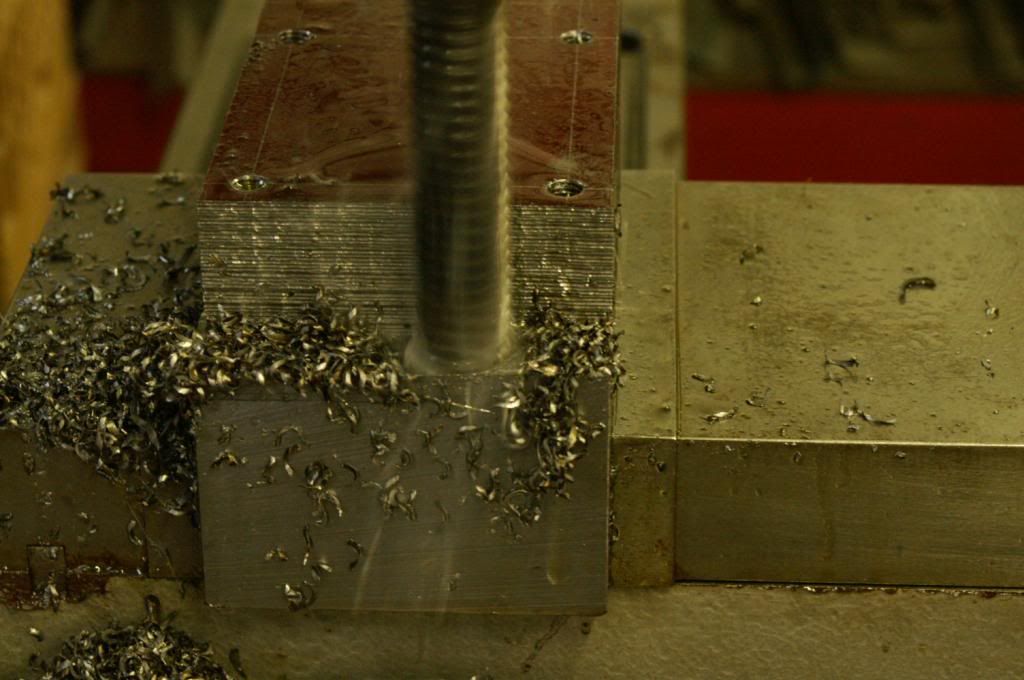
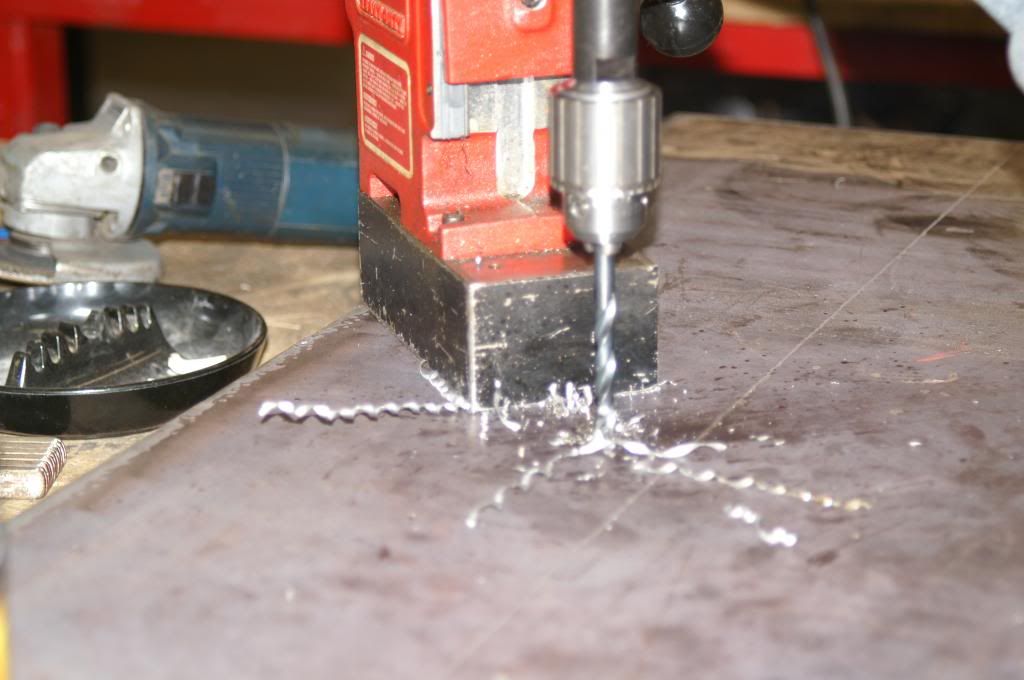
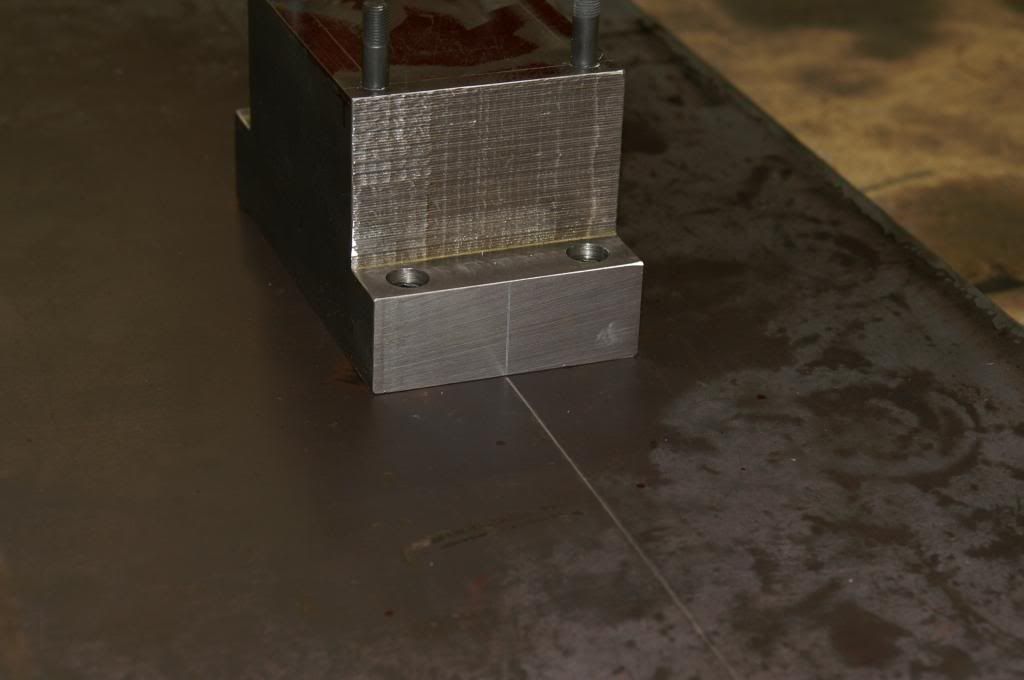
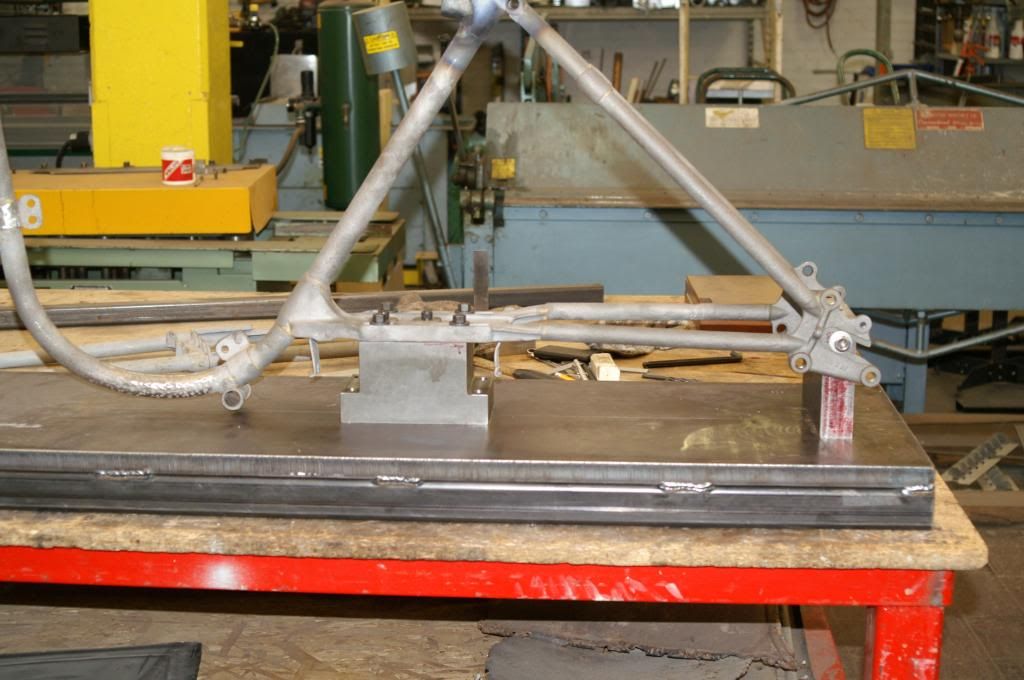
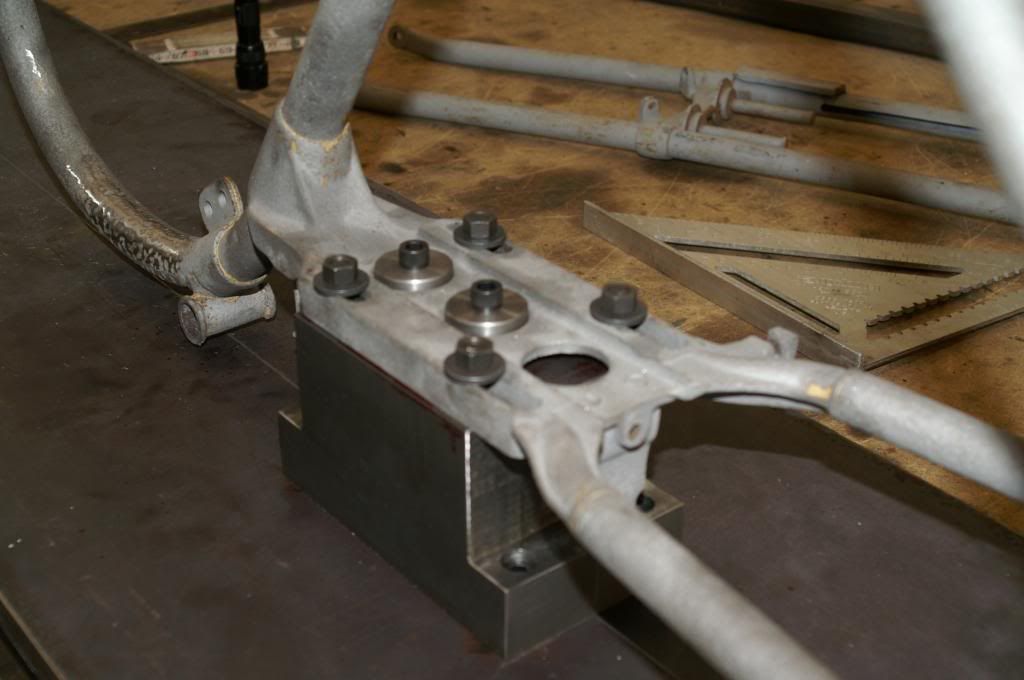
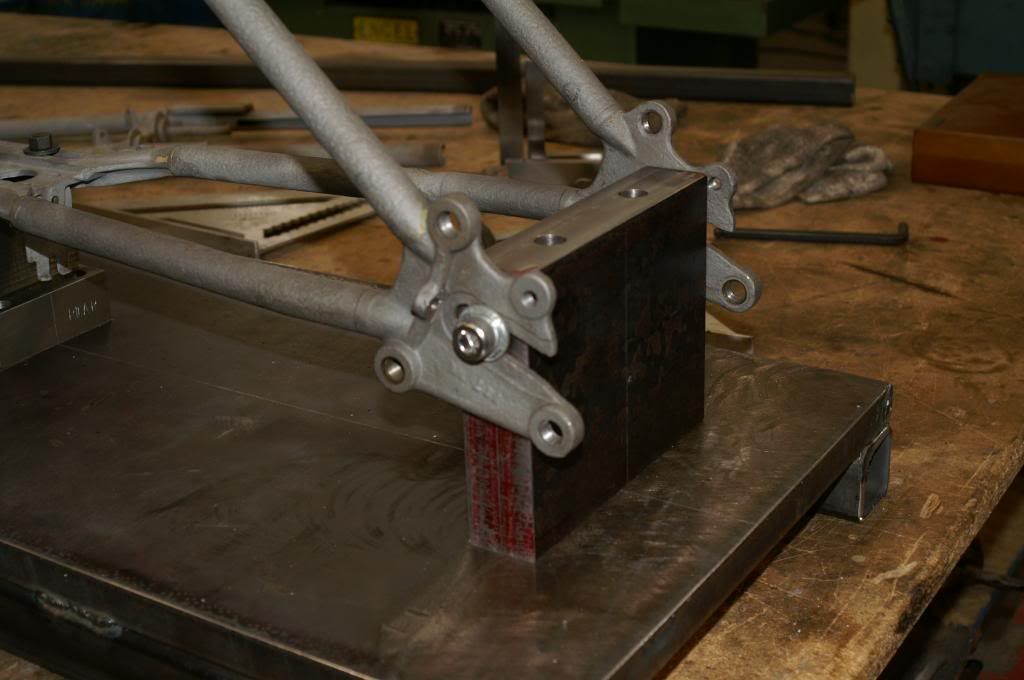
Good afternoon Ladies and Gentlemen figure I’d tune in and give ya an update on what’s going on with the little motorcycle that could! I ended up purchasing a 1”X16”X72” piece of flame cut plate to build a frame table. After putting it on the layout table on two blocks of wood - two days later it was sagging in the center, so it was off to buy some 2X2 square stock to beef it up. It took me two more weeks to score a piece of 6X6X7” bar to make the transmission mount but we’re getting there (man that was a lot of chips). The hockey pucks you see in the tranny plate are there so the rear axle plate carrier indexes properly every time I have to remove the frame. I tigged up the heavy pitting on the bottom tube today. So next week, let the straightening begin. I have one of those cheap ten ton bodywork ram sets that I think will suffice for the job. Keep in mind that I have no clue what I’m doing here. I’m winging it but in this type of scenario, Bob falls back on the number one rule. When in doubt, completely over kill. Over kill is a good thing for two reasons: first, it limits your chance of failure by 90% and second, nobody could ever accuse you of being lazy. Bob L
Leave a comment:
-
Great pictures Bob. I went through the same ordeal on my 1916 frame. For sentimental reasons I saved all the old studs and look at them as trophies.Leave a comment:
-
Started on the frame today.
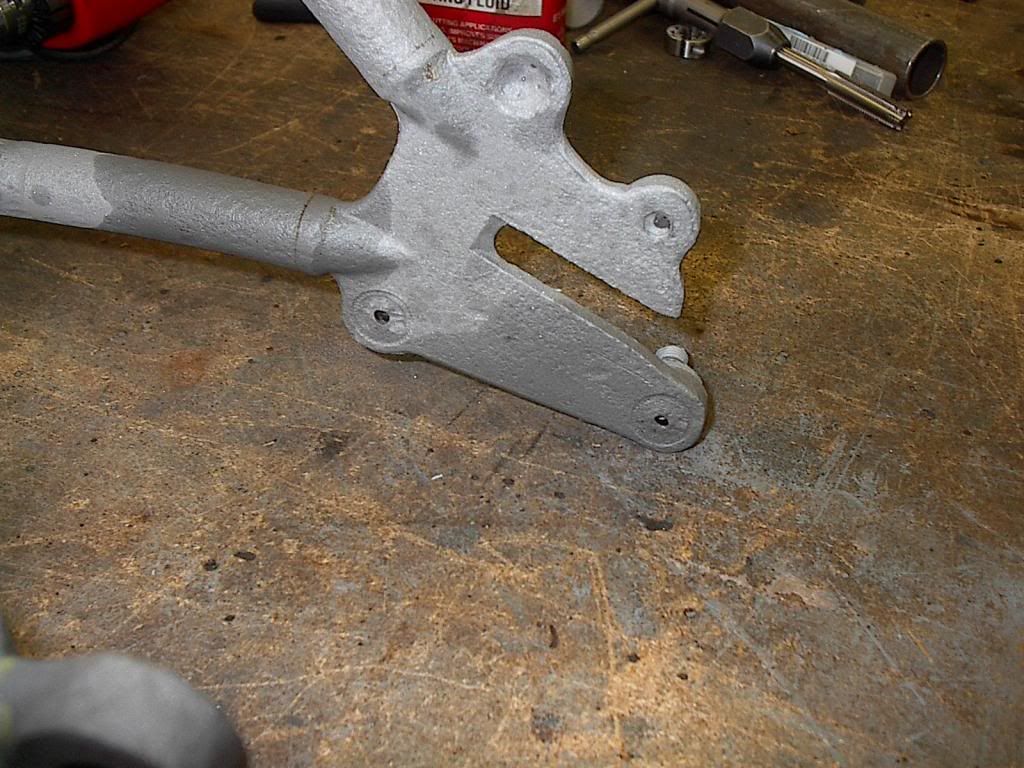
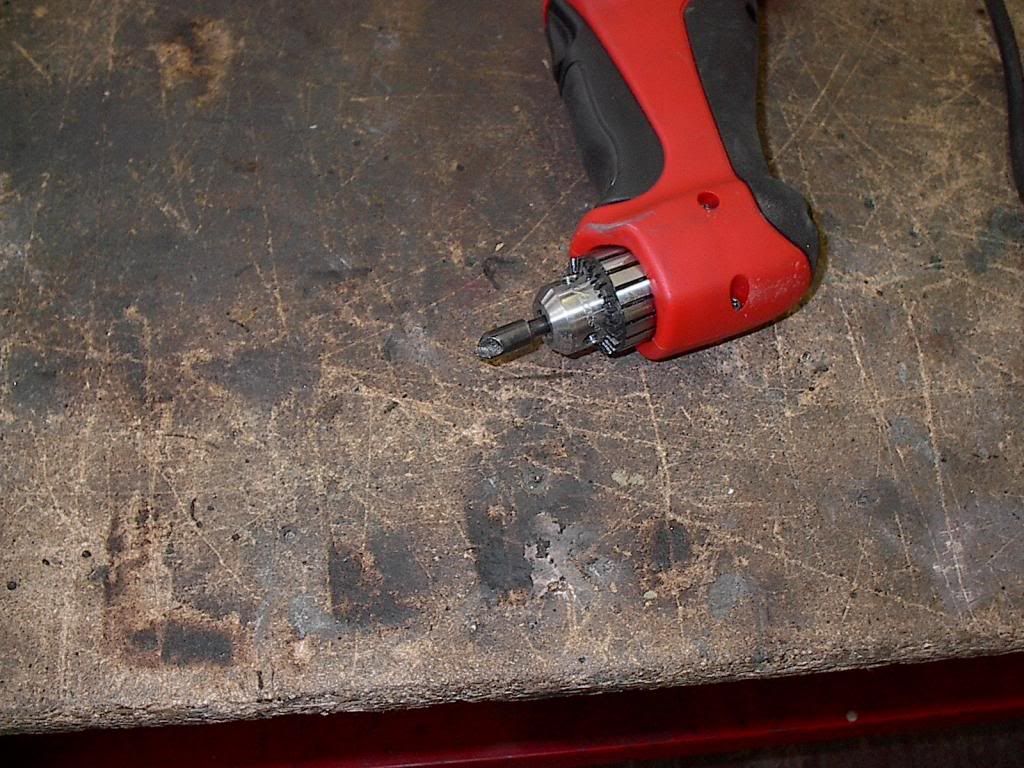
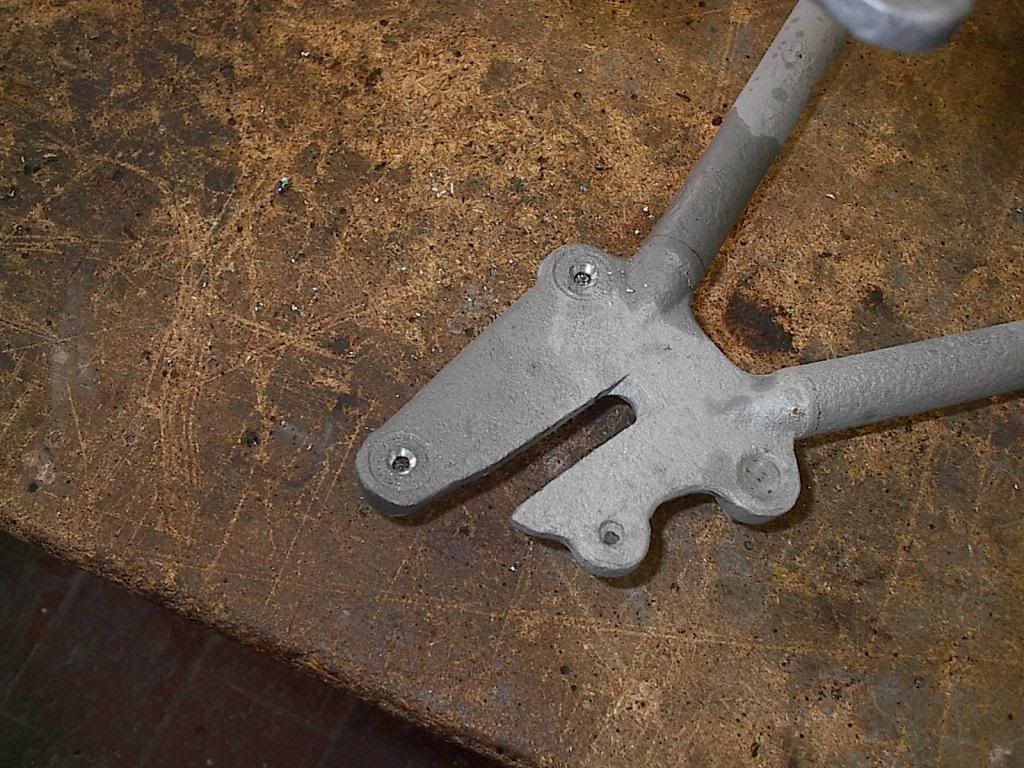
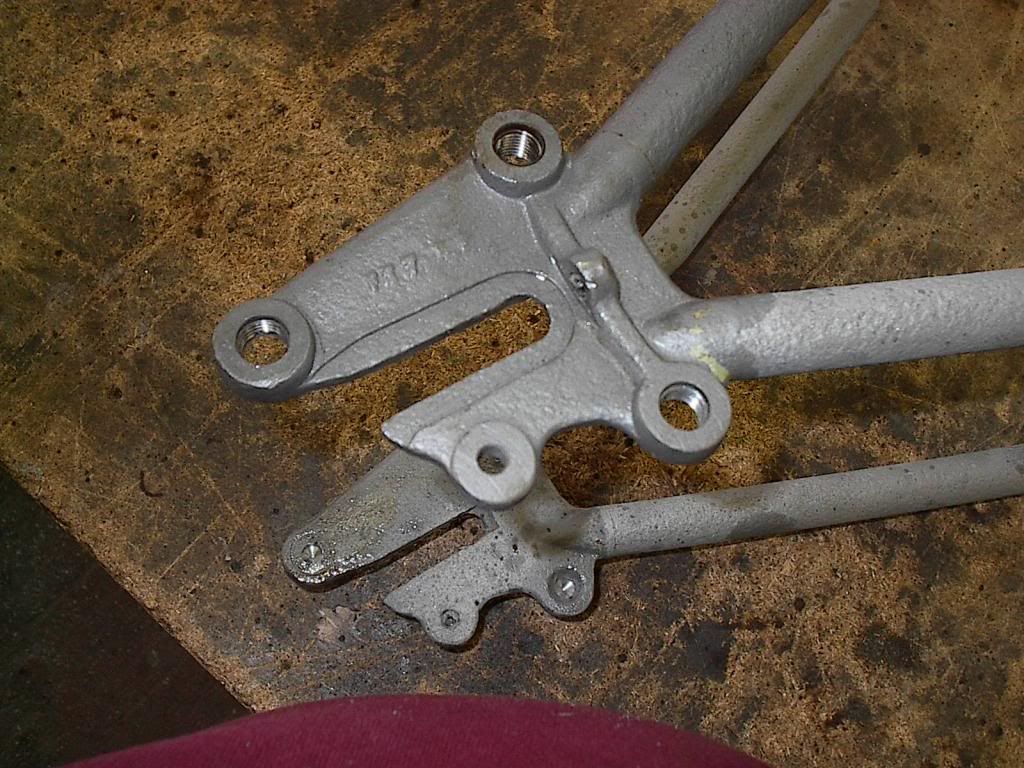
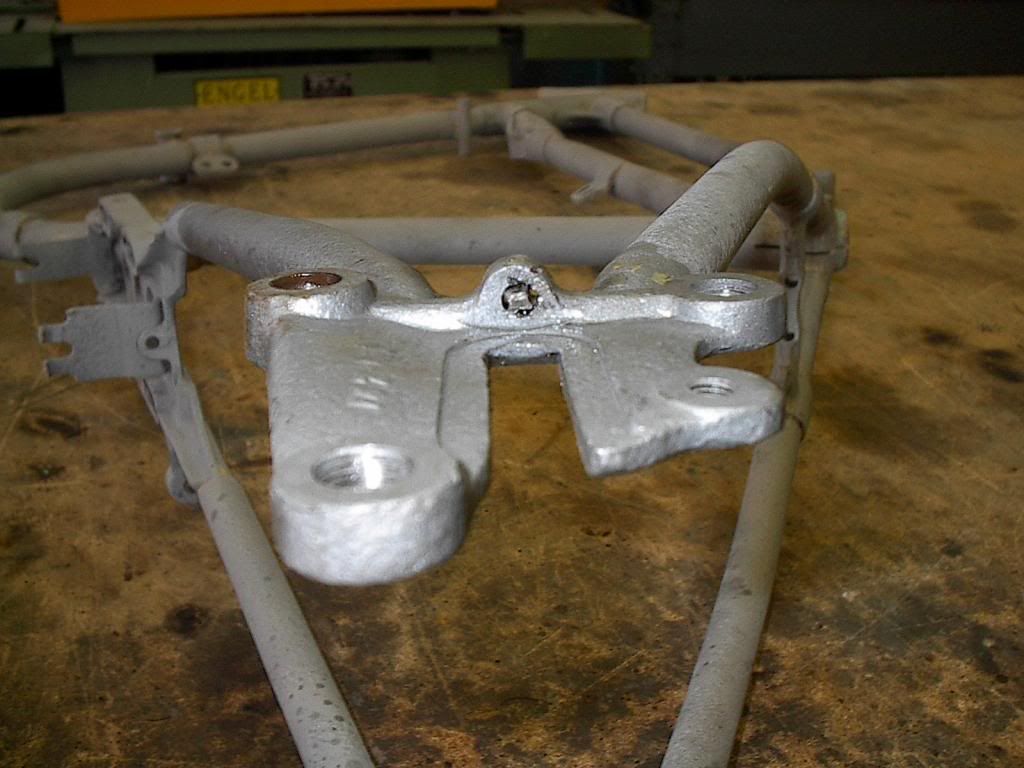
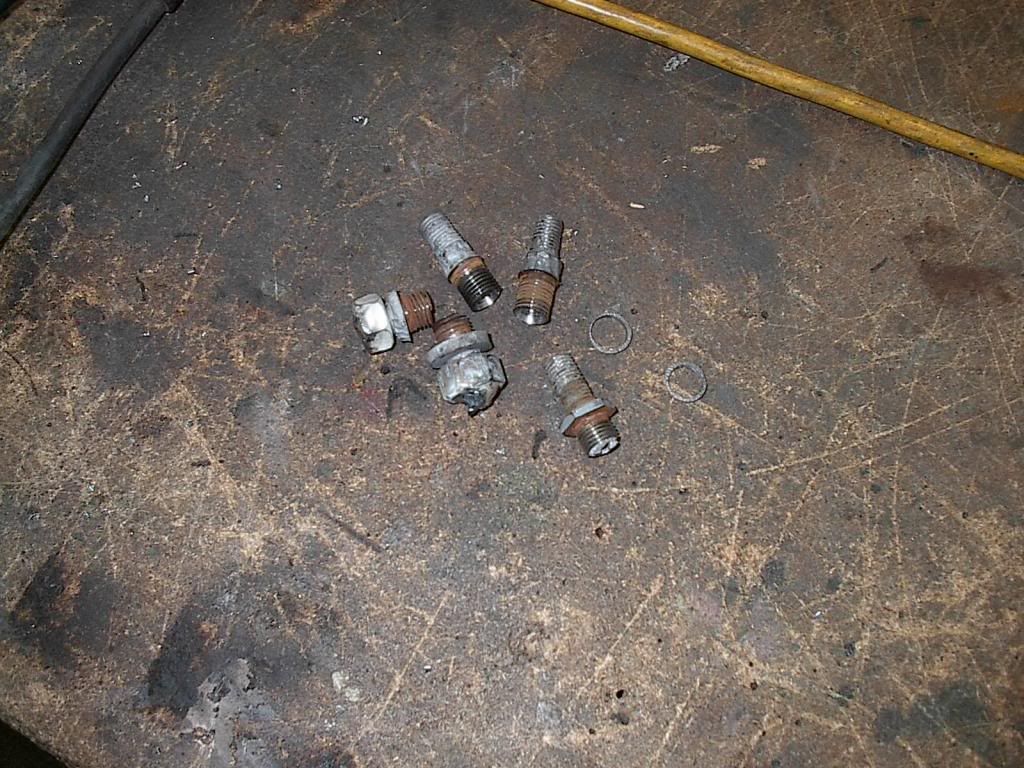
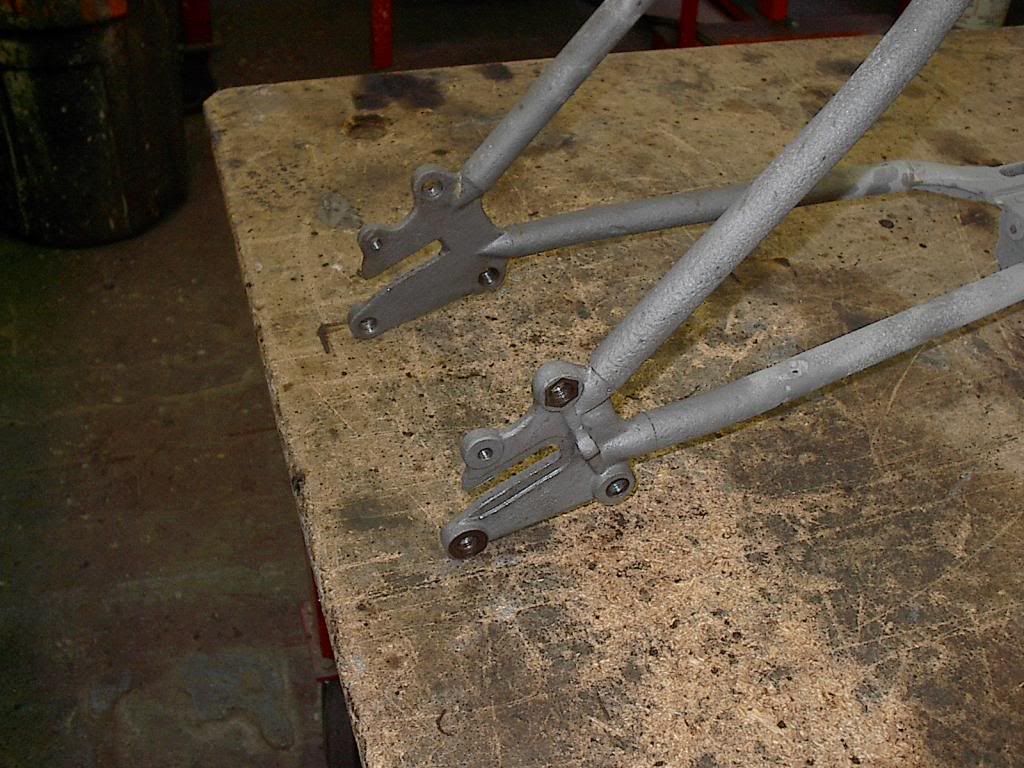
Well I finally got some time to dive into the frame. The first line of business today was to strip the axle carries of rotted studs, a broken screw in one of the fender mounts and a broken tap in the axle adjusting screw hole. The 7/16X1/2” (6 In total) studs had a #6 hole drill into them at the factory to aid in centering the orbital riveter which flattened them on the inside of the axle carrier so they wouldn’t come out when you went to loosen the nut on the other side. Obviously this was done before the frame was put together as Mark Masa pointed out to me. So before ya attempt to unscrew these puppies, you got to get the ridge off first. Stated out with a 3/8 counter sink and worked up to a ½ carbide ball just deep enough without cutting into the thread. Then I just tapped the side with a center punch and the lips just popped off. I tried the old Vise-Grip with a mallet which got a couple out but the other four had a different idea. Look at it this way. If you had been stuck in a hole for 90 plus years, you wouldn’t come out ether. So onto plan B. 1/2” nut welded to stud and the impack took’em right out. Chased the threads and all is good and yes it’s a special thread. ½-18, this is one of the reasons I haven’t touched the frame as I’ve been waiting for the tooling arsenal to show up in the mail. Drilled out the broken screw and chased that. Now for the one I’ve been procrastinating on, the broken tap. The area that the chain adjuster screw goes though amounts to nothing. The only thing going through my head was am I going to break the casting. In the tooling world you have cheap taps and real good taps, nothing in between. I had a hunch I was going to get lucky here and I did. Two good shots with a small center punch and the tap broke into a zillion pieces. I chased both chain adjuster holes but the threads are weak. The casting is too thin to drill for a Heli-Coil or Cert. So it looks like I’m going to plan C. I have to replace the two lower tubes any way. So it wouldn’t be a big deal to remove the axle carriers completely and weld them up, drill and retap. On Dewey’s advice I flipped the frame on its side to do the “Am I Screwed Test”. For the most part these frames rot from the inside out. I found this out real quick with the side car frame. I ended up replacing a good chunk of tube. Well I won. I took a center punch and gave a good shot in six different places on the bottom of the main tube and didn’t break though. So I’m just going to Tig up the pitting and put it to bed. That’s all for now until I build some kind of frame table. Any one got a 16”X60”X1” piece of plate in their living room they don’t need? Bob L


Leave a comment:
-
Looks like a business deduction to me Bob, this would work good as a table to bend sheet metal, wouldn't it?? Just swing by Cleveland from Jersey on your way to Jefferson and pick it up yourself! In all seriousness, this company is great to deal with and very helpful in arranging shipments. I have dealt with them numerous times. Good luck and looking forward to seeing your project. Bob
Leave a comment:
NOTICE: New member email requirements now in effect. Longtime member having trouble logging in? Please review the requirements here.
Only registered users may post new messages on this forum. You must be an AMCA member to register. Click the register link on the top right to proceed.
If this is your first visit, be sure to check out the FAQ by clicking the link above. To start viewing messages, select the forum that you want to visit from the selection below.
If you are NOT an AMCA Member and would like to join Click Here


Leave a comment: