 Tweet
Tweet
Hello Guys
Hope everyone is doing great. Wanted to say Hello and to let you guys know I'm in the process of another complete restoration here at the Barber Museum. This is a 1929 Excelsior Super X. When I wheeled her onto my lift I was hoping it would be a rather straight forward project with only a few high hurdles to overcome. Well... Other than the frame, engine, front suspension, wheels, handlebars, switches, and a few million other things it's been a pretty smooth sail. Mmm... Not so much. But, the good news is the project is picking up a little steam. So here are a few pictures. I'm hoping that someone will have a good contact source for parts or any other Excelsior Super X information. I've had some luck but not much.
As always, Thank you very much for any help at all! Hope you like the pictures...
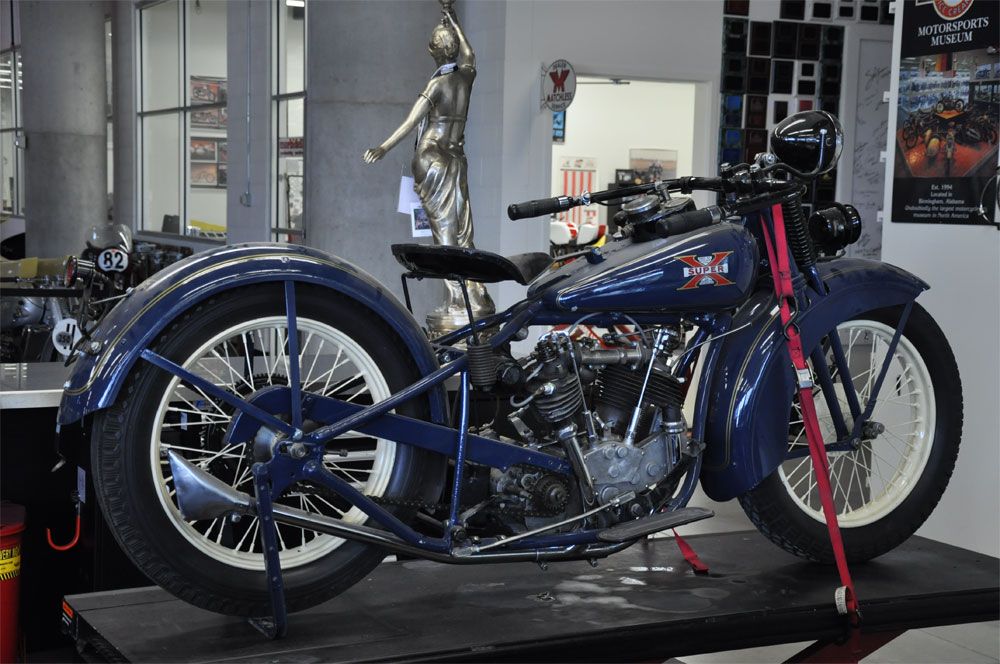
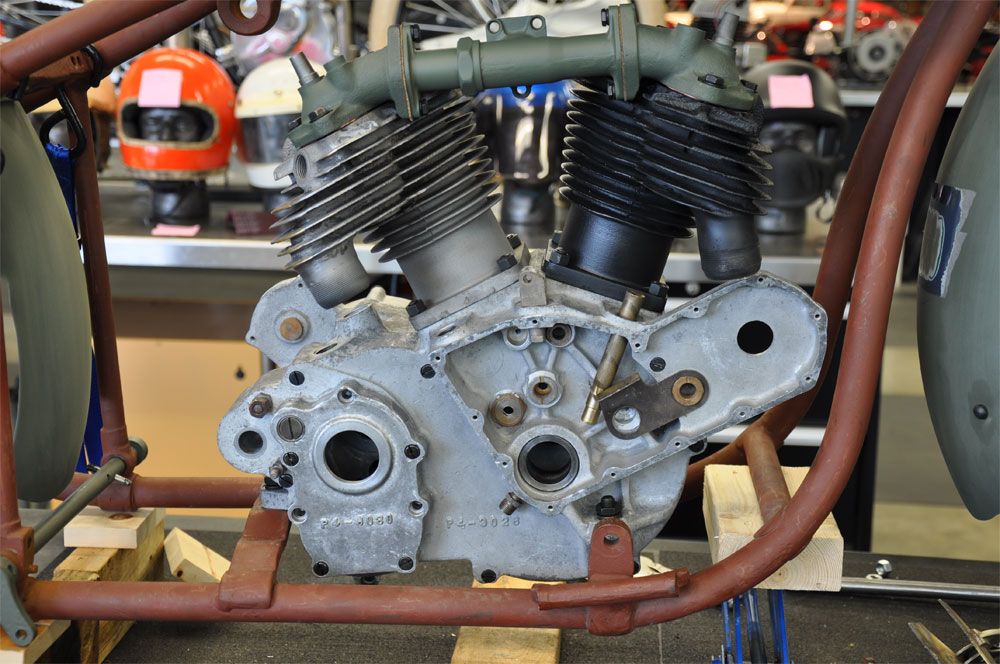
Before the tear down. Doesn't look too bad!
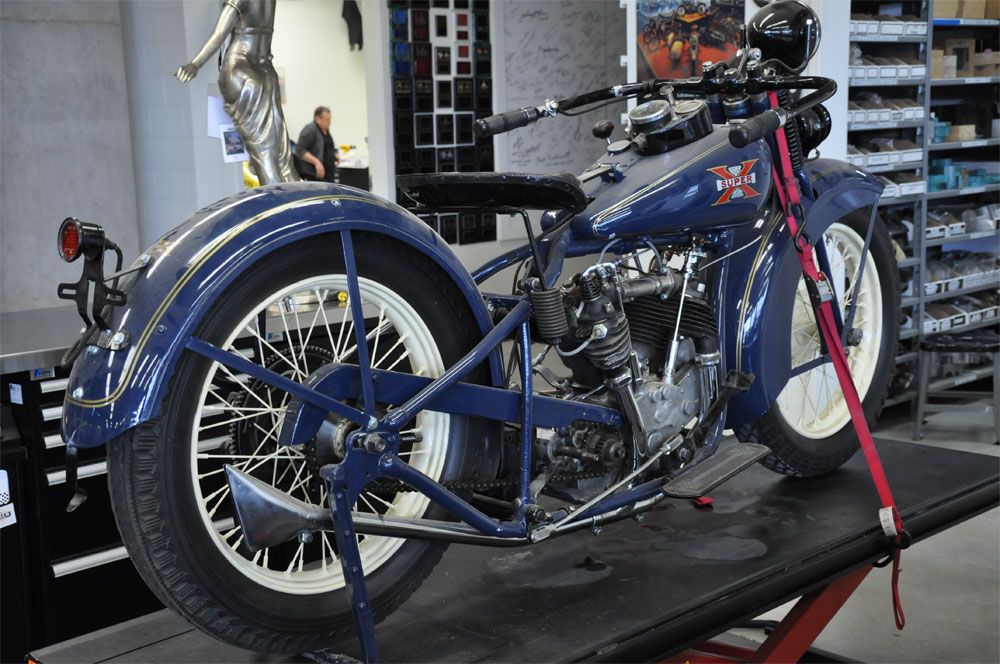
Another angle..
Notice the broken cylinder cooling fins..

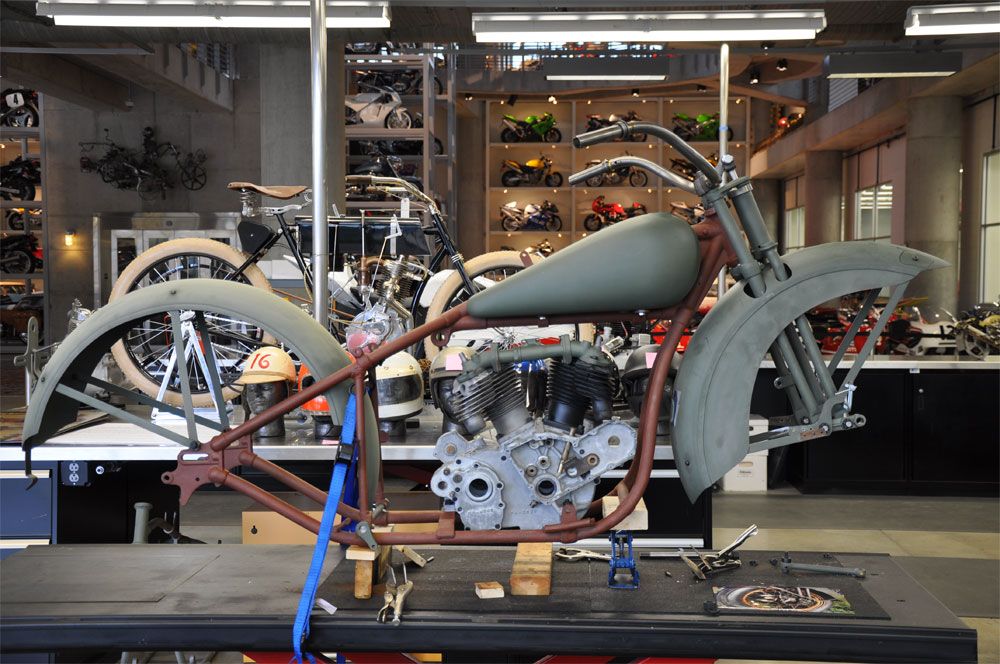
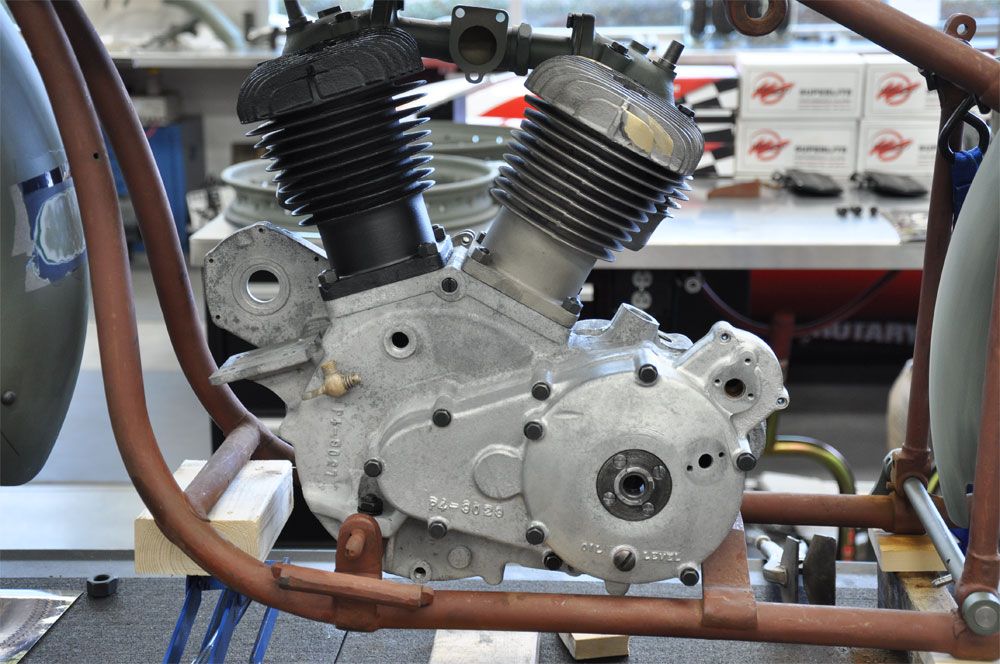
Here is a side image from today. Starting to come together!
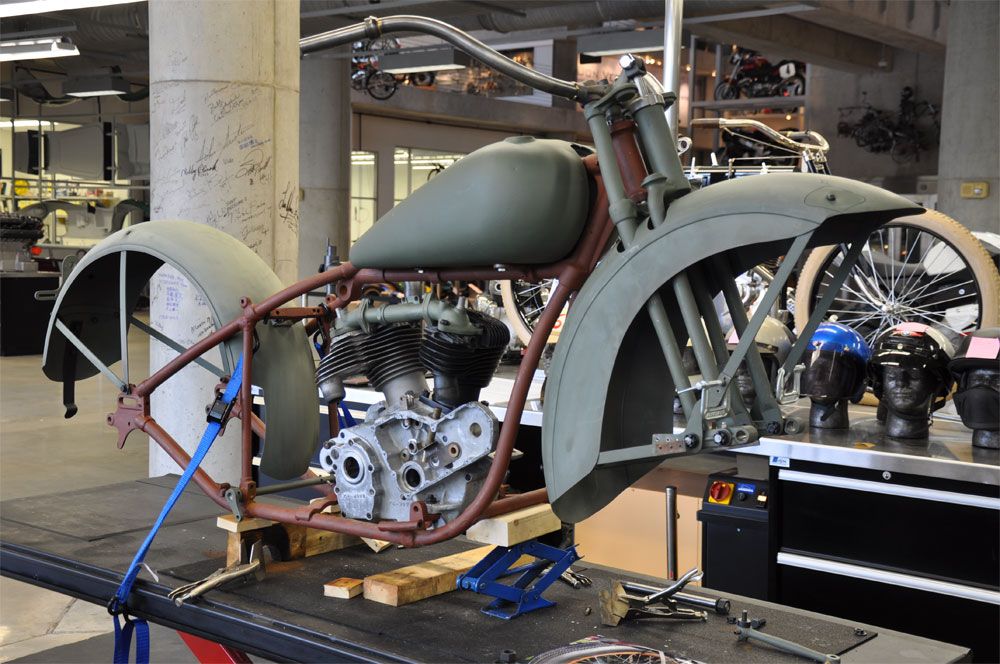
Another angle..
Right hand view of the engine. Unfortunately after the engine teardown I found the engine cases to have severe cracks running from top to bottom around the main crank pin bores. There were several other areas in the cases that were cracked as well. We were lucky enough to find another set of usable cases that only required welding of the left front engine mount ear. A little TIG work and the cases are good.
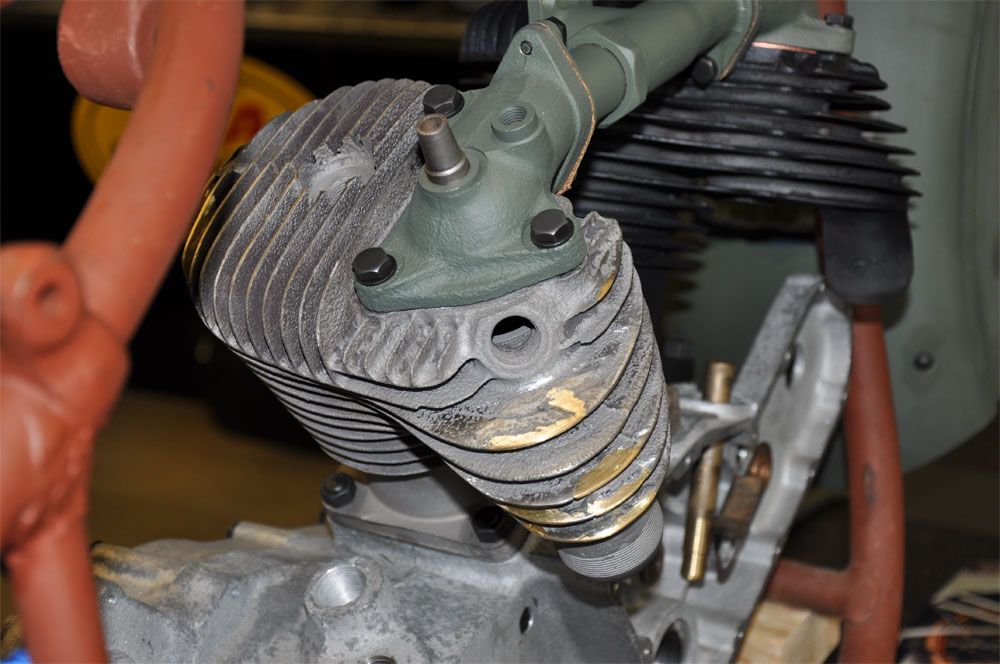
Left side of the engine showing some fin work on the rear cylinder.
I thought this picture was pretty interesting. This is a good example of my cooling fin repair technique. Both cylinders required several repairs to broken fins.
Hope everyone has a good rest of the week and a great weekend!
Take care -
Denis
Hope everyone is doing great. Wanted to say Hello and to let you guys know I'm in the process of another complete restoration here at the Barber Museum. This is a 1929 Excelsior Super X. When I wheeled her onto my lift I was hoping it would be a rather straight forward project with only a few high hurdles to overcome. Well... Other than the frame, engine, front suspension, wheels, handlebars, switches, and a few million other things it's been a pretty smooth sail. Mmm... Not so much. But, the good news is the project is picking up a little steam. So here are a few pictures. I'm hoping that someone will have a good contact source for parts or any other Excelsior Super X information. I've had some luck but not much.
As always, Thank you very much for any help at all! Hope you like the pictures...
Before the tear down. Doesn't look too bad!

Another angle..

Notice the broken cylinder cooling fins..

Here is a side image from today. Starting to come together!

Another angle..

Right hand view of the engine. Unfortunately after the engine teardown I found the engine cases to have severe cracks running from top to bottom around the main crank pin bores. There were several other areas in the cases that were cracked as well. We were lucky enough to find another set of usable cases that only required welding of the left front engine mount ear. A little TIG work and the cases are good.

Left side of the engine showing some fin work on the rear cylinder.

I thought this picture was pretty interesting. This is a good example of my cooling fin repair technique. Both cylinders required several repairs to broken fins.

Hope everyone has a good rest of the week and a great weekend!
Take care -
Denis

Comment